Back to Danish Recipes

Author:
chizobacu
TikTok
178K
9K
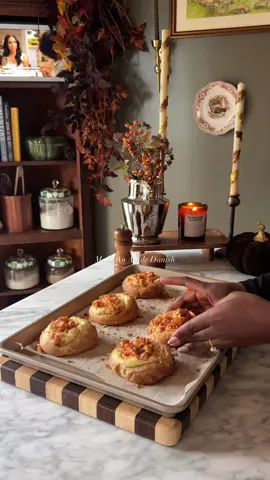
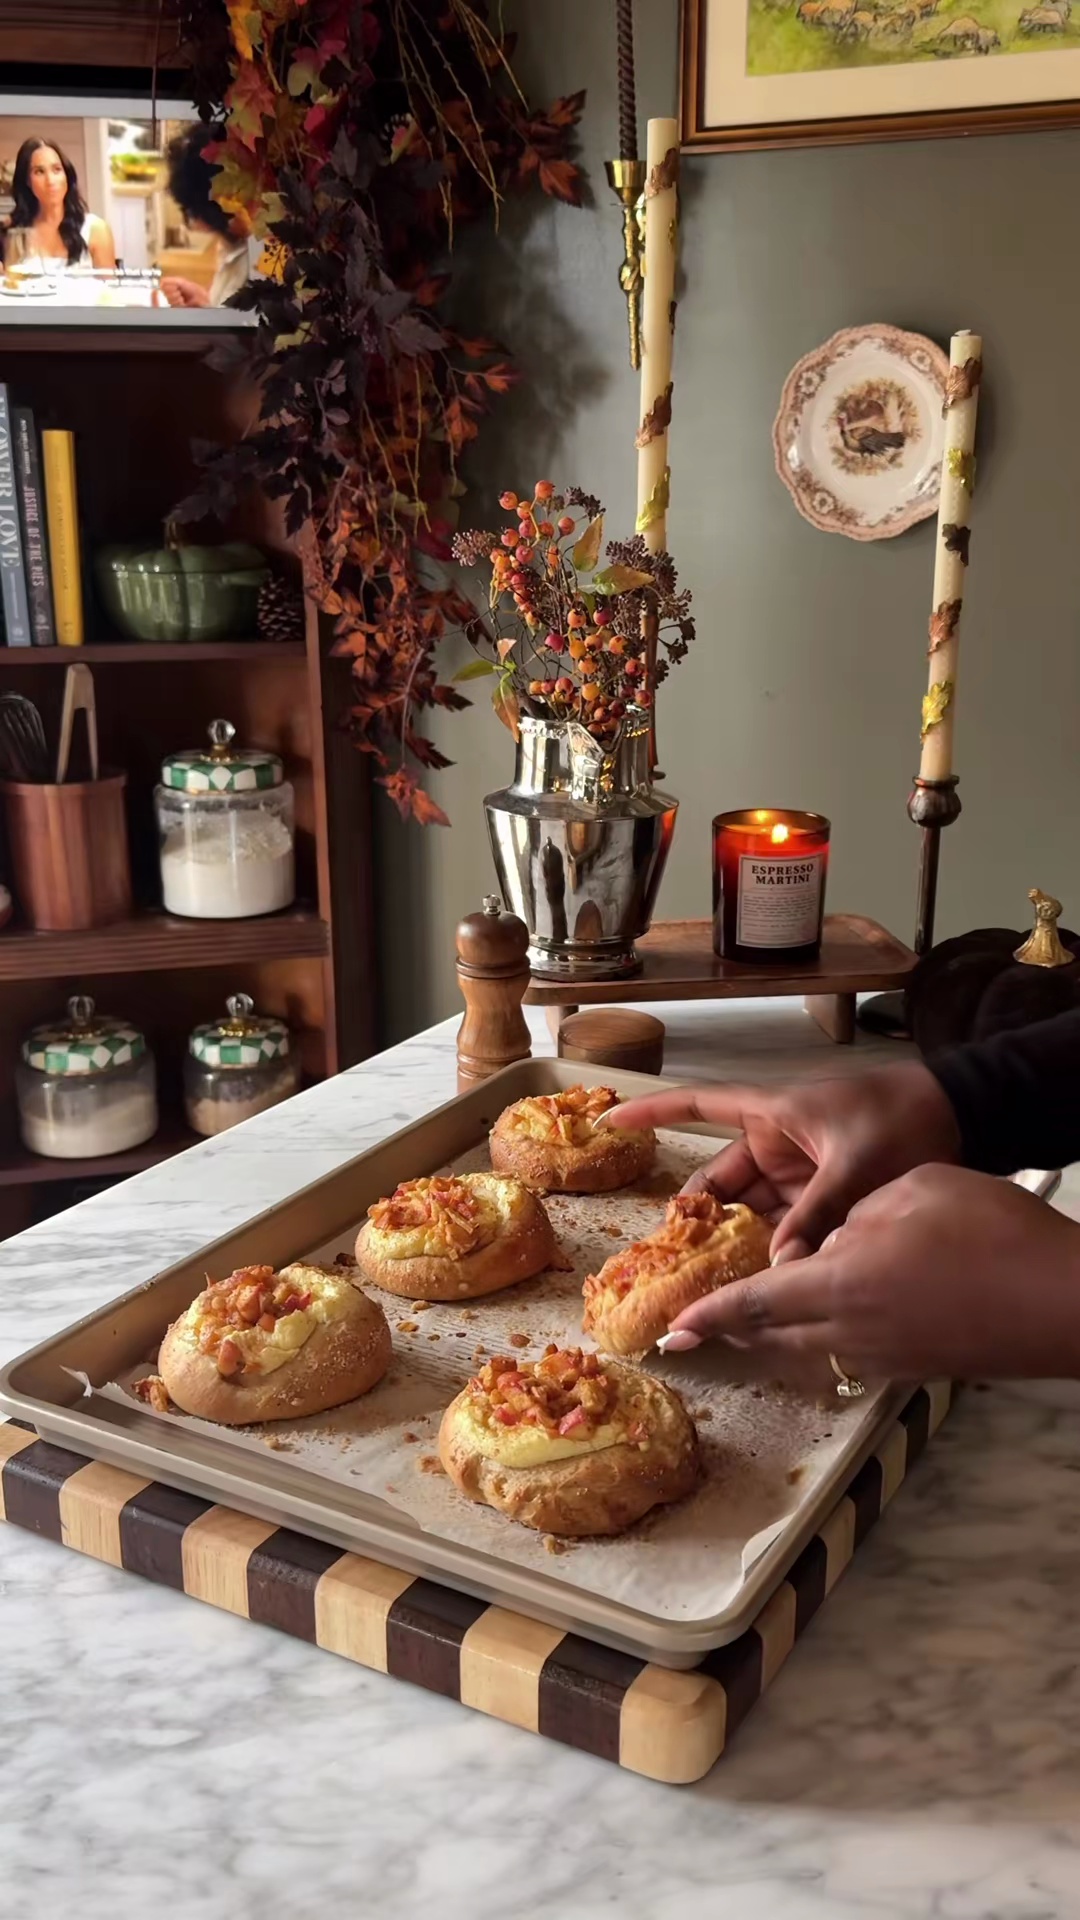
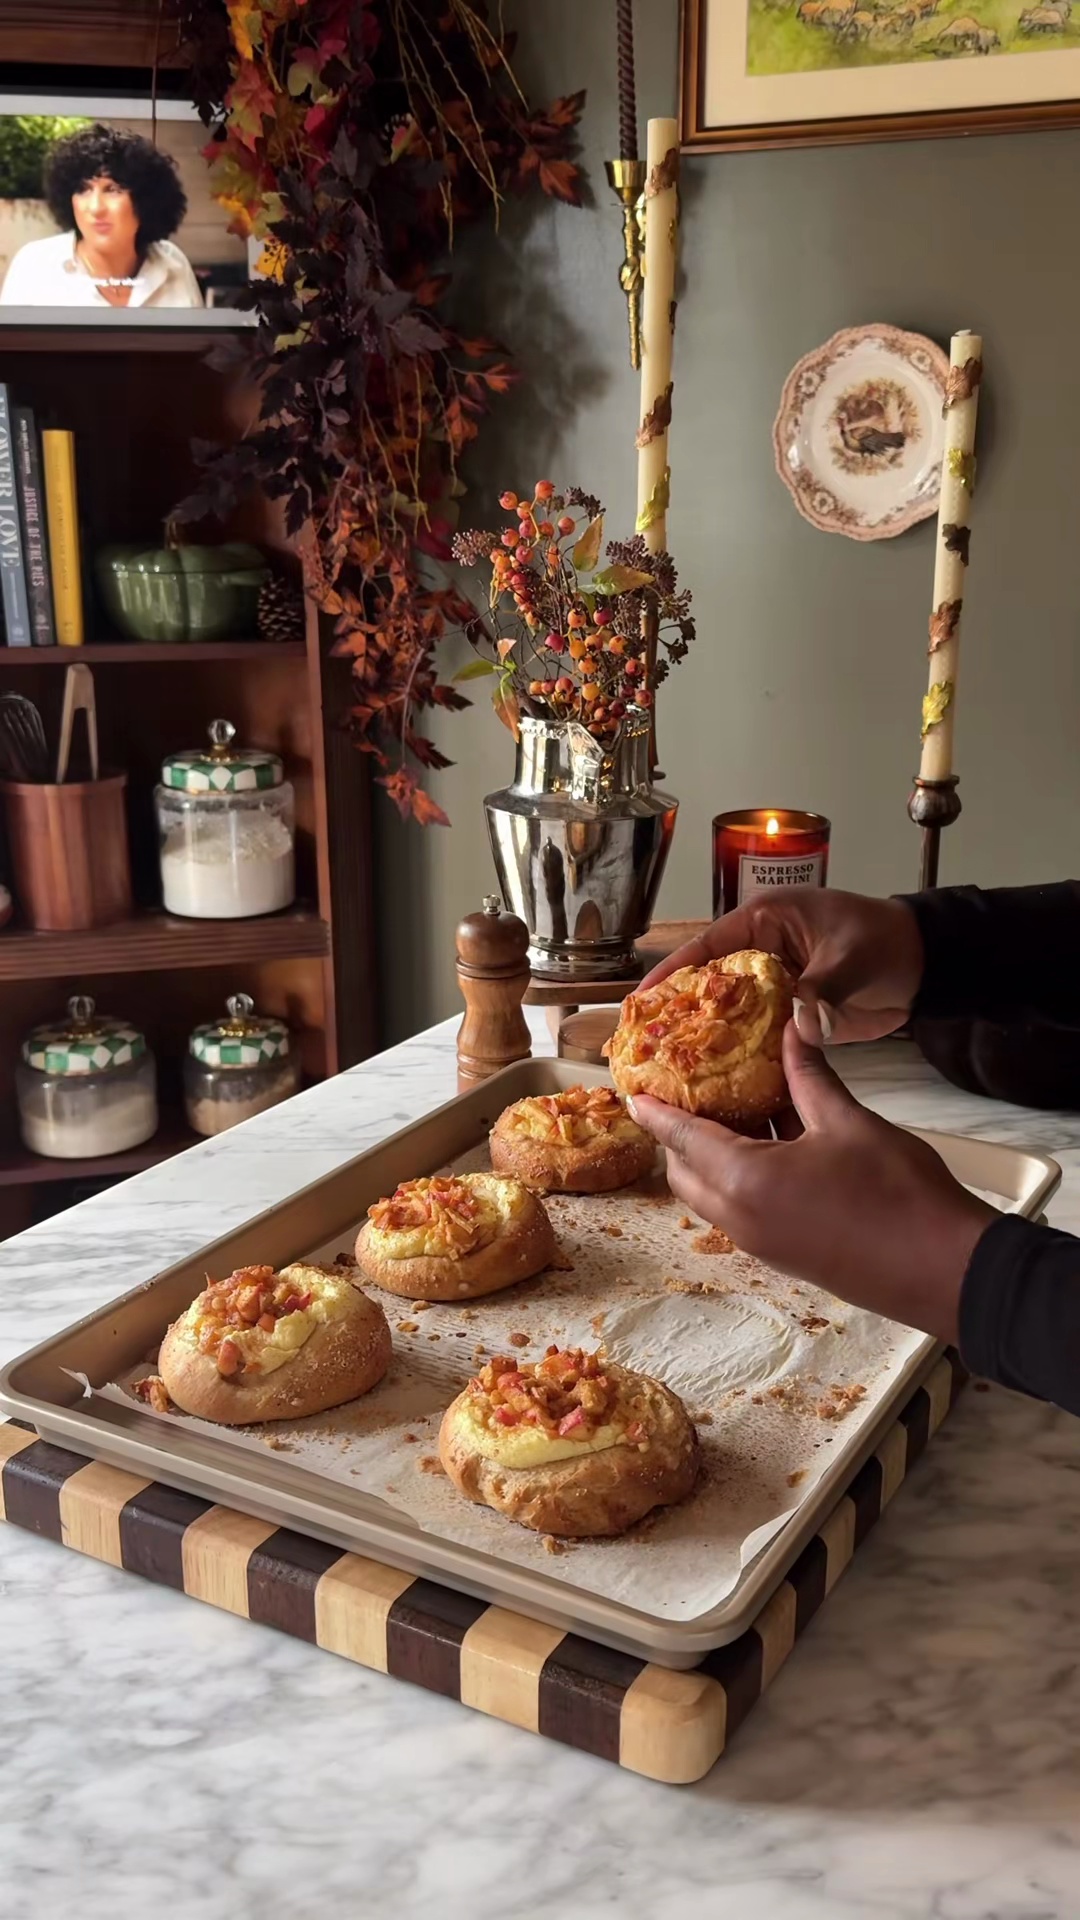
Autumn Apple Danishes
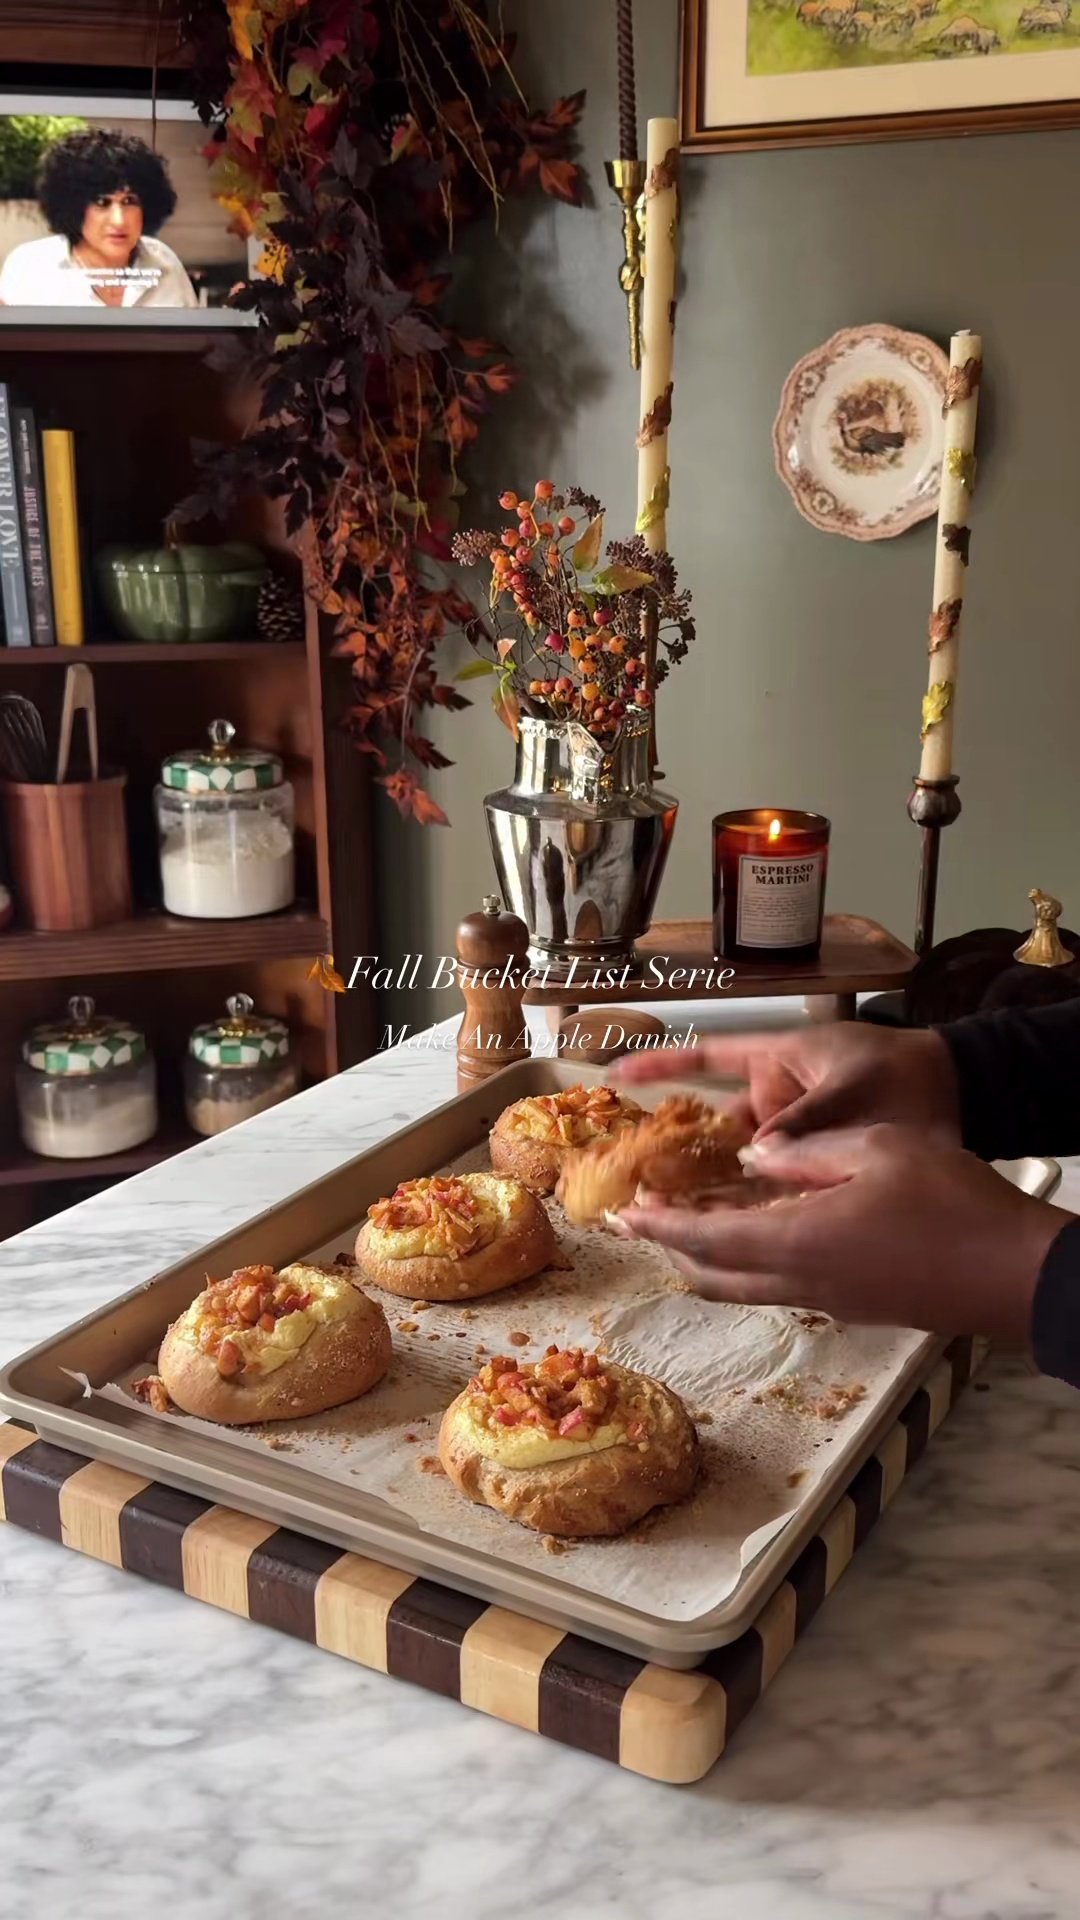
Welcome the 'ber months and the Fall season with these delightful homemade Apple Danishes. This recipe, inspired by the start of a Fall Bucket List Series, guides you through creating a flaky, buttery Danish pastry dough filled with a sweet, spiced apple mixture, perfect for savoring the comforts of autumn. While the video serves as a seasonal introduction, the detailed steps here ensure you can bake these classic treats from scratch for a truly heartwarming experience.
#Apple
#Danish Pastry
#Autumn
#Fall
#Baking
#Sweet Treat
#Breakfast
#Dessert

Freshly Baked Apple Danish
Recipe Information
4h 10m
Prep Time
30m
Cook Time
4h 40m
Total Time
12
Servings
Hard
Danish
English
Nutrition (per serving)
350
Calories
6g
Protein
45g
Carbs
18g
Fat
Danish with Golden Crust
Ingredients
Servings: 12
💡 Tip: Check off ingredients as you add them to keep track of your progress!
Glazed Apple Danish Close-up
Instructions
0/12 completed
0%
- Activate the yeast: In a large bowl, combine the lukewarm milk, 1/2 cup granulated sugar, and active dry yeast. Stir gently and let it sit for 5-10 minutes until foamy, indicating the yeast is active.10m
 Preview10mPreviewActivate the yeast: In a large bowl, combine the lukewarm milk, 1/2 cup granulated sugar, and active dry yeast. Stir gently and let it sit for 5-10 minutes until foamy, indicating the yeast is active.
 - Mix dry ingredients: In a separate bowl, whisk together the all-purpose flour and salt.2m
 Preview2mPreviewMix dry ingredients: In a separate bowl, whisk together the all-purpose flour and salt.
 - Combine and knead dough: Add the flour mixture to the yeast mixture. Mix with a spoon or your hands until a shaggy dough forms. Turn it out onto a lightly floured surface and knead for about 8-10 minutes until smooth and elastic. Incorporate the 1/2 cup unsalted butter during the kneading process.15m
 Preview15mPreviewCombine and knead dough: Add the flour mixture to the yeast mixture. Mix with a spoon or your hands until a shaggy dough forms. Turn it out onto a lightly floured surface and knead for about 8-10 minutes until smooth and elastic. Incorporate the 1/2 cup unsalted butter during the kneading process.
 - First proof: Place the dough in a lightly oiled bowl, turning once to coat. Cover with plastic wrap and let it rise in a warm place for 1-1.5 hours, or until doubled in size.1h 30m
 Preview1h 30mPreviewFirst proof: Place the dough in a lightly oiled bowl, turning once to coat. Cover with plastic wrap and let it rise in a warm place for 1-1.5 hours, or until doubled in size.
 - Chill dough and prepare butter for lamination: Once risen, gently punch down the dough, shape it into a rectangle, wrap tightly in plastic wrap, and refrigerate for at least 30 minutes. Meanwhile, flatten 1/2 cup (or 1 stick) of chilled unsalted butter between two sheets of parchment paper into an 8x5 inch rectangle.40mPreview40mPreviewChill dough and prepare butter for lamination: Once risen, gently punch down the dough, shape it into a rectangle, wrap tightly in plastic wrap, and refrigerate for at least 30 minutes. Meanwhile, flatten 1/2 cup (or 1 stick) of chilled unsalted butter between two sheets of parchment paper into an 8x5 inch rectangle.
- Prepare the apple filling: While the dough is chilling, melt 1 tbsp unsalted butter in a saucepan over medium heat. Add the diced apples, 1/4 cup granulated sugar, cinnamon, and lemon juice. Cook for 8-10 minutes, stirring occasionally, until the apples are tender but still hold their shape. Let cool completely.20m
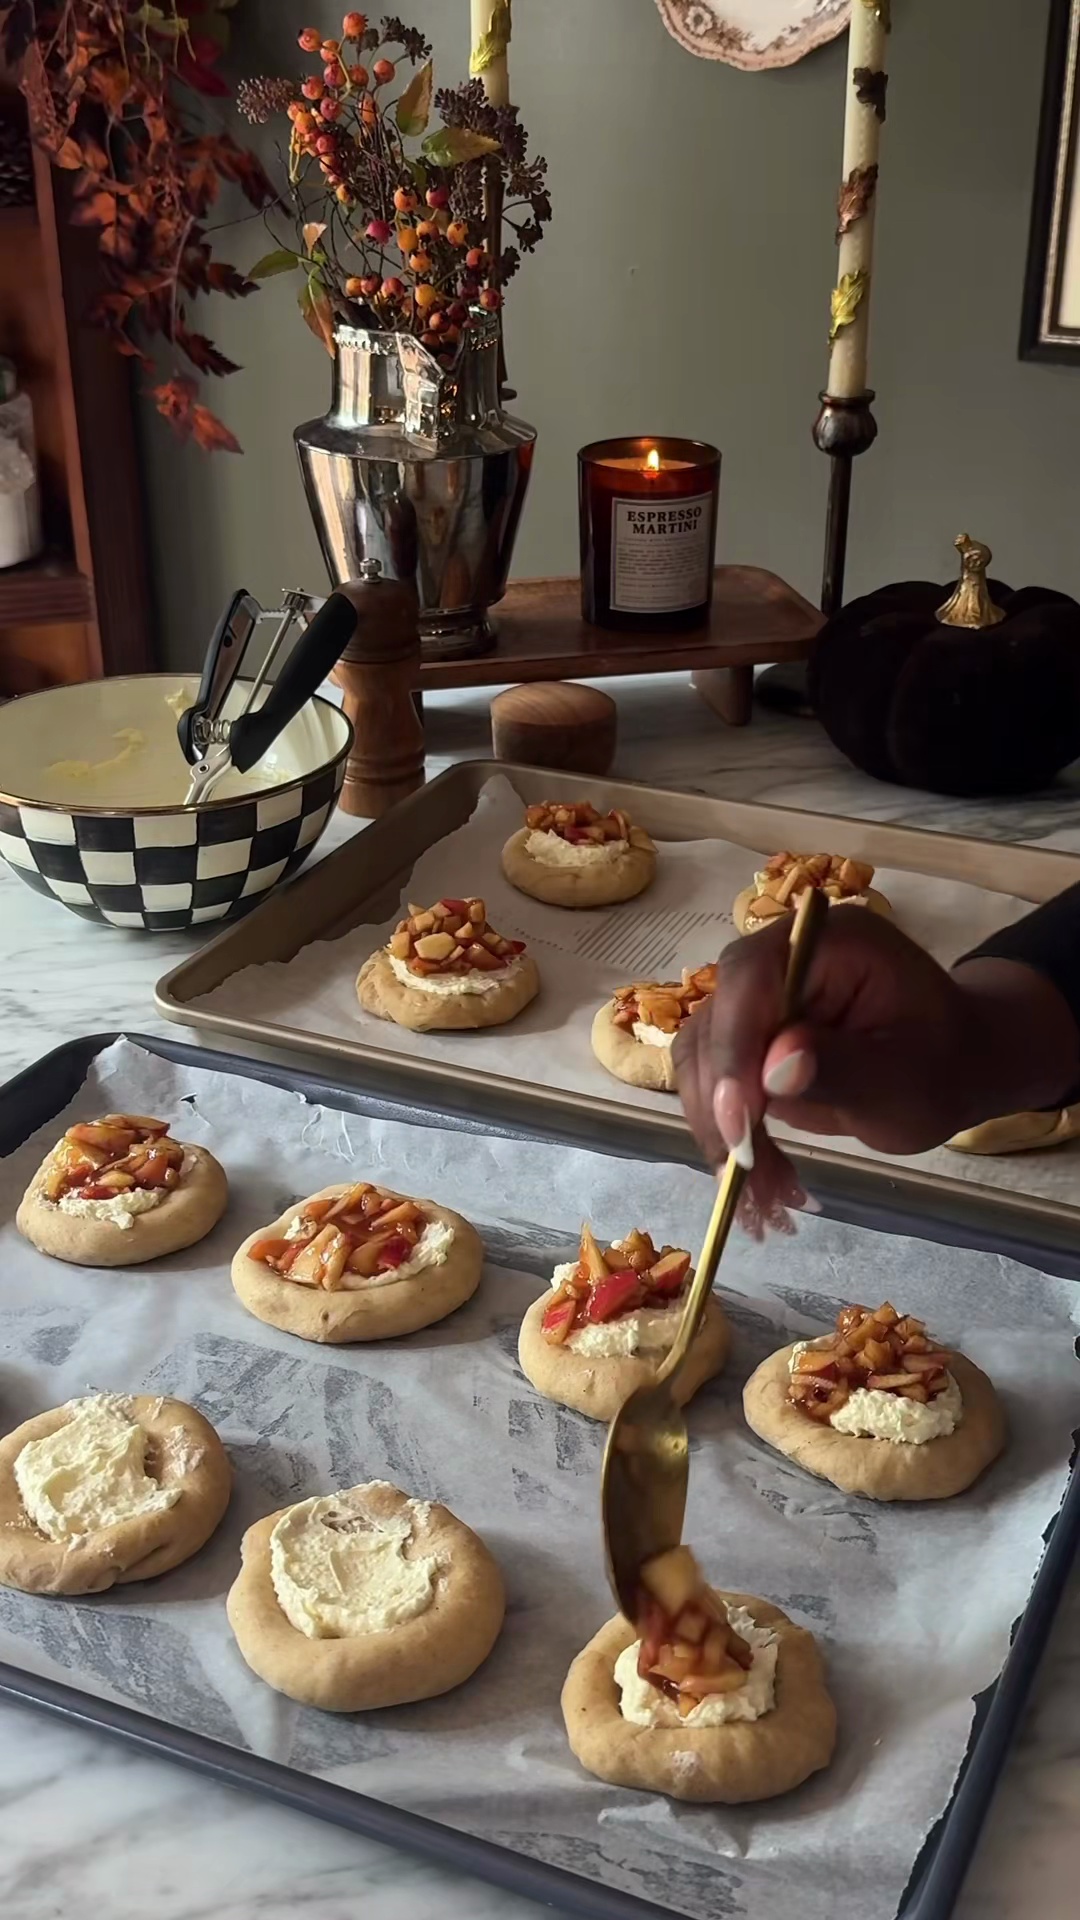 Preview20mPreviewPrepare the apple filling: While the dough is chilling, melt 1 tbsp unsalted butter in a saucepan over medium heat. Add the diced apples, 1/4 cup granulated sugar, cinnamon, and lemon juice. Cook for 8-10 minutes, stirring occasionally, until the apples are tender but still hold their shape. Let cool completely.
 - First fold (Lamination): On a lightly floured surface, roll the chilled dough into a 16x10 inch rectangle. Place the butter rectangle on one half of the dough, leaving a 1-inch border. Fold the other half of the dough over the butter, sealing the edges. Roll the dough again into a 16x10 inch rectangle. Perform a 'letter fold' (fold one-third of the dough over the center, then the other third over that). Wrap and chill for 30 minutes.45m
 Preview45mPreviewFirst fold (Lamination): On a lightly floured surface, roll the chilled dough into a 16x10 inch rectangle. Place the butter rectangle on one half of the dough, leaving a 1-inch border. Fold the other half of the dough over the butter, sealing the edges. Roll the dough again into a 16x10 inch rectangle. Perform a 'letter fold' (fold one-third of the dough over the center, then the other third over that). Wrap and chill for 30 minutes.
 - Repeat folds (Lamination): Repeat step 7 two more times, chilling the dough for 30 minutes after each fold. This creates the flaky layers.1h 30mPreview1h 30mPreviewRepeat folds (Lamination): Repeat step 7 two more times, chilling the dough for 30 minutes after each fold. This creates the flaky layers.
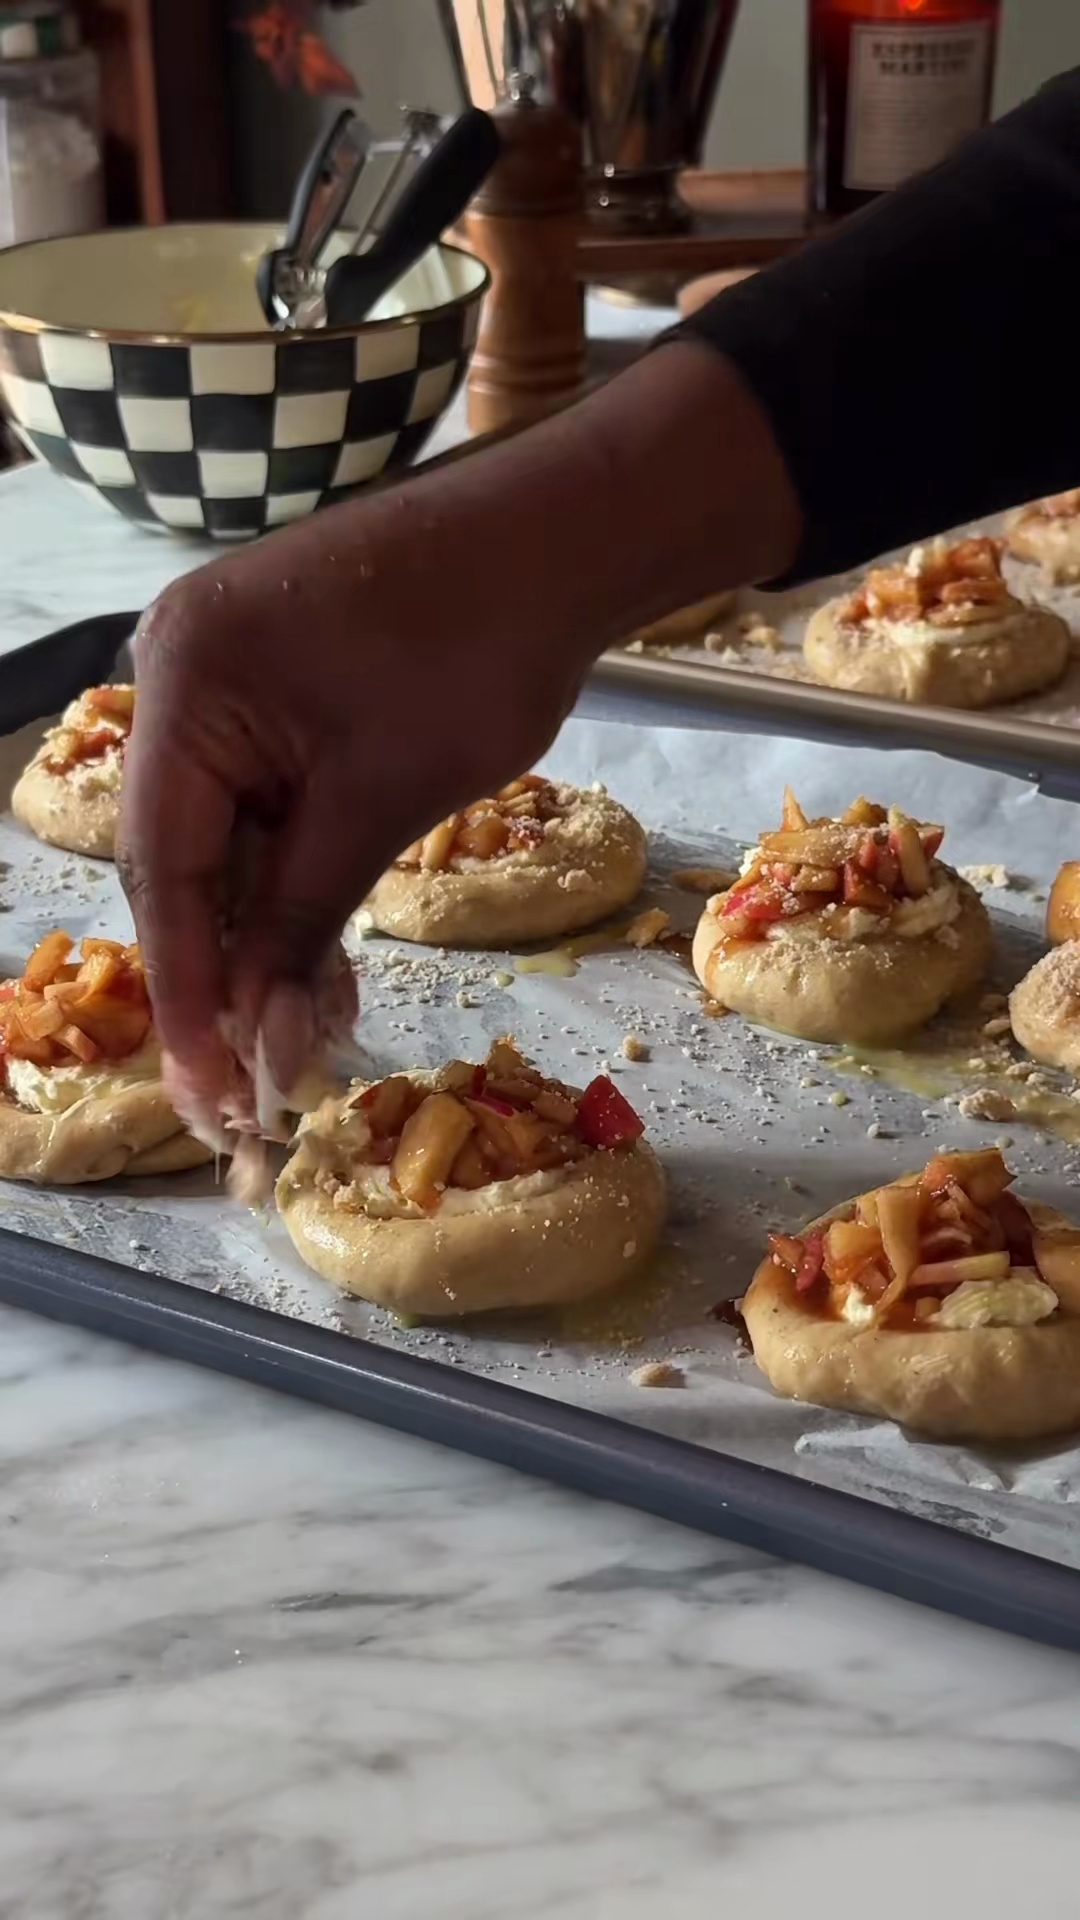
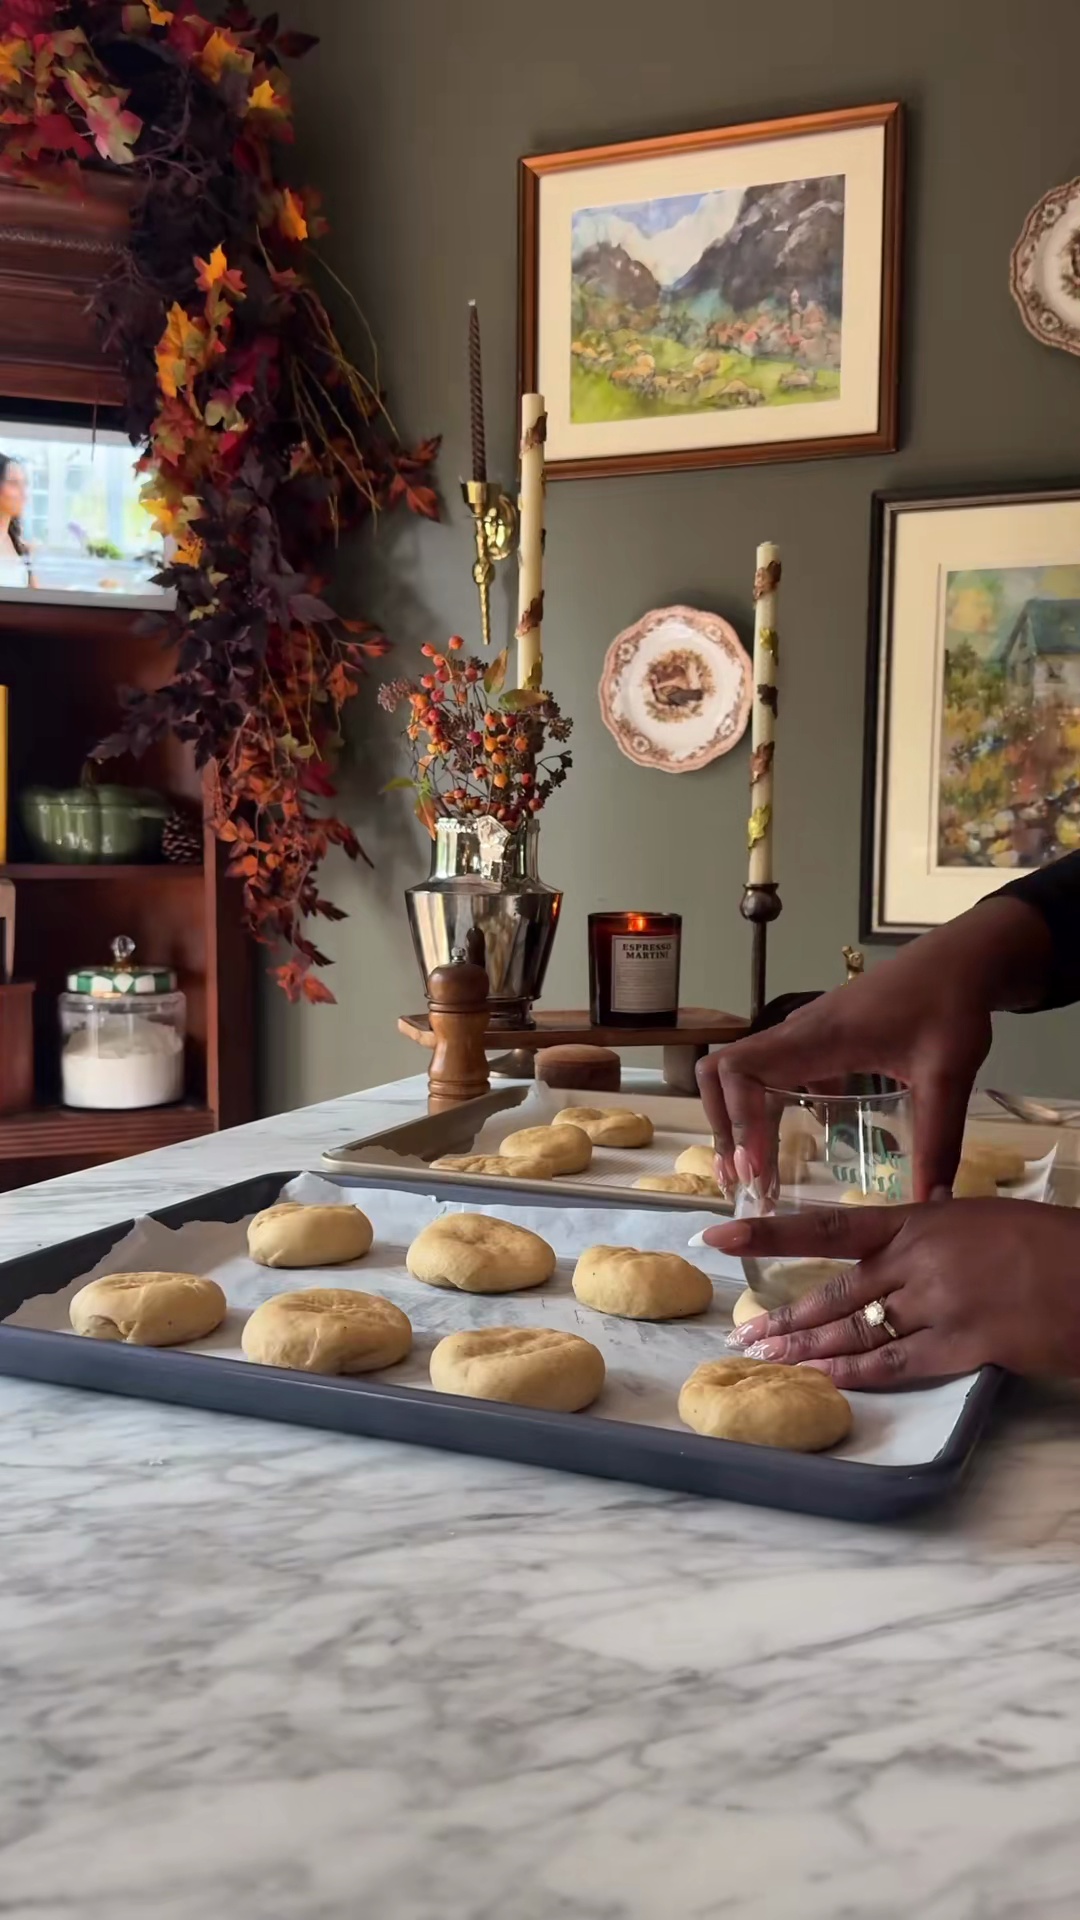
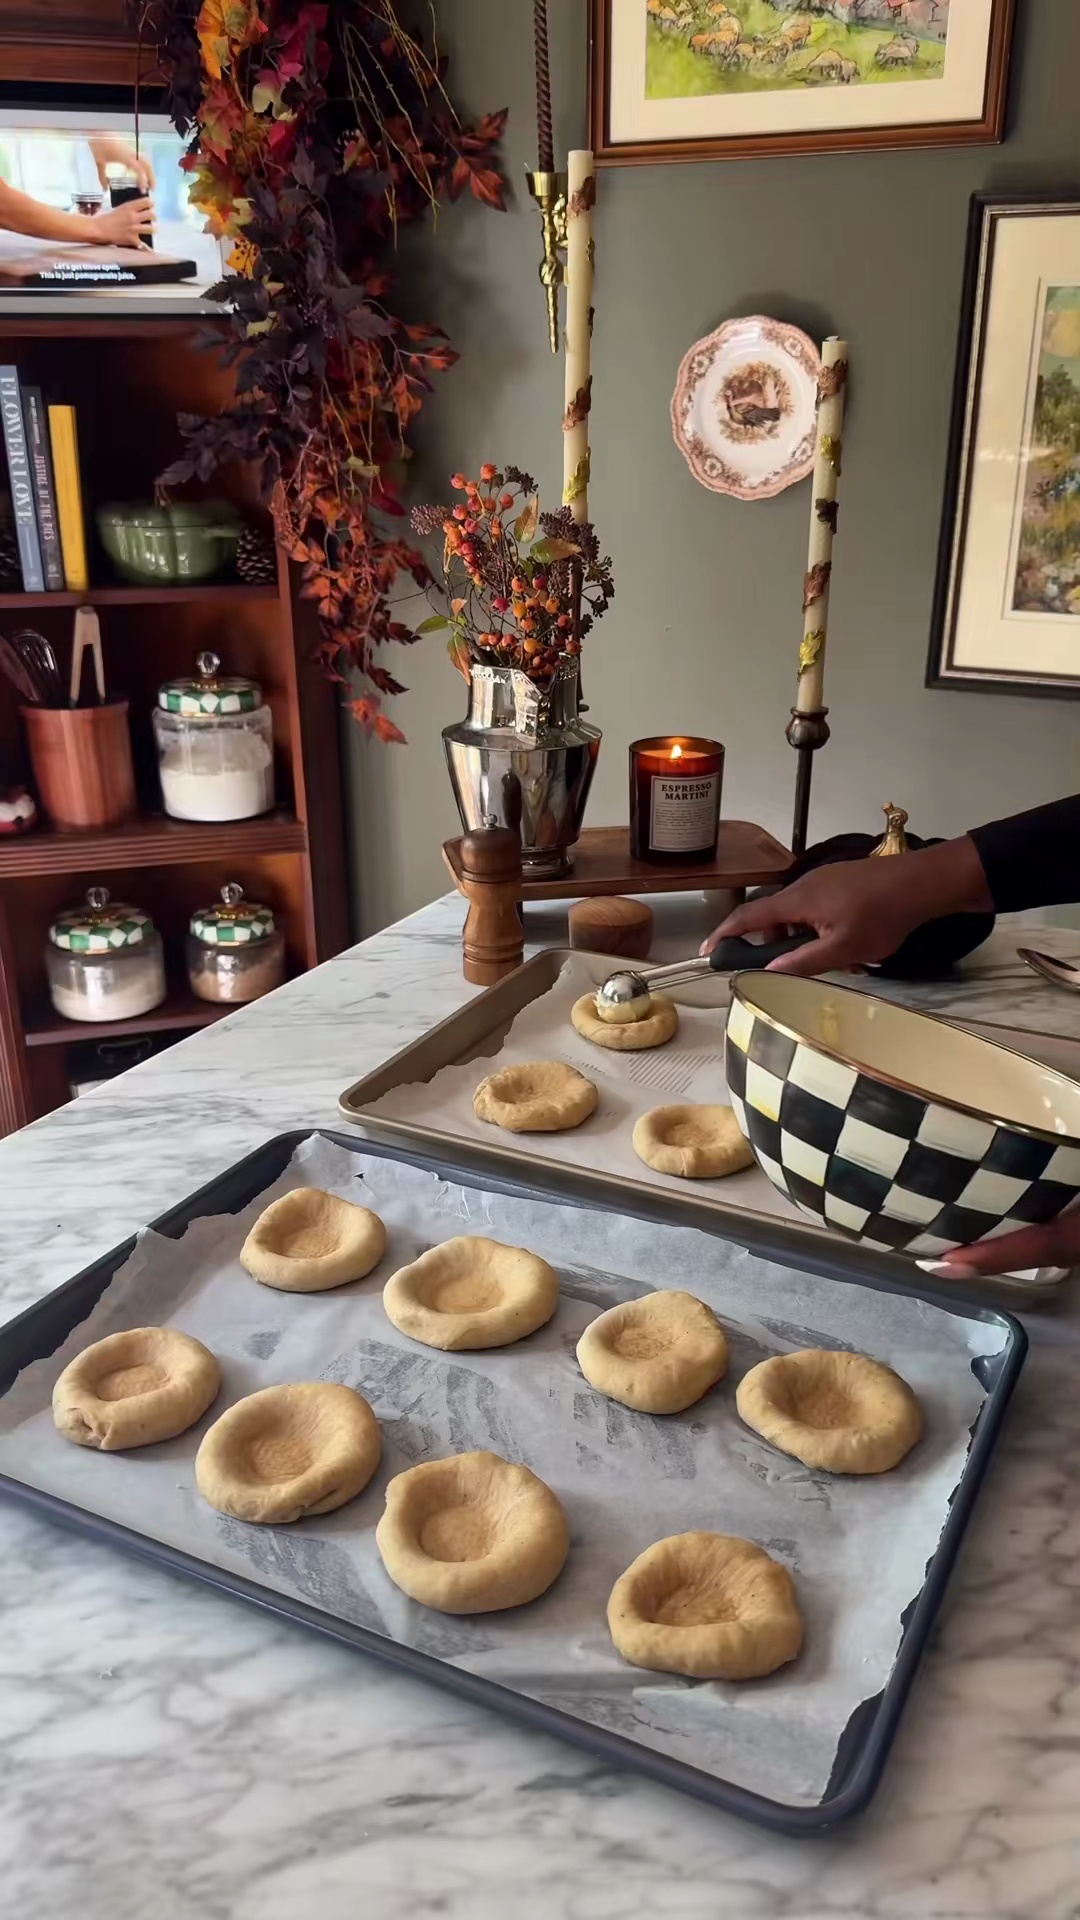
- Shape the Danishes: After the final fold and chill, roll the dough into a large 1/4-inch thick rectangle. Cut the dough into squares (approx. 4x4 inches). Place a spoonful of cooled apple filling in the center of each square. Fold the corners towards the center, or use other shaping techniques like pinwheels or braids. Arrange on parchment-lined baking sheets.30m
 Preview30mPreviewShape the Danishes: After the final fold and chill, roll the dough into a large 1/4-inch thick rectangle. Cut the dough into squares (approx. 4x4 inches). Place a spoonful of cooled apple filling in the center of each square. Fold the corners towards the center, or use other shaping techniques like pinwheels or braids. Arrange on parchment-lined baking sheets.
 - Second proof: Cover the shaped Danishes loosely with plastic wrap and let them rise in a warm place for 30-45 minutes, or until slightly puffy.45mPreview45mPreviewSecond proof: Cover the shaped Danishes loosely with plastic wrap and let them rise in a warm place for 30-45 minutes, or until slightly puffy.
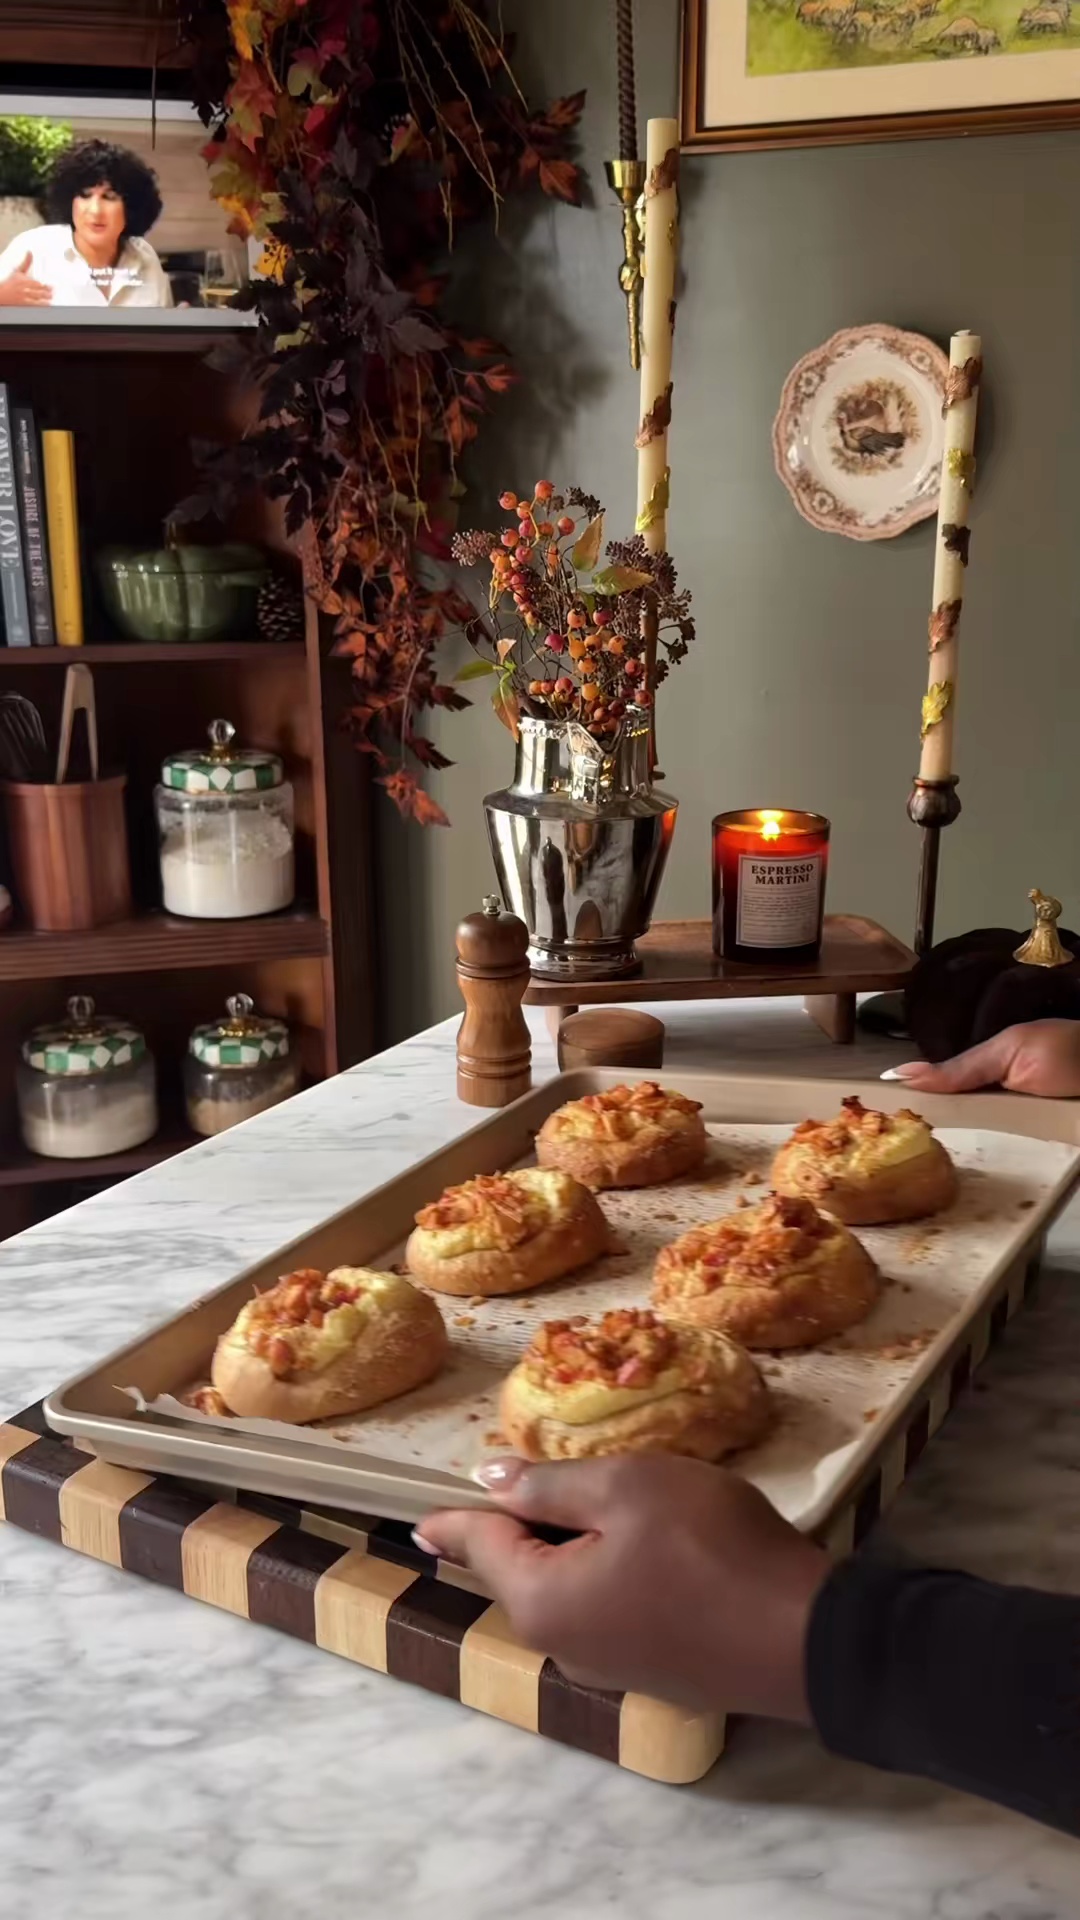
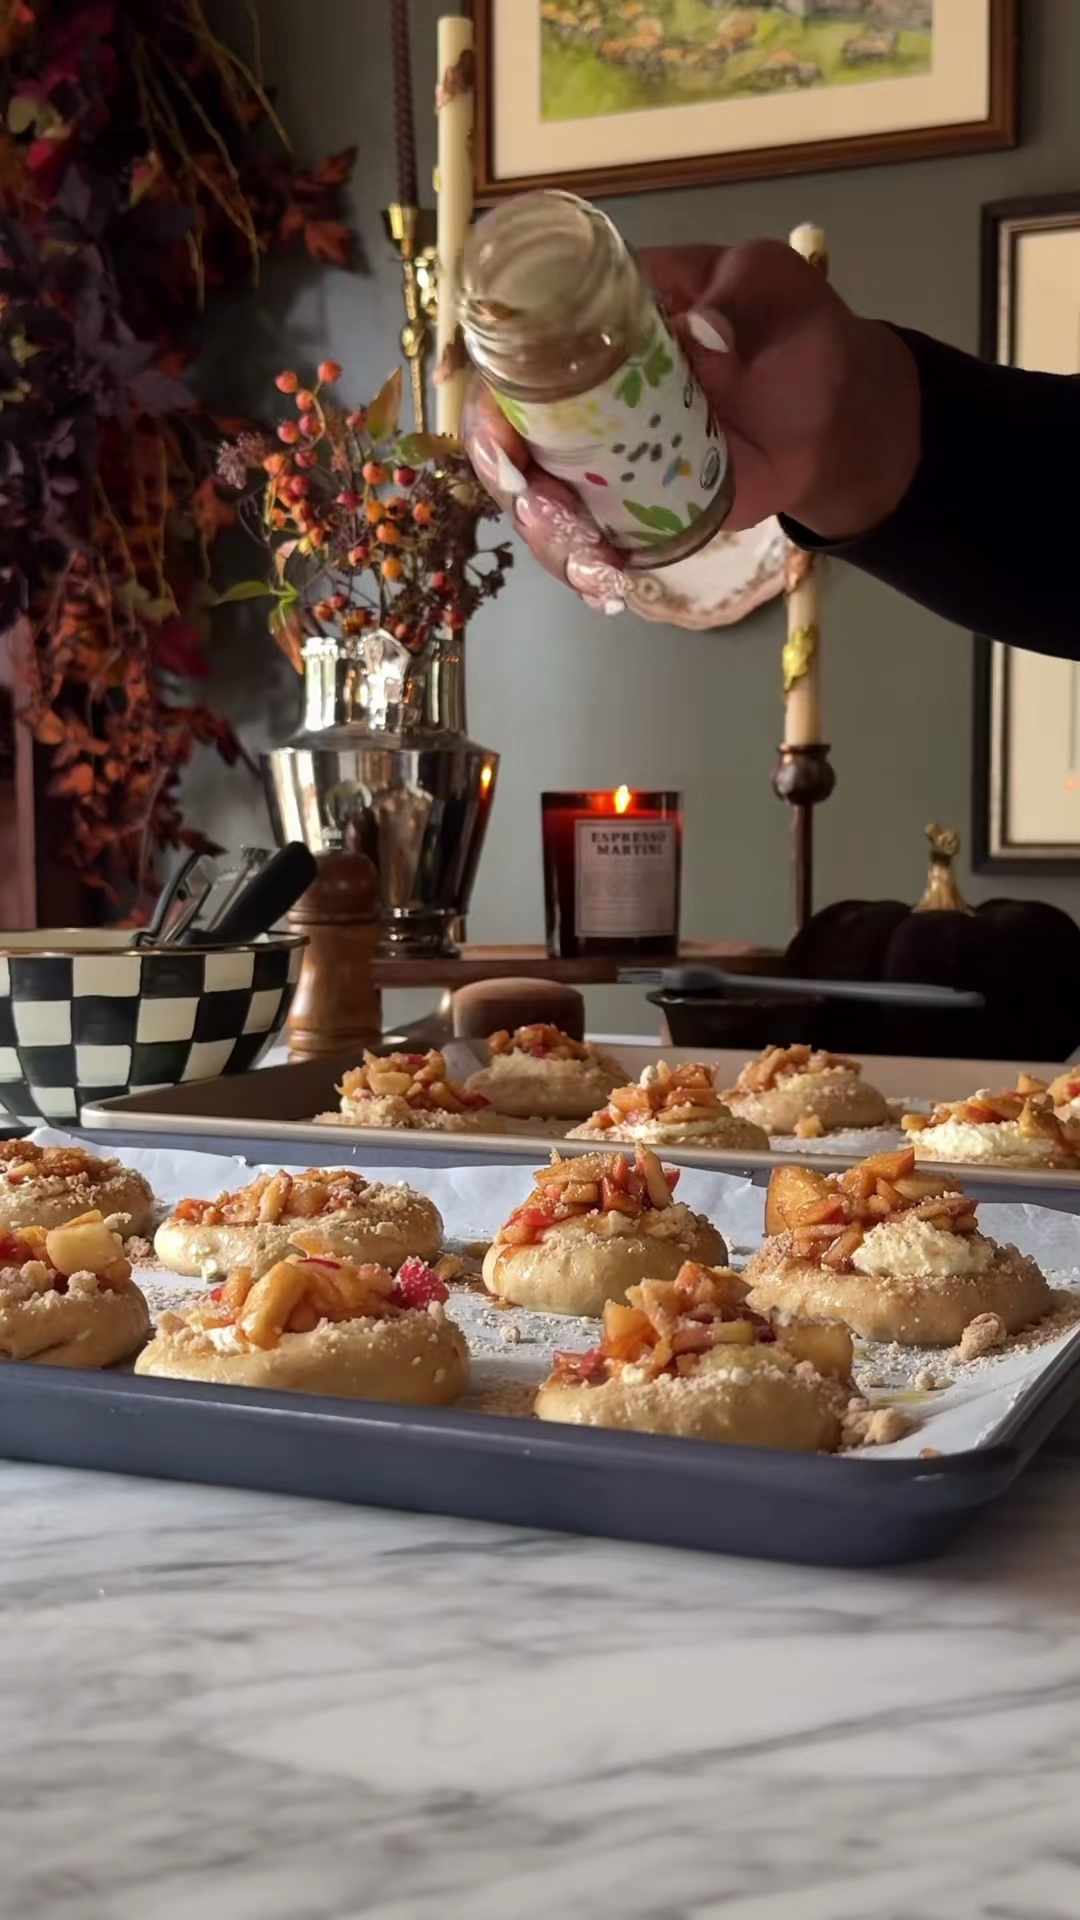
- Bake the Danishes: Preheat oven to 400°F (200°C). Whisk together the egg and 1 tbsp milk for an egg wash. Lightly brush the tops of the Danishes with the egg wash. Bake for 15-20 minutes, or until golden brown and puffed. Let cool on a wire rack.25m
 Preview25mPreviewBake the Danishes: Preheat oven to 400°F (200°C). Whisk together the egg and 1 tbsp milk for an egg wash. Lightly brush the tops of the Danishes with the egg wash. Bake for 15-20 minutes, or until golden brown and puffed. Let cool on a wire rack.
 - Prepare and glaze: While Danishes cool, whisk together the powdered sugar, 2-3 tbsp milk, and vanilla extract until smooth for the glaze. Drizzle or brush the glaze over the cooled Danishes.10m
 Preview10mPreviewPrepare and glaze: While Danishes cool, whisk together the powdered sugar, 2-3 tbsp milk, and vanilla extract until smooth for the glaze. Drizzle or brush the glaze over the cooled Danishes.
💡 Tip: Click on any step to mark it as completed and track your cooking progress!