Back to European / Snack Recipes


Author:
skp.flavor.hub
TikTok
1K
51
Cheesy Chimney Cones: Quick & Easy Puff Pastry Snack Recipe
Learn how to make delicious cheesy chimney cones with puff pastry. This quick and easy recipe is perfect for a snack, appetizer, or party food. Follow along for a step-by-step tutorial on creating these savory, cheesy treats that are sure to be a hit!
#Cheesy
#Puff Pastry
#Quick Recipe
#Easy Snack
#Appetizer
#Party Food
Golden Cheesy Chimney Cones
Recipe Information
7m
Prep Time
18m
Cook Time
25m
Total Time
4
Servings
Easy
European / Snack
English
Nutrition (per serving)
280
Calories
10g
Protein
20g
Carbs
18g
Fat
Freshly Baked Cheesy Cones
Ingredients
advertisement
Servings: 4
💡 Tip: Check off ingredients as you add them to keep track of your progress!
Cheesy Cones Ready to Serve
Instructions
0/6 completed
0%
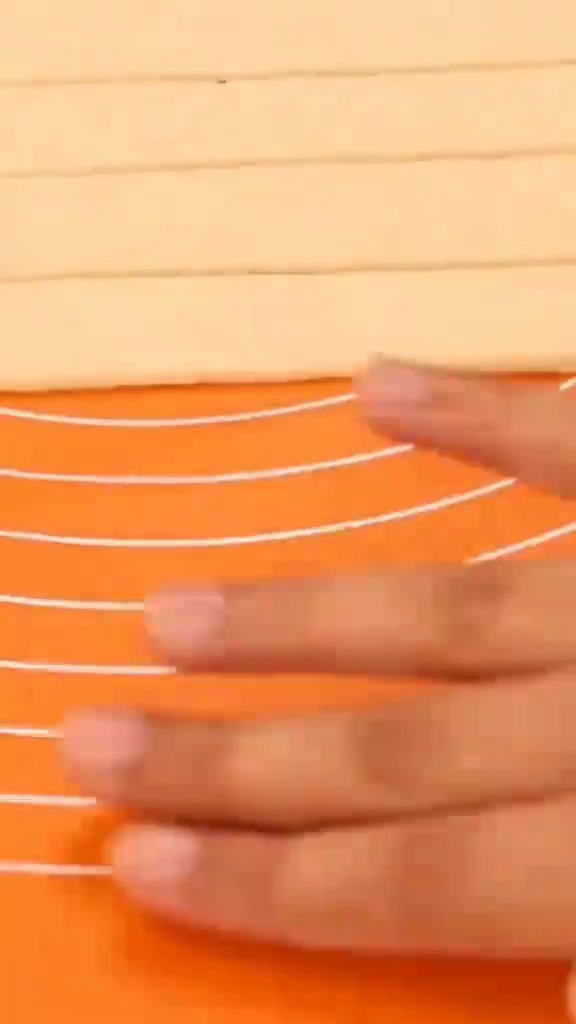
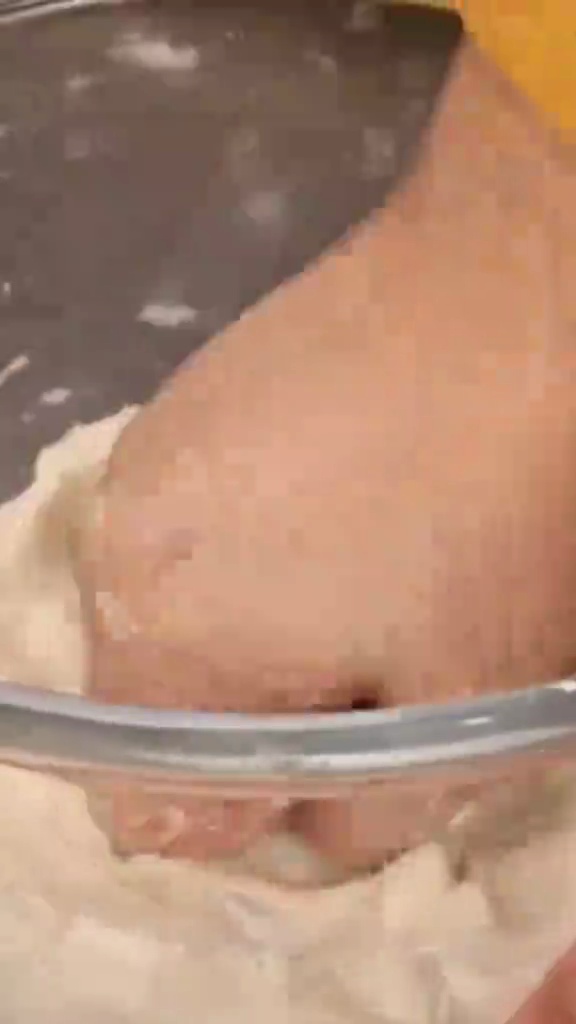
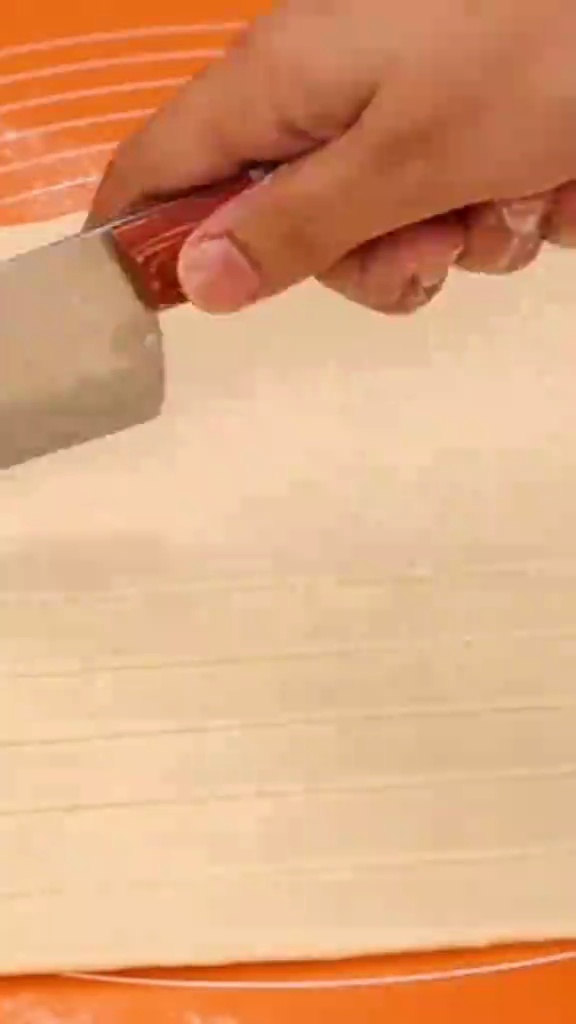
- Preheat oven to 180°C (350°F). Roll out the puff pastry sheet and cut it into long strips, about 2-3 cm (1 inch) wide.2m
 Preview2mPreviewPreheat oven to 180°C (350°F). Roll out the puff pastry sheet and cut it into long strips, about 2-3 cm (1 inch) wide.
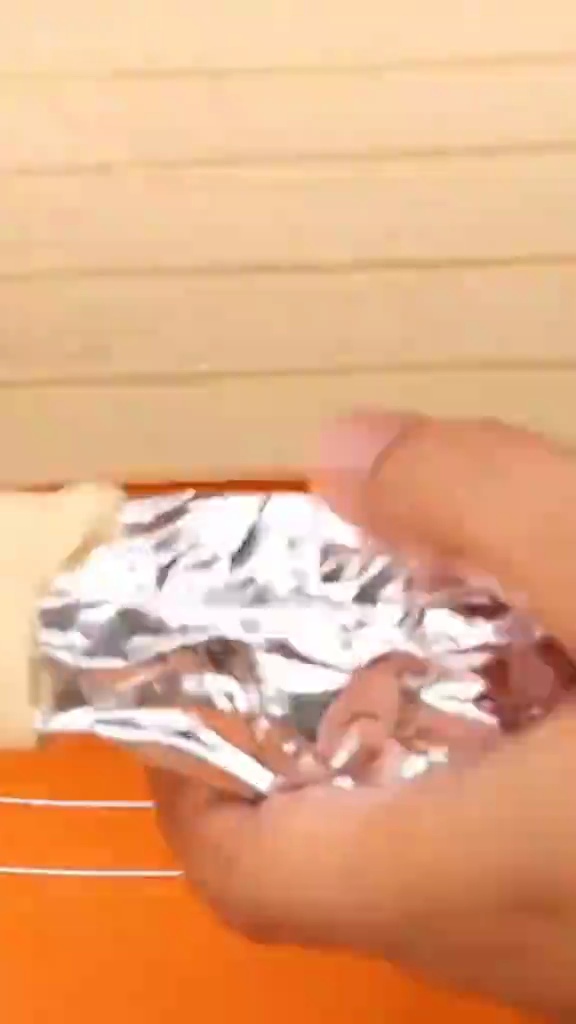
 - Wrap each puff pastry strip around a chimney cone mold, overlapping slightly to ensure full coverage. Press the ends to seal.3m
 Preview3mPreviewWrap each puff pastry strip around a chimney cone mold, overlapping slightly to ensure full coverage. Press the ends to seal.
 - Brush the wrapped cones with the beaten egg wash, ensuring all surfaces are covered.1m
 Preview1mPreviewBrush the wrapped cones with the beaten egg wash, ensuring all surfaces are covered.
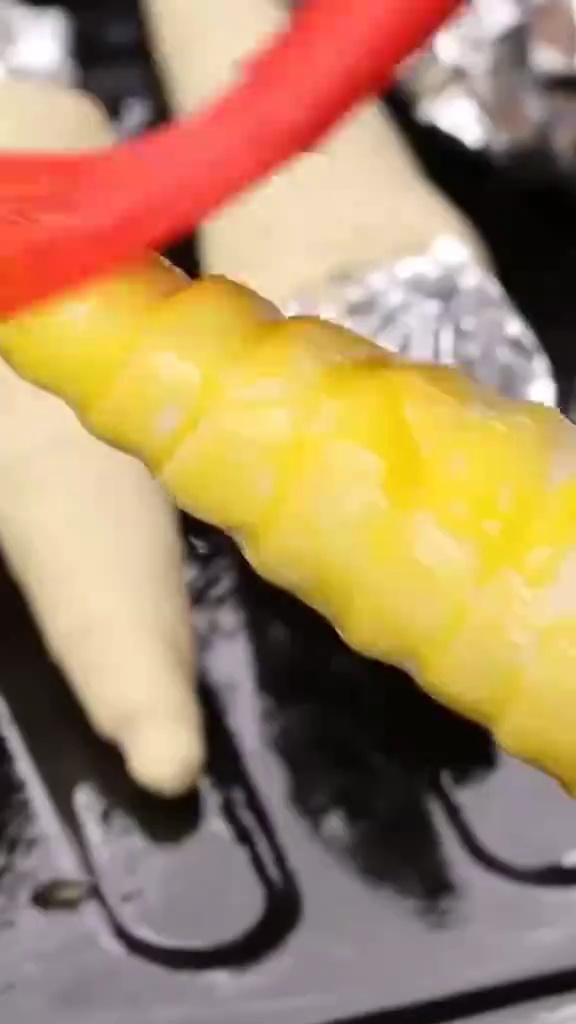
 - Roll the egg-washed cones in the grated cheese, making sure they are generously coated.1m
 Preview1mPreviewRoll the egg-washed cones in the grated cheese, making sure they are generously coated.
 - Place the cheese-coated cones on a baking sheet lined with parchment paper and bake for 15-20 minutes, or until golden brown and puffed.18m
 Preview18mPreviewPlace the cheese-coated cones on a baking sheet lined with parchment paper and bake for 15-20 minutes, or until golden brown and puffed.
 - Carefully remove from molds. You can fill the cones with more grated cheese or any desired savory filling, then garnish with fresh parsley. Serve warm and enjoy!2m
 Preview2mPreviewCarefully remove from molds. You can fill the cones with more grated cheese or any desired savory filling, then garnish with fresh parsley. Serve warm and enjoy!
advertisement
advertisement
💡 Tip: Click on any step to mark it as completed and track your cooking progress!