Back to Gluten-Free Recipes

Author:
whattheforkfoodblog
TikTok
355
15
Day 4: Gluten-Free Sourdough Starter – Easy Feed Recipe
Join us on Day 4 of cultivating a brand new gluten-free sourdough starter from scratch! This essential step involves discarding most of your existing starter, keeping only 25 grams, and then nourishing it with 25 grams of brown rice flour and 25 grams of filtered water. Following this process ensures a healthy and active starter, vital for baking delicious gluten-free sourdough bread. Don't forget to share a picture of your Day 4 starter progress!
#Gluten-Free Sourdough
#Sourdough Starter
#Baking
#DIY Sourdough
#Gluten-Free Baking
#Fermentation
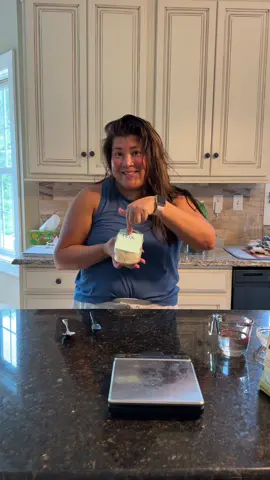
Day 4 Starter Ready for Feeding
Recipe Information
3m
Prep Time
0m
Cook Time
3m
Total Time
1
Servings
Easy
Gluten-Free
English
Nutrition (per serving)
90
Calories
2g
Protein
19g
Carbs
0g
Fat
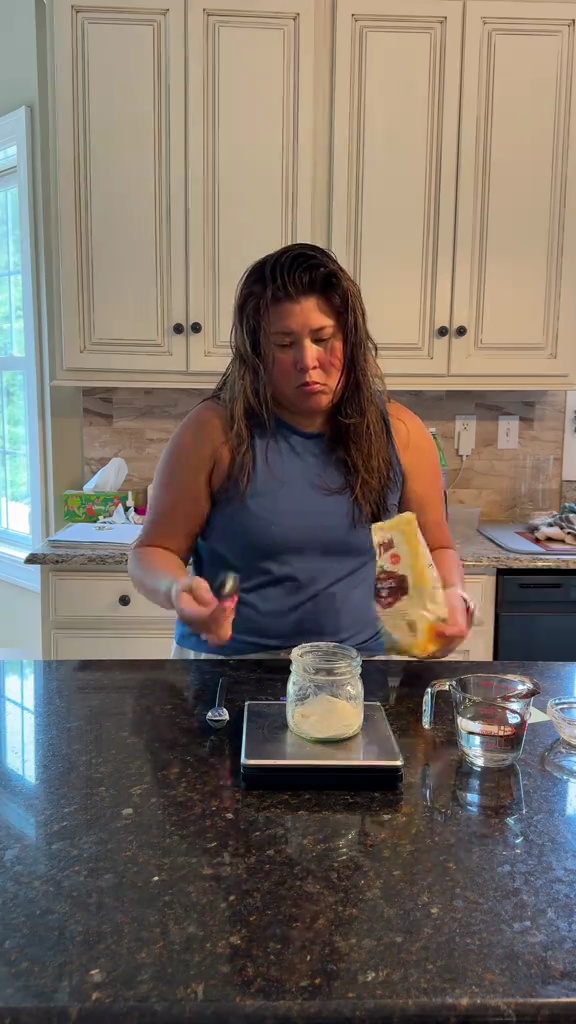
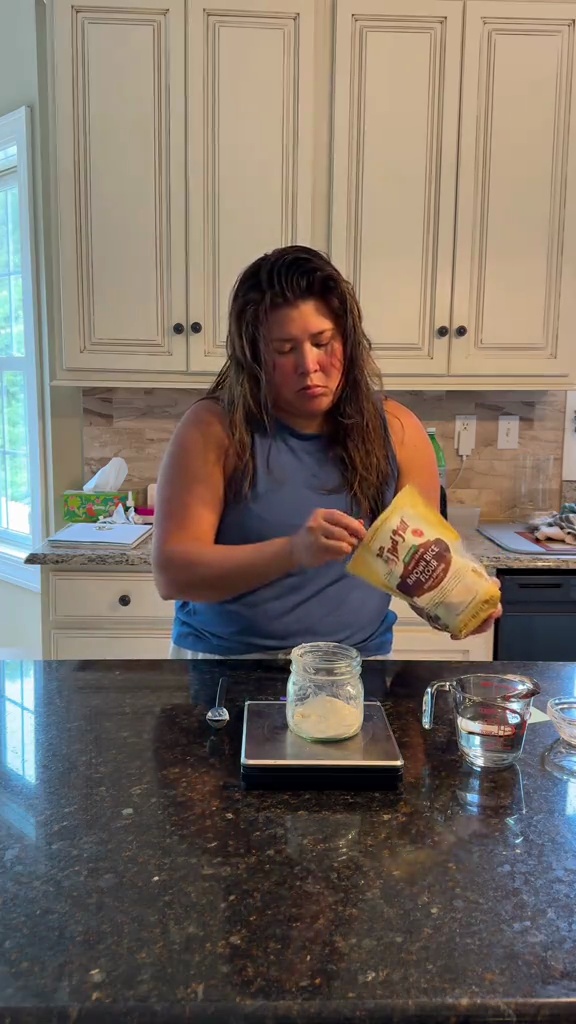
Adding Brown Rice Flour
Ingredients
advertisement
Servings: 1
💡 Tip: Check off ingredients as you add them to keep track of your progress!
Adding Filtered Water
Instructions
0/5 completed
0%
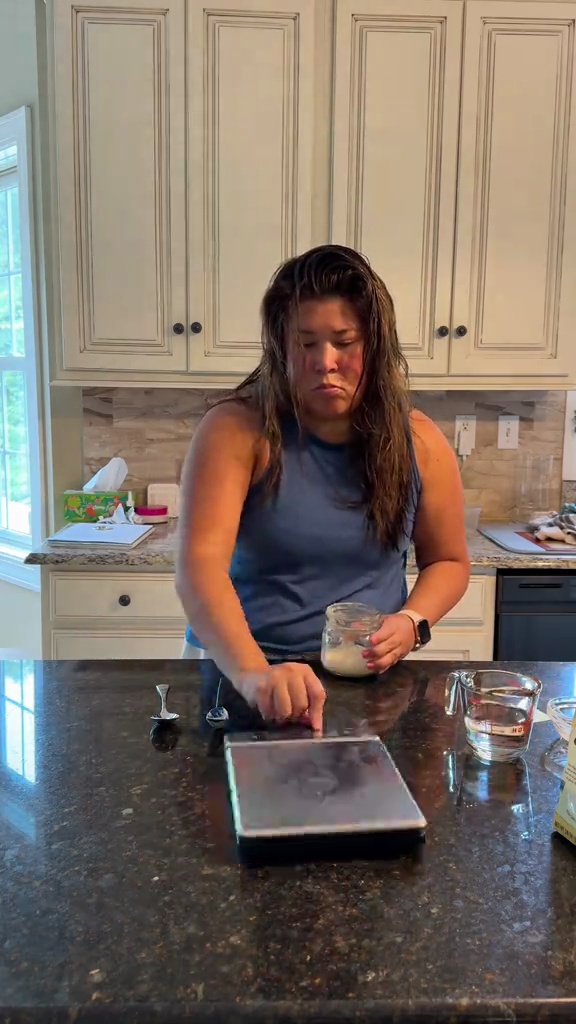
- Weigh your existing gluten-free sourdough starter. Carefully discard all but 25 grams, leaving exactly 25 grams of active starter in your feeding jar.1m
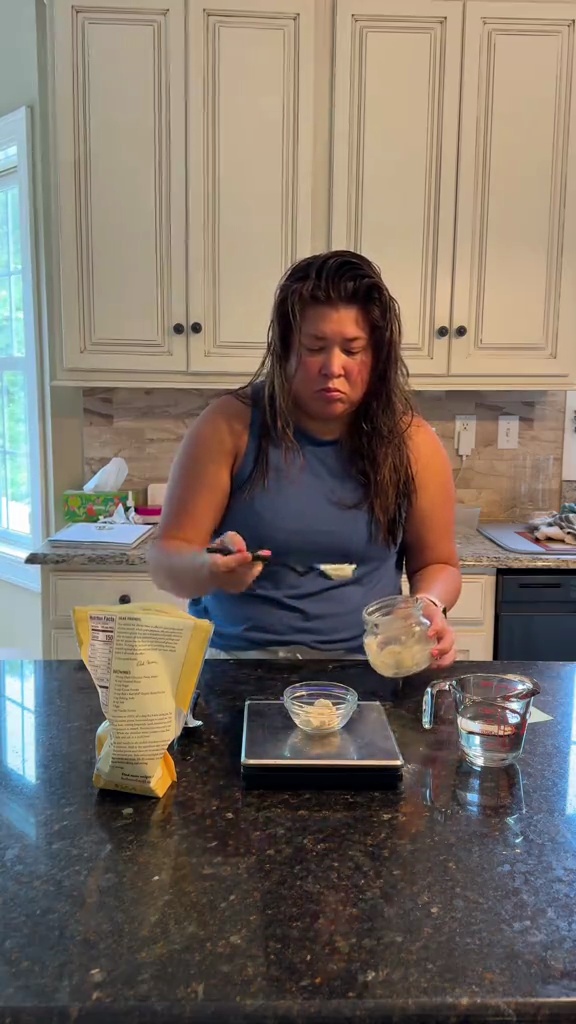 Preview1mPreviewWeigh your existing gluten-free sourdough starter. Carefully discard all but 25 grams, leaving exactly 25 grams of active starter in your feeding jar.
 - Add 25 grams of brown rice flour directly into the jar with the 25 grams of remaining starter.0m
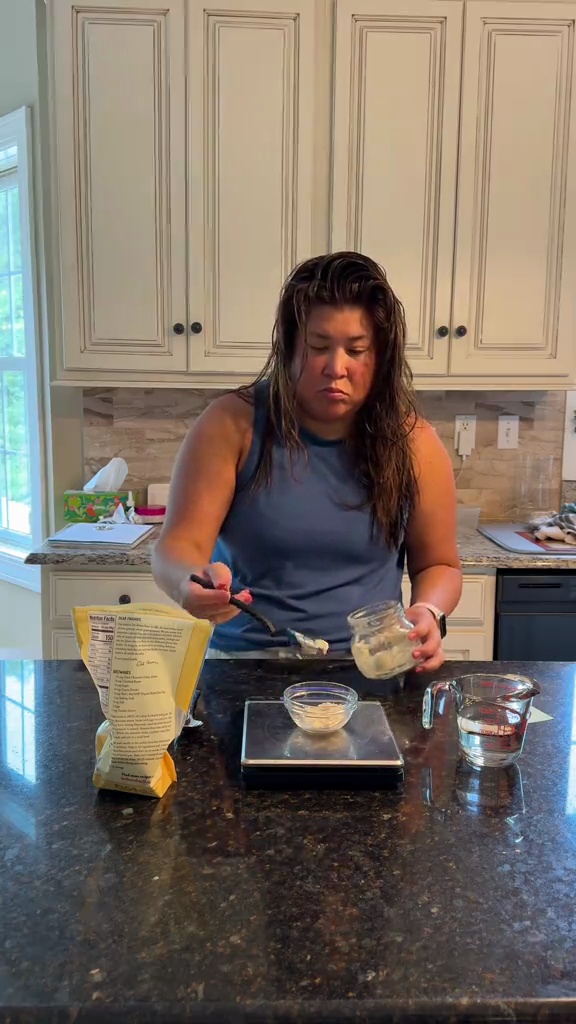 Preview0mPreviewAdd 25 grams of brown rice flour directly into the jar with the 25 grams of remaining starter.
 - Pour 25 grams of filtered water into the jar, combining it with the starter and flour.0m
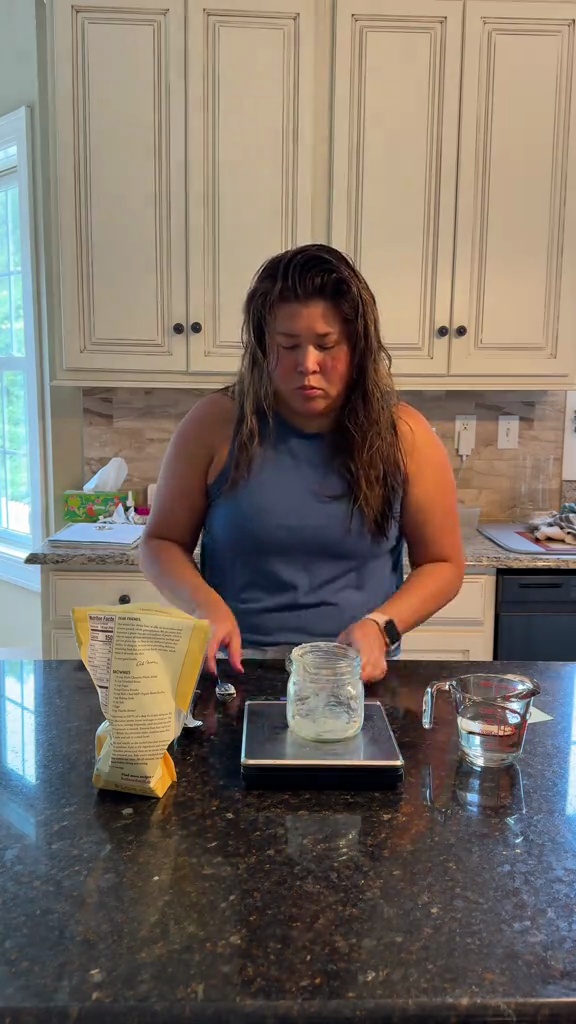 Preview0mPreviewPour 25 grams of filtered water into the jar, combining it with the starter and flour.
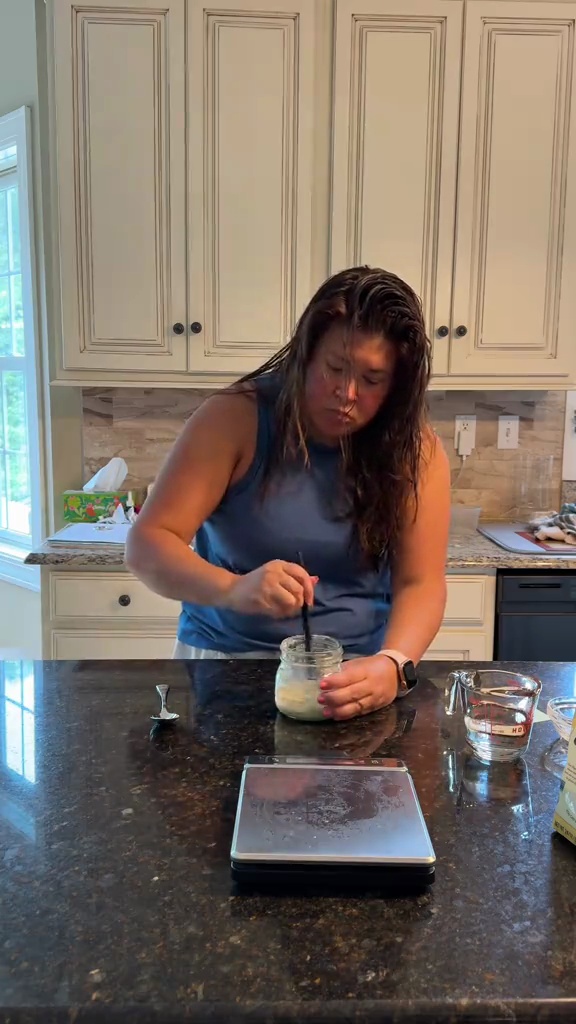
 - Stir the mixture thoroughly with a spoon or spatula until all ingredients are fully incorporated and there are no dry pockets or lumps. Scrape down the sides of the jar to ensure an even consistency.1m
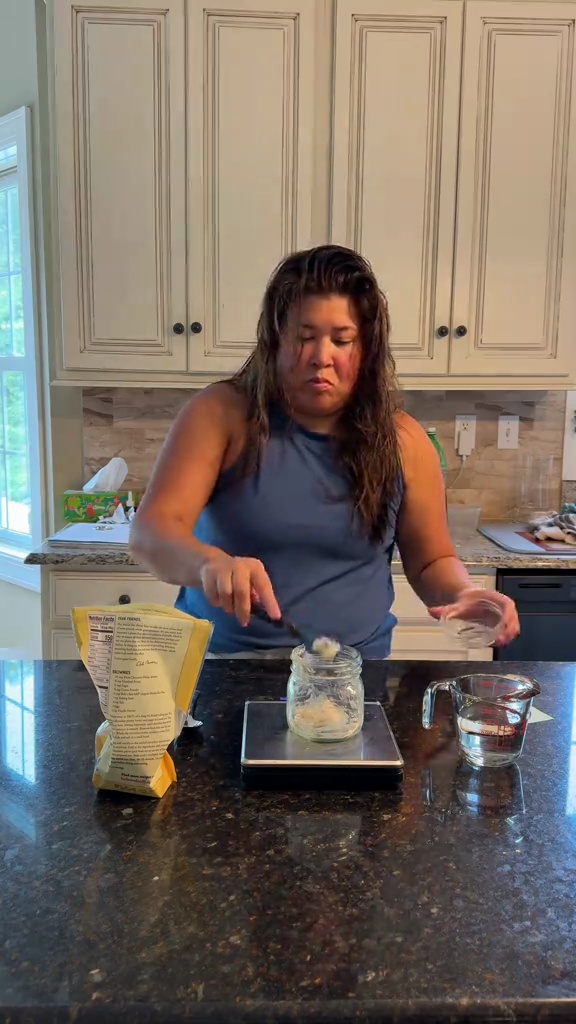 Preview1mPreviewStir the mixture thoroughly with a spoon or spatula until all ingredients are fully incorporated and there are no dry pockets or lumps. Scrape down the sides of the jar to ensure an even consistency.
 - Loosely cover the jar with its lid, plastic wrap, or a breathable cloth. Let the starter rest at room temperature (ideally 20-24°C / 68-75°F) until its next feeding on Day 5.1m
 Preview1mPreviewLoosely cover the jar with its lid, plastic wrap, or a breathable cloth. Let the starter rest at room temperature (ideally 20-24°C / 68-75°F) until its next feeding on Day 5.
advertisement
advertisement
💡 Tip: Click on any step to mark it as completed and track your cooking progress!