Back to American, Halloween Recipes

Author:
candylandcrafts
TikTok
3K
51
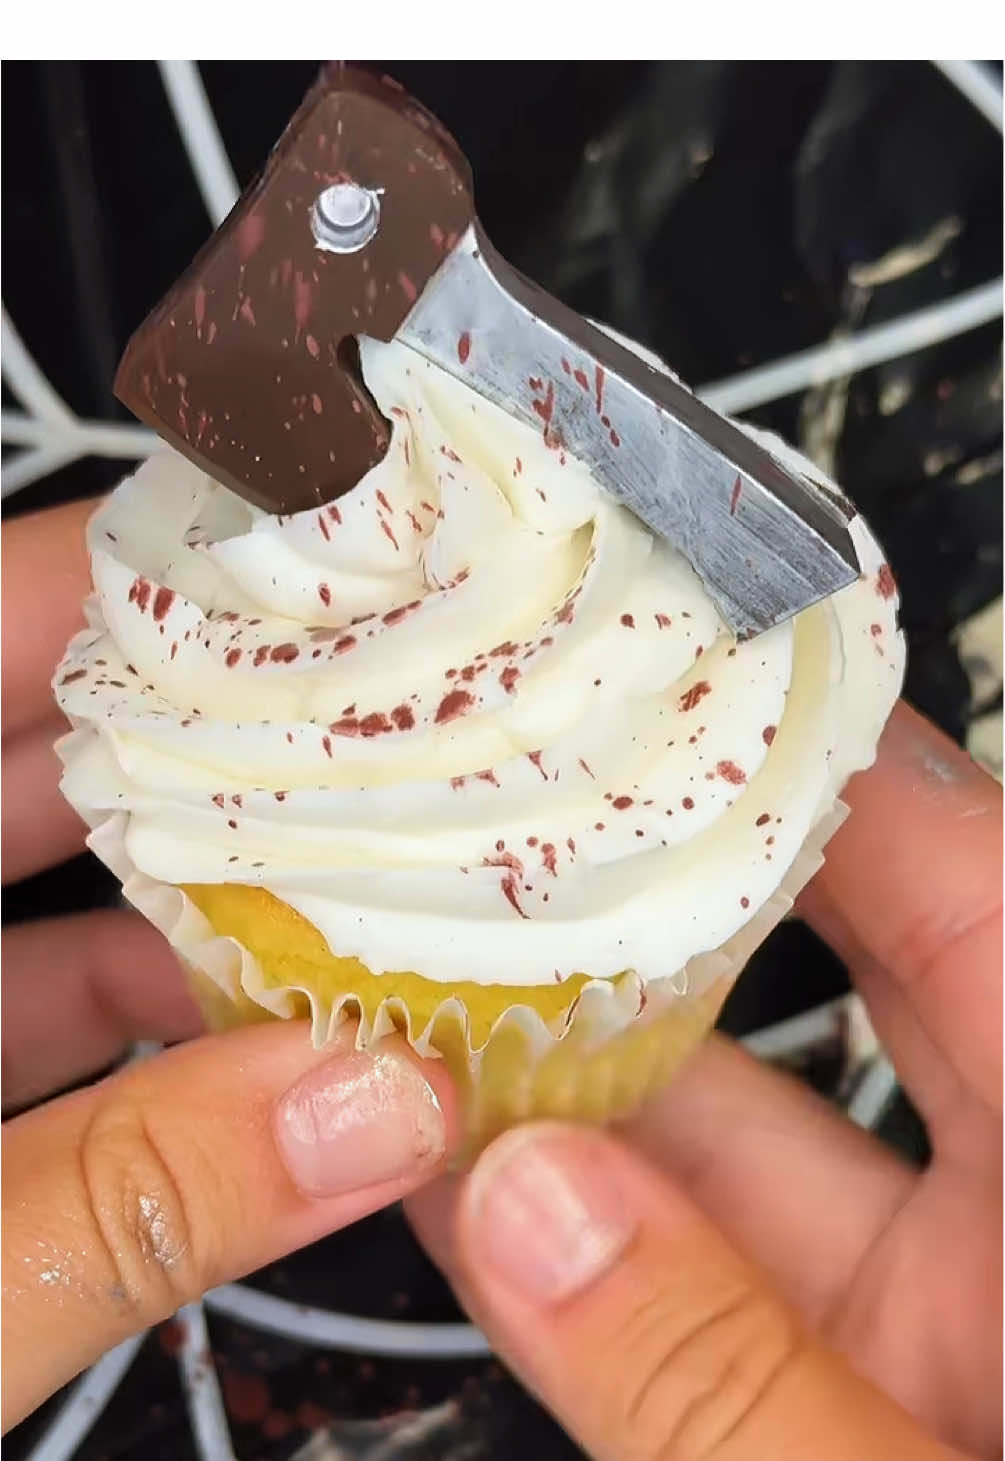
Easy Killer Halloween Cupcakes with Chocolate Axe Toppers
Get into the spooky spirit with these killer Halloween cupcakes! Learn how to make creepy-cute chocolate axe toppers using a mold and decorate your cupcakes for a perfectly delicious and festive treat.
#Halloween
#Cupcakes
#Chocolate
#Spooky
#Baking
#Decorating
#Dessert
#Easy Recipe
Killer Halloween Cupcake with Chocolate Axe
Recipe Information
20m
Prep Time
15m
Cook Time
35m
Total Time
12
Servings
Easy
American, Halloween
English
Nutrition (per serving)
250
Calories
3g
Protein
35g
Carbs
12g
Fat
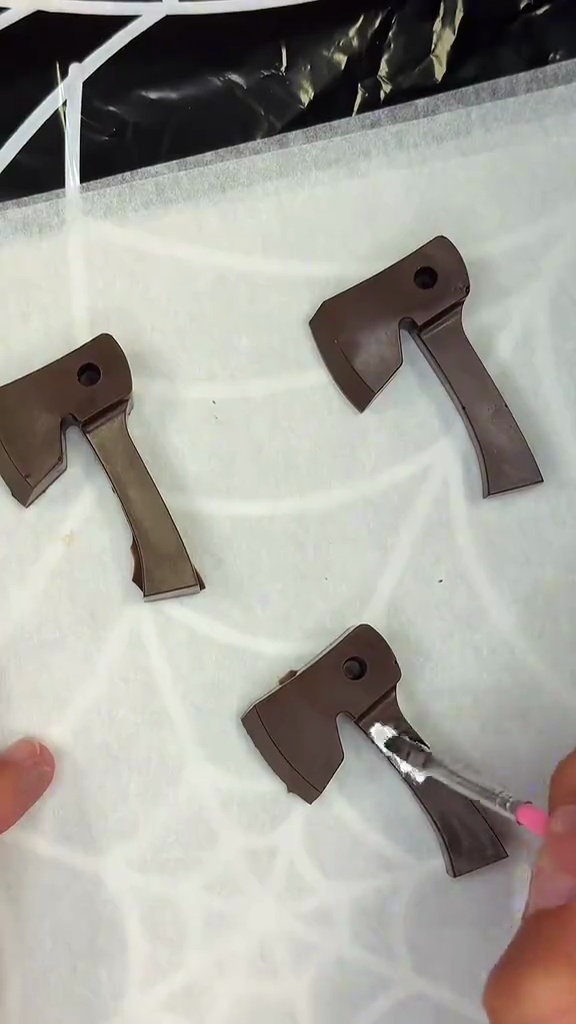
Close-up of Chocolate Axe Topper
Ingredients
advertisement
Servings: 12
💡 Tip: Check off ingredients as you add them to keep track of your progress!
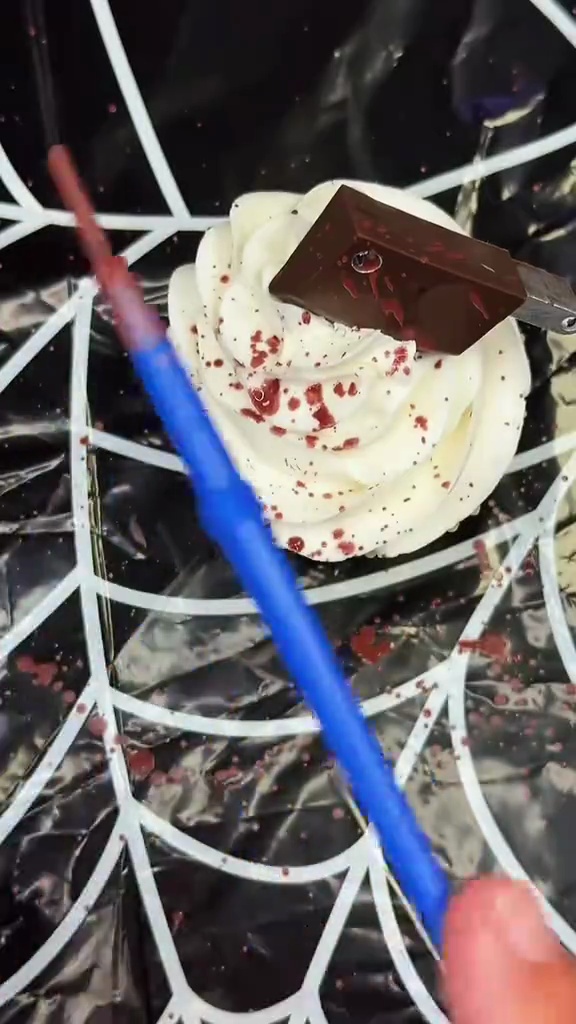
Cupcake with Spooky Blood Splatter
Instructions
0/6 completed
0%
- Melt the chocolate using a microwave or a double boiler until smooth and fully melted.3m
 Preview3mPreviewMelt the chocolate using a microwave or a double boiler until smooth and fully melted.
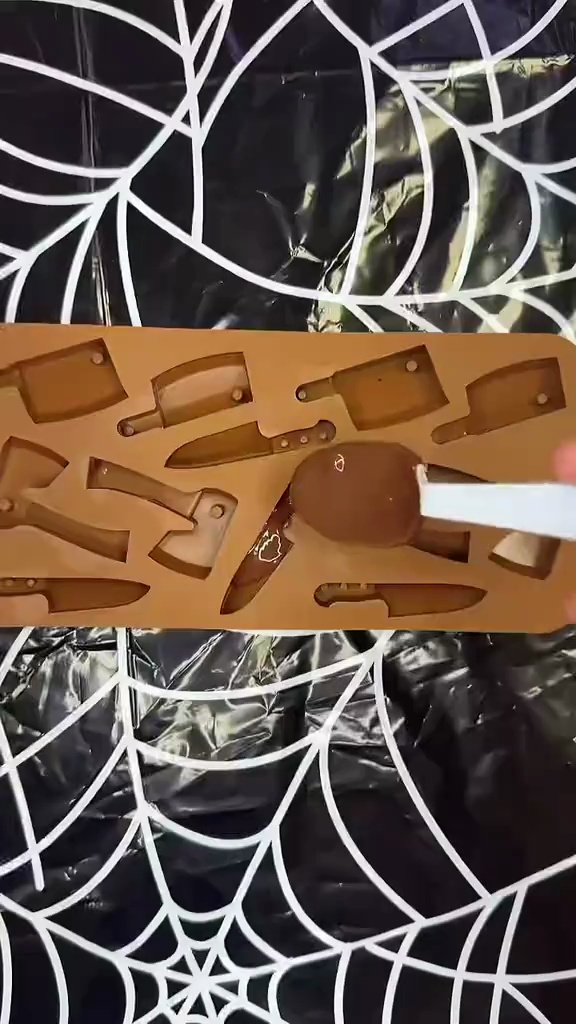
 - Carefully pour the melted chocolate into the axe mold cavities. Tap the mold gently on the counter to release any air bubbles. Place in the refrigerator to set for about 15 minutes.15m
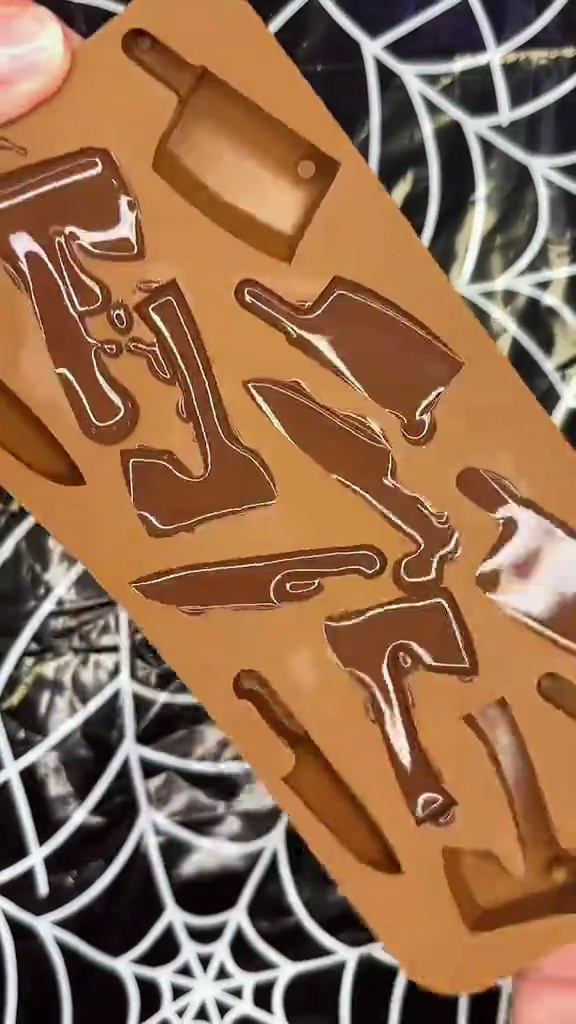 Preview15mPreviewCarefully pour the melted chocolate into the axe mold cavities. Tap the mold gently on the counter to release any air bubbles. Place in the refrigerator to set for about 15 minutes.
 - Prepare your cupcakes by applying an even layer of frosting to the top of each one.5m
 Preview5mPreviewPrepare your cupcakes by applying an even layer of frosting to the top of each one.
 - Using a small brush or toothpick, apply red food coloring gel to the frosting, creating a 'blood splatter' effect for a spooky touch.5m
 Preview5mPreviewUsing a small brush or toothpick, apply red food coloring gel to the frosting, creating a 'blood splatter' effect for a spooky touch.
 - Once the chocolate is fully set and firm, carefully remove the axe shapes from the mold by gently flexing it.1mPreview1mPreviewOnce the chocolate is fully set and firm, carefully remove the axe shapes from the mold by gently flexing it.
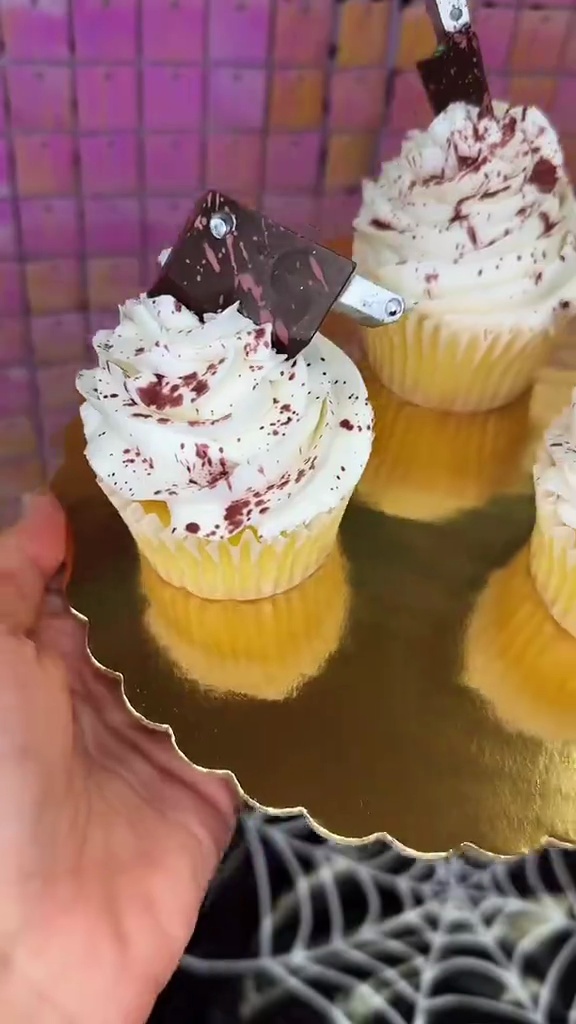
- Insert one chocolate axe into the top of each decorated cupcake, positioning it at an angle for a more dramatic and 'killer' effect.1mPreview1mPreviewInsert one chocolate axe into the top of each decorated cupcake, positioning it at an angle for a more dramatic and 'killer' effect.
advertisement
advertisement
💡 Tip: Click on any step to mark it as completed and track your cooking progress!