Back to European Recipes


Author:
pardaevcook
TikTok
11M
544K
Mini Pizza, School Cafeteria Style
Relive your school days with this classic mini pizza recipe, just like the ones from the school cafeteria! This recipe yields 6-7 delicious mini pizzas, featuring a soft dough, a simple tomato sauce, and savory toppings.
#pizza
#mini pizza
#school cafeteria
#homemade
#baking
#comfort food
#snack
#lunch

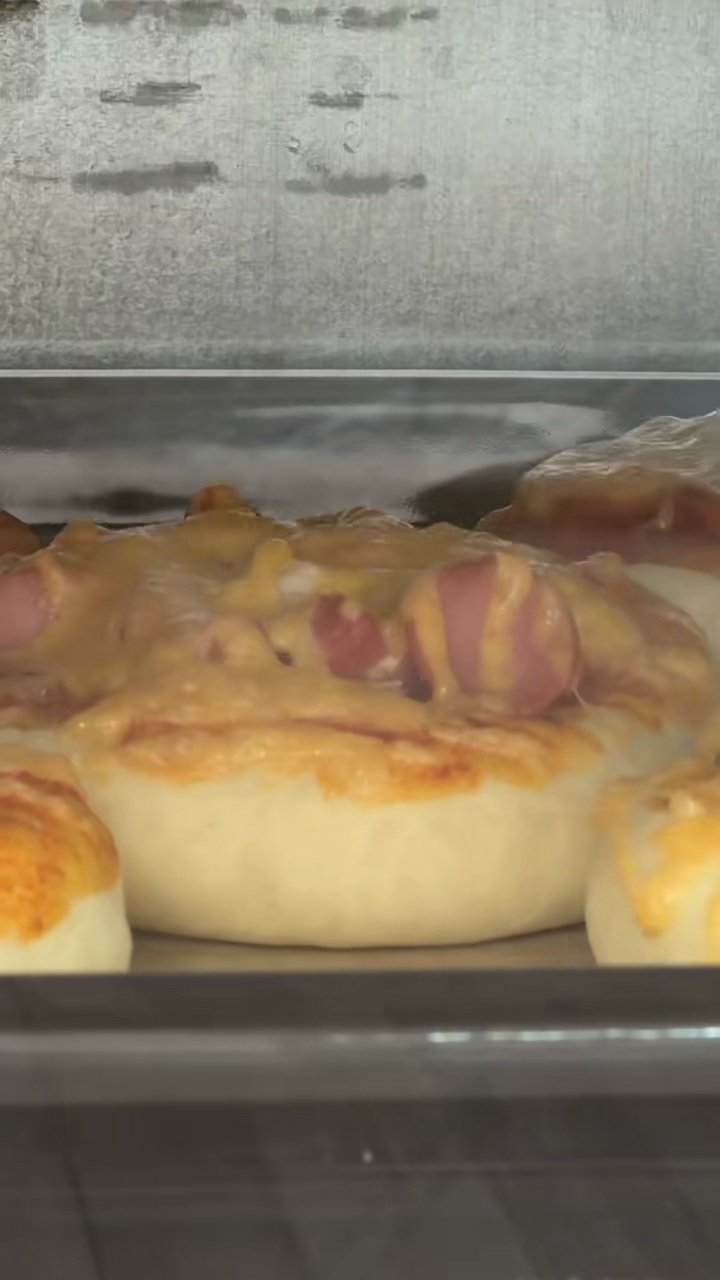
Freshly baked mini pizzas on a tray
Recipe Information
50m
Prep Time
15m
Cook Time
2h 5m
Total Time
6
Servings
Medium
European
Russian
Nutrition (per serving)
350
Calories
18g
Protein
35g
Carbs
20g
Fat
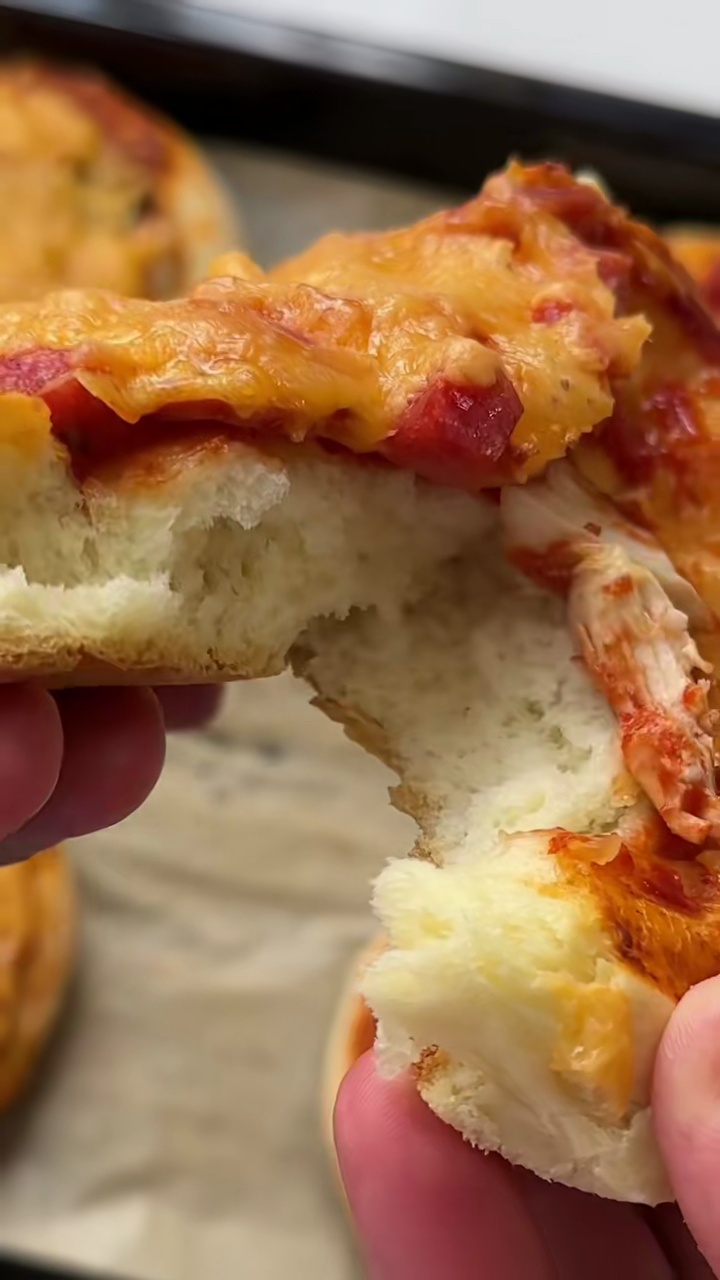
Close-up of a golden-crusted mini pizza
Ingredients
Servings: 6
💡 Tip: Check off ingredients as you add them to keep track of your progress!

Stack of warm mini pizzas ready to serve
Instructions
0/12 completed
0%
- In a large bowl, combine warm milk, yeast, and 1 tablespoon of sugar. Stir gently and let sit for 5 minutes until the yeast is activated and foamy.5m
 Preview5mPreviewIn a large bowl, combine warm milk, yeast, and 1 tablespoon of sugar. Stir gently and let sit for 5 minutes until the yeast is activated and foamy.
 - Add the egg, 1 teaspoon of salt, and melted butter to the yeast mixture. Mix well.3m
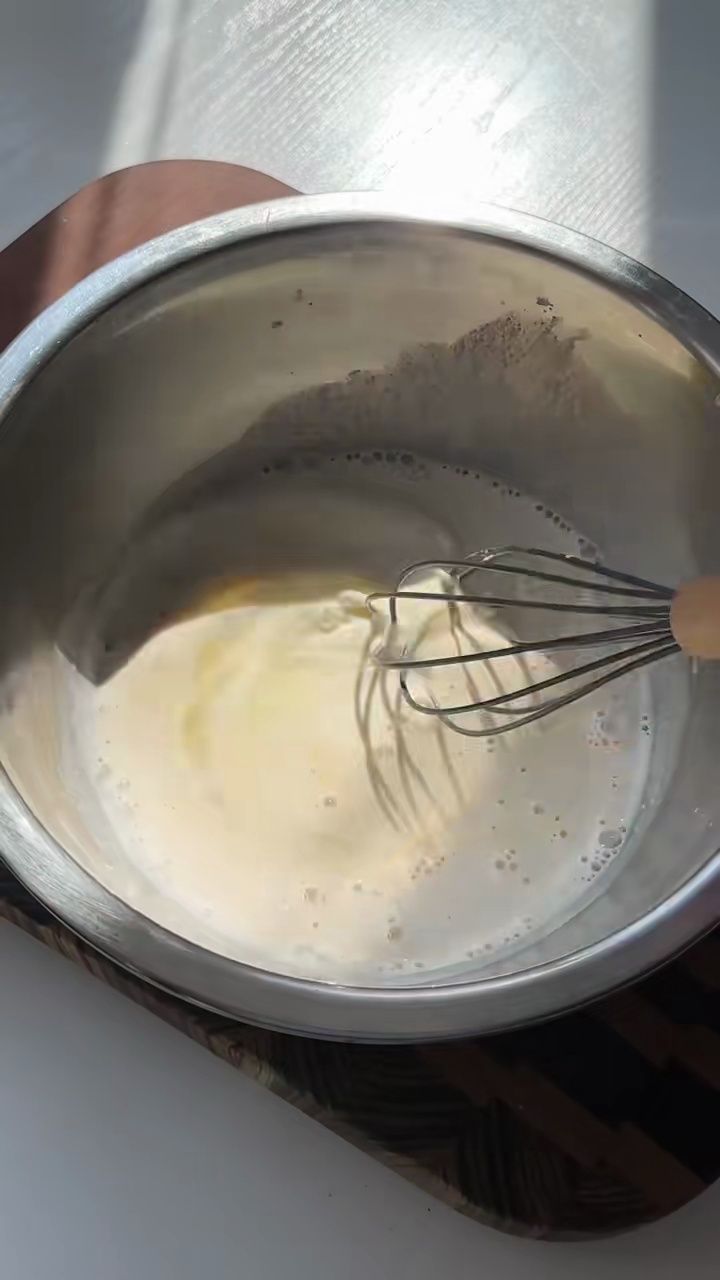 Preview3mPreviewAdd the egg, 1 teaspoon of salt, and melted butter to the yeast mixture. Mix well.
 - Gradually add the flour, about 50g at a time, mixing until a soft, slightly sticky dough forms. You may not need all 600g.7m
 Preview7mPreviewGradually add the flour, about 50g at a time, mixing until a soft, slightly sticky dough forms. You may not need all 600g.
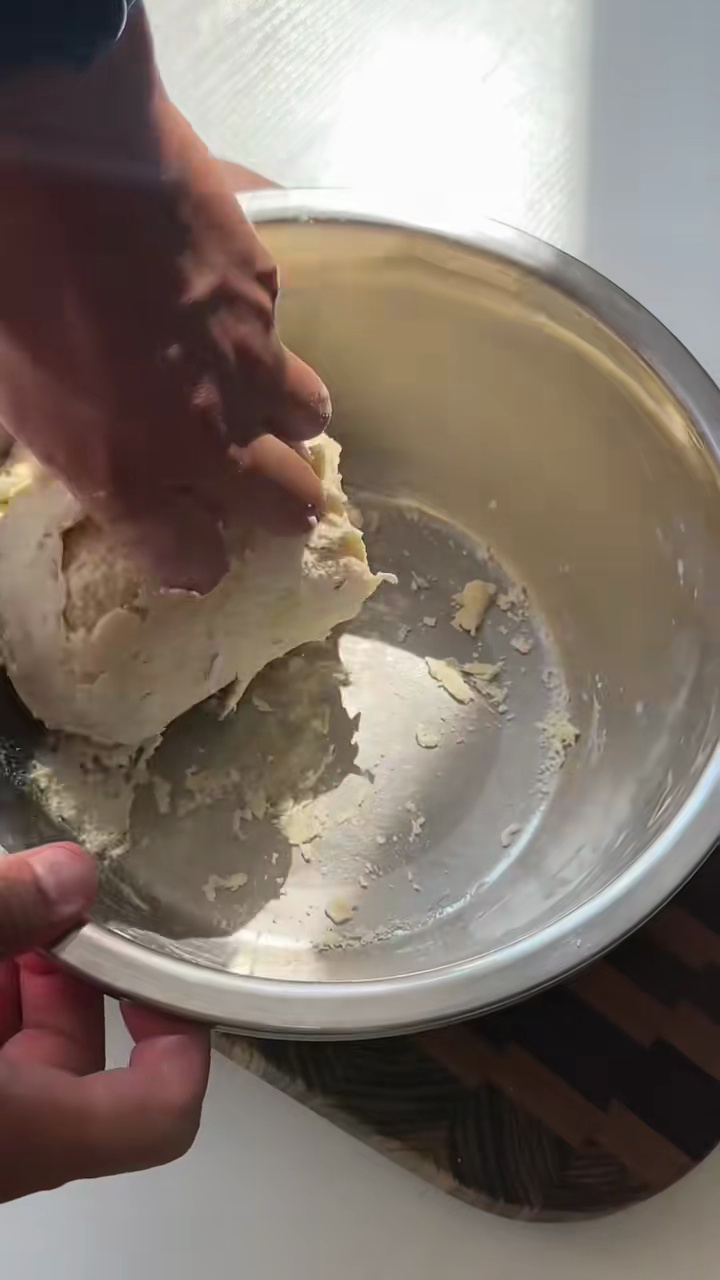
 - Transfer the dough to a lightly floured surface and knead for about 8-10 minutes until smooth and elastic.10m
 Preview10mPreviewTransfer the dough to a lightly floured surface and knead for about 8-10 minutes until smooth and elastic.
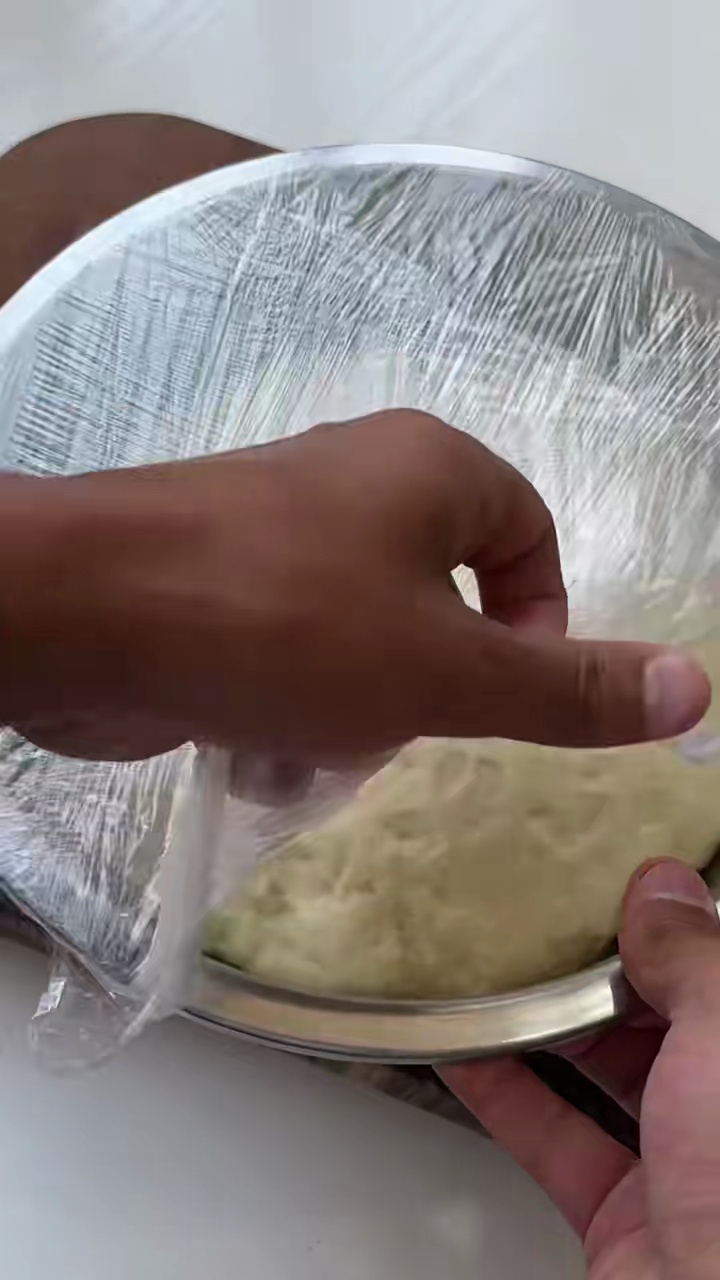
 - Place the dough in a lightly oiled bowl, cover with a clean cloth or plastic wrap, and let it rise in a warm place for 60-90 minutes, or until doubled in size.1h 15m
 Preview1h 15mPreviewPlace the dough in a lightly oiled bowl, cover with a clean cloth or plastic wrap, and let it rise in a warm place for 60-90 minutes, or until doubled in size.
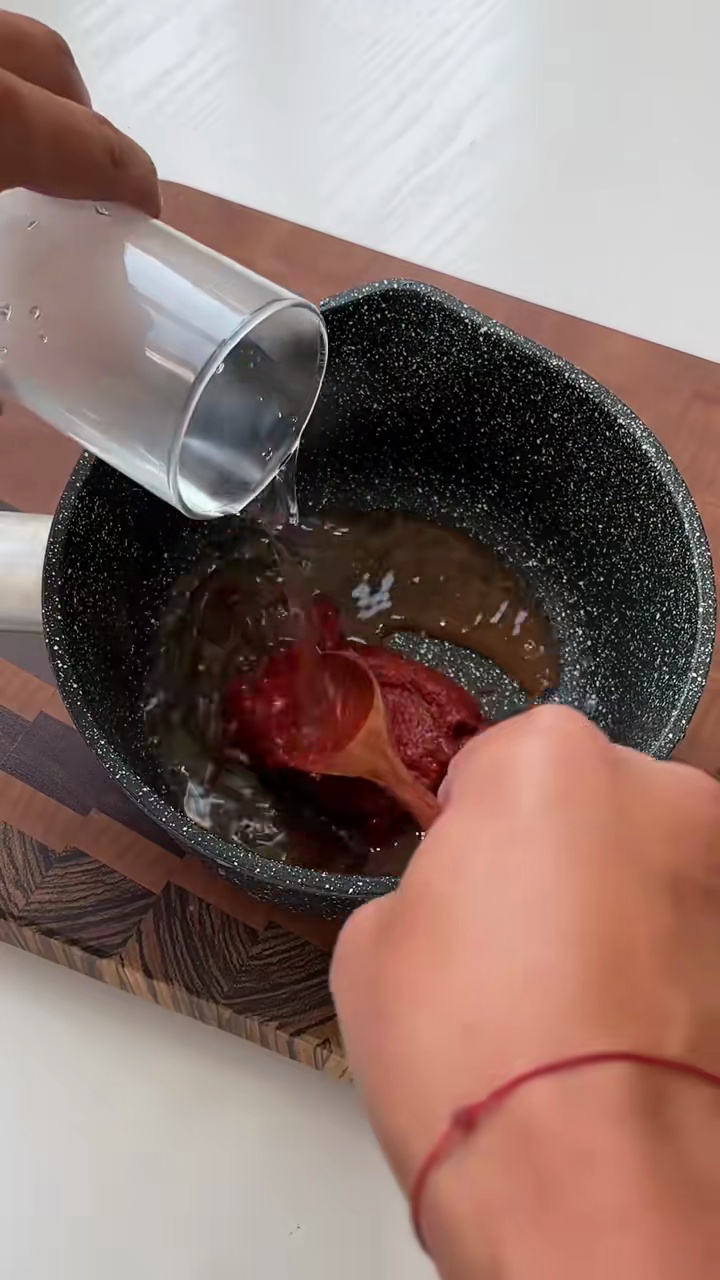
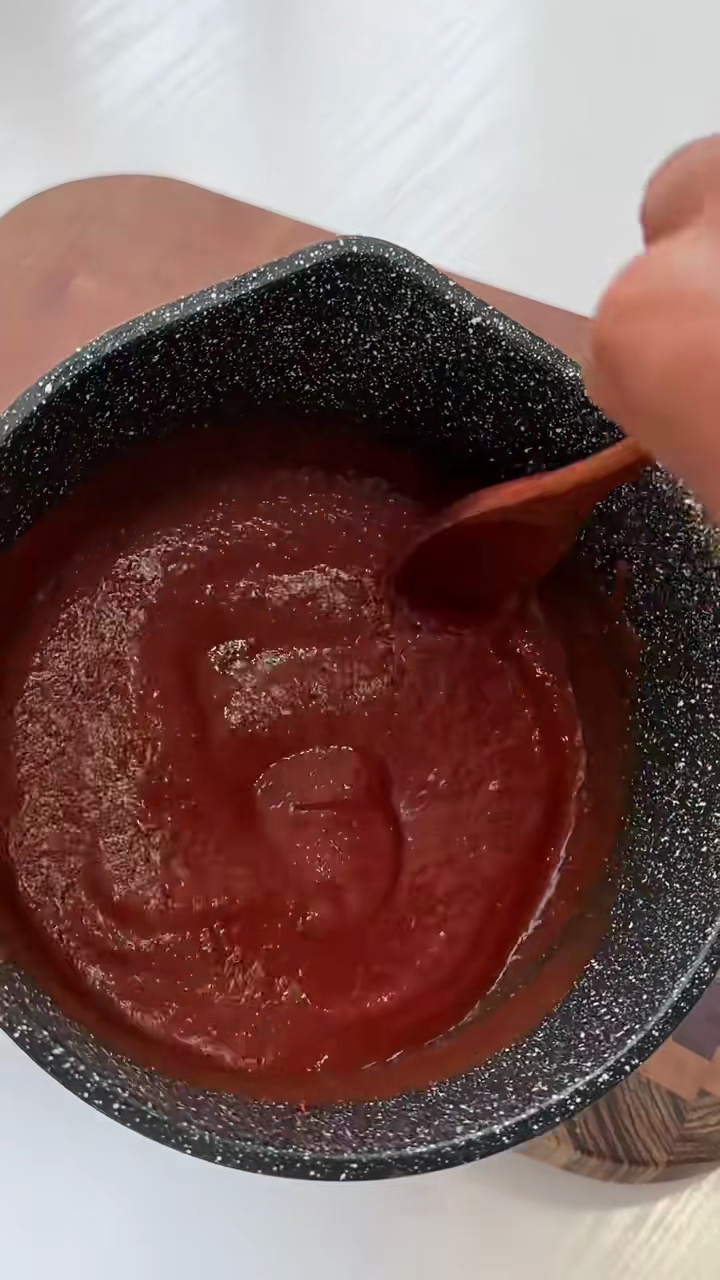
 - While the dough is rising, prepare the sauce. In a small bowl, whisk together tomato paste, water, salt, sugar, and Provencal herbs. Set aside.2m
 Preview2mPreviewWhile the dough is rising, prepare the sauce. In a small bowl, whisk together tomato paste, water, salt, sugar, and Provencal herbs. Set aside.
 - Once the dough has risen, punch it down gently to release the air. Divide the dough into 6-7 equal portions.5m
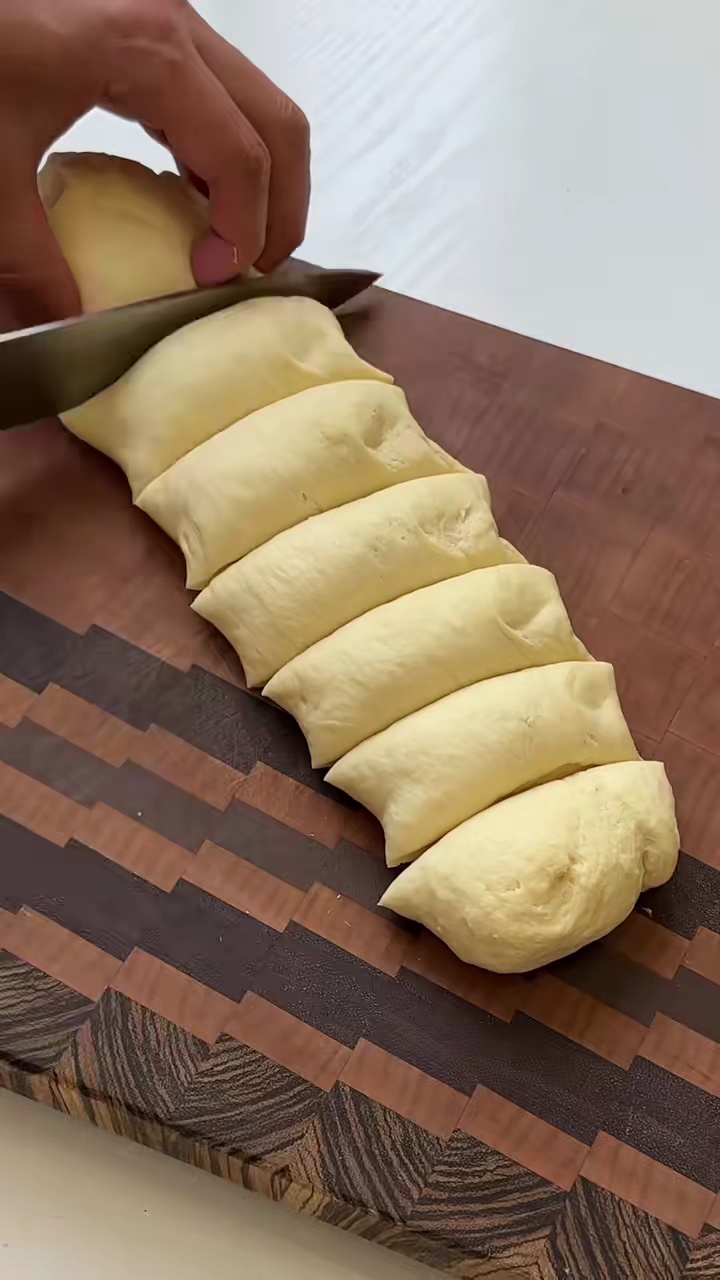 Preview5mPreviewOnce the dough has risen, punch it down gently to release the air. Divide the dough into 6-7 equal portions.
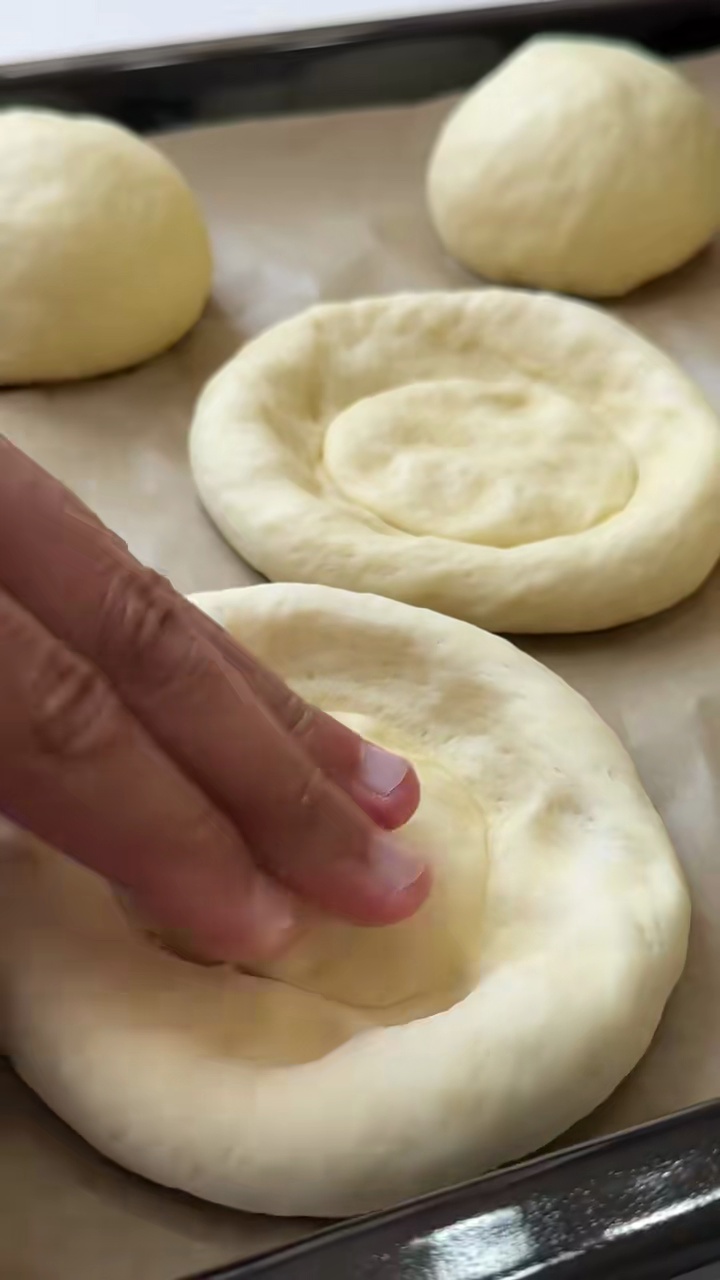
 - Preheat oven to 200°C (390°F). Lightly flour your work surface. Roll each dough portion into a small circle, about 1 cm thick, creating the mini pizza bases.5m
 Preview5mPreviewPreheat oven to 200°C (390°F). Lightly flour your work surface. Roll each dough portion into a small circle, about 1 cm thick, creating the mini pizza bases.
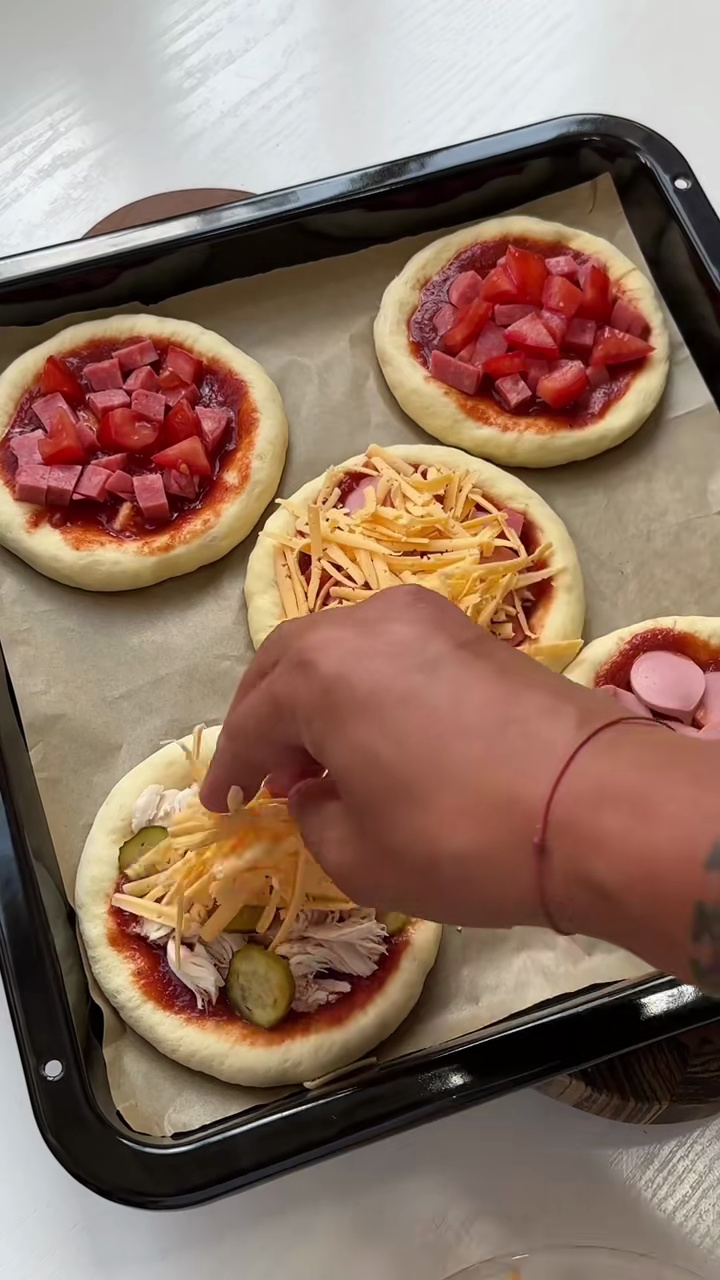
 - Place the dough circles on a baking sheet lined with parchment paper. Spread a thin layer of the prepared tomato sauce over each base, leaving a small border for the crust.3m
 Preview3mPreviewPlace the dough circles on a baking sheet lined with parchment paper. Spread a thin layer of the prepared tomato sauce over each base, leaving a small border for the crust.
 - Evenly distribute the sliced sausage and grated cheese over each mini pizza.3m
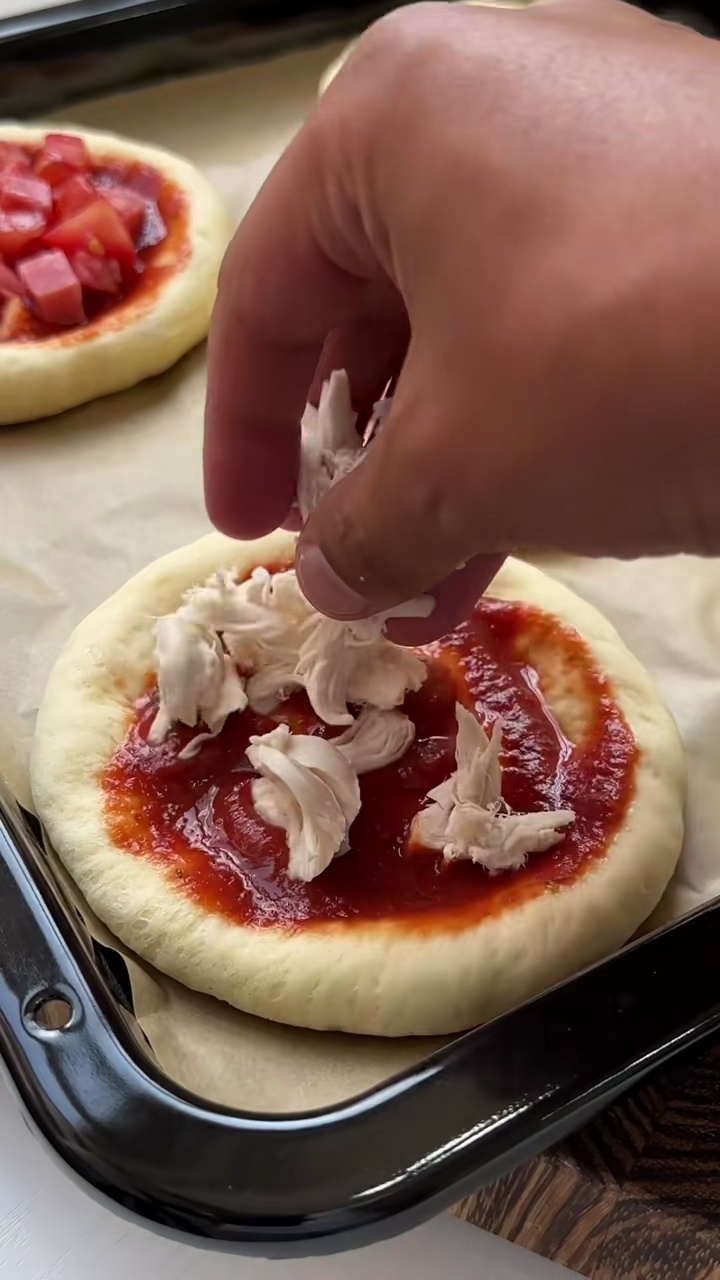 Preview3mPreviewEvenly distribute the sliced sausage and grated cheese over each mini pizza.
 - Bake in the preheated oven for 12-15 minutes, or until the crust is golden brown and the cheese is bubbly and melted.15m
 Preview15mPreviewBake in the preheated oven for 12-15 minutes, or until the crust is golden brown and the cheese is bubbly and melted.
 - Remove from the oven and let cool slightly before serving. Enjoy your homemade school cafeteria mini pizzas!2mPreview2mPreviewRemove from the oven and let cool slightly before serving. Enjoy your homemade school cafeteria mini pizzas!
💡 Tip: Click on any step to mark it as completed and track your cooking progress!