Back to European Bakery Recipes

Author:
sophymed
TikTok
6M
675K
Snowflake Shaped Cherry Bun
A delightful sweet bun, intricately shaped like a snowflake and filled with luscious cherry jam. This beautiful pastry is perfect for a festive treat or a cozy breakfast, offering a soft texture and a burst of fruity flavor.
#sweet bun
#cherry
#snowflake
#pastry
#dessert
#baking
#yeast bread
#festive
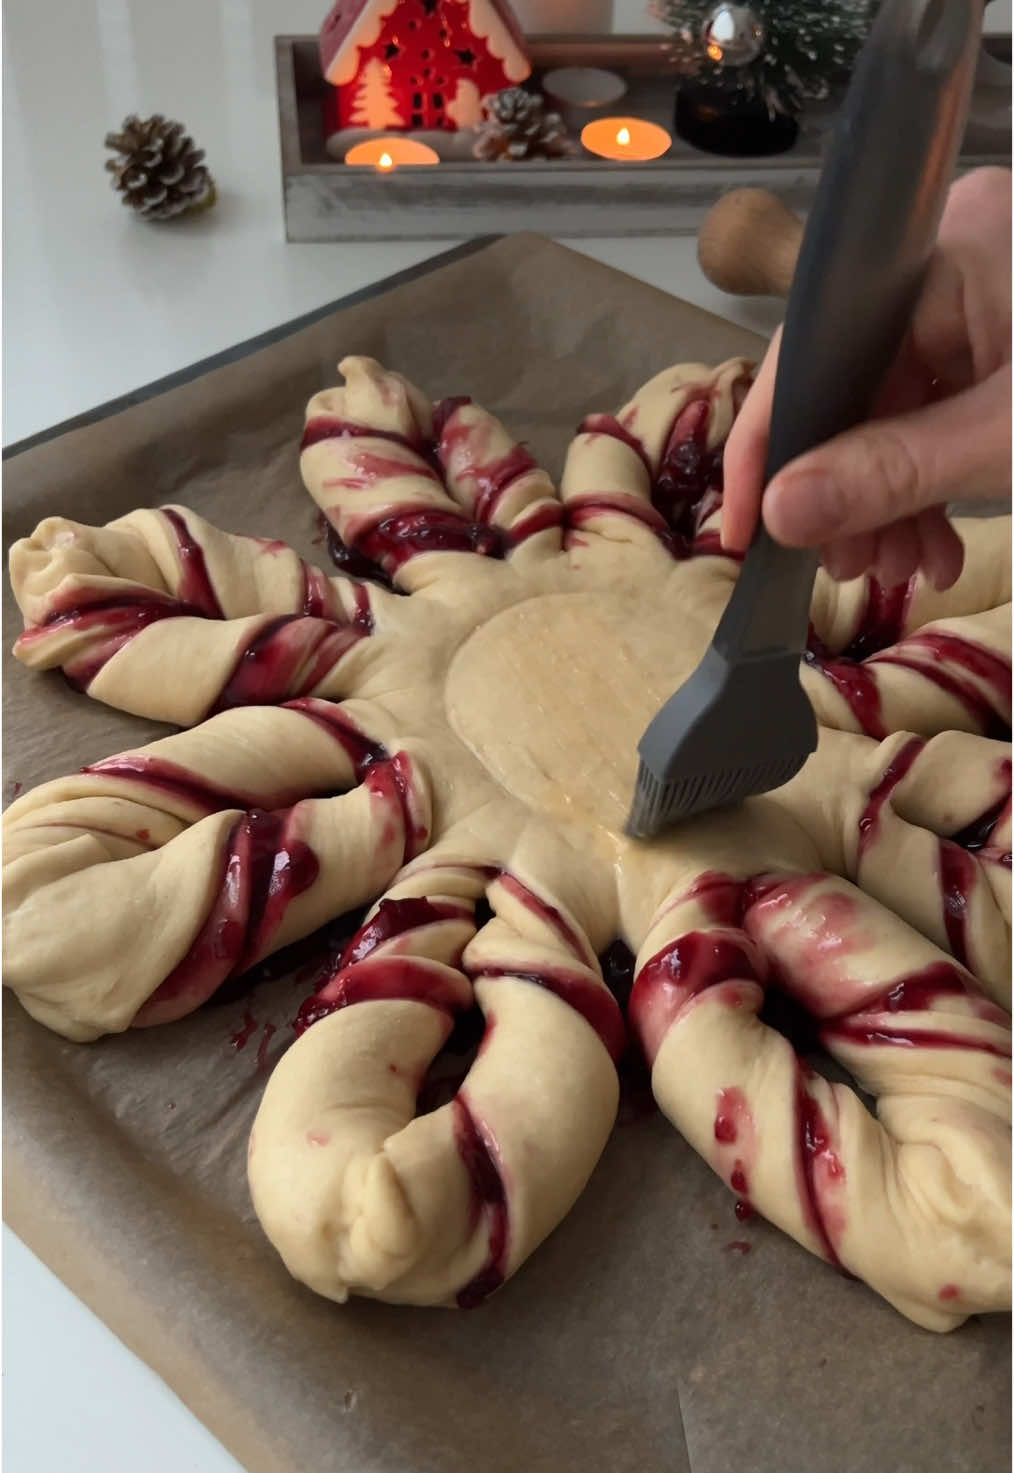
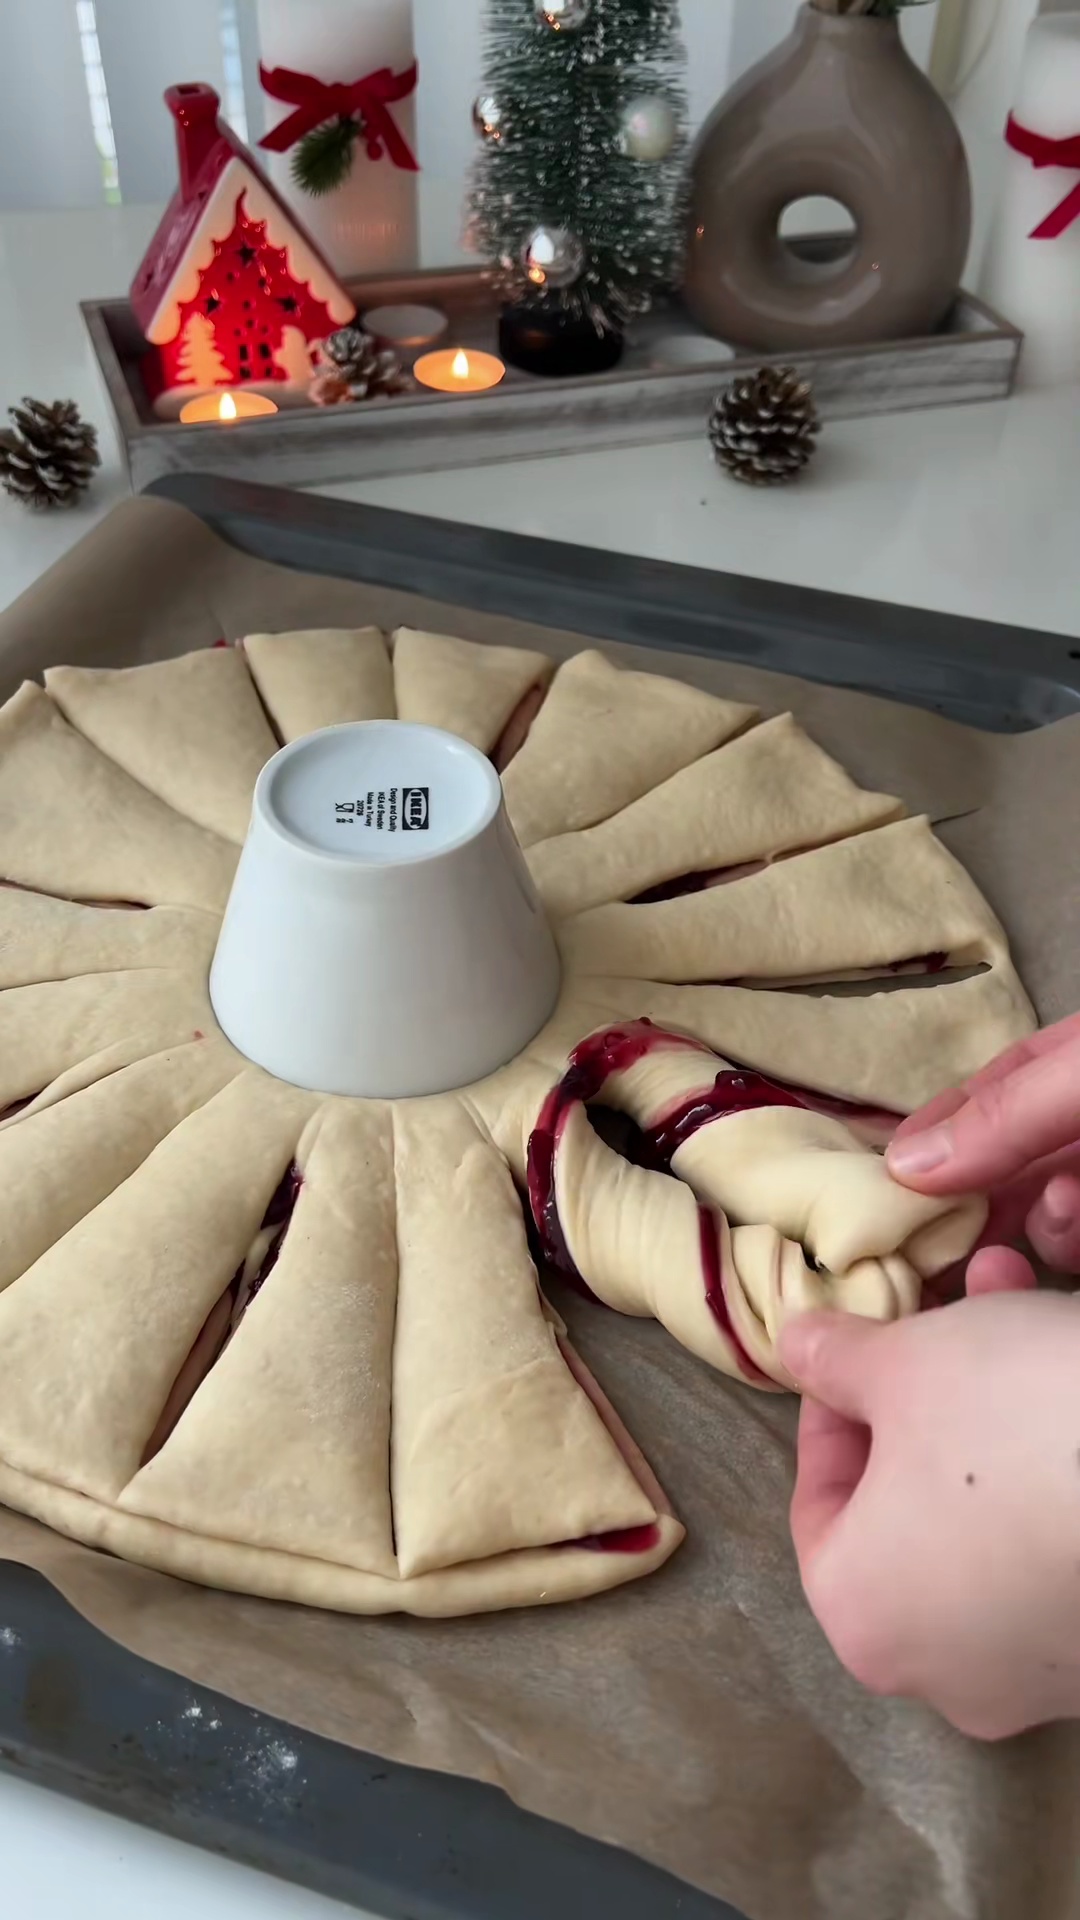
Twisting the dough to form snowflake arms
Recipe Information
40m
Prep Time
30m
Cook Time
2h 40m
Total Time
8
Servings
Medium
European Bakery
English
Nutrition (per serving)
420
Calories
10g
Protein
68g
Carbs
15g
Fat

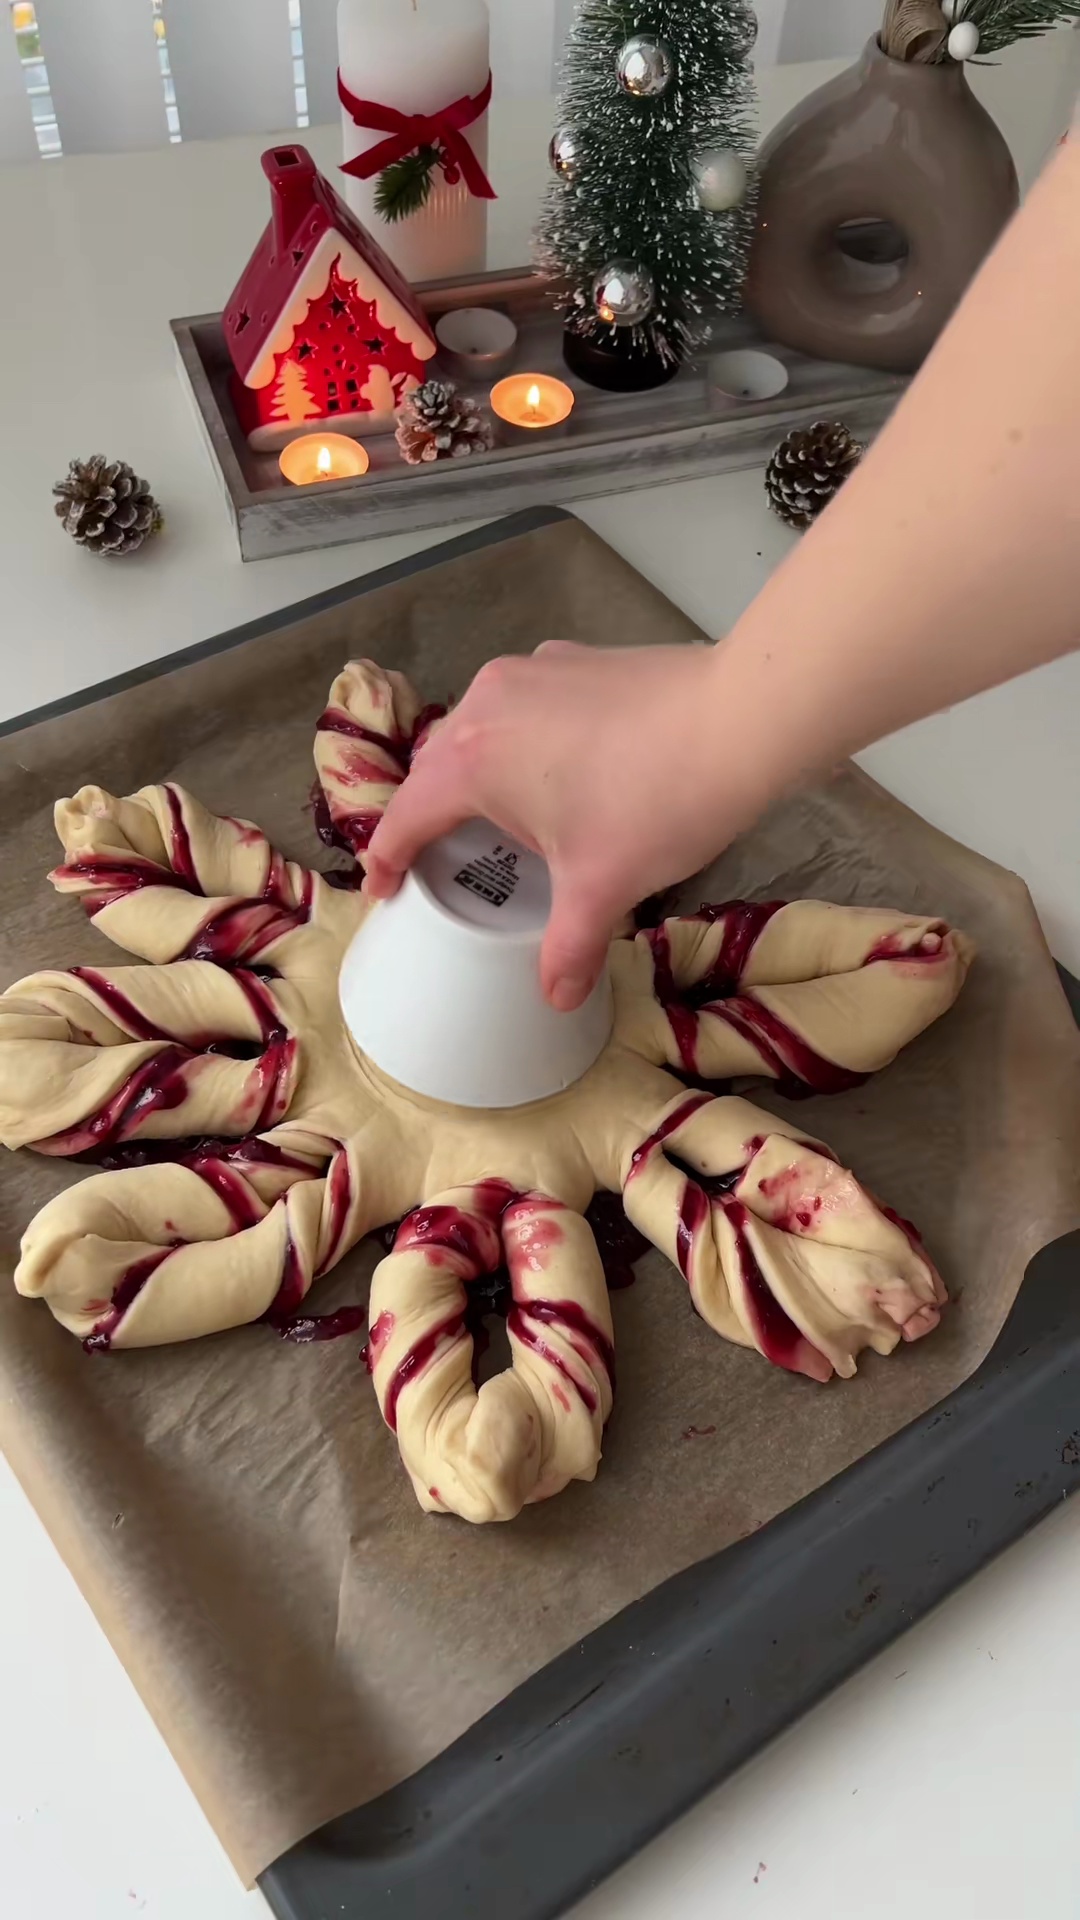
Beautifully shaped bun, ready for baking
Ingredients
Servings: 8
💡 Tip: Check off ingredients as you add them to keep track of your progress!
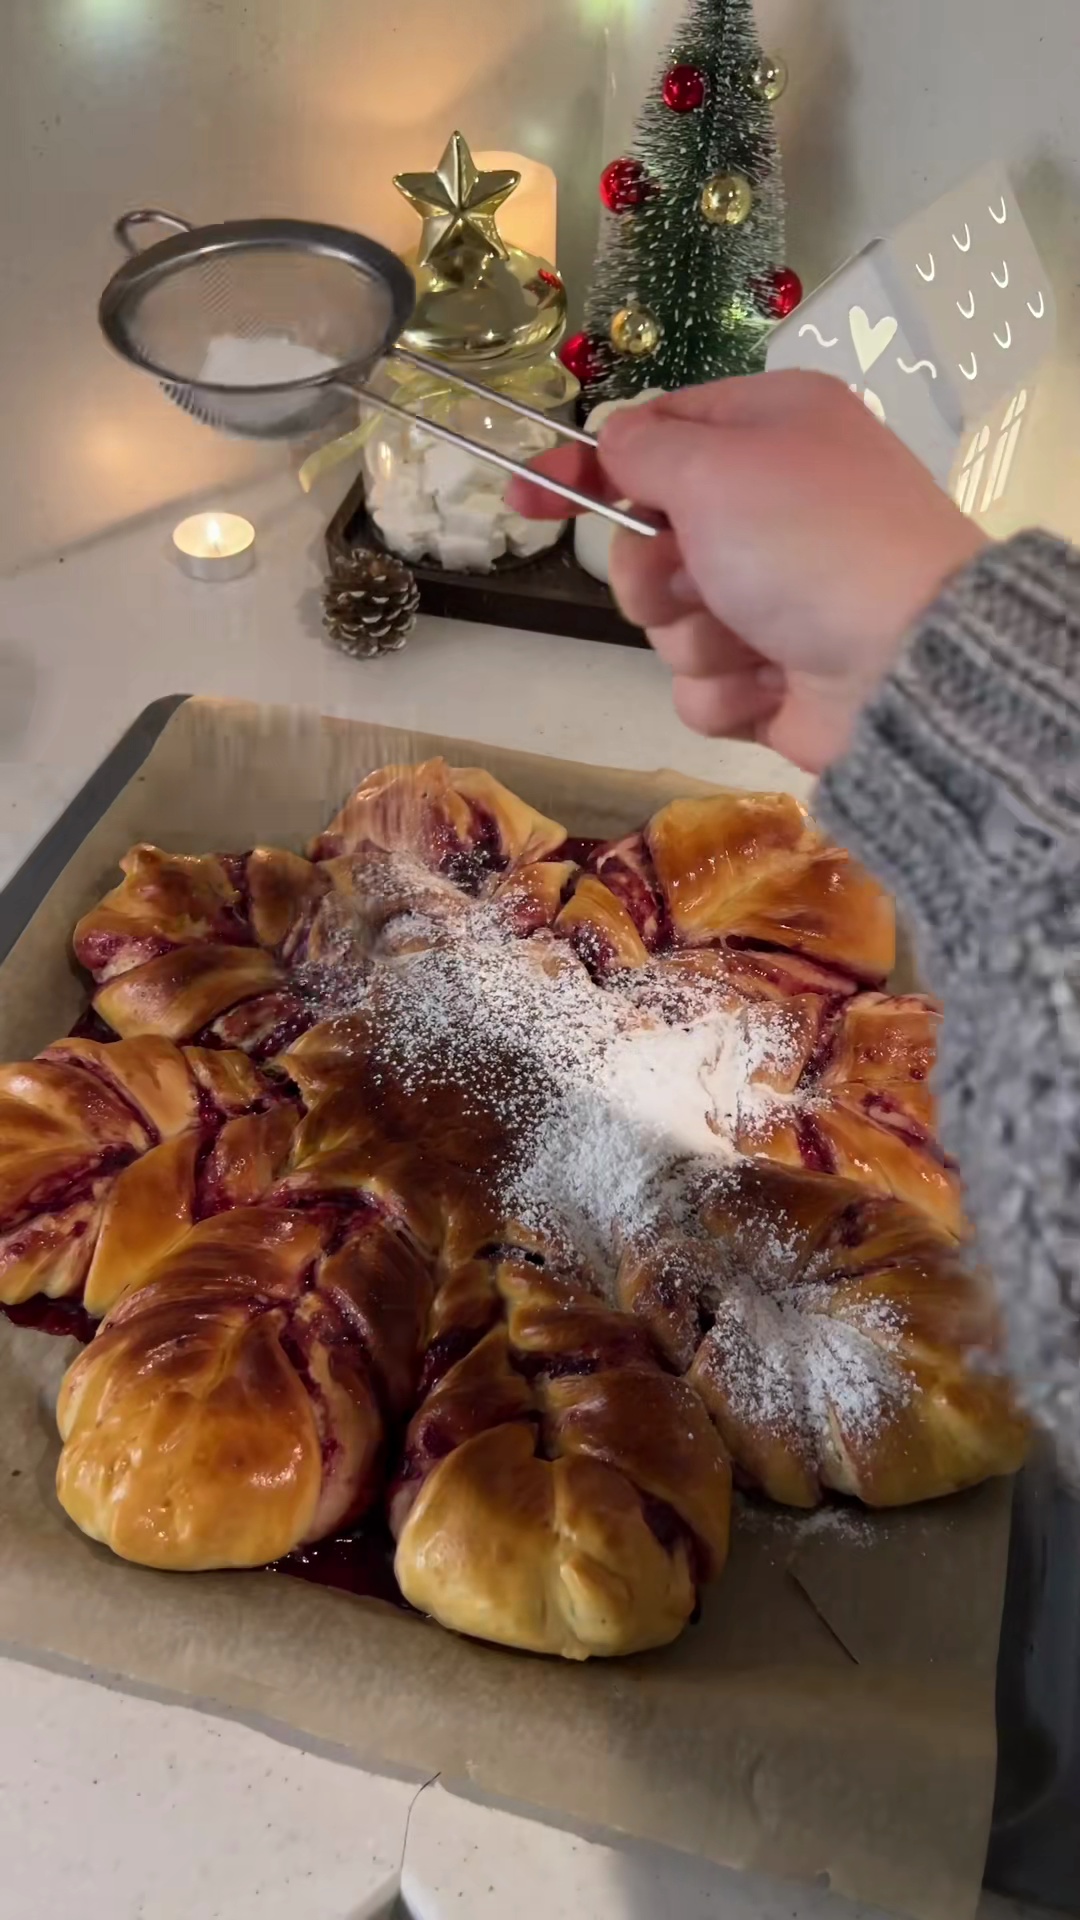
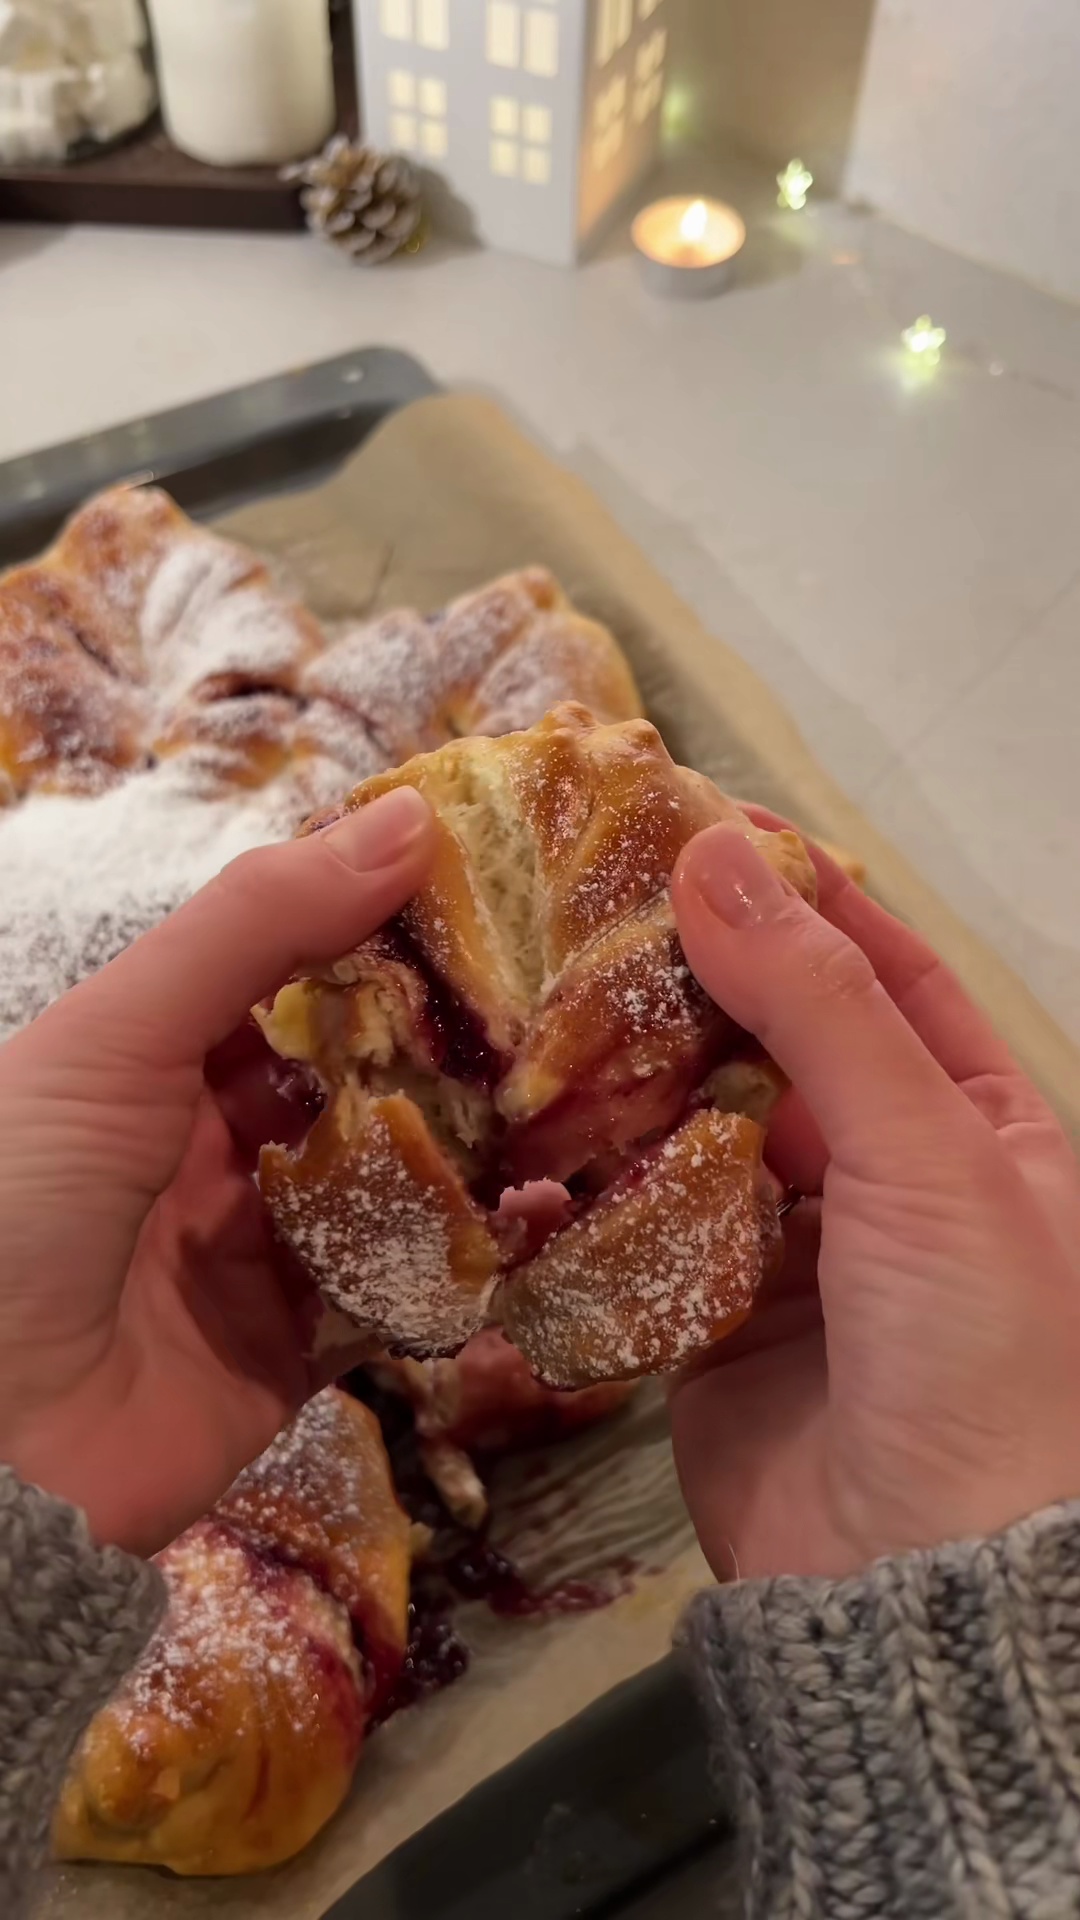
Golden baked cherry bun fresh from the oven
Instructions
0/12 completed
0%
- In a large bowl, combine the warm milk, sugar, and dry yeast. Stir gently until the sugar dissolves, then let the mixture rest for 10 minutes until it becomes foamy, indicating the yeast is active.10m
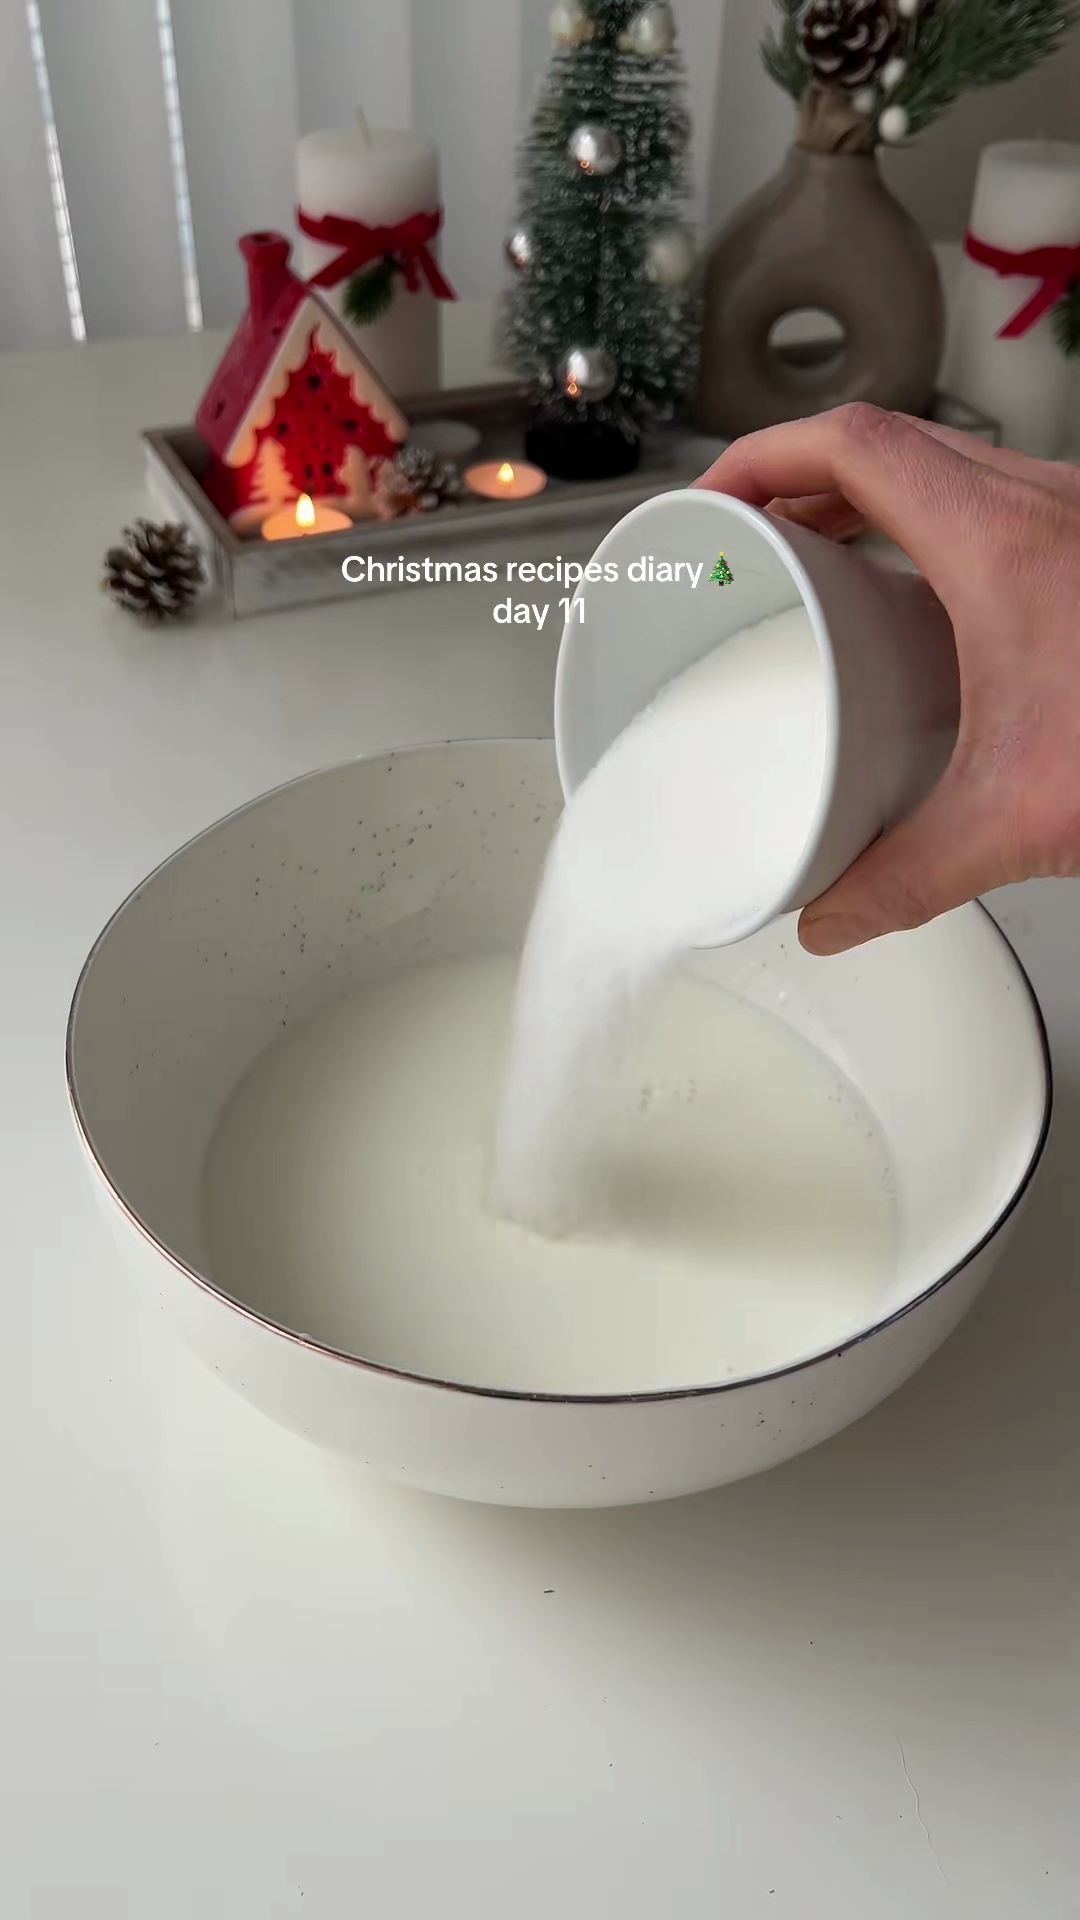 Preview10mPreviewIn a large bowl, combine the warm milk, sugar, and dry yeast. Stir gently until the sugar dissolves, then let the mixture rest for 10 minutes until it becomes foamy, indicating the yeast is active.
 - Add the room temperature egg and the melted (but not hot) butter to the yeast mixture. Mix everything well with a whisk until all the wet ingredients are thoroughly combined.2m
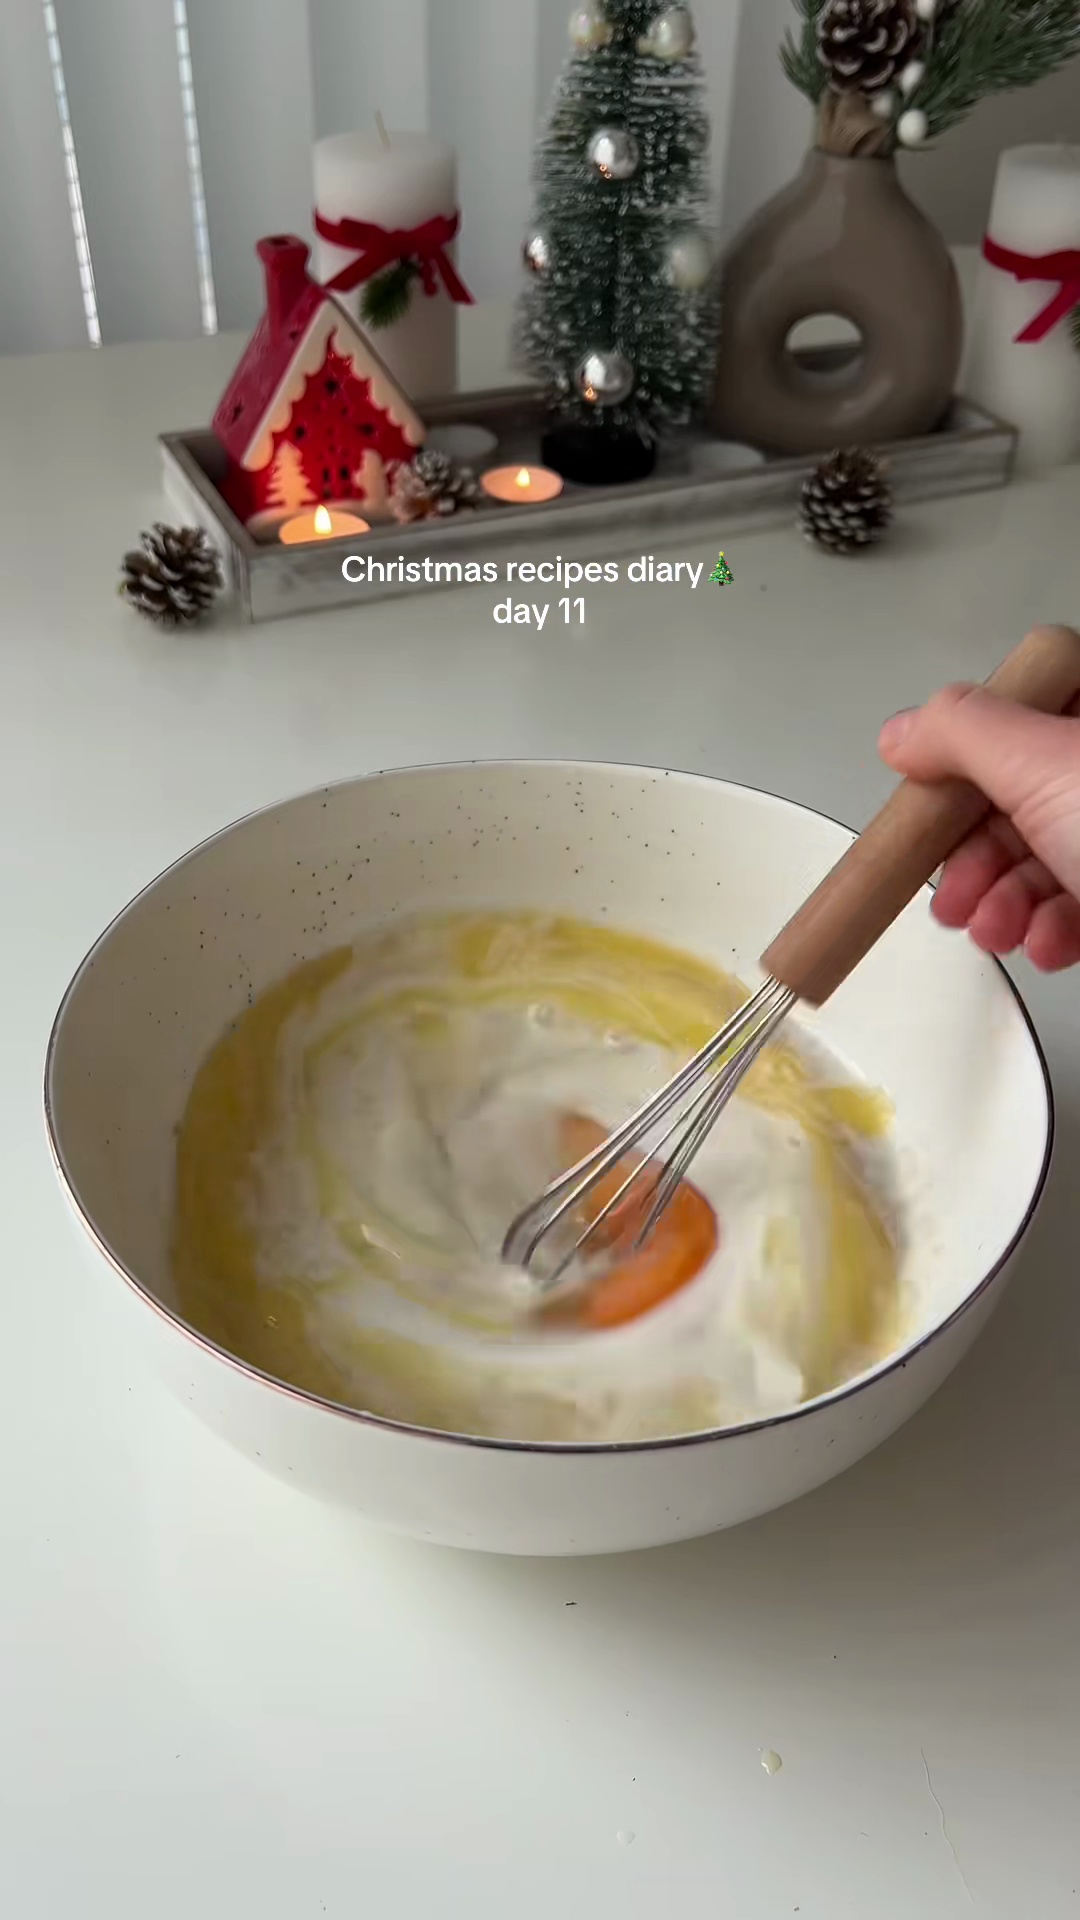 Preview2mPreviewAdd the room temperature egg and the melted (but not hot) butter to the yeast mixture. Mix everything well with a whisk until all the wet ingredients are thoroughly combined.
 - Gradually add the flour to the wet mixture in two separate batches, mixing well after each addition until most of the flour is incorporated and a shaggy dough forms.3m
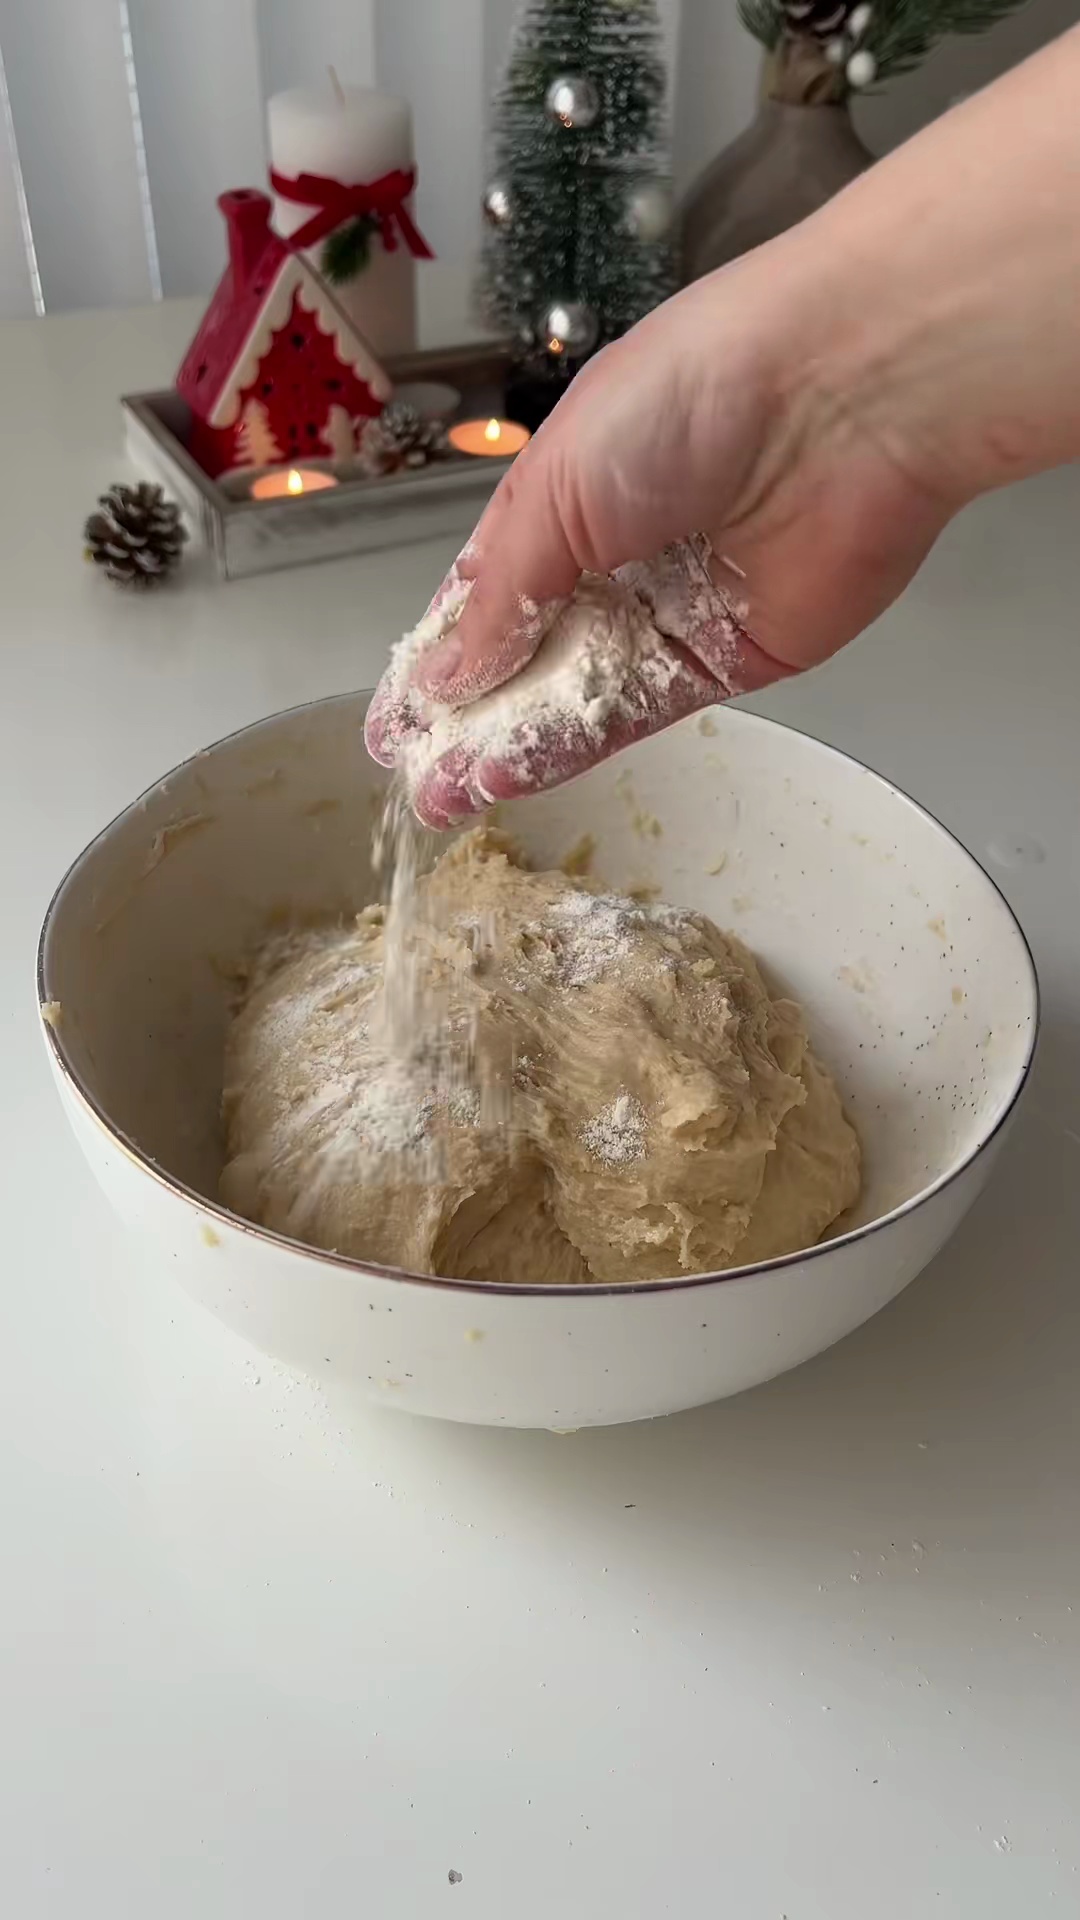 Preview3mPreviewGradually add the flour to the wet mixture in two separate batches, mixing well after each addition until most of the flour is incorporated and a shaggy dough forms.
 - Transfer the sticky dough to a lightly floured surface and knead it by hand for about 5-7 minutes. Continue kneading until the dough becomes smooth, elastic, and less sticky.7m
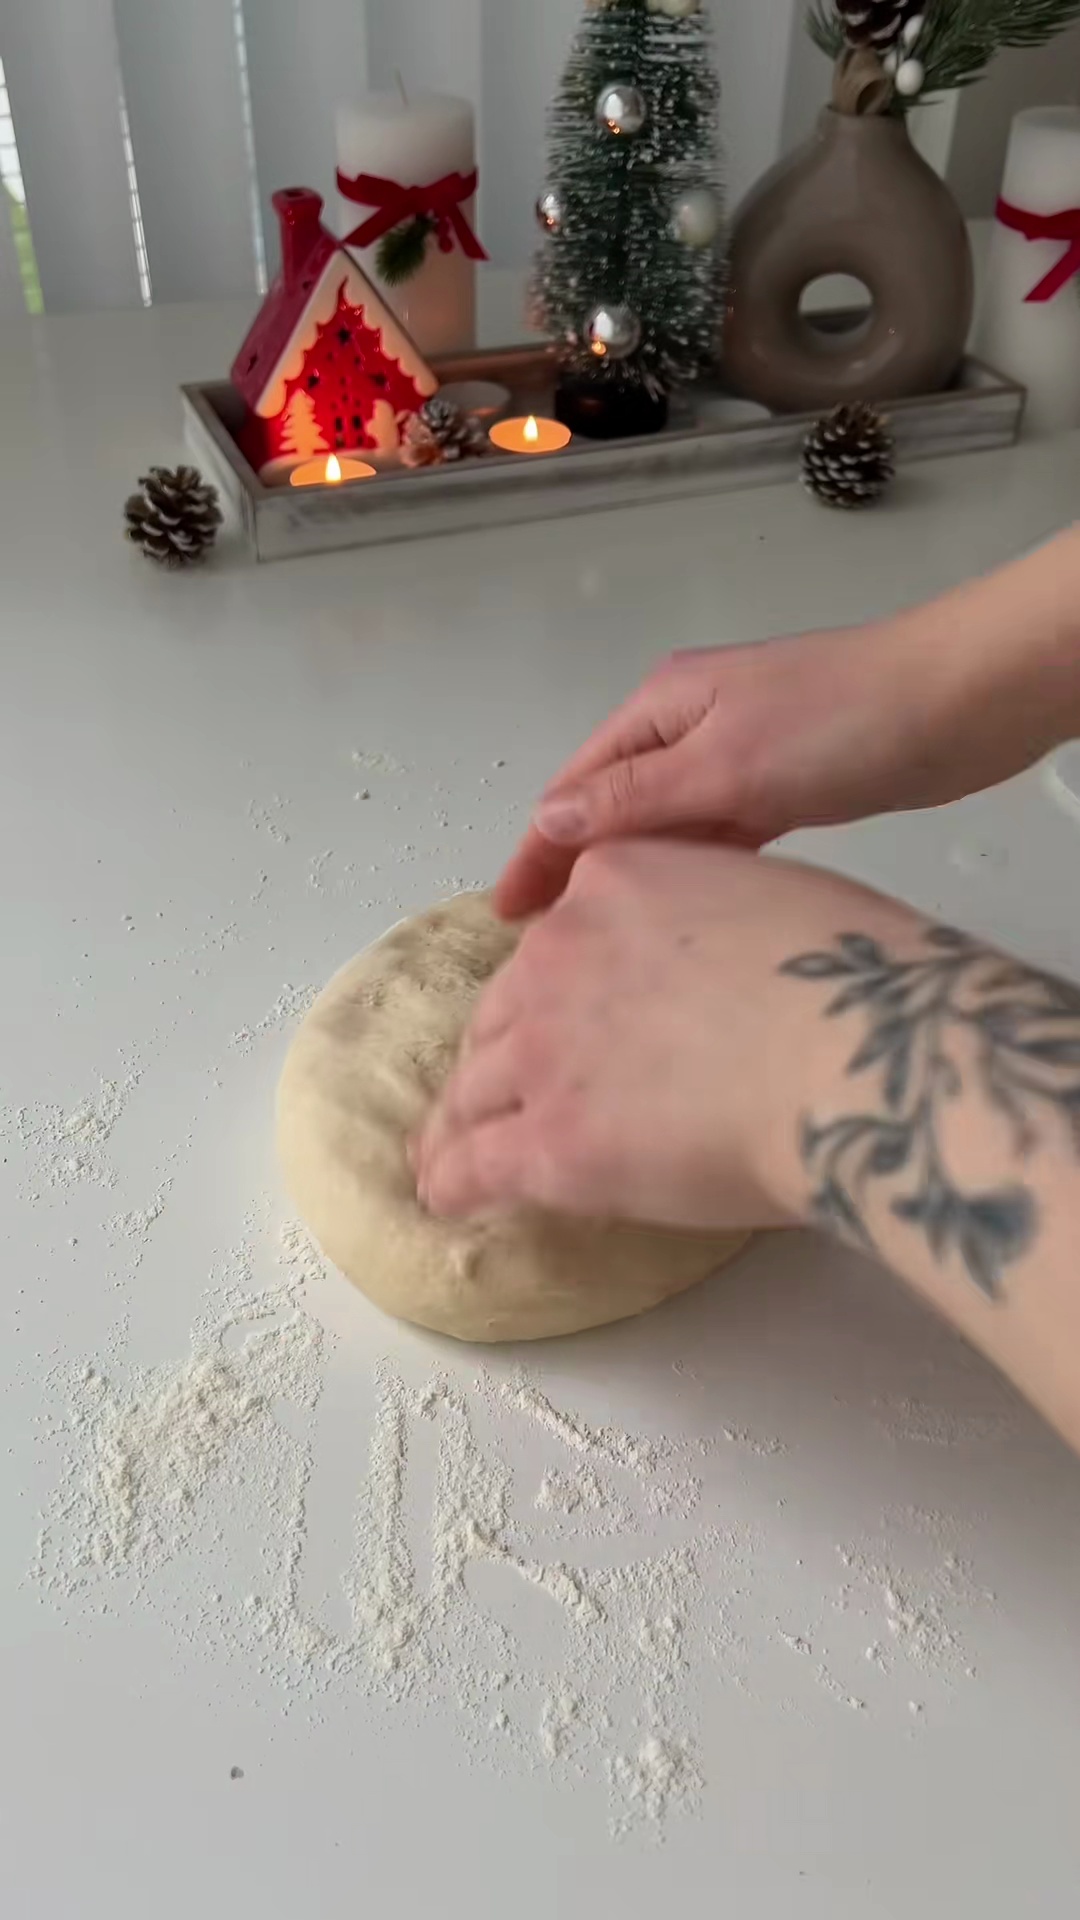 Preview7mPreviewTransfer the sticky dough to a lightly floured surface and knead it by hand for about 5-7 minutes. Continue kneading until the dough becomes smooth, elastic, and less sticky.
 - Place the kneaded dough in a lightly oiled bowl, cover it with plastic wrap or a clean kitchen towel, and let it proof in a warm place for 1 hour, or until it has doubled in size.1h
 Preview1hPreviewPlace the kneaded dough in a lightly oiled bowl, cover it with plastic wrap or a clean kitchen towel, and let it proof in a warm place for 1 hour, or until it has doubled in size.
 - Once the dough has proofed, gently punch it down to release the air. Divide the dough into four equal pieces. On a lightly floured surface, roll each piece into a thin, round circle, approximately 10-12 inches (25-30 cm) in diameter.10m
 Preview10mPreviewOnce the dough has proofed, gently punch it down to release the air. Divide the dough into four equal pieces. On a lightly floured surface, roll each piece into a thin, round circle, approximately 10-12 inches (25-30 cm) in diameter.
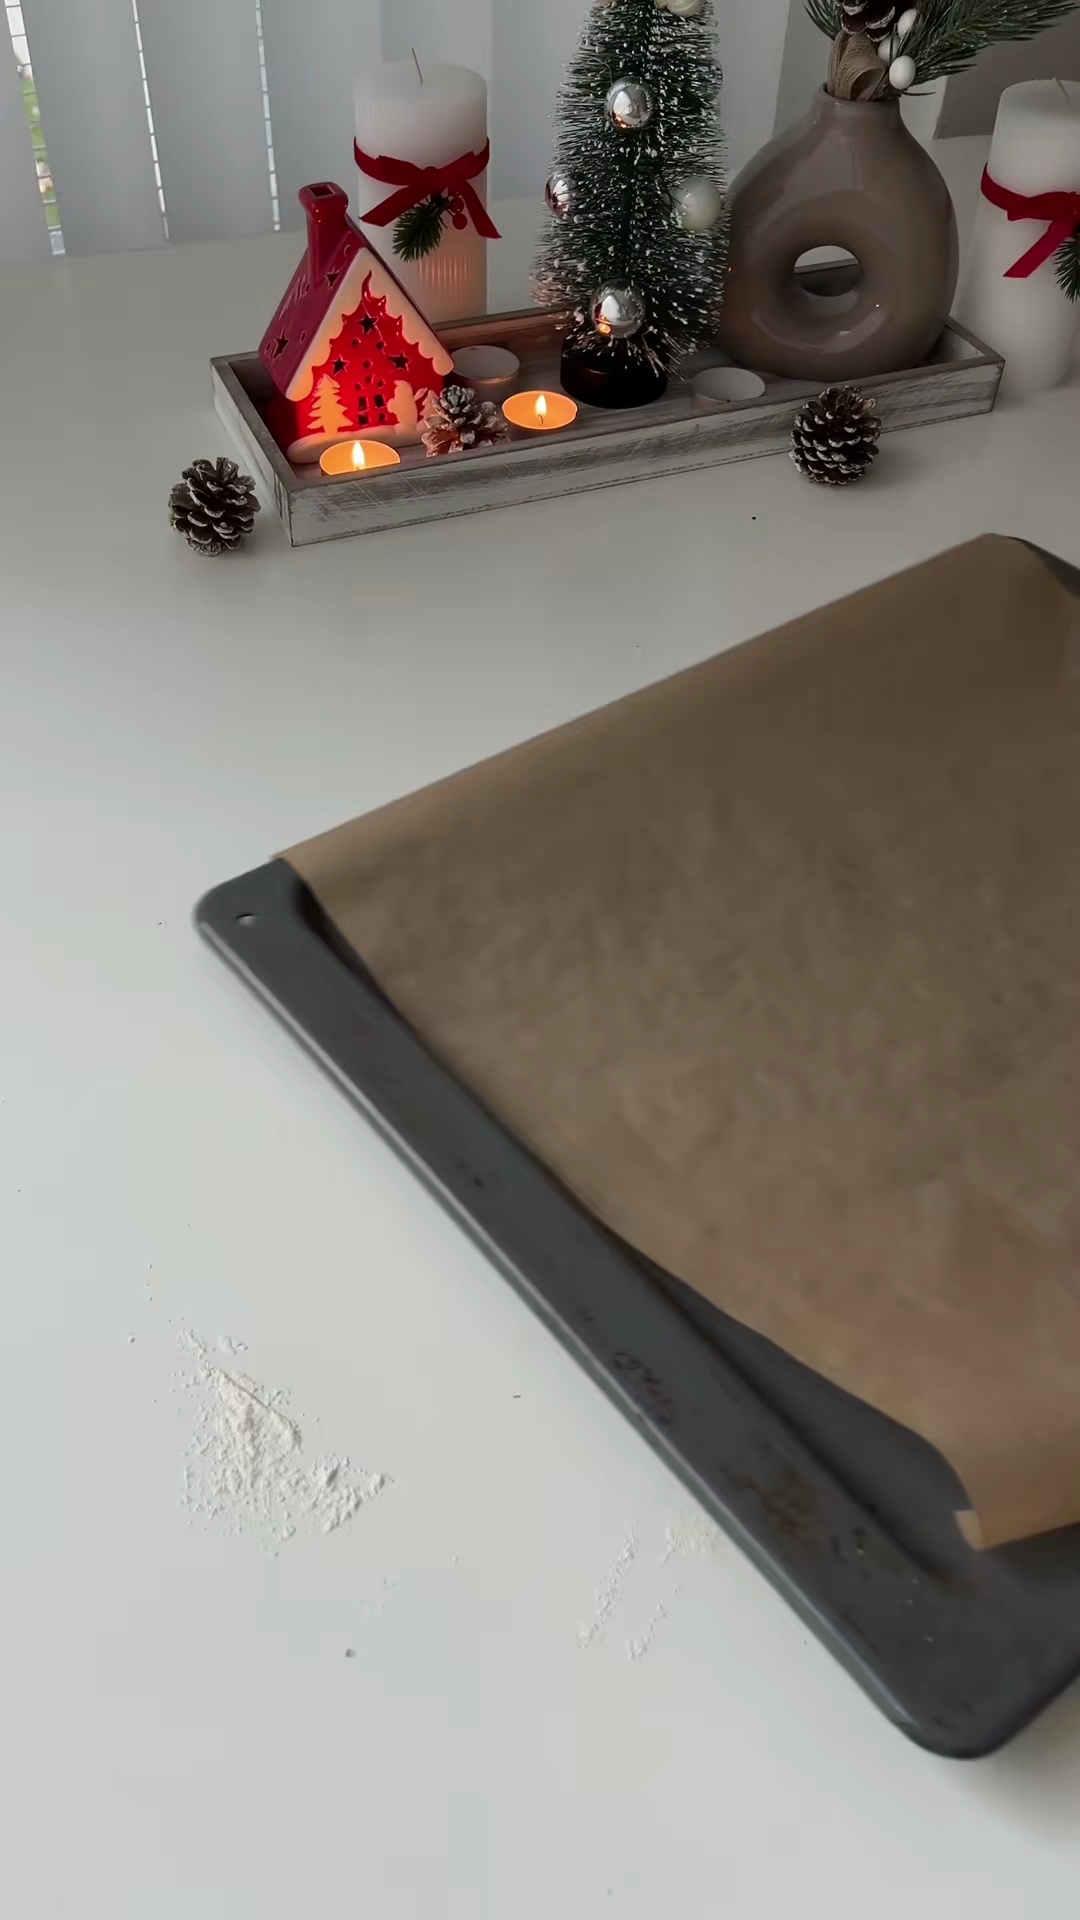
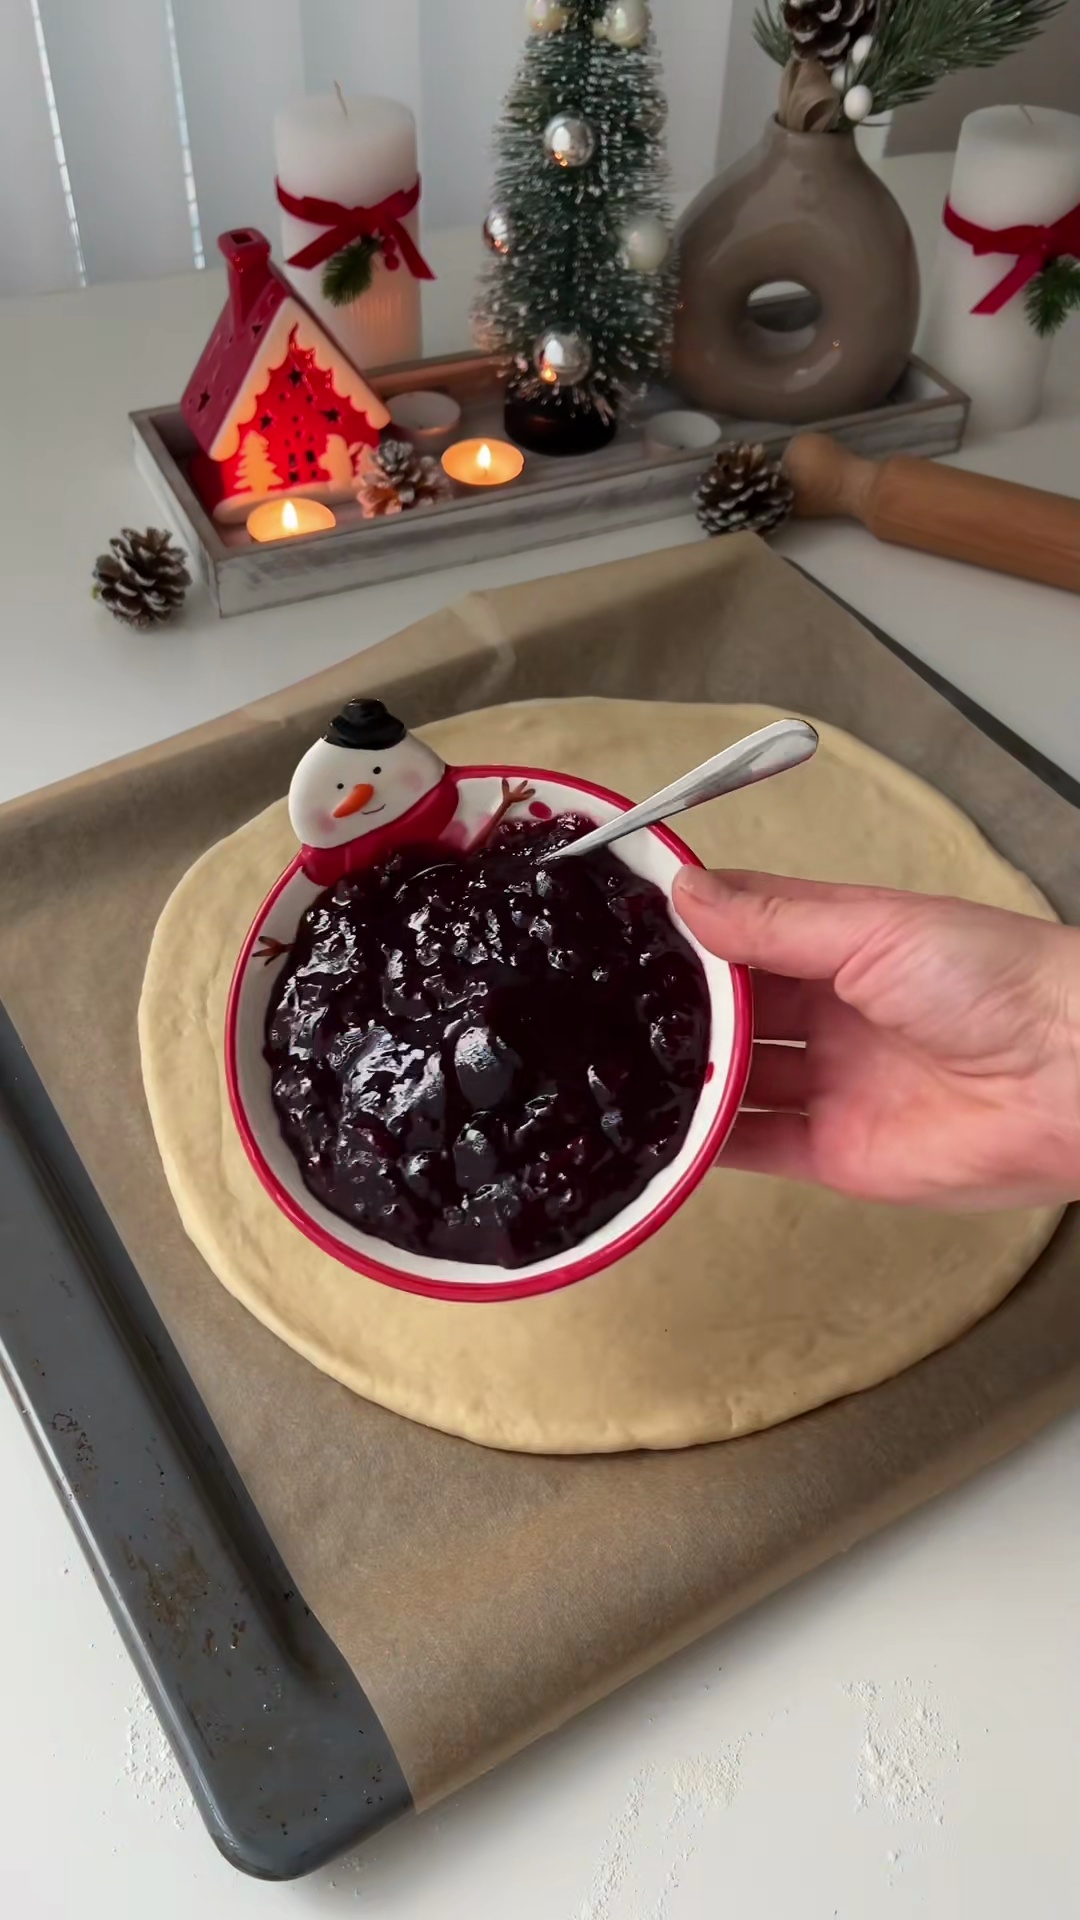
 - Place one rolled dough circle on a parchment-lined baking sheet. Spread a generous layer of cherry jam over it, leaving about a 1/2-inch border. Place a second dough circle on top and spread with jam. Repeat with the third layer of dough and jam. Finally, place the fourth dough circle on top without any jam.10m
 Preview10mPreviewPlace one rolled dough circle on a parchment-lined baking sheet. Spread a generous layer of cherry jam over it, leaving about a 1/2-inch border. Place a second dough circle on top and spread with jam. Repeat with the third layer of dough and jam. Finally, place the fourth dough circle on top without any jam.
 - Place a small glass or round cookie cutter (about 2-3 inches in diameter) in the very center of the top dough layer. Using a sharp knife or pizza cutter, cut the dough from the edge of the glass outwards into 16-20 even strips, making sure not to cut through the center circle defined by the glass.5m
 Preview5mPreviewPlace a small glass or round cookie cutter (about 2-3 inches in diameter) in the very center of the top dough layer. Using a sharp knife or pizza cutter, cut the dough from the edge of the glass outwards into 16-20 even strips, making sure not to cut through the center circle defined by the glass.
 - Take two adjacent strips and gently twist them away from each other twice. Pinch the ends of these two twisted strips together firmly to form a point. Repeat this process around the entire circle until all strips are twisted and connected, creating the snowflake effect.10mPreview10mPreviewTake two adjacent strips and gently twist them away from each other twice. Pinch the ends of these two twisted strips together firmly to form a point. Repeat this process around the entire circle until all strips are twisted and connected, creating the snowflake effect.
- If desired, cover the shaped bun loosely with plastic wrap or a kitchen towel and let it rest for a second proofing for 15-20 minutes while you preheat your oven to 375°F (190°C).20mPreview20mPreviewIf desired, cover the shaped bun loosely with plastic wrap or a kitchen towel and let it rest for a second proofing for 15-20 minutes while you preheat your oven to 375°F (190°C).
- Bake the cherry bun in the preheated oven for 25-35 minutes, or until it is golden brown on top and cooked through. The internal temperature should reach 200-210°F (93-99°C).30mPreview30mPreviewBake the cherry bun in the preheated oven for 25-35 minutes, or until it is golden brown on top and cooked through. The internal temperature should reach 200-210°F (93-99°C).
- Remove the snowflake bun from the oven and let it cool on the baking sheet for a few minutes before transferring it to a wire rack to cool slightly further before serving.10m
 Preview10mPreviewRemove the snowflake bun from the oven and let it cool on the baking sheet for a few minutes before transferring it to a wire rack to cool slightly further before serving.
💡 Tip: Click on any step to mark it as completed and track your cooking progress!