Back to French Recipes

Author:
partagesderecettes_
TikTok
2M
111K
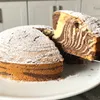
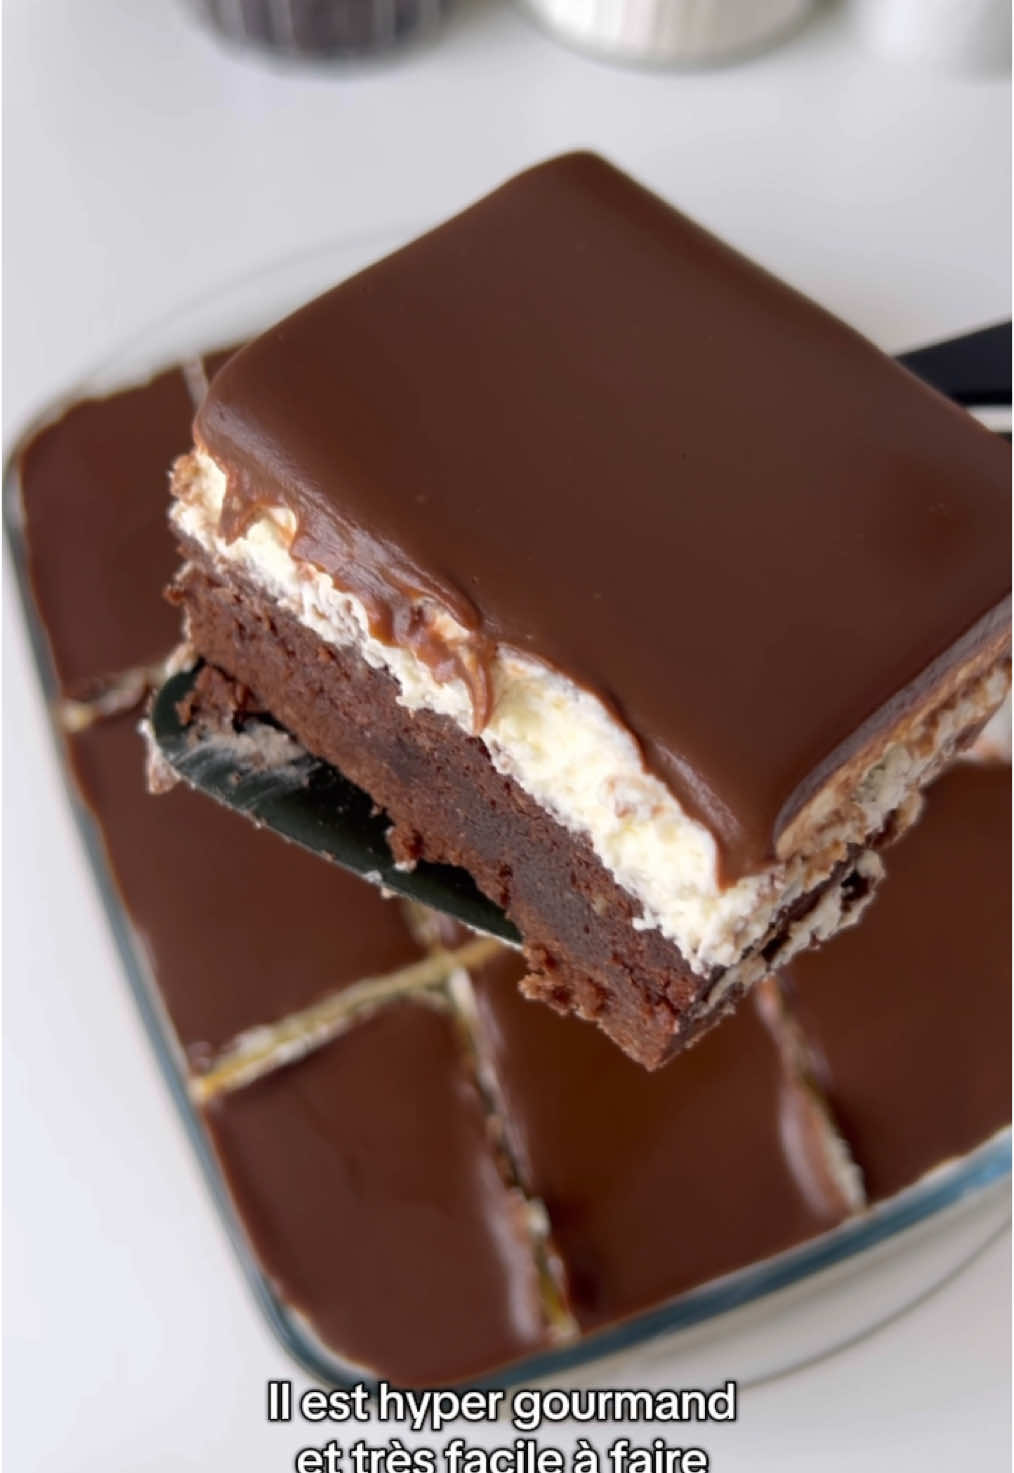
Gâteau qui Pleure (Weeping Cake)
Discover the delightful Gâteau qui Pleure, a classic French dessert known for its rich, creamy custard layers and a 'weeping' effect from the chocolate ganache and long chill time. This no-bake cake features layers of tender ladyfingers soaked in a luscious vanilla pastry cream, topped with a smooth chocolate ganache and dusted with cocoa powder. Perfect for special occasions or a comforting treat.
#dessert
#no-bake
#cake
#chocolate
#custard
#french
#creamy
#weeping cake
#gâteau qui pleure
#ladyfingers
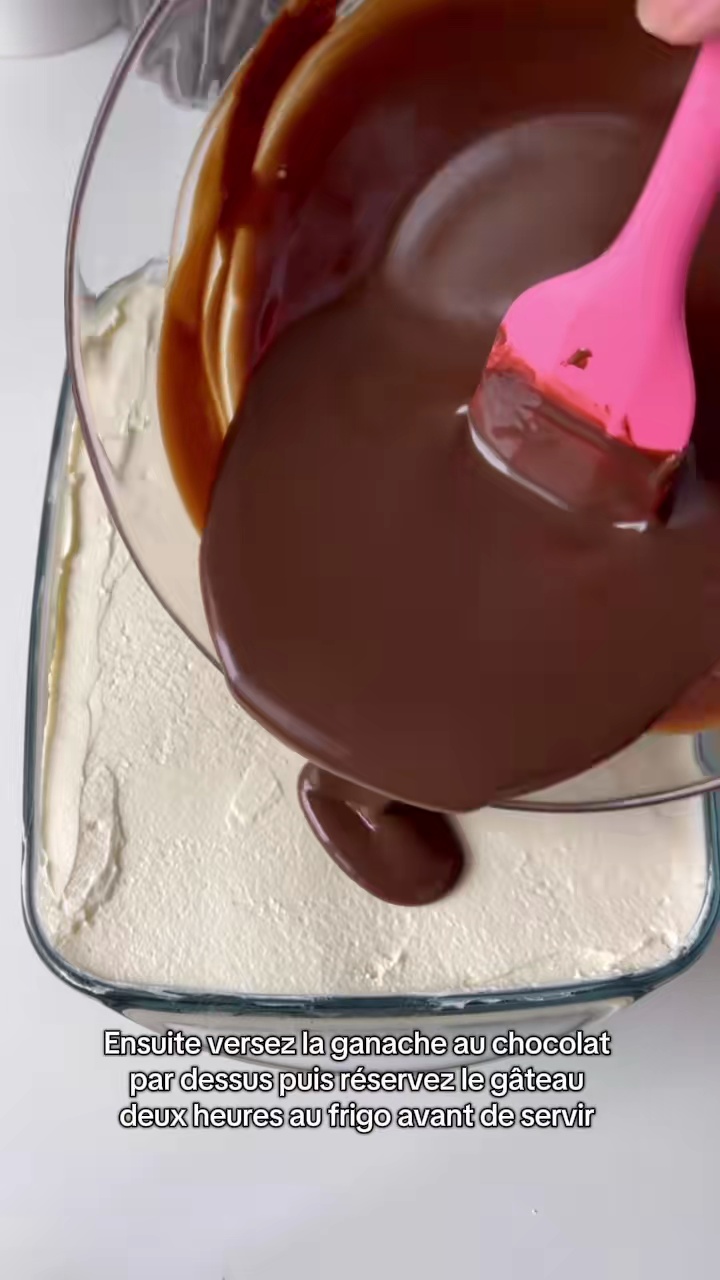
Assembled cake with ganache
Recipe Information
25m
Prep Time
3h 10m
Cook Time
3h 35m
Total Time
8
Servings
Medium
French
French
Nutrition (per serving)
450
Calories
7g
Protein
55g
Carbs
30g
Fat
Cake being dusted with cocoa powder
Ingredients
Servings: 8
💡 Tip: Check off ingredients as you add them to keep track of your progress!
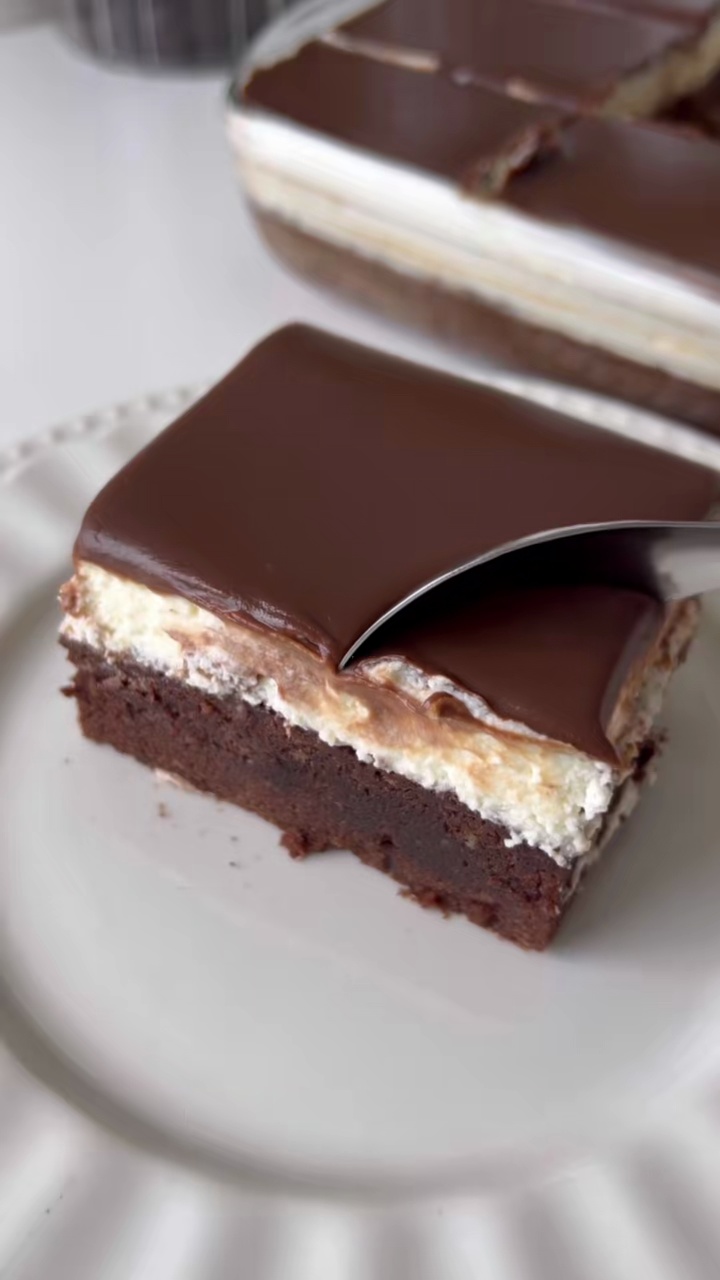
First slice revealing layers
Instructions
0/11 completed
0%
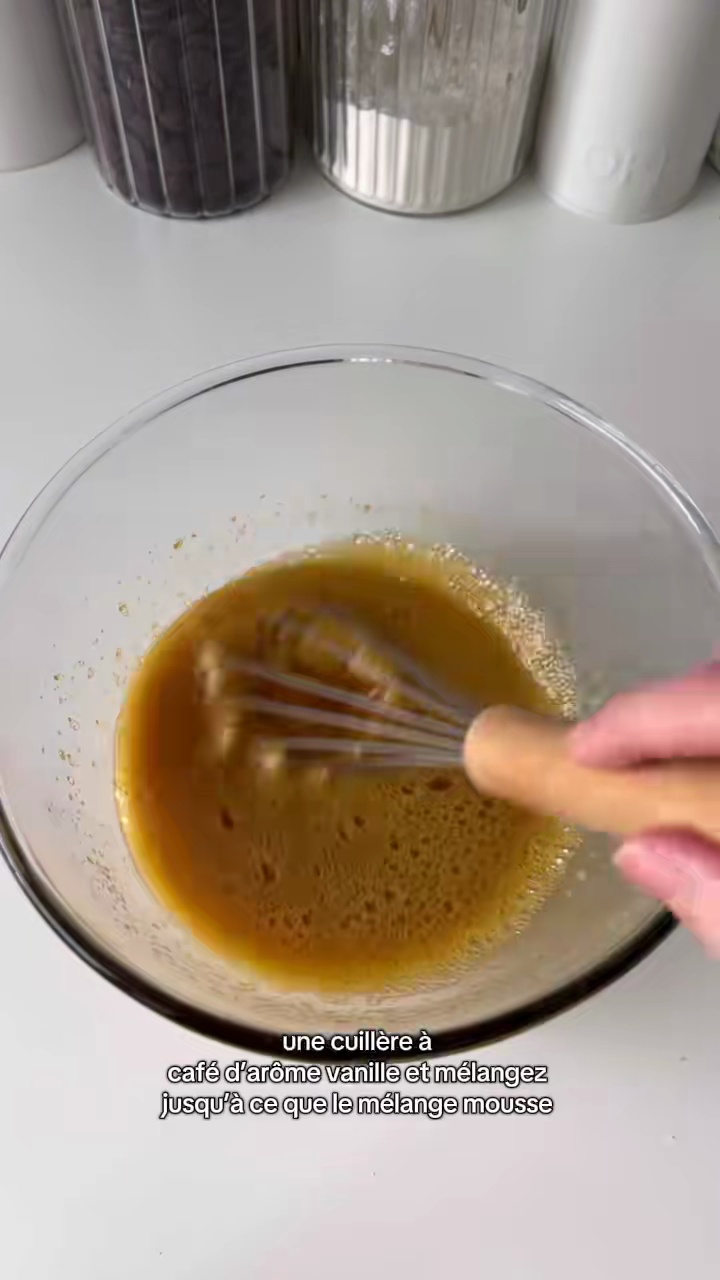
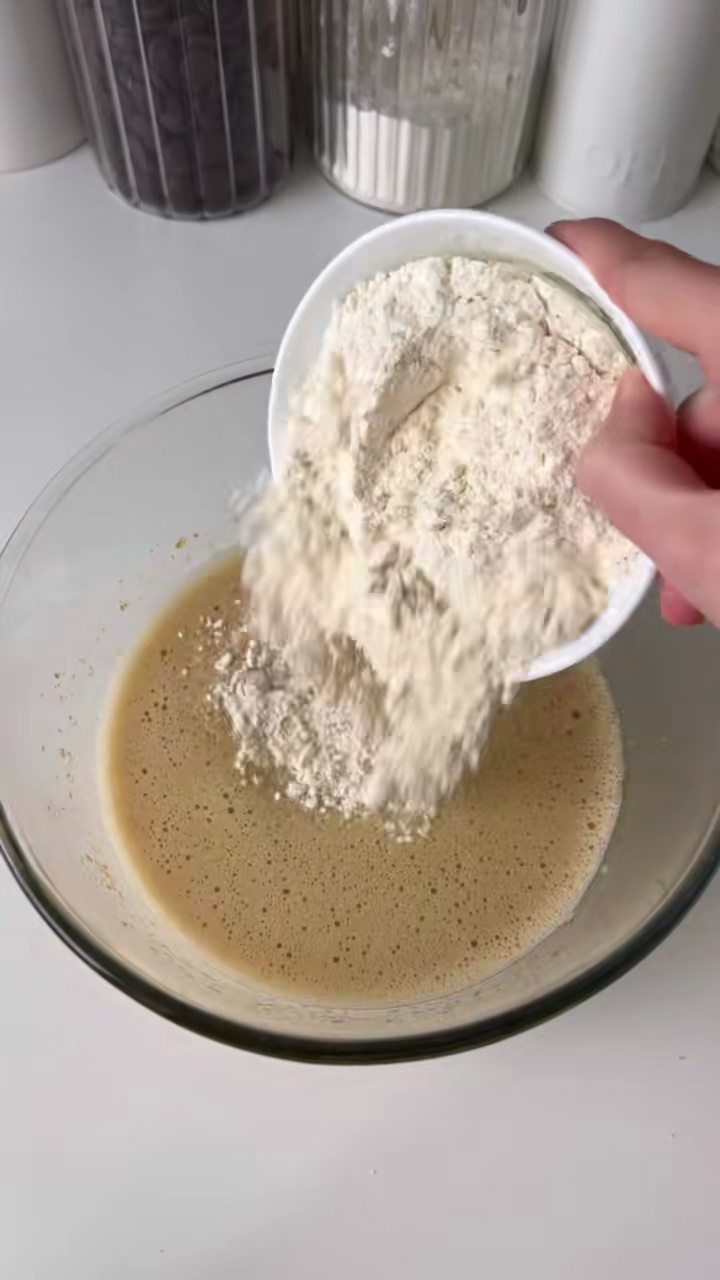
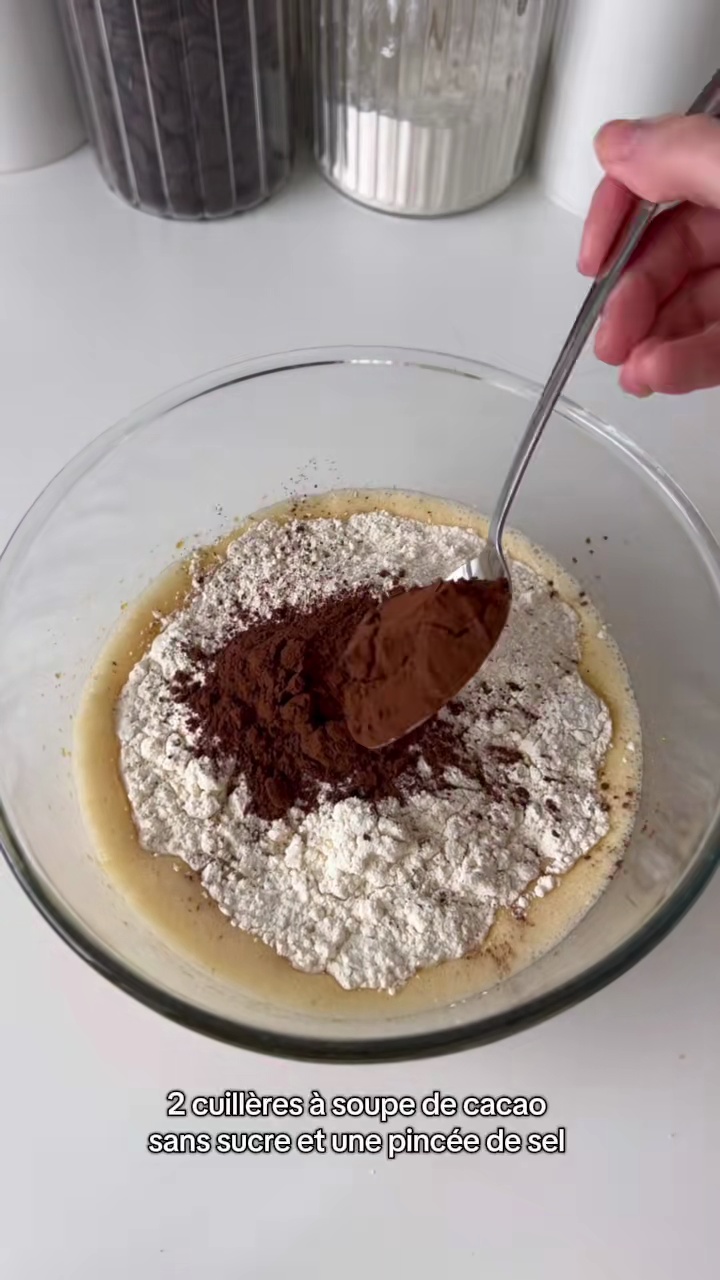
- In a saucepan, whisk together the milk, granulated sugar, cornstarch, egg yolks, and vanilla extract until well combined and smooth.5m
 Preview5mPreviewIn a saucepan, whisk together the milk, granulated sugar, cornstarch, egg yolks, and vanilla extract until well combined and smooth.
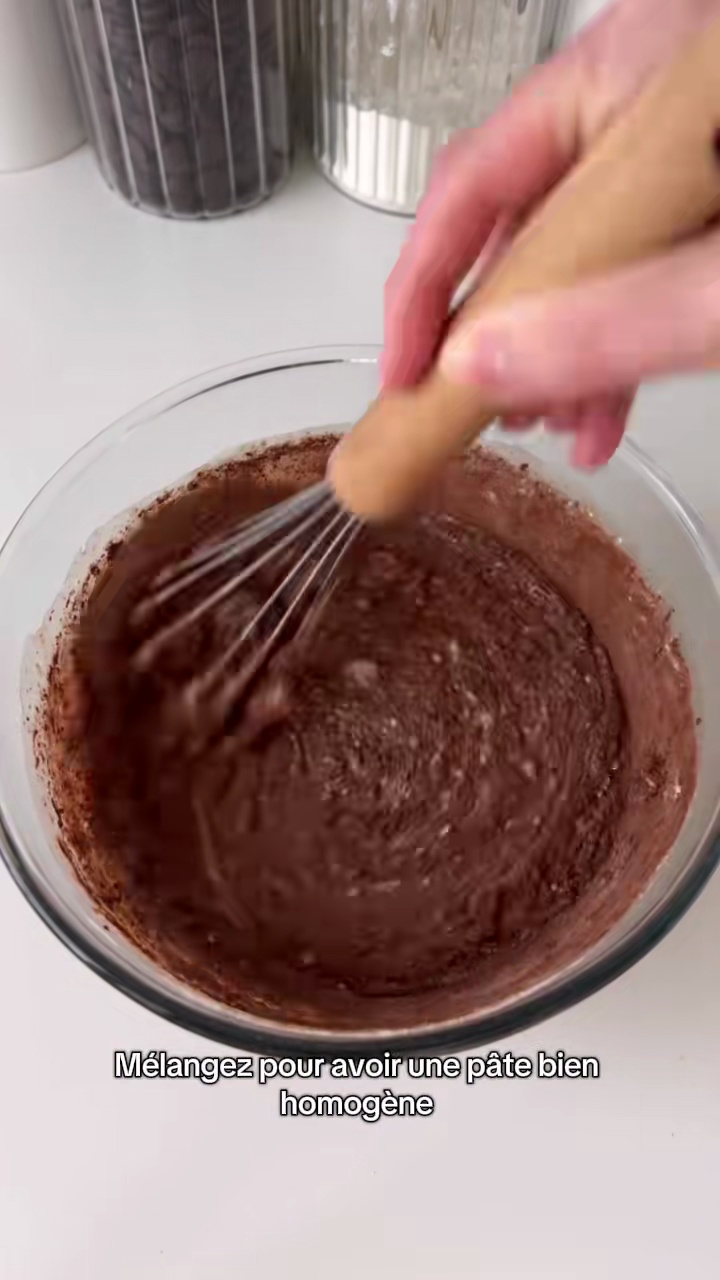
 - Place the saucepan over medium heat, stirring constantly with a whisk, until the mixture thickens significantly and comes to a gentle boil. Cook for 1 minute while stirring.8m
 Preview8mPreviewPlace the saucepan over medium heat, stirring constantly with a whisk, until the mixture thickens significantly and comes to a gentle boil. Cook for 1 minute while stirring.
 - Remove the custard from the heat and immediately stir in the unsalted butter until it is completely melted and incorporated, making the custard glossy.2m
 Preview2mPreviewRemove the custard from the heat and immediately stir in the unsalted butter until it is completely melted and incorporated, making the custard glossy.
 - Arrange a single layer of ladyfingers at the bottom of a rectangular or square serving dish, breaking them if necessary to fit snugly.2m
 Preview2mPreviewArrange a single layer of ladyfingers at the bottom of a rectangular or square serving dish, breaking them if necessary to fit snugly.
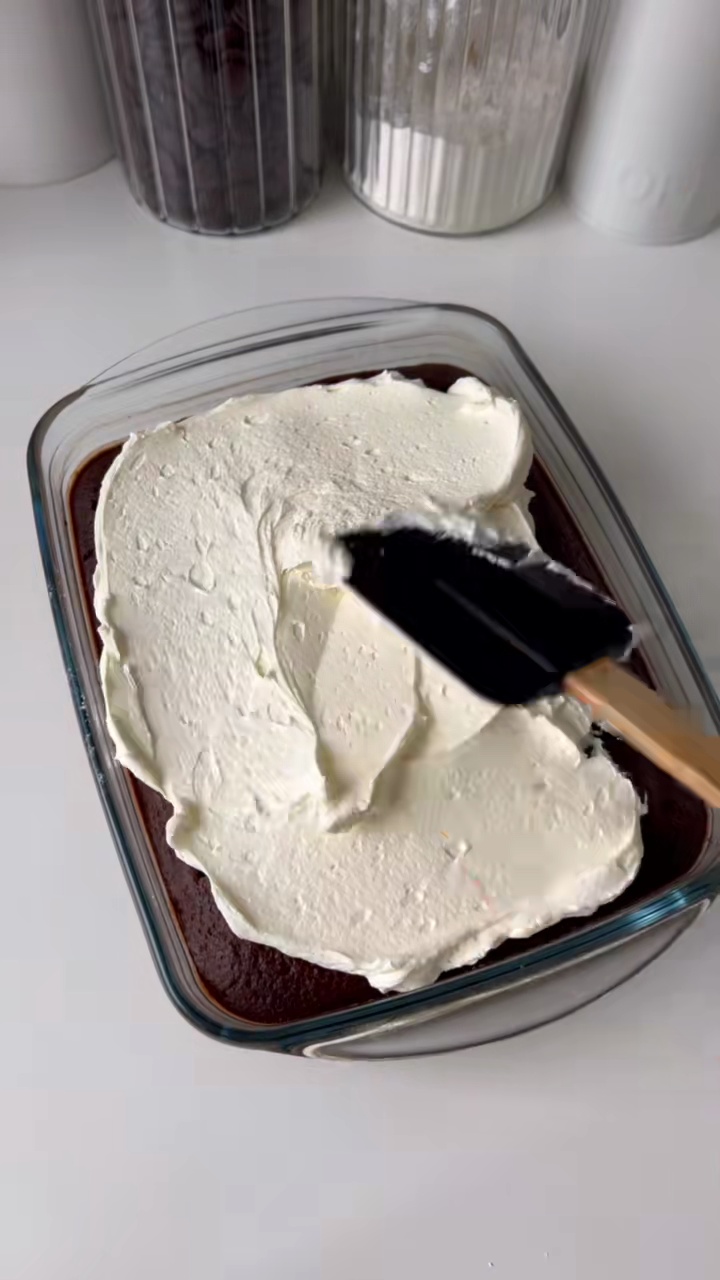
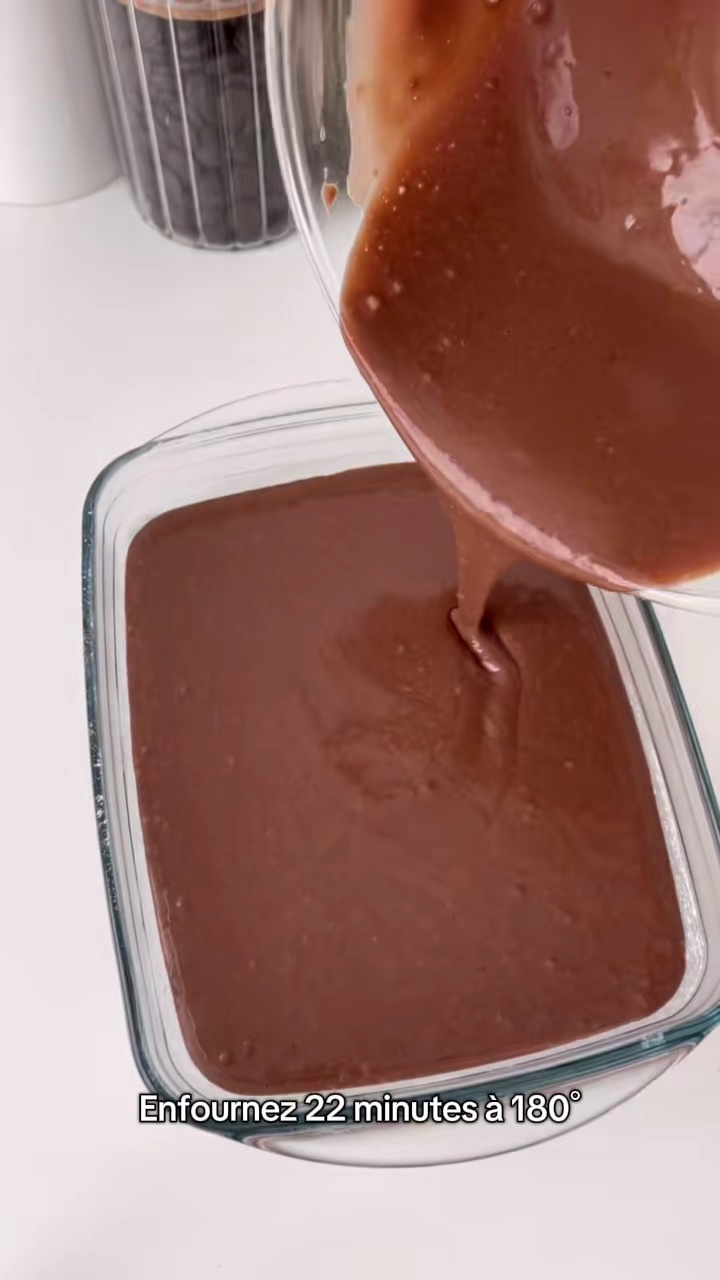
 - Pour and spread half of the warm custard evenly over the layer of ladyfingers.2m
 Preview2mPreviewPour and spread half of the warm custard evenly over the layer of ladyfingers.
 - Place a second layer of ladyfingers over the custard, covering the entire surface.2m
 Preview2mPreviewPlace a second layer of ladyfingers over the custard, covering the entire surface.
 - Pour and spread the remaining half of the custard over the second layer of ladyfingers, smoothing the top.2m
 Preview2mPreviewPour and spread the remaining half of the custard over the second layer of ladyfingers, smoothing the top.
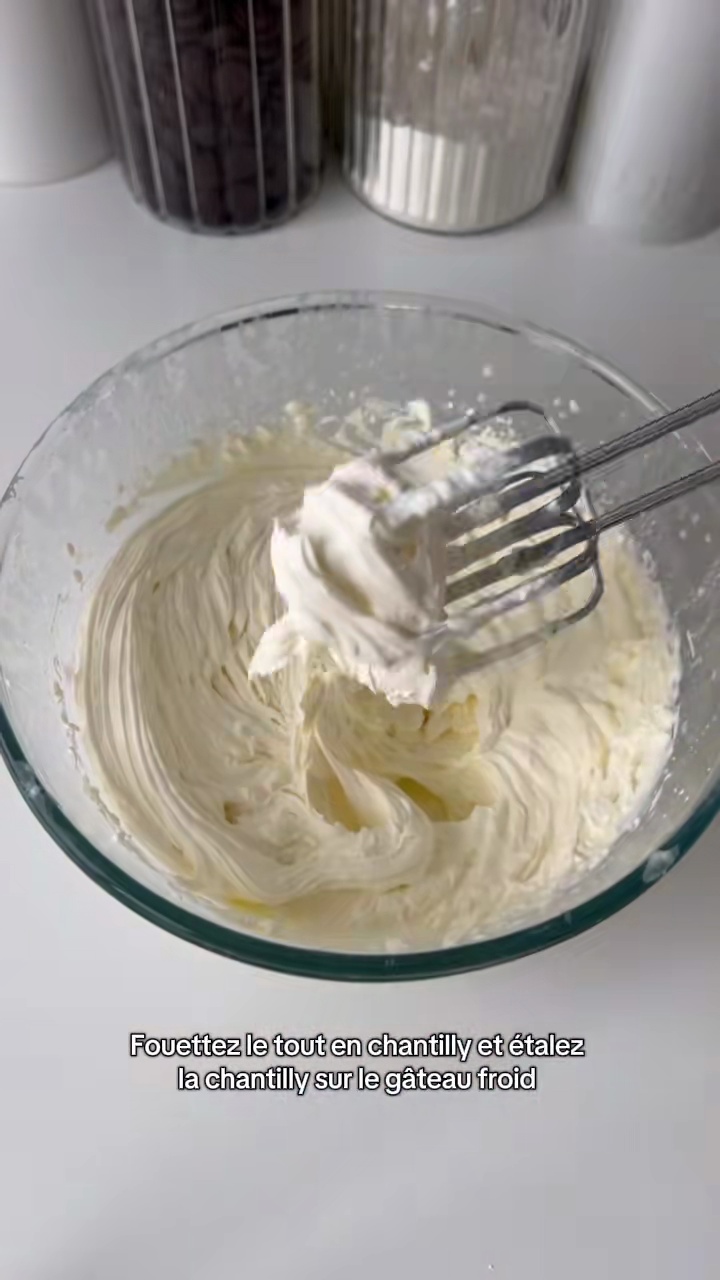
 - In a heatproof bowl, combine the chopped dark chocolate. Heat the heavy cream until just simmering (do not boil), then pour it over the chocolate. Let it sit for 1-2 minutes, then stir until smooth and glossy to form a ganache.5m
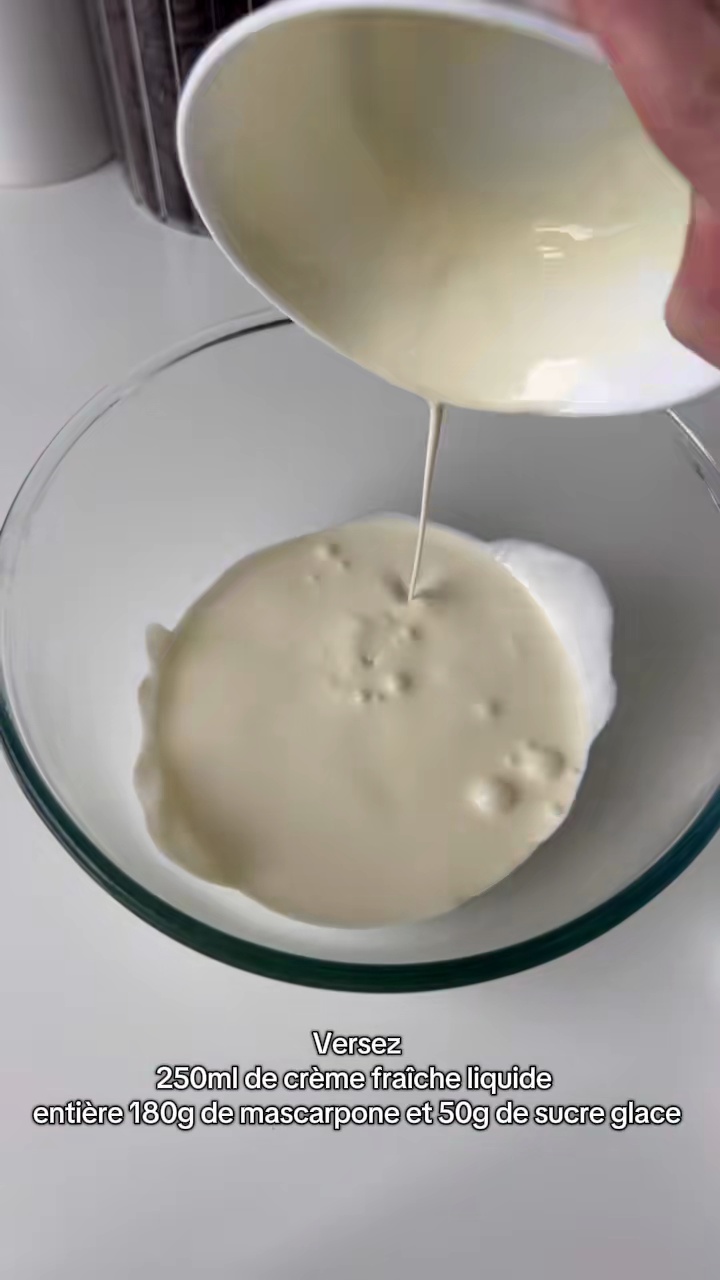 Preview5mPreviewIn a heatproof bowl, combine the chopped dark chocolate. Heat the heavy cream until just simmering (do not boil), then pour it over the chocolate. Let it sit for 1-2 minutes, then stir until smooth and glossy to form a ganache.
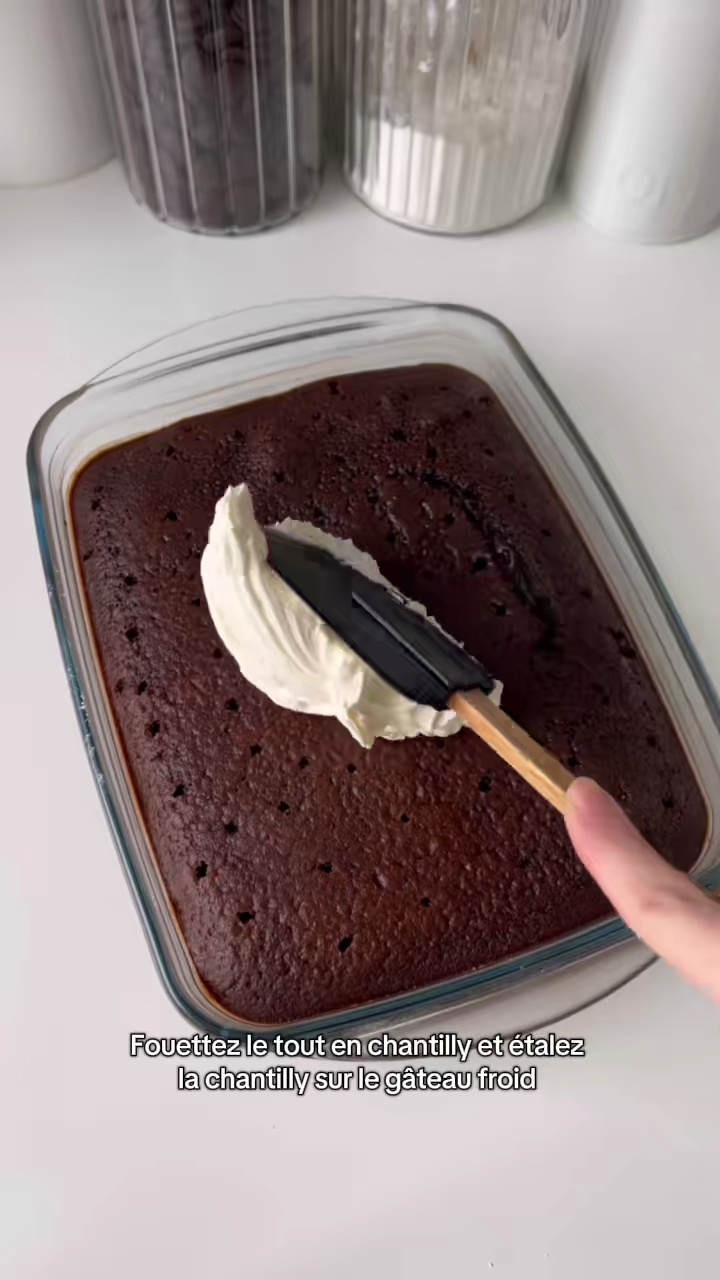
 - Carefully pour the warm chocolate ganache over the top custard layer, spreading it gently to cover the entire surface.1m
 Preview1mPreviewCarefully pour the warm chocolate ganache over the top custard layer, spreading it gently to cover the entire surface.
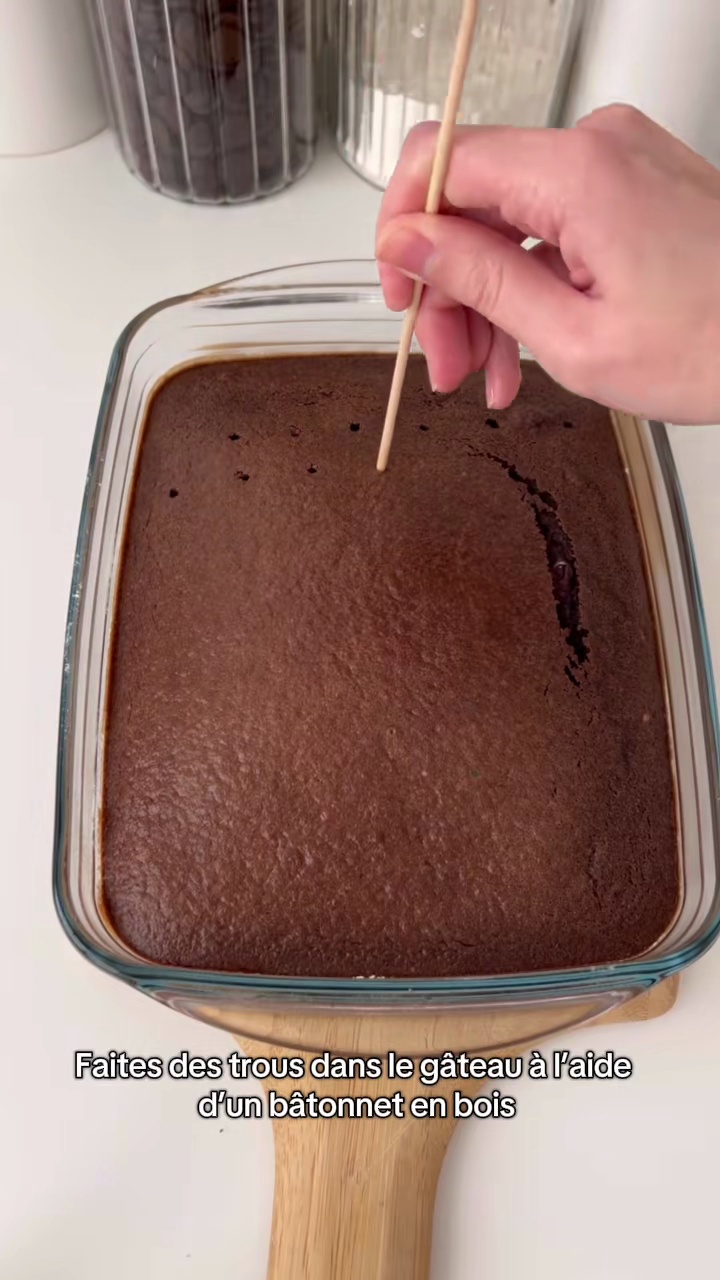
 - Cover the dish with plastic wrap, ensuring it touches the surface of the ganache to prevent a skin from forming, and refrigerate for at least 3-4 hours, or preferably overnight, until thoroughly chilled and set.3h
 Preview3hPreviewCover the dish with plastic wrap, ensuring it touches the surface of the ganache to prevent a skin from forming, and refrigerate for at least 3-4 hours, or preferably overnight, until thoroughly chilled and set.
 - Just before serving, dust the top generously with cocoa powder. Slice and serve, enjoying the creamy layers and the characteristic 'weeping' of the custard.5mPreview5mPreviewJust before serving, dust the top generously with cocoa powder. Slice and serve, enjoying the creamy layers and the characteristic 'weeping' of the custard.
💡 Tip: Click on any step to mark it as completed and track your cooking progress!