Back to French Recipes

Author:
mansour.pastry
TikTok
2M
35K
Keys Points for Perfect Croissants
This recipe details the process of making perfect croissants from scratch, incorporating key techniques such as maintaining optimal dough temperature, achieving the correct rolling thickness for lamination, and ideal proofing conditions. While the original video highlights essential tips, this comprehensive guide provides a full step-by-step process for crafting flaky, golden croissants. Note: The ingredients and detailed steps are inferred based on standard croissant-making practices, as the source video focuses on technique points rather than a complete ingredient list.
#Croissant
#French Pastry
#Baking
#Breakfast
#Lamination
#Dough
#Homemade
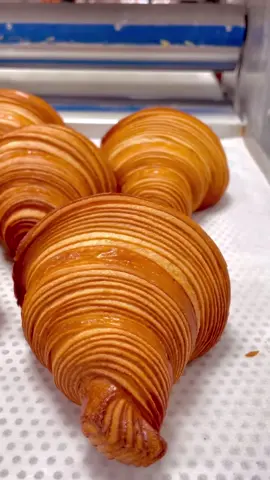
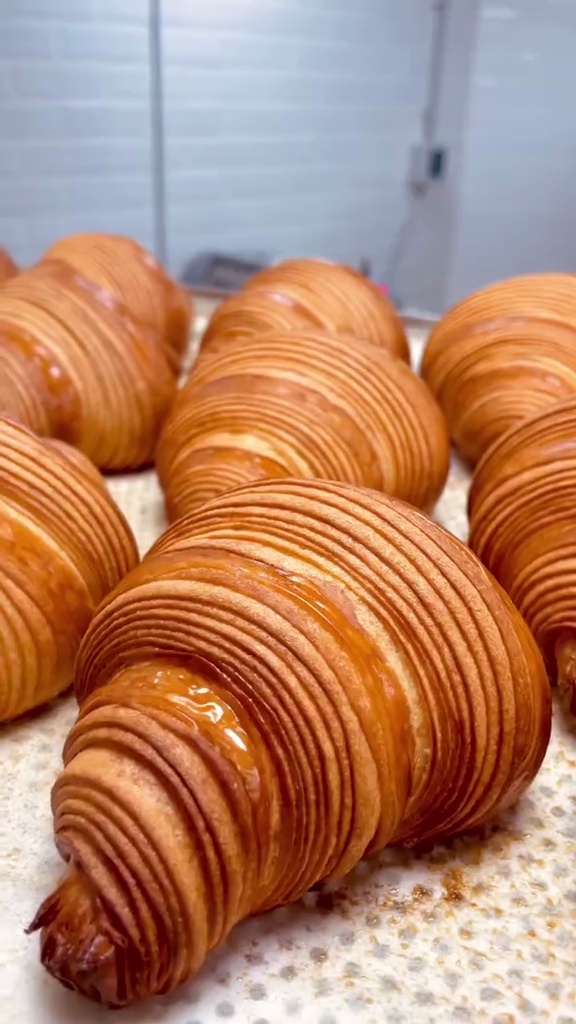
Freshly Baked Croissant
Recipe Information
2h
Prep Time
20m
Cook Time
11h
Total Time
12
Servings
Hard
French
English
Nutrition (per serving)
350
Calories
8g
Protein
40g
Carbs
18g
Fat
Laminated Dough
Ingredients
Servings: 12
💡 Tip: Check off ingredients as you add them to keep track of your progress!
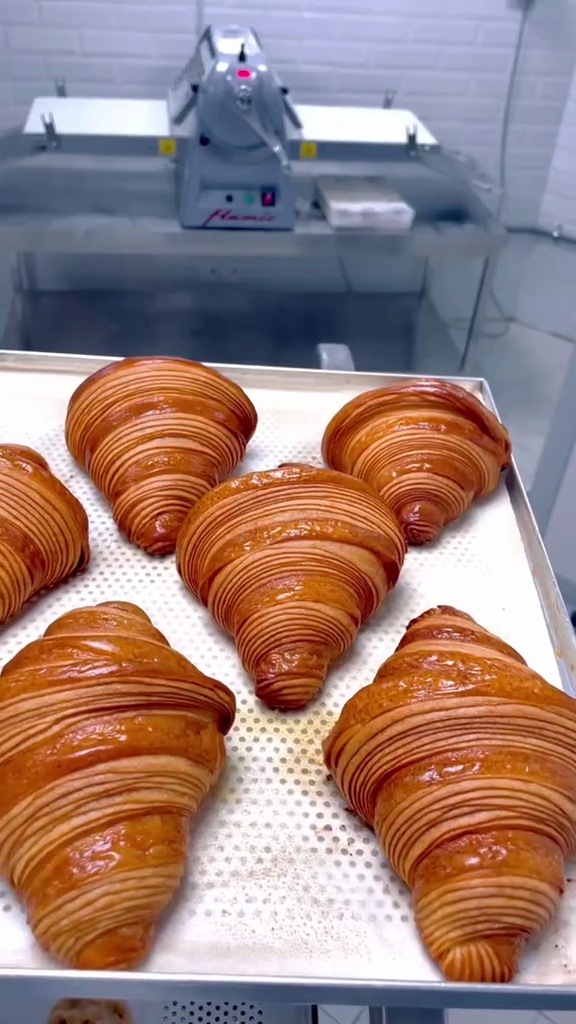
Shaped Croissants Proofing
Instructions
0/9 completed
0%
- Combine flour, sugar, salt, and yeast in a large bowl. Add cold milk, cold water, and softened butter. Mix until a shaggy dough forms, then knead for about 10-12 minutes until smooth and elastic. Avoid overworking to prevent gluten development becoming too strong.15m
 Preview15mPreviewCombine flour, sugar, salt, and yeast in a large bowl. Add cold milk, cold water, and softened butter. Mix until a shaggy dough forms, then knead for about 10-12 minutes until smooth and elastic. Avoid overworking to prevent gluten development becoming too strong.
 - Form the dough into a rectangular block, wrap it tightly in plastic wrap, and refrigerate for at least 2 hours, ideally 8-12 hours. This step is crucial to keep the dough temperature at 4°C, which is essential for perfect lamination.2h
 Preview2hPreviewForm the dough into a rectangular block, wrap it tightly in plastic wrap, and refrigerate for at least 2 hours, ideally 8-12 hours. This step is crucial to keep the dough temperature at 4°C, which is essential for perfect lamination.
 - While the dough chills, prepare the butter block for lamination. Place the cold butter between two sheets of parchment paper and beat it with a rolling pin to soften slightly. Then, roll it into a 15x15 cm (6x6 inch) square. Return to the refrigerator to chill until firm but pliable.10m
 Preview10mPreviewWhile the dough chills, prepare the butter block for lamination. Place the cold butter between two sheets of parchment paper and beat it with a rolling pin to soften slightly. Then, roll it into a 15x15 cm (6x6 inch) square. Return to the refrigerator to chill until firm but pliable.
 - Lightly flour your work surface. Roll the chilled dough into a rectangle, roughly 20x40 cm (8x16 inches). Place the chilled butter block in the center. Fold one side of the dough over the butter, then the other, fully enclosing the butter. Pinch the seams to seal.10m
 Preview10mPreviewLightly flour your work surface. Roll the chilled dough into a rectangle, roughly 20x40 cm (8x16 inches). Place the chilled butter block in the center. Fold one side of the dough over the butter, then the other, fully enclosing the butter. Pinch the seams to seal.
 - Rotate the dough 90 degrees. Gently and evenly roll the dough into a long rectangle, about 20x60 cm (8x24 inches), applying consistent pressure. Fold the dough into thirds, like a business letter (this is a 'single turn'). Wrap and refrigerate for 30-60 minutes.15m
 Preview15mPreviewRotate the dough 90 degrees. Gently and evenly roll the dough into a long rectangle, about 20x60 cm (8x24 inches), applying consistent pressure. Fold the dough into thirds, like a business letter (this is a 'single turn'). Wrap and refrigerate for 30-60 minutes.
 - Repeat step 5 two more times (a total of three turns), ensuring to chill the dough for 30-60 minutes between each turn. After the third turn, chill the dough for at least 1 hour, or preferably overnight.1h 30mPreview1h 30mPreviewRepeat step 5 two more times (a total of three turns), ensuring to chill the dough for 30-60 minutes between each turn. After the third turn, chill the dough for at least 1 hour, or preferably overnight.
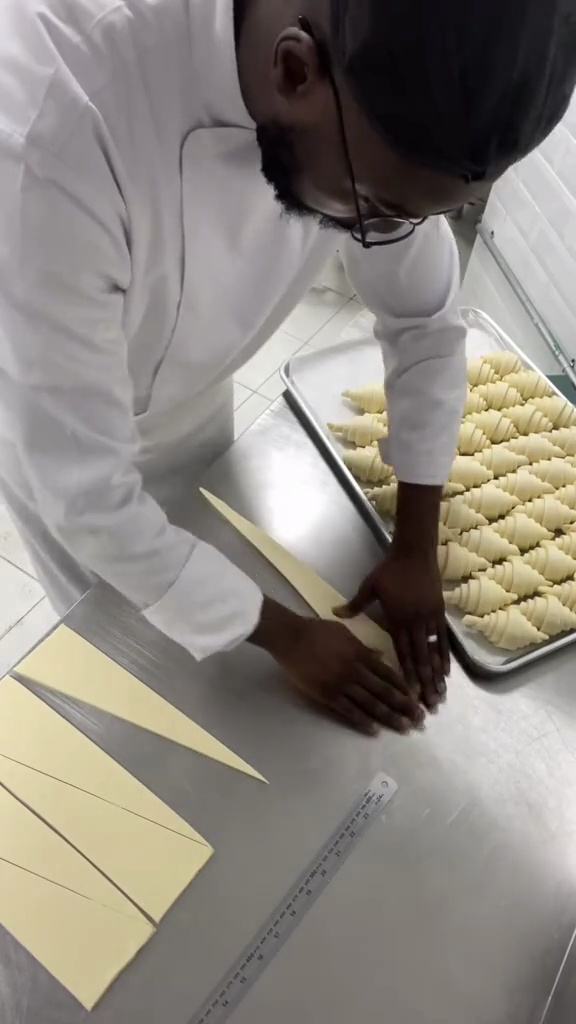
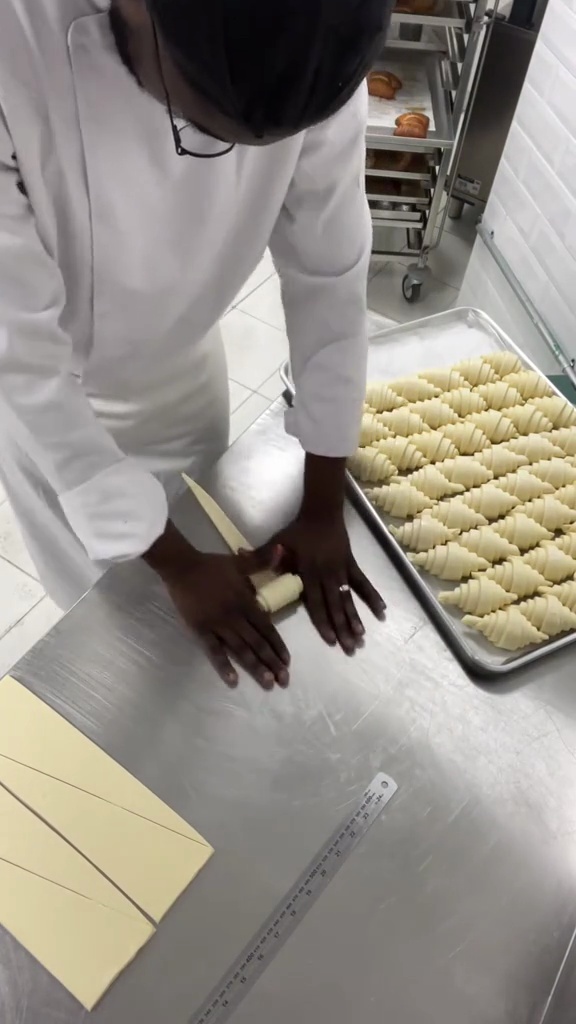
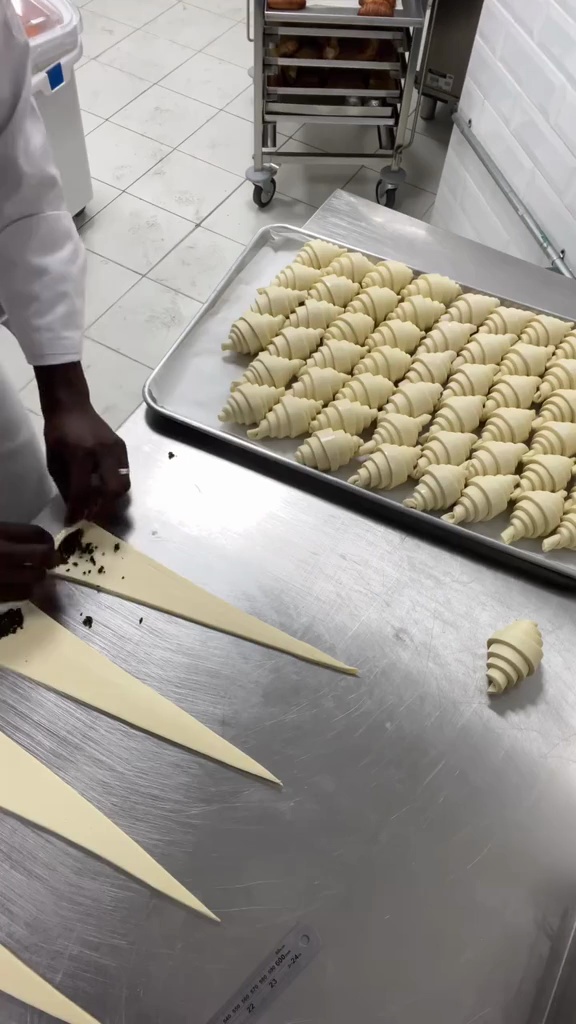
- On a lightly floured surface, roll the final dough into a large rectangle, approximately 30x90 cm (12x36 inches), aiming for a final thickness of 3.5mm for ideal layers. Trim the edges to create clean lines. Cut the dough into triangles, about 10-12 cm (4-5 inches) wide at the base.20m
 Preview20mPreviewOn a lightly floured surface, roll the final dough into a large rectangle, approximately 30x90 cm (12x36 inches), aiming for a final thickness of 3.5mm for ideal layers. Trim the edges to create clean lines. Cut the dough into triangles, about 10-12 cm (4-5 inches) wide at the base.
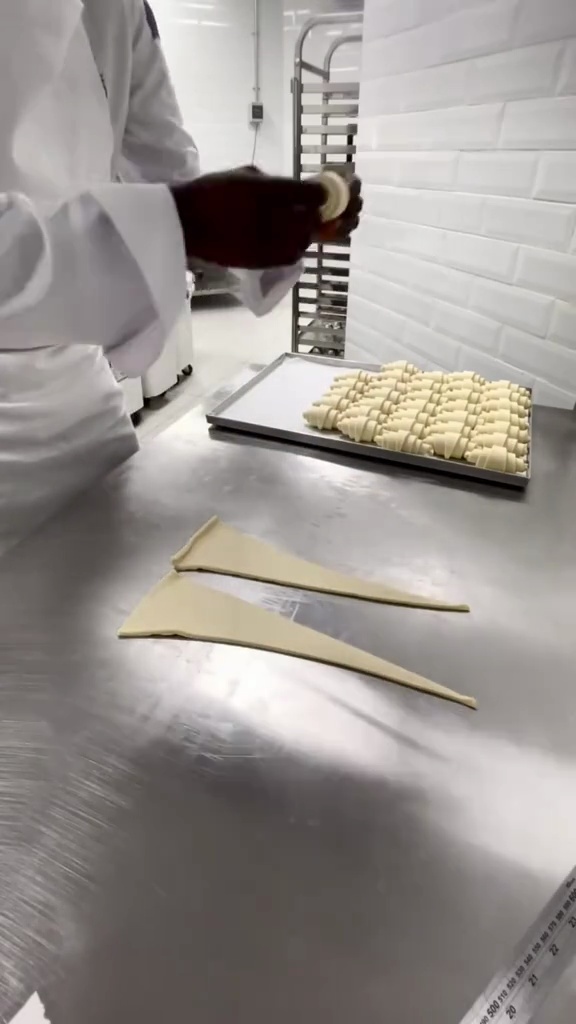
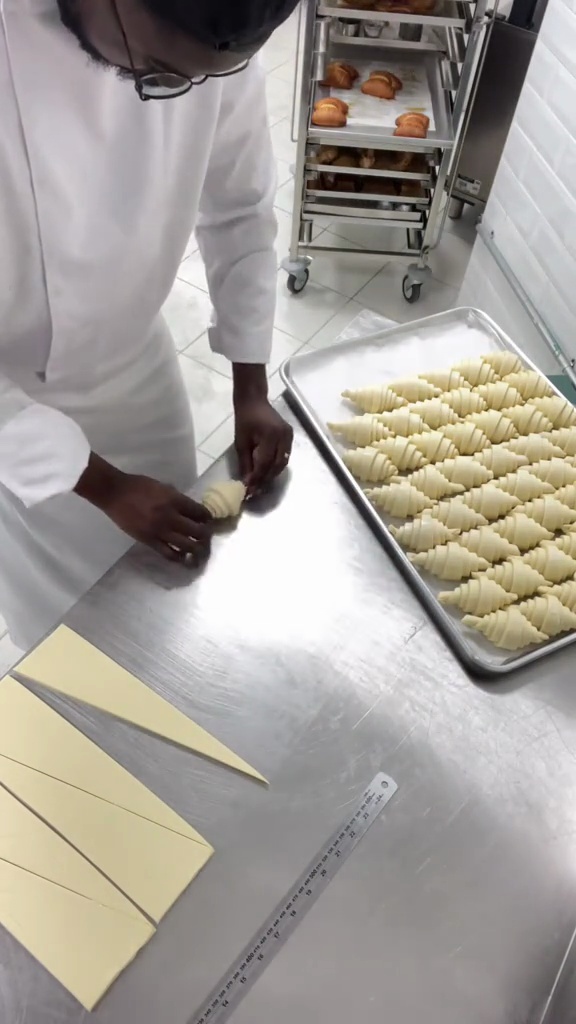
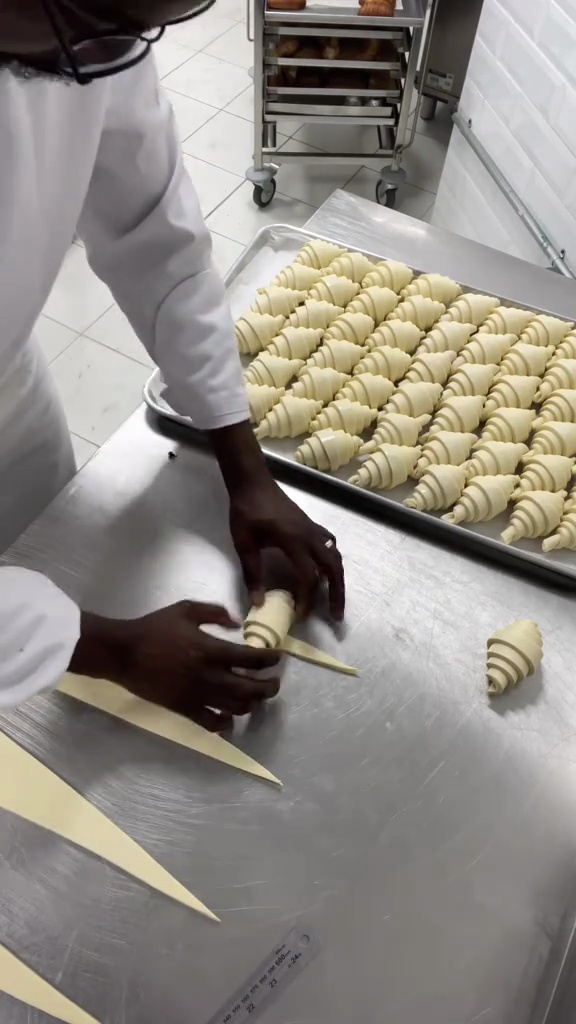
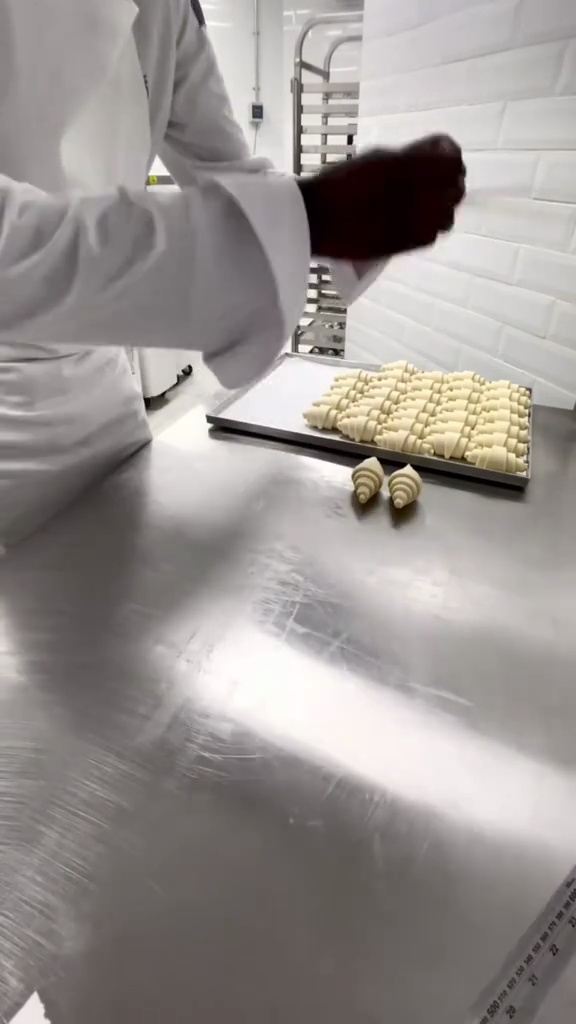
 - Starting from the base, gently roll each triangle towards the tip to form the croissant shape. Place the shaped croissants on a baking sheet lined with parchment paper, leaving space between them. Proof in a warm, humid environment (around 24-26°C or 75-80°F, 75-80% humidity) for 2-3 hours until they are puffy, jiggly, and doubled in size.3hPreview3hPreviewStarting from the base, gently roll each triangle towards the tip to form the croissant shape. Place the shaped croissants on a baking sheet lined with parchment paper, leaving space between them. Proof in a warm, humid environment (around 24-26°C or 75-80°F, 75-80% humidity) for 2-3 hours until they are puffy, jiggly, and doubled in size.
- Preheat your oven to 190°C (375°F). Whisk the egg with a tablespoon of water for an egg wash. Gently brush the top of each proofed croissant with the egg wash. Bake for 15-20 minutes, rotating halfway through, until deeply golden brown and flaky.25mPreview25mPreviewPreheat your oven to 190°C (375°F). Whisk the egg with a tablespoon of water for an egg wash. Gently brush the top of each proofed croissant with the egg wash. Bake for 15-20 minutes, rotating halfway through, until deeply golden brown and flaky.
💡 Tip: Click on any step to mark it as completed and track your cooking progress!