Back to Japanese Recipes

Author:
elixer.javier
TikTok
16M
415K
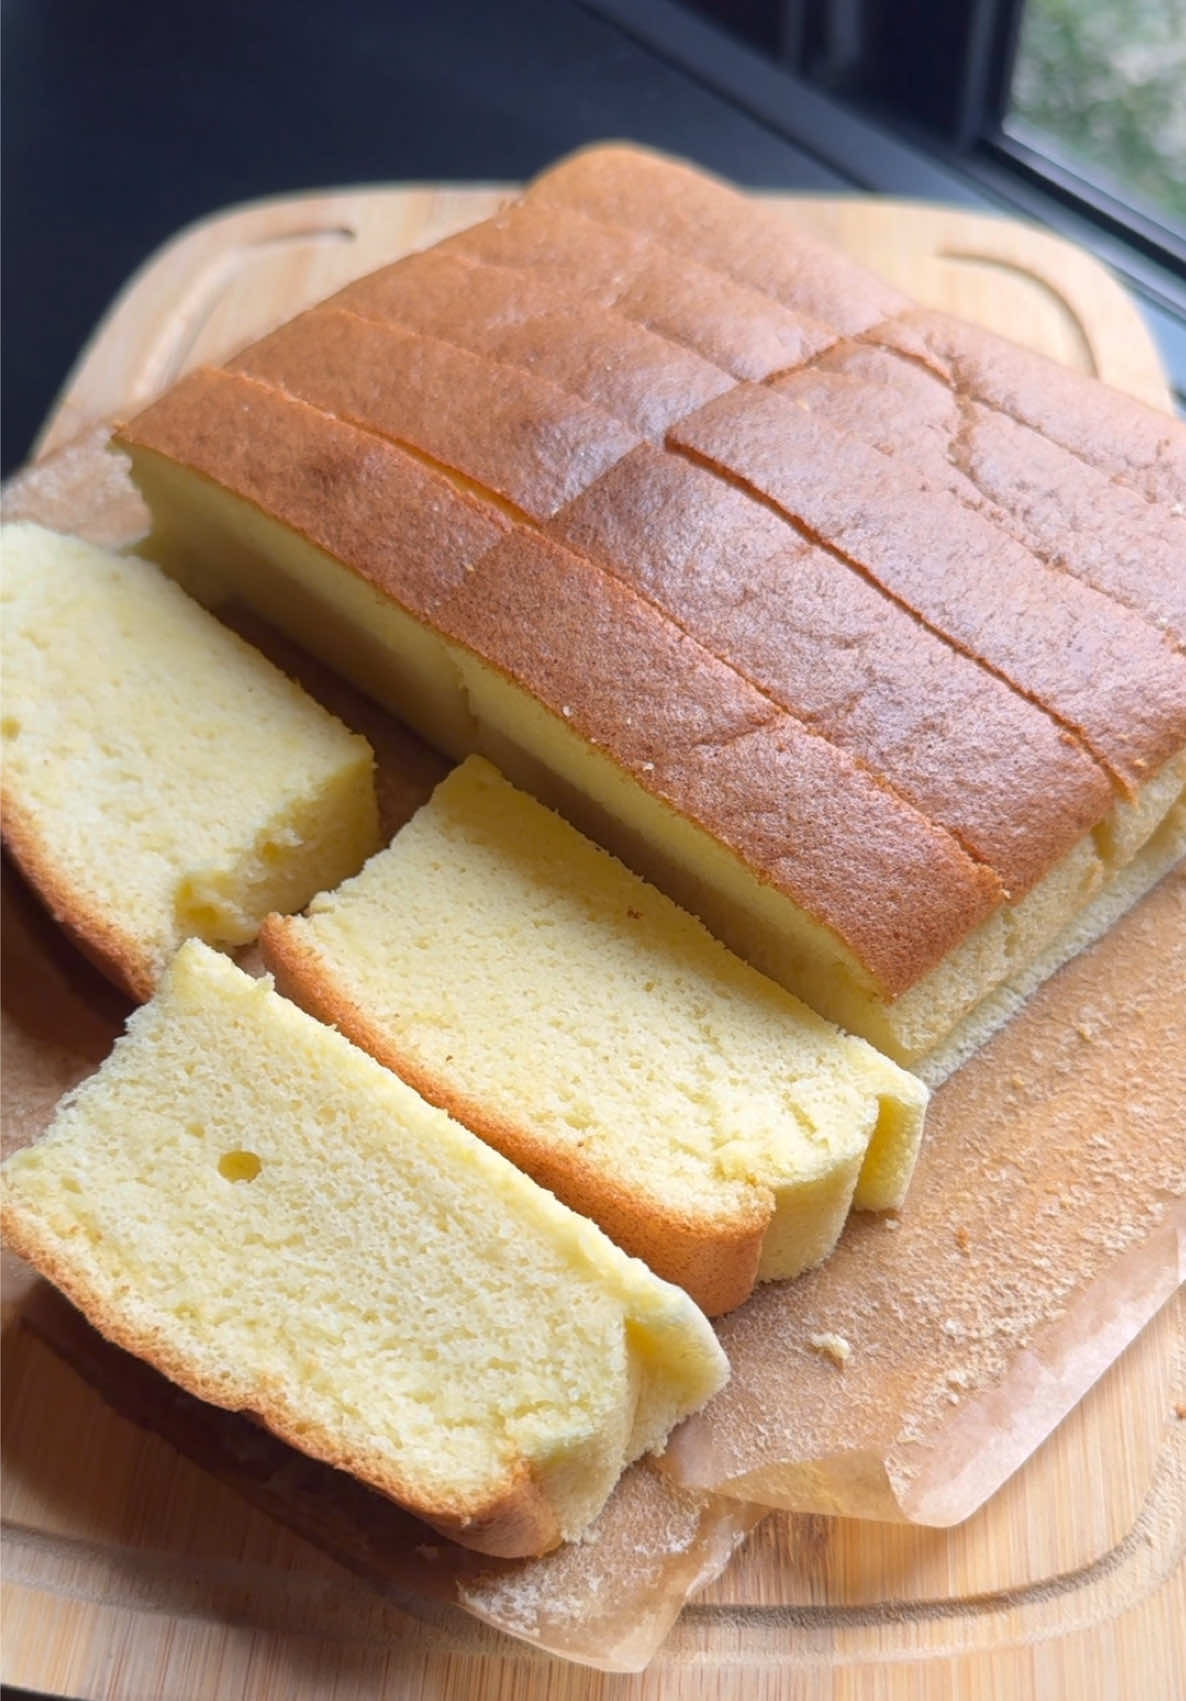
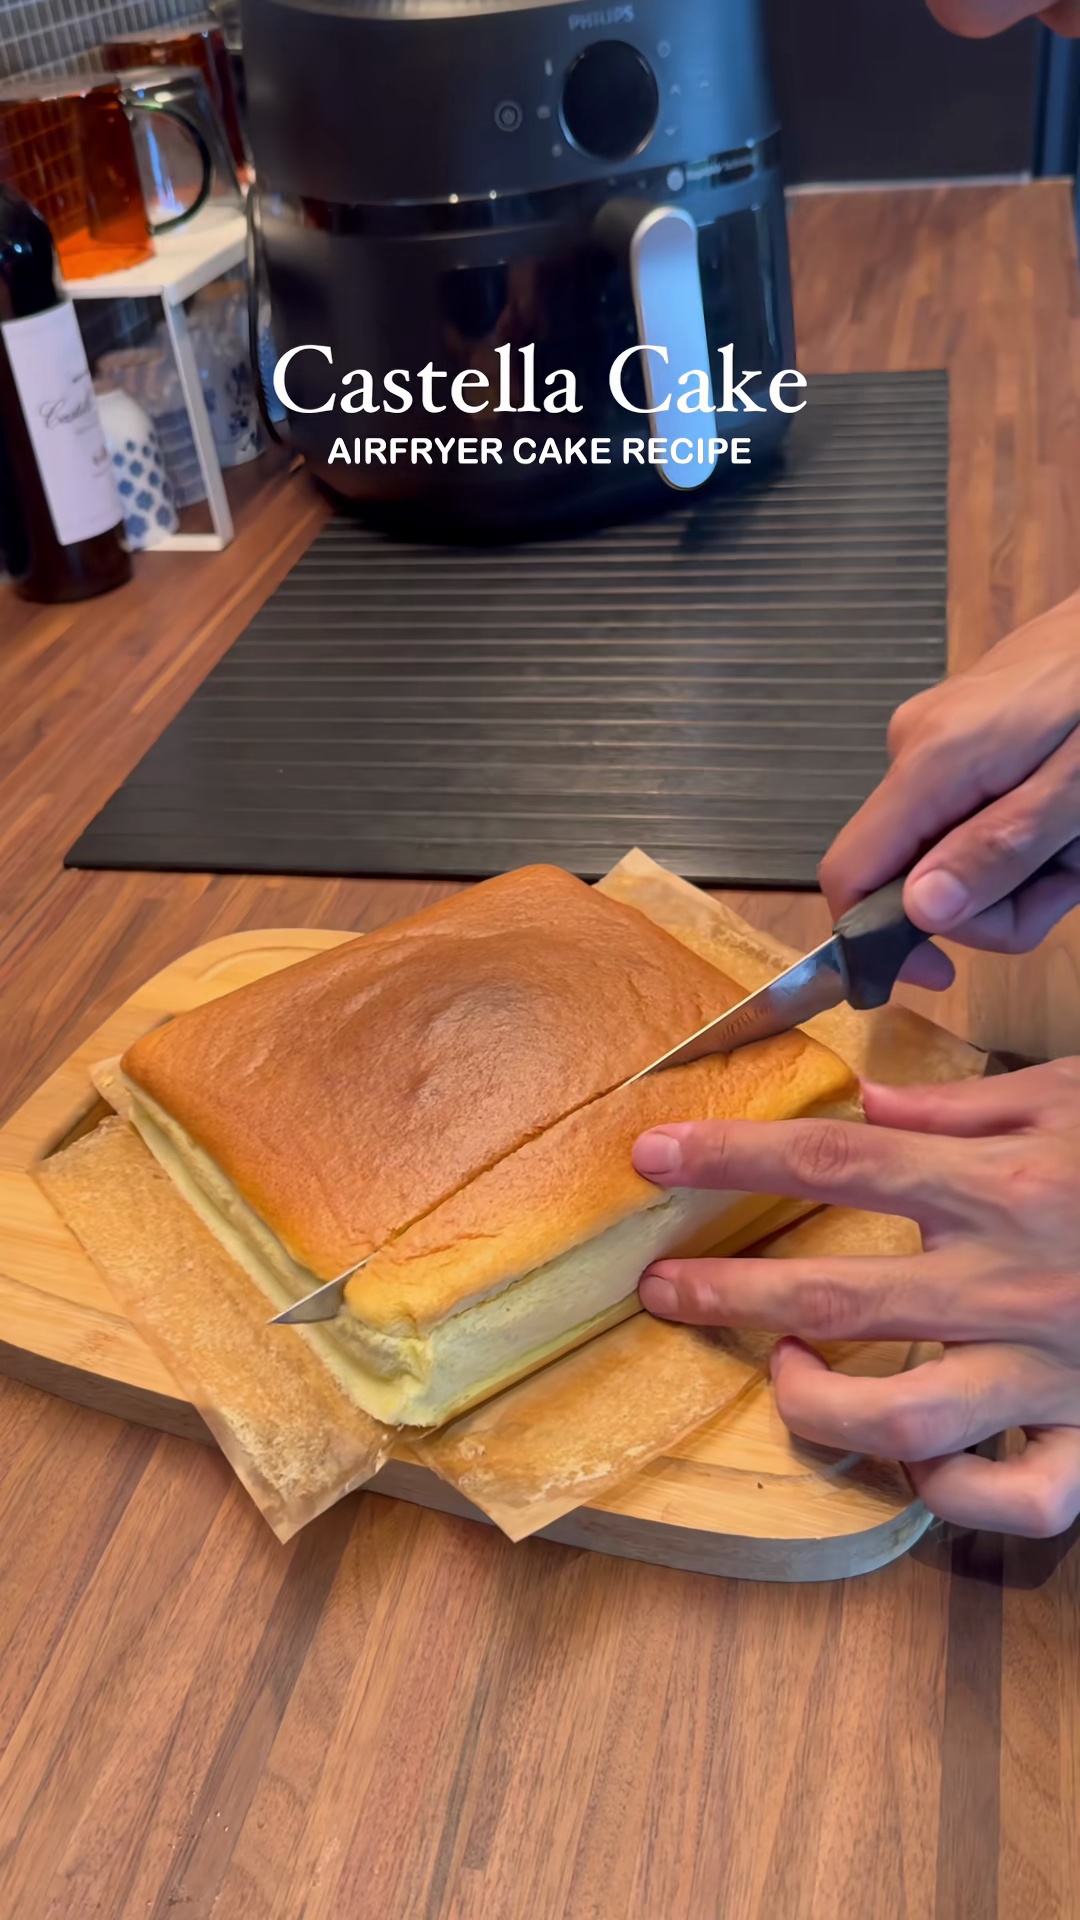
Airfryer Castella Cake
This recipe guides you through making a light and fluffy Castella cake using an air fryer. It involves preparing a smooth batter with melted butter, milk, flour, egg yolks, and vanilla, then gently folding in a delicate meringue made from egg whites and sugar. The cake is baked in a water bath within the air fryer, resulting in a perfectly moist and tender Japanese-style sponge cake. Ideal for a delightful dessert or a sweet treat.
#Castella Cake
#Airfryer Recipe
#Japanese Dessert
#Sponge Cake
#Baking
#Sweet Treat
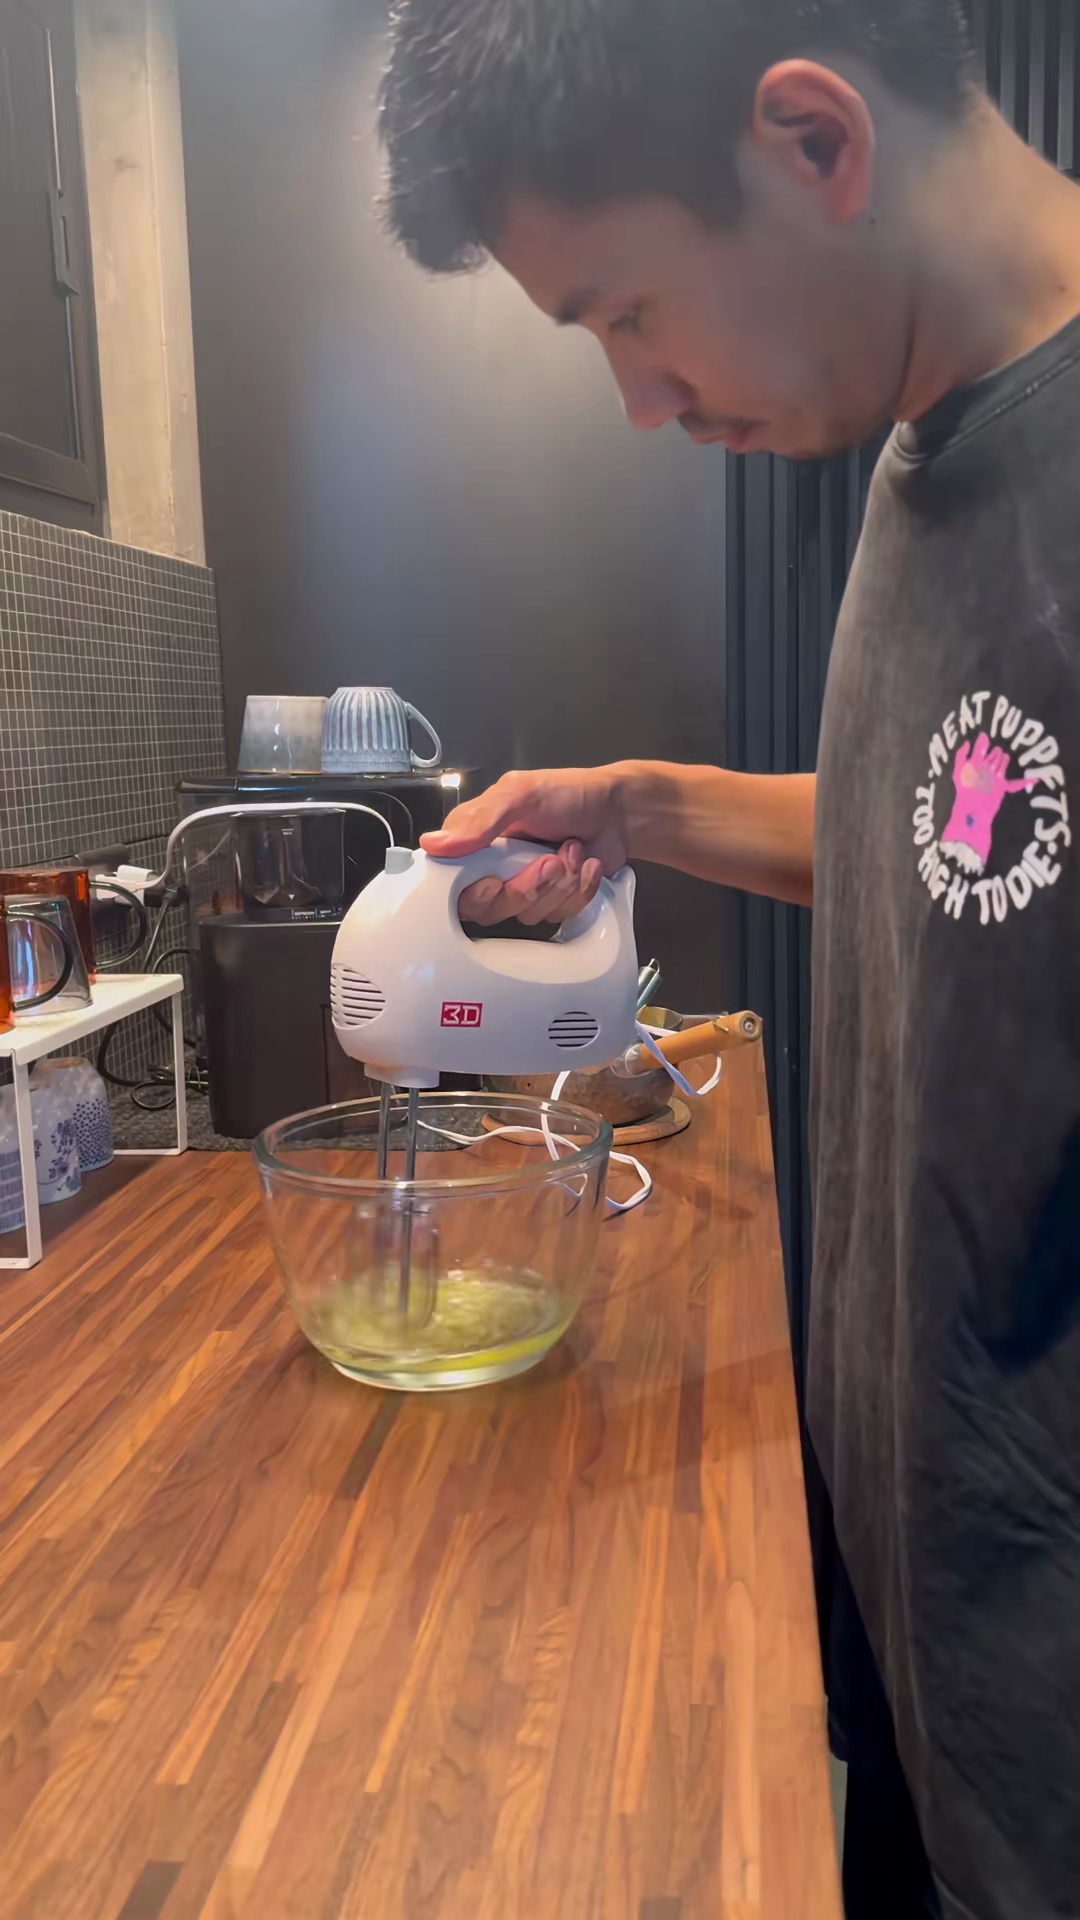
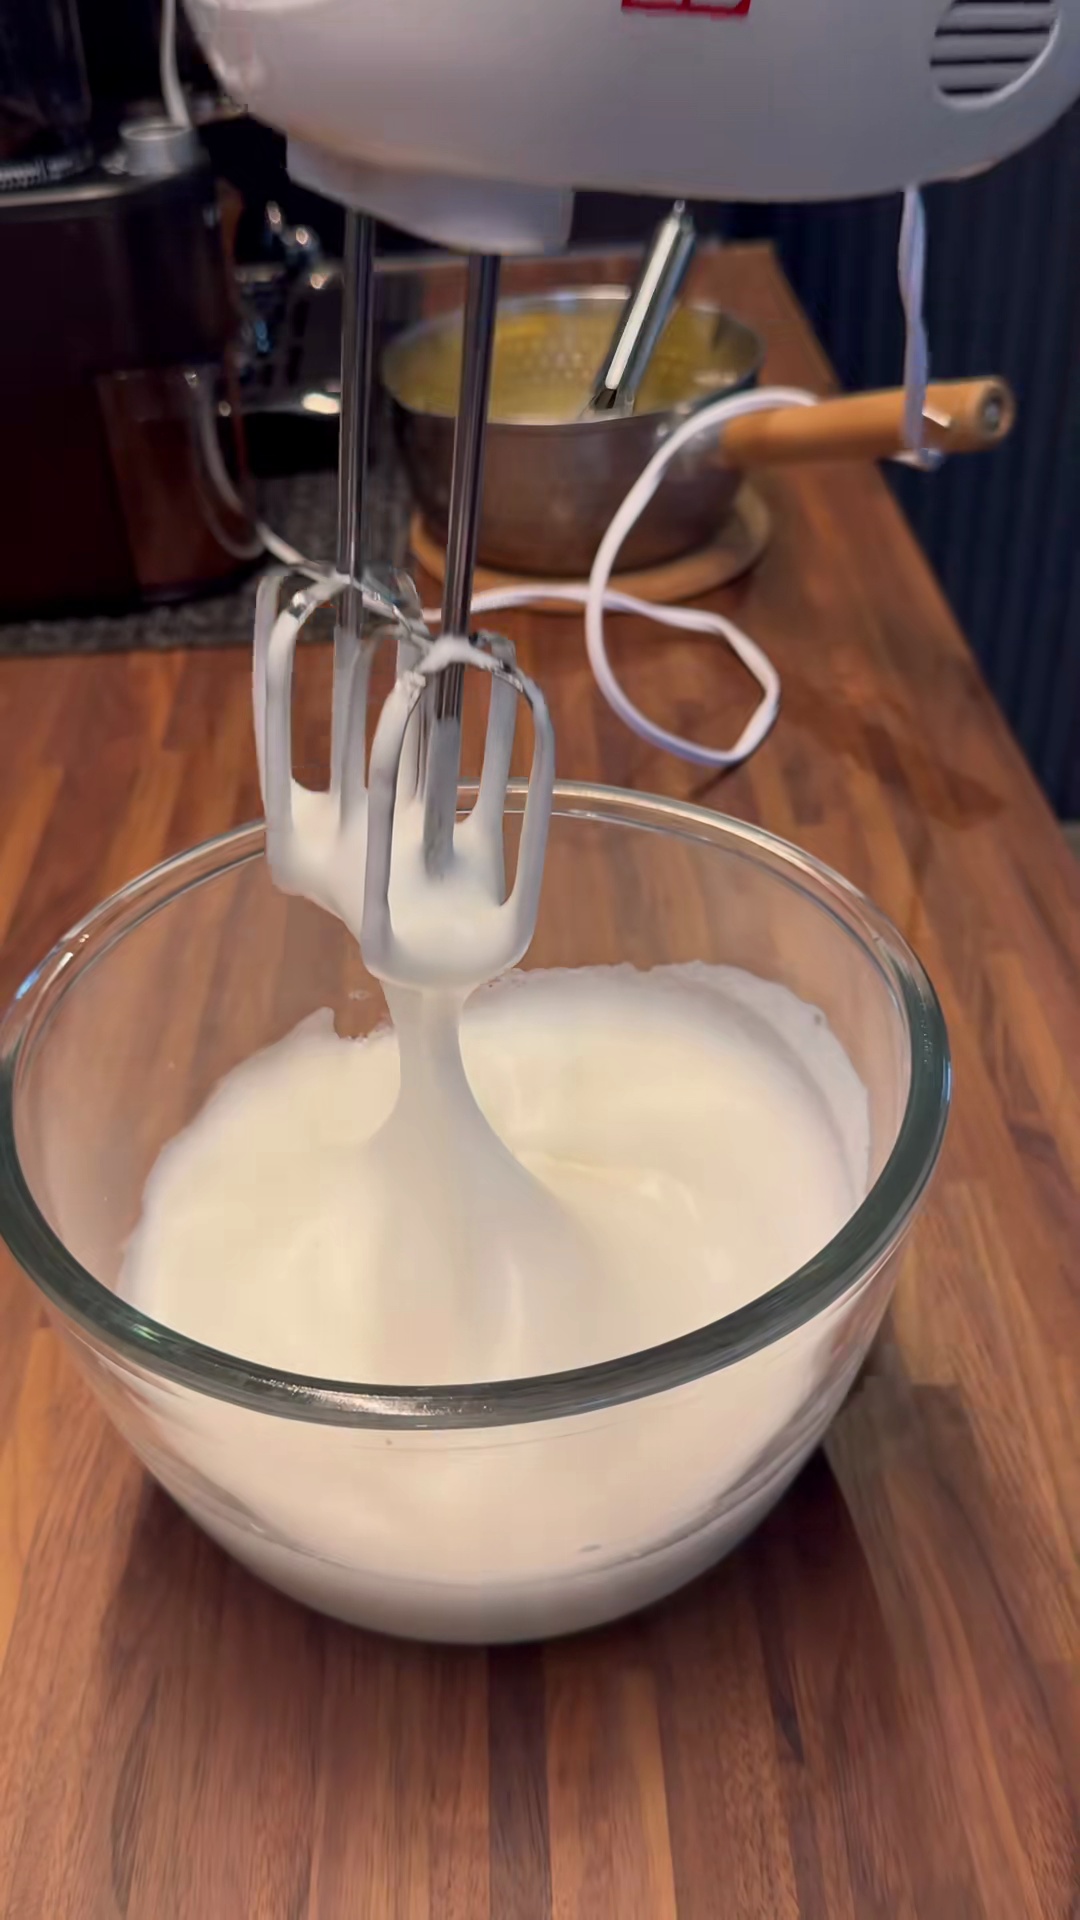
Meringue peaks
Recipe Information
20m
Prep Time
40m
Cook Time
1h
Total Time
6
Servings
Medium
Japanese
English
Nutrition (per serving)
208
Calories
6g
Protein
20g
Carbs
12g
Fat
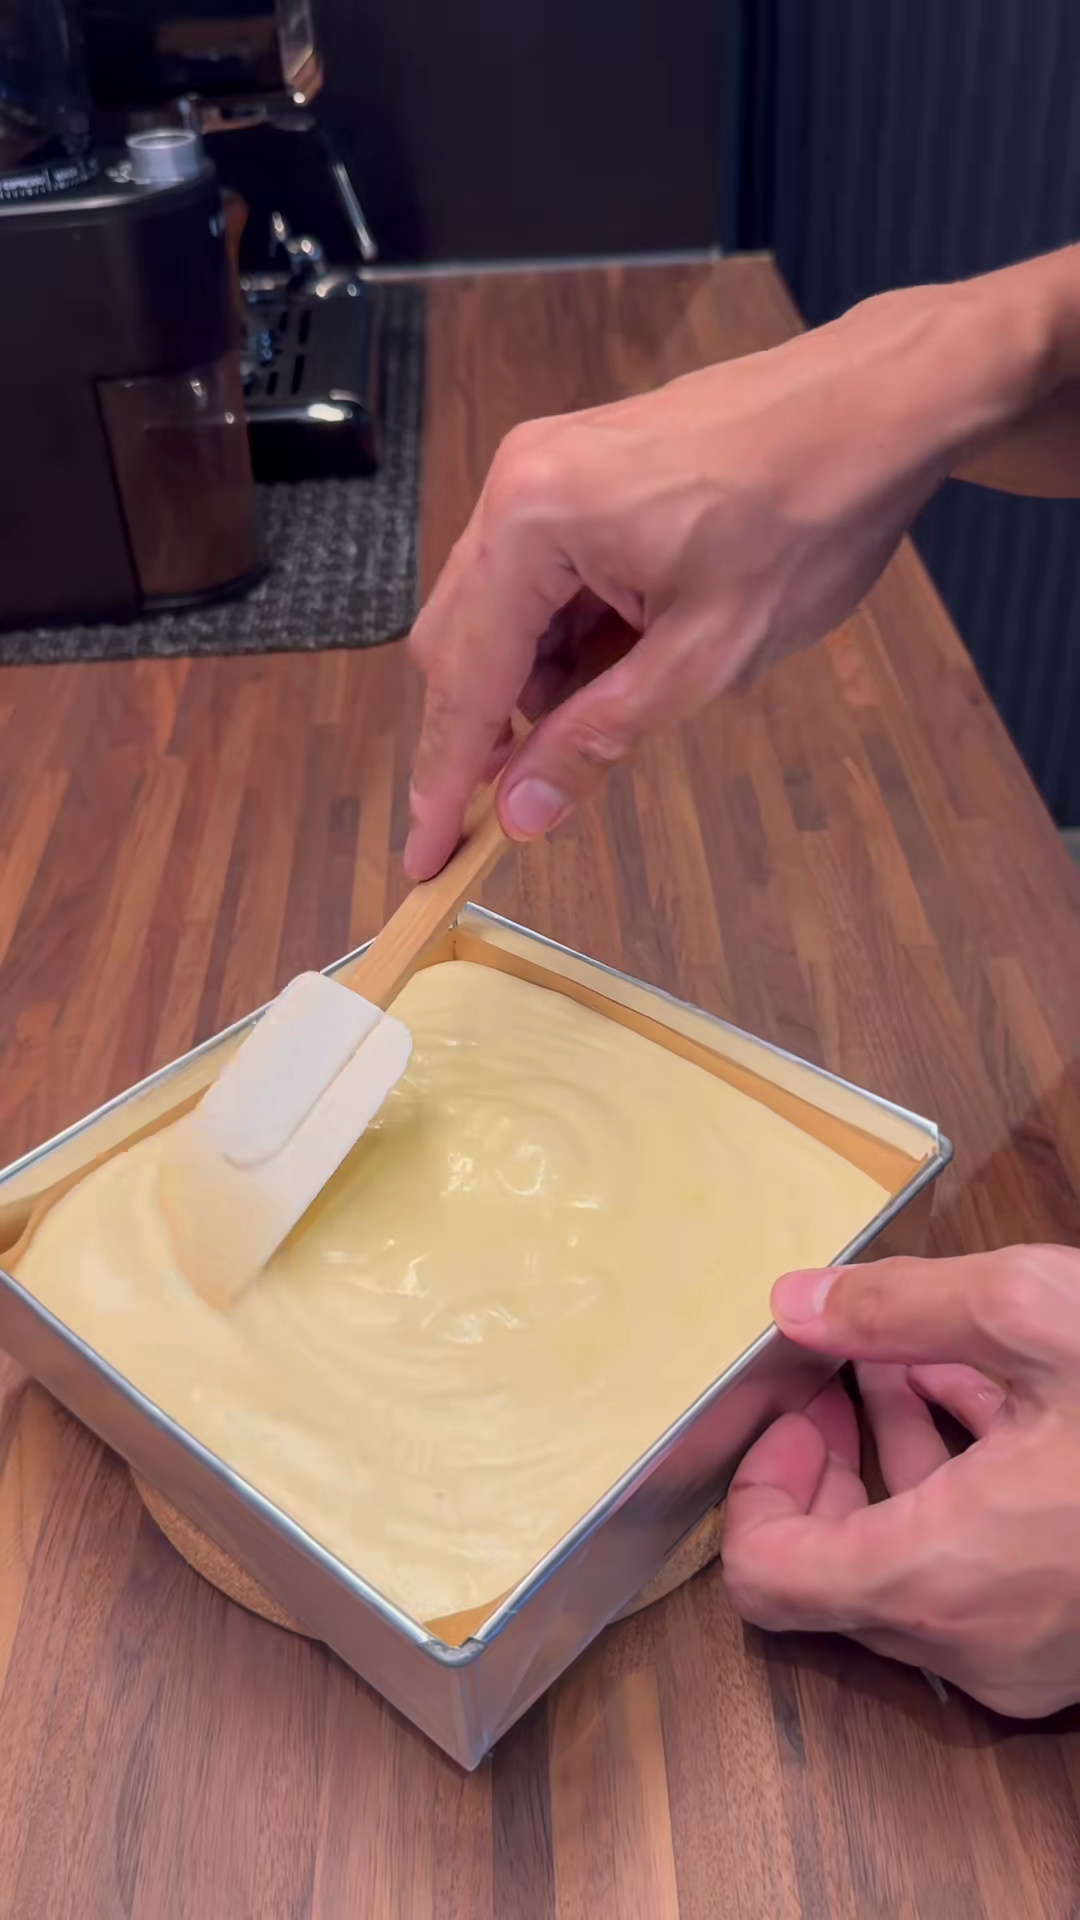
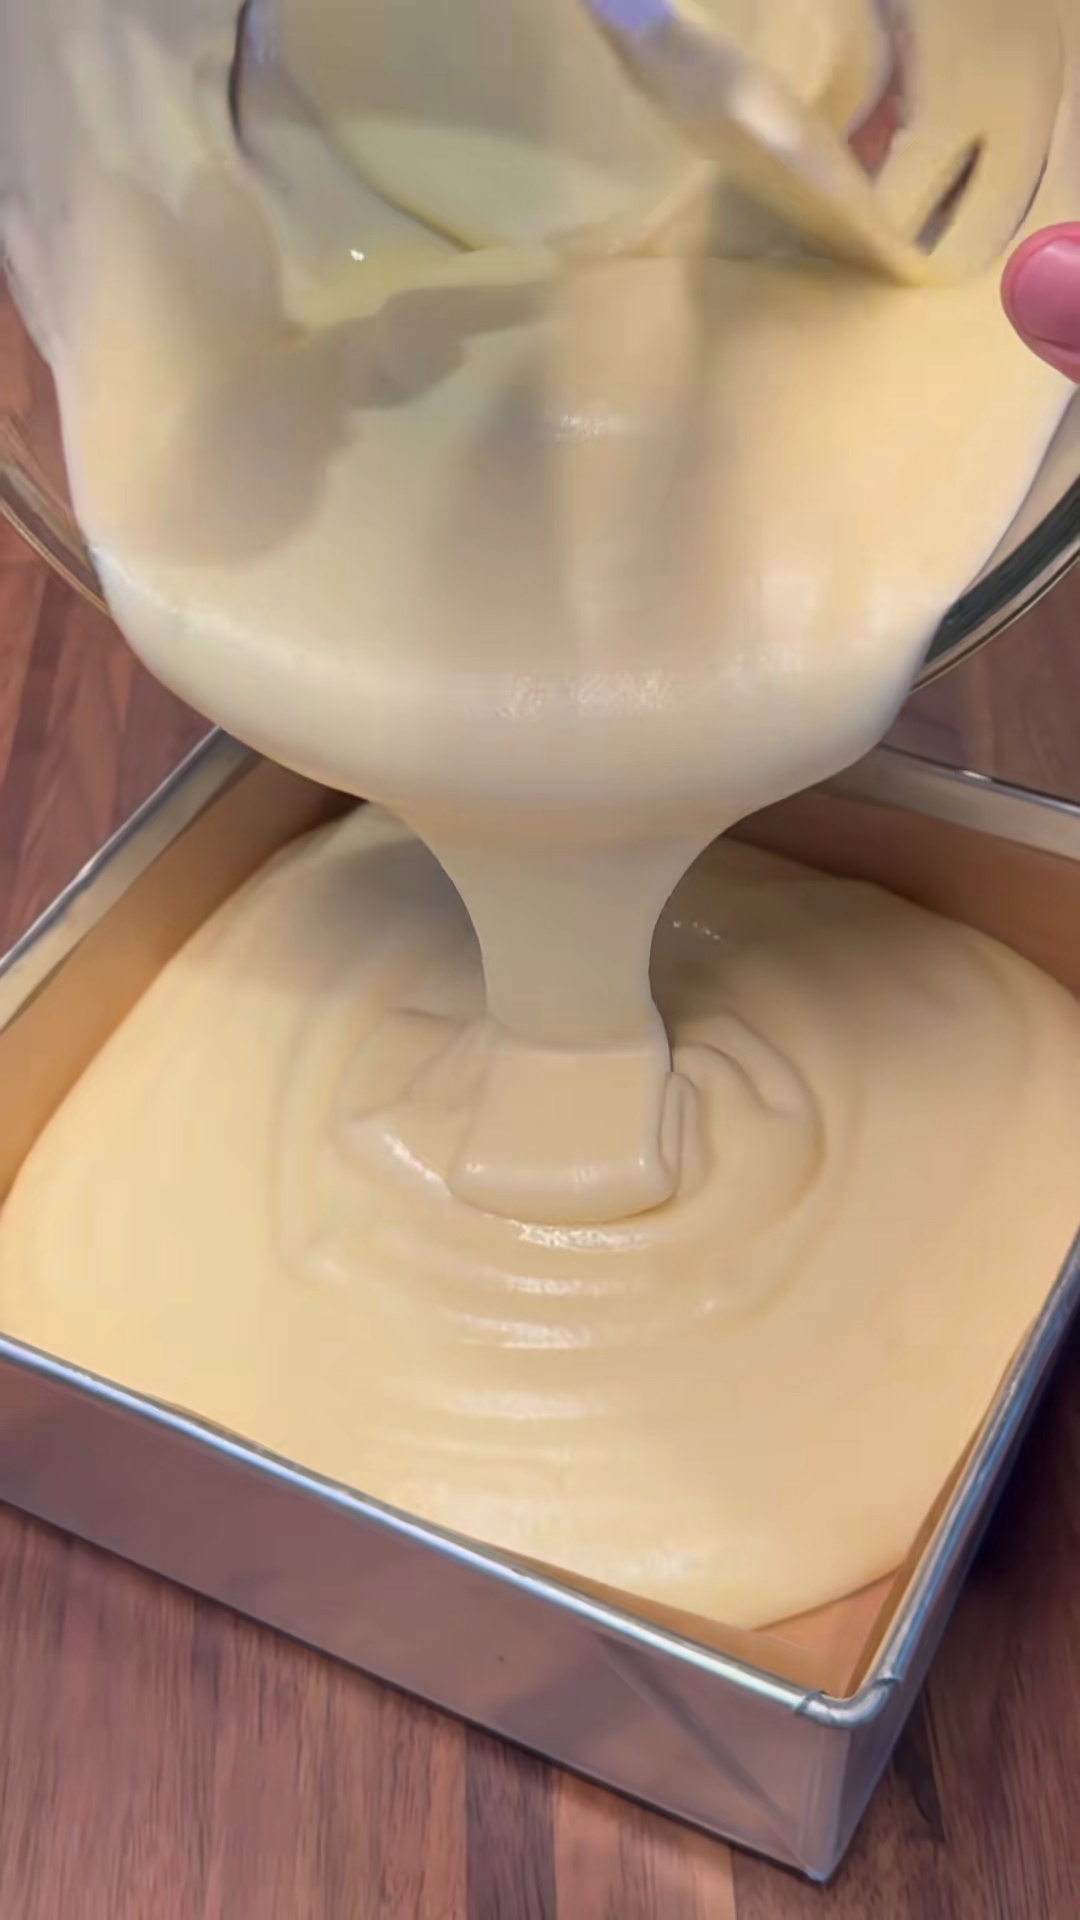
Batter in mold ready for baking
Ingredients
Servings: 6
💡 Tip: Check off ingredients as you add them to keep track of your progress!
Baked Castella Cake
Instructions
0/9 completed
0%
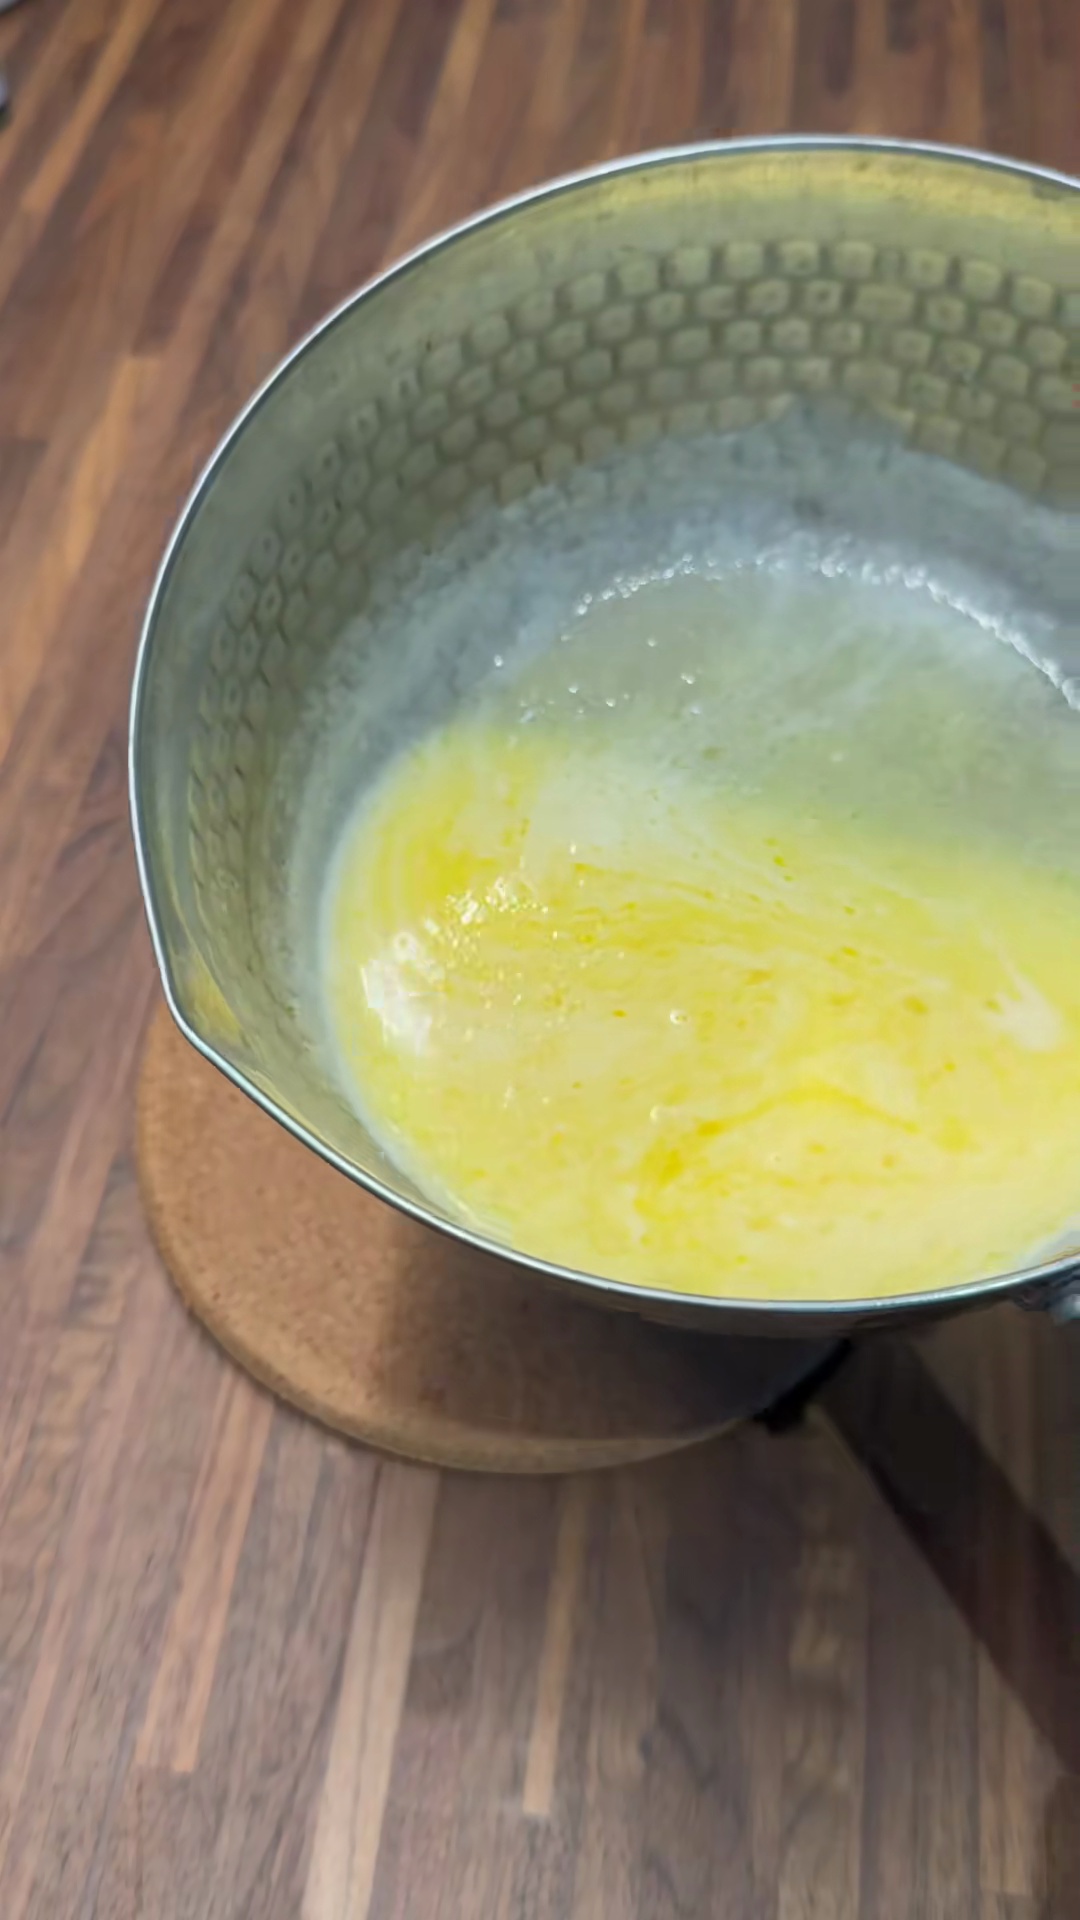
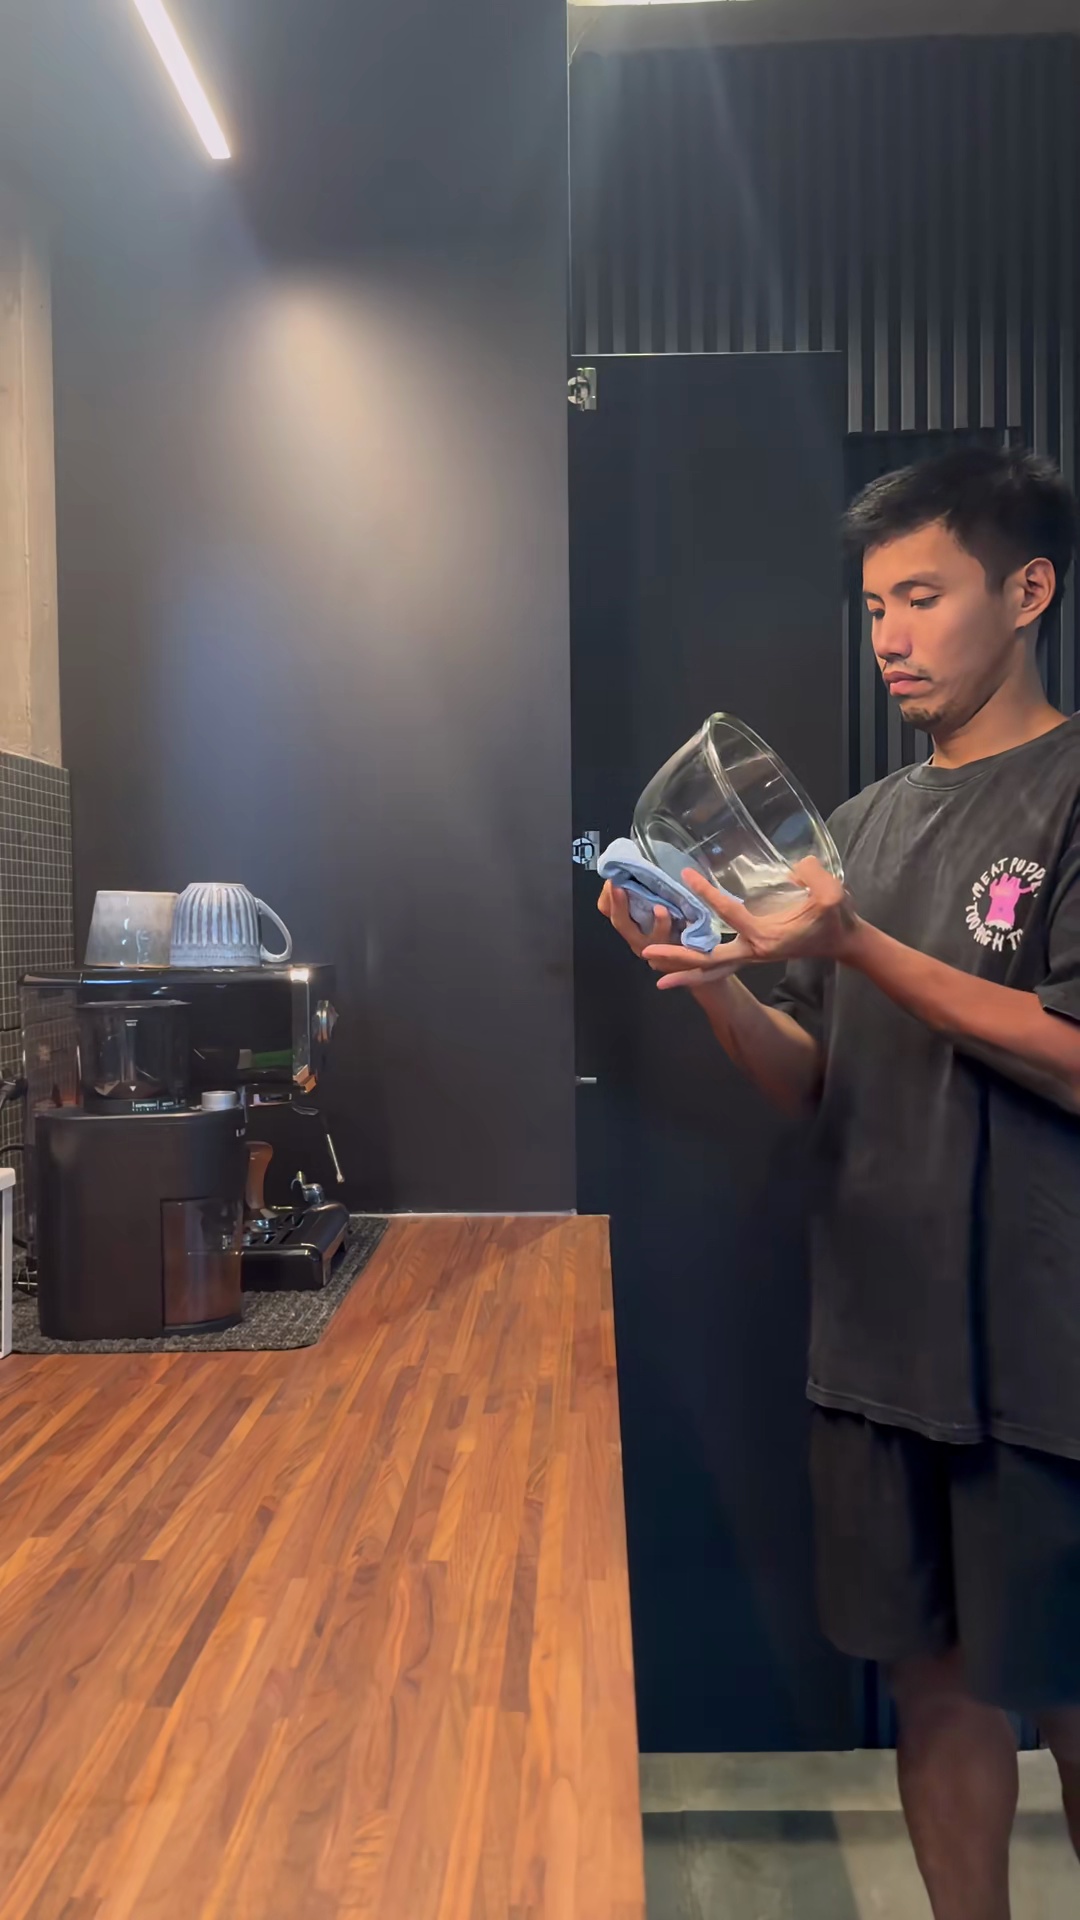
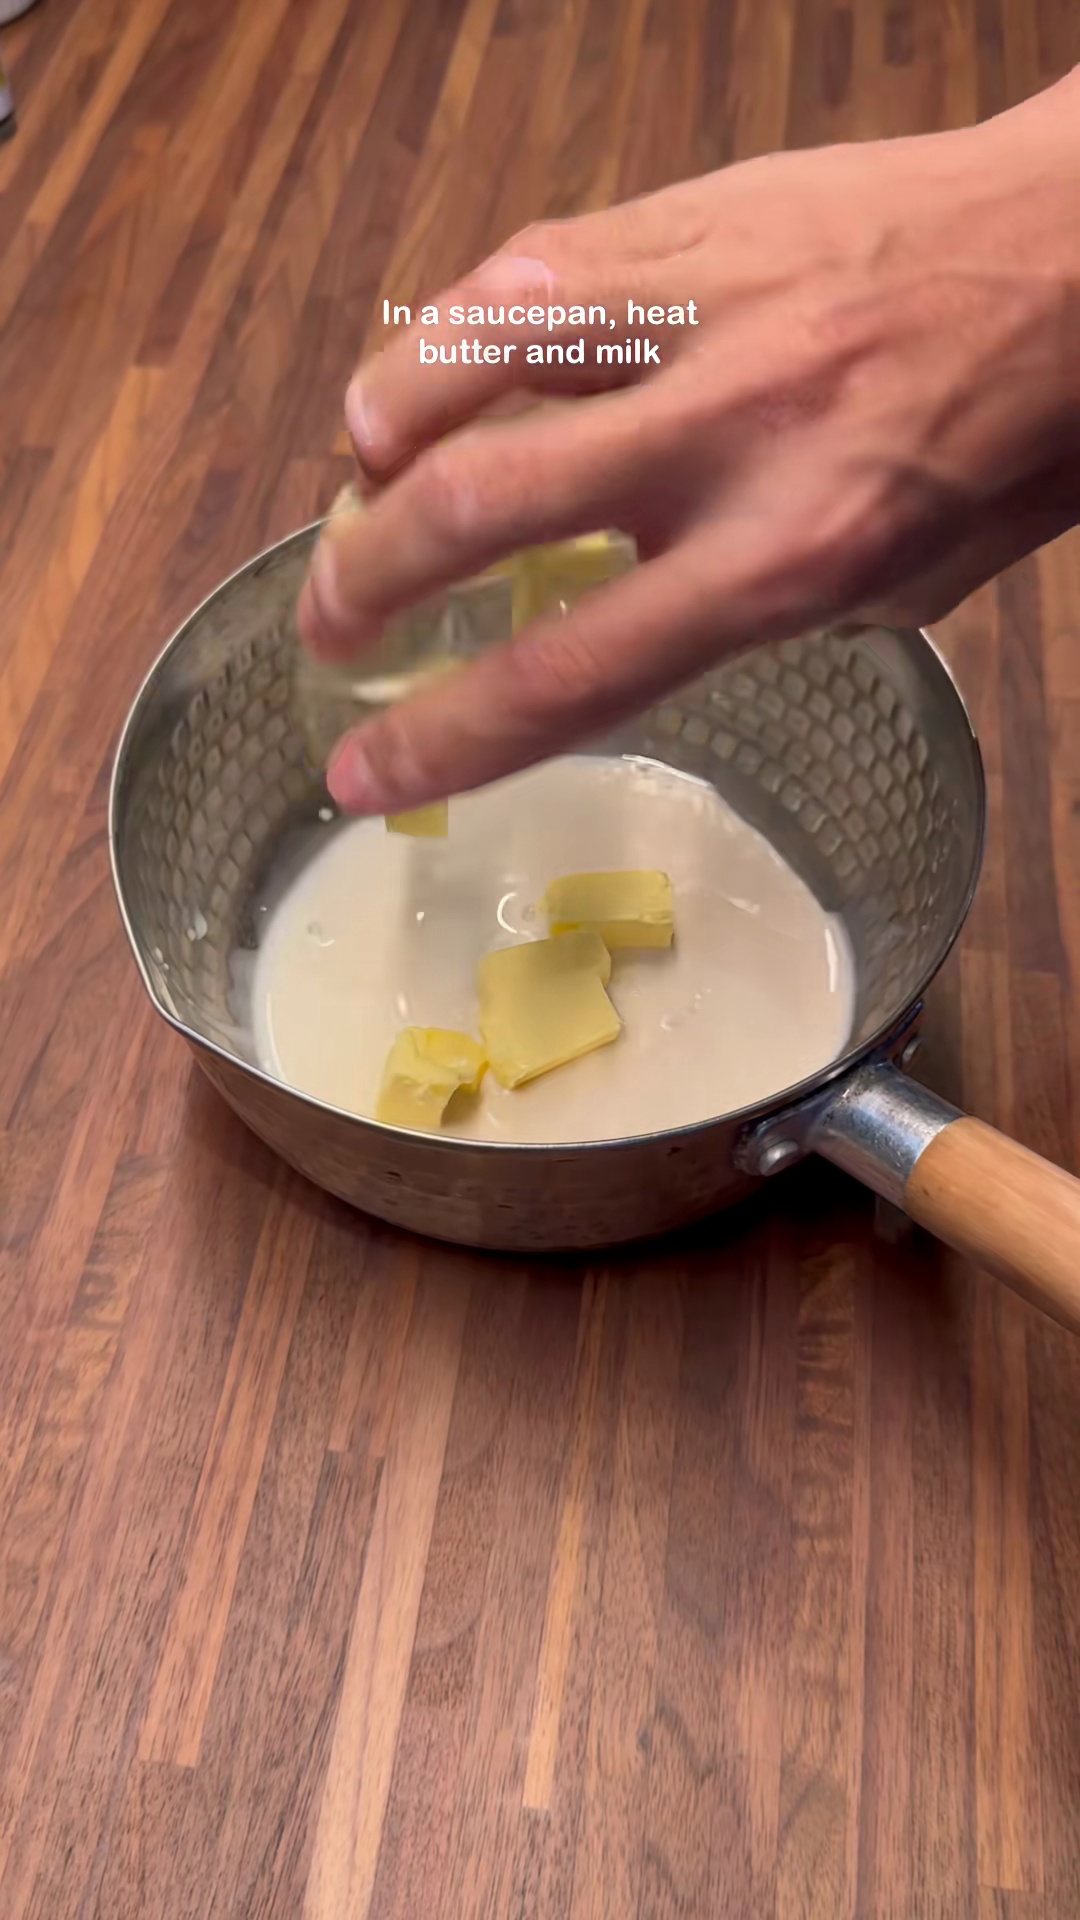
- In a heatproof bowl, combine the unsalted butter and milk. Heat gently until the butter is completely melted, then set aside to cool slightly.3m
 Preview3mPreviewIn a heatproof bowl, combine the unsalted butter and milk. Heat gently until the butter is completely melted, then set aside to cool slightly.
 - Sift the all-purpose flour into the cooled butter and milk mixture. Mix until a smooth batter forms, ensuring there are no lumps.2m
 Preview2mPreviewSift the all-purpose flour into the cooled butter and milk mixture. Mix until a smooth batter forms, ensuring there are no lumps.
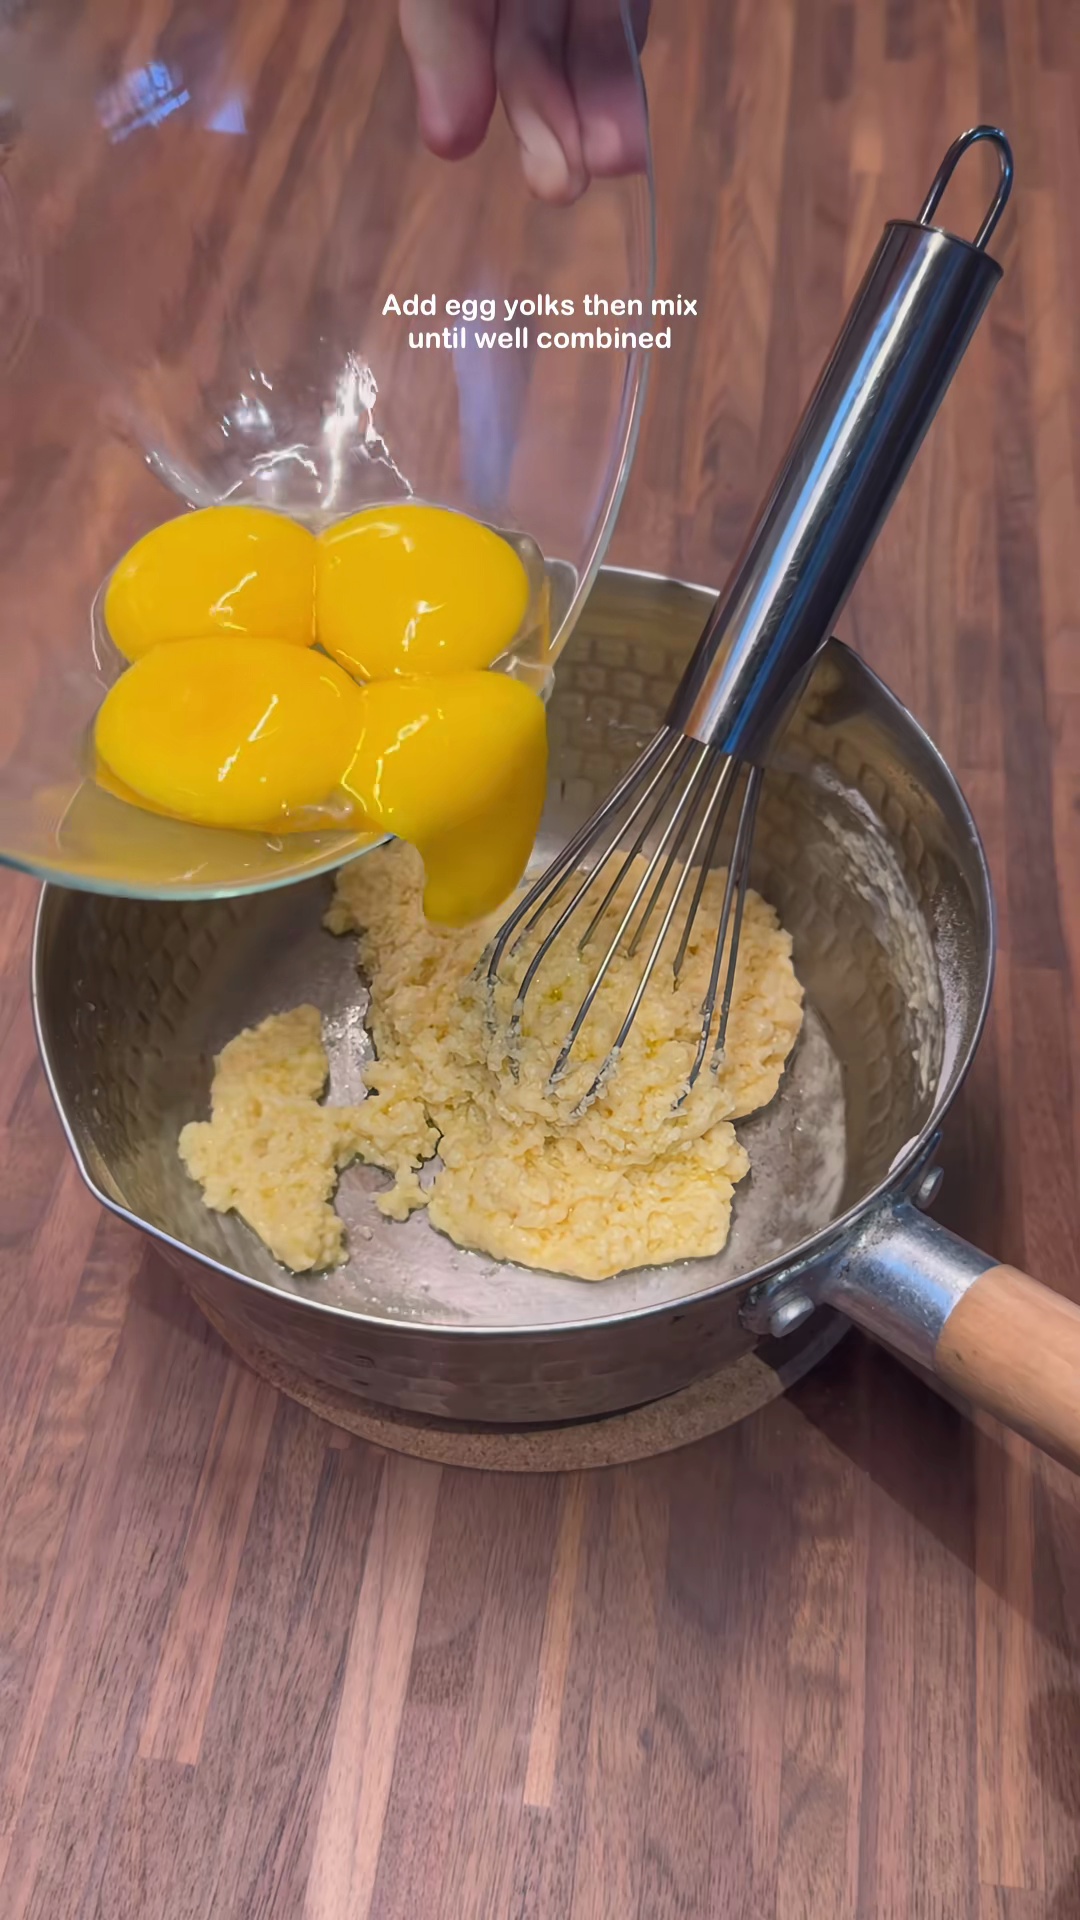
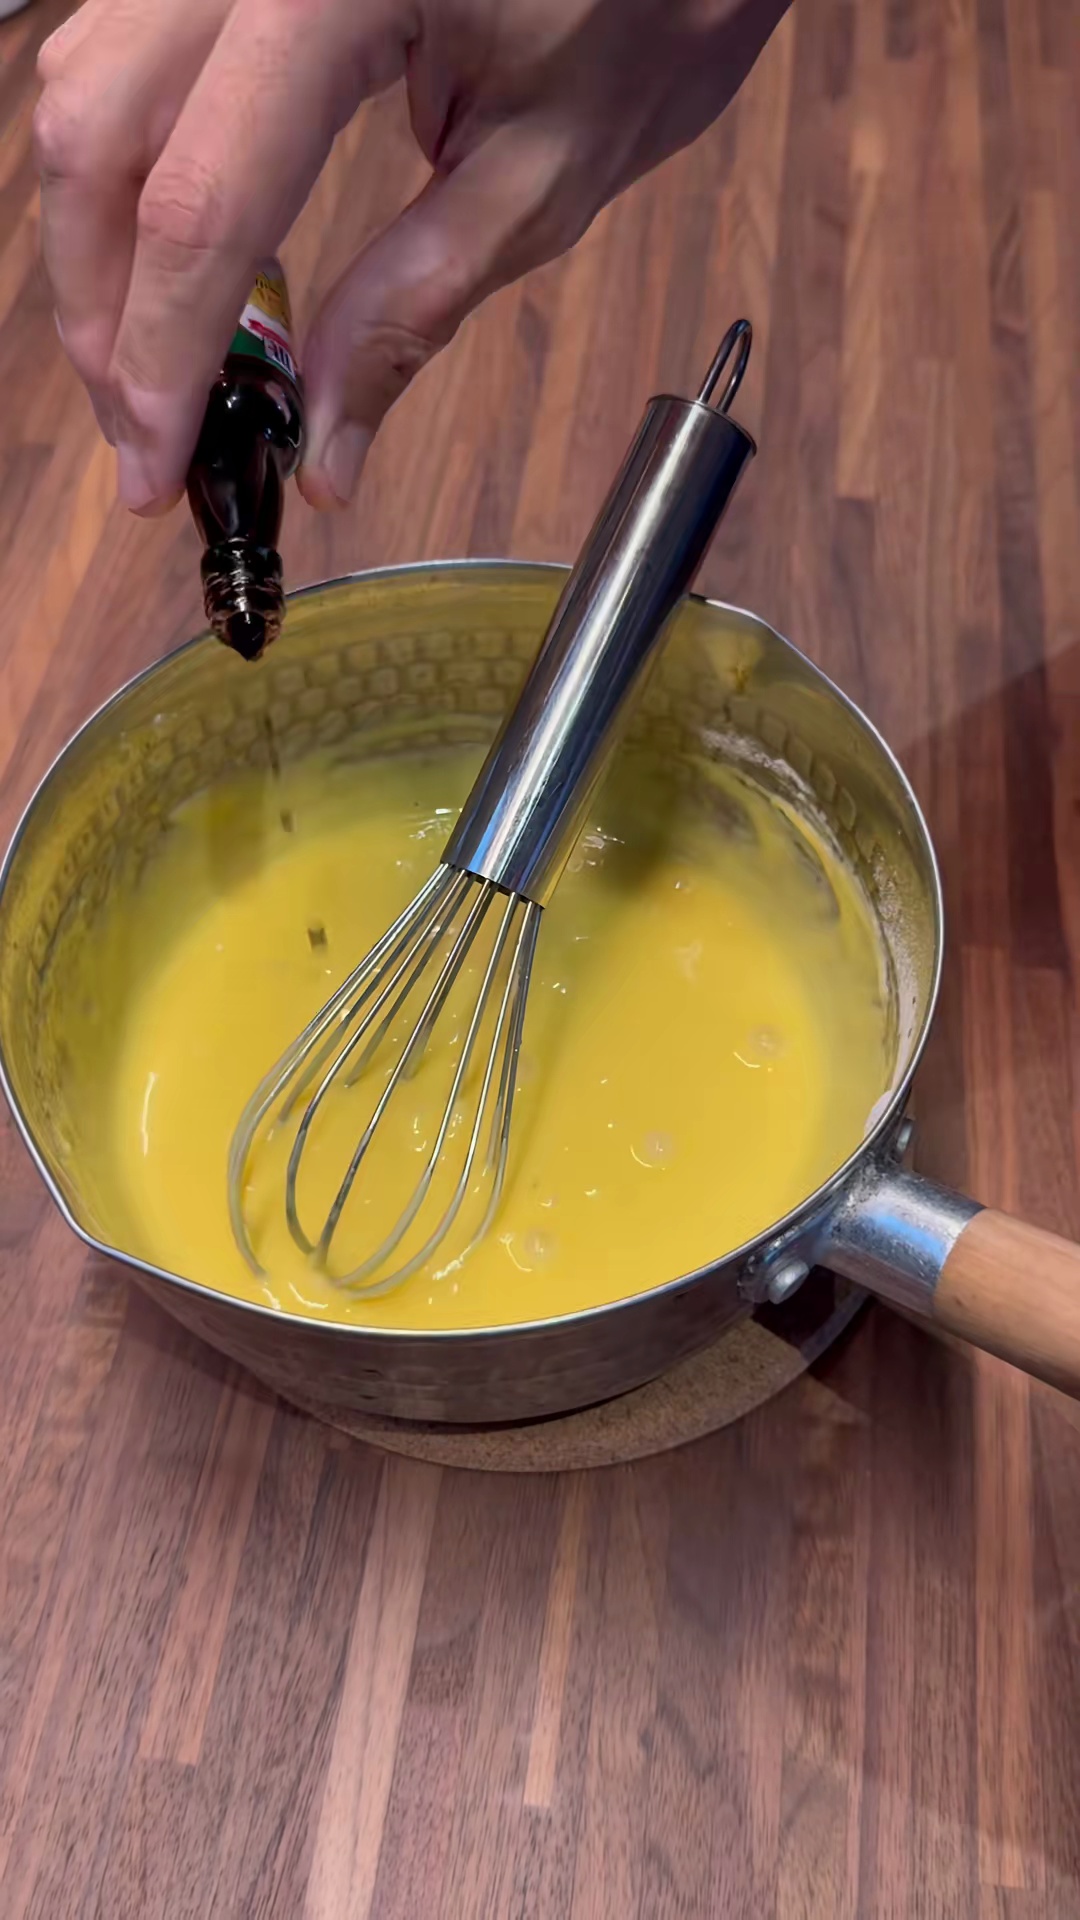
 - Add the egg yolks and drops of vanilla extract to the flour batter. Stir until all ingredients are well combined and the mixture is uniform.2m
 Preview2mPreviewAdd the egg yolks and drops of vanilla extract to the flour batter. Stir until all ingredients are well combined and the mixture is uniform.
 - In a separate, clean, and dry bowl, whip the egg whites until soft peaks form. Gradually add the white sugar, a little at a time, while continuing to whip until stiff, glossy peaks form (this is your meringue).7m
 Preview7mPreviewIn a separate, clean, and dry bowl, whip the egg whites until soft peaks form. Gradually add the white sugar, a little at a time, while continuing to whip until stiff, glossy peaks form (this is your meringue).
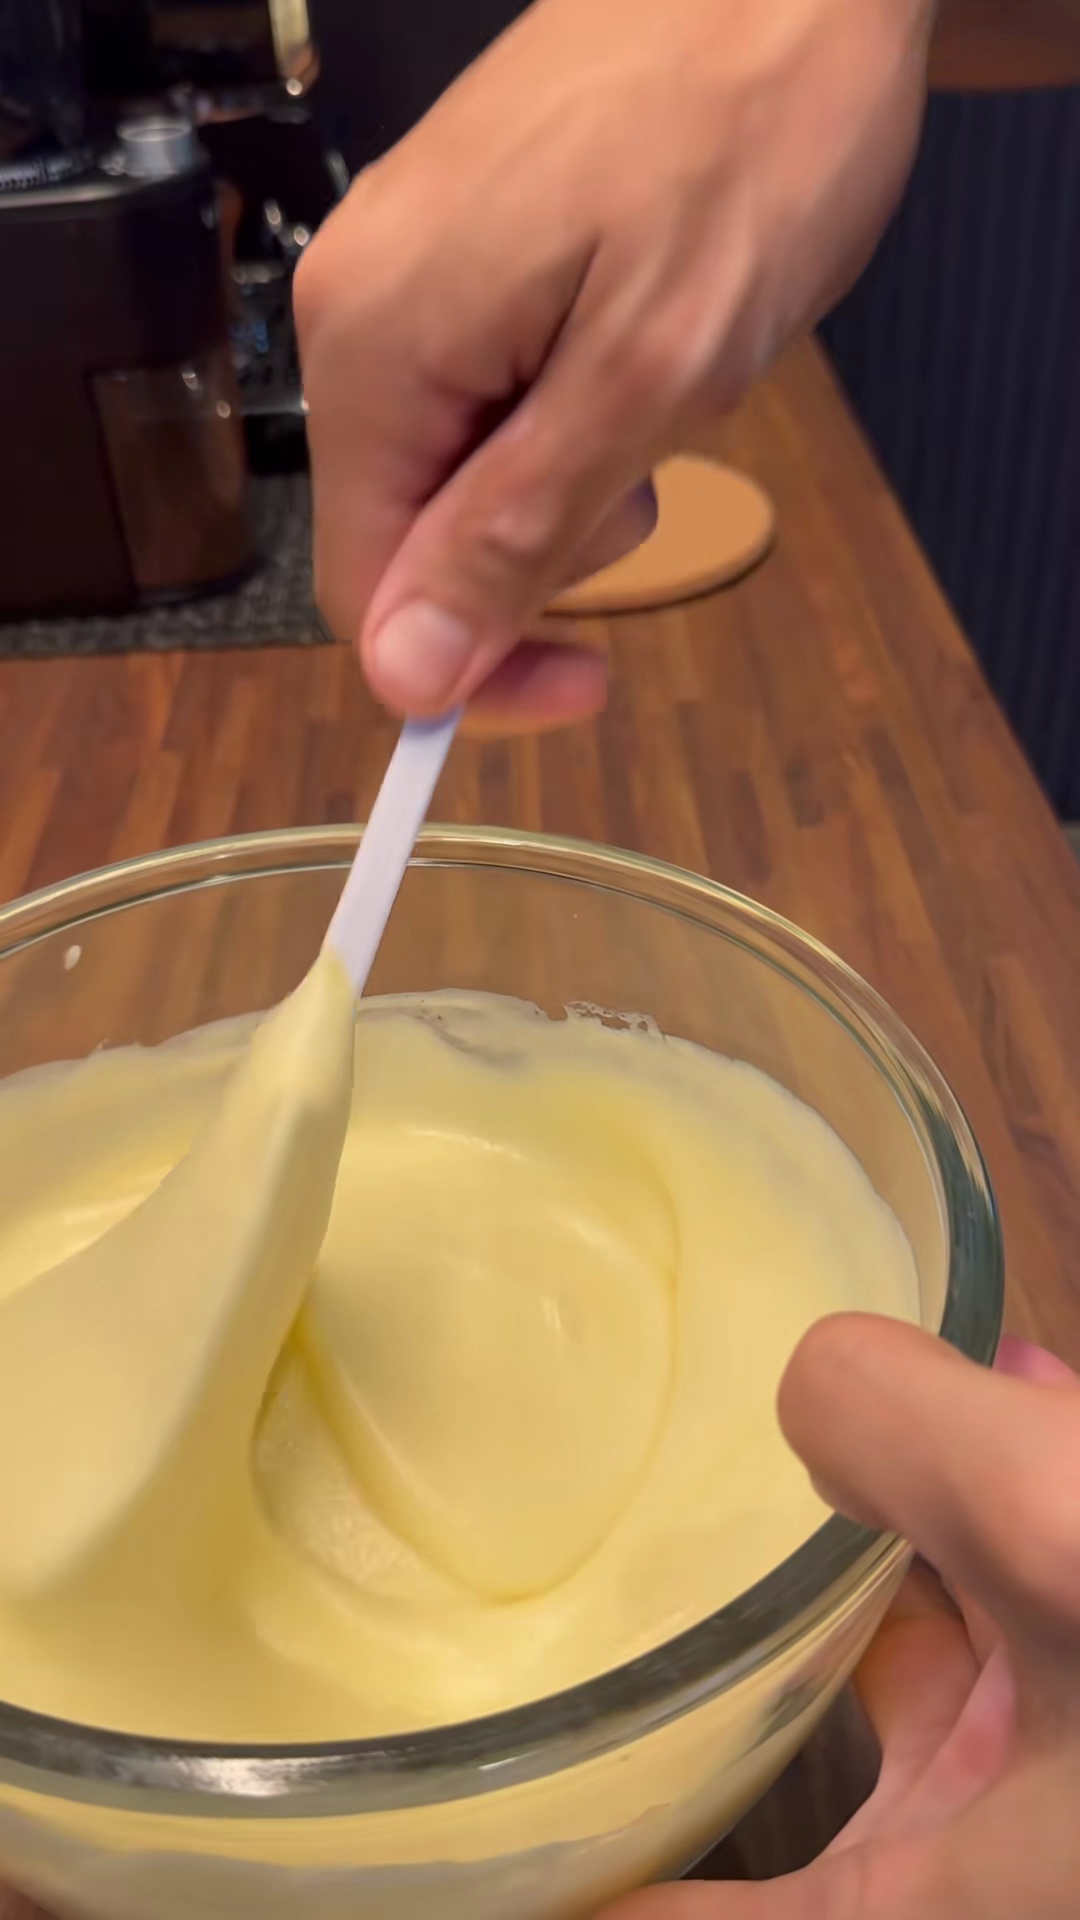
 - Gently fold the meringue into the egg yolk batter in two or three additions. Use a spatula to carefully incorporate the meringue without deflating the mixture, retaining as much air as possible.5m
 Preview5mPreviewGently fold the meringue into the egg yolk batter in two or three additions. Use a spatula to carefully incorporate the meringue without deflating the mixture, retaining as much air as possible.
 - Pour the prepared batter into your chosen baking mold, preferably one lined with parchment paper, and place the mold into a hot water bath.1m
 Preview1mPreviewPour the prepared batter into your chosen baking mold, preferably one lined with parchment paper, and place the mold into a hot water bath.
 - Place the mold with the water bath into the air fryer. Cover the mold with a lid or aluminum foil and airfry for 10 minutes at 150°C (300°F).10m
 Preview10mPreviewPlace the mold with the water bath into the air fryer. Cover the mold with a lid or aluminum foil and airfry for 10 minutes at 150°C (300°F).
 - After 10 minutes, carefully remove the lid or foil from the cake. Continue to airfry for an additional 30 minutes at 150°C (300°F), or until a skewer inserted into the center comes out clean.30m
 Preview30mPreviewAfter 10 minutes, carefully remove the lid or foil from the cake. Continue to airfry for an additional 30 minutes at 150°C (300°F), or until a skewer inserted into the center comes out clean.
 - Once baked, remove the Castella cake from the air fryer and let it cool completely in the mold before carefully unmolding and slicing. Serve and enjoy!15m
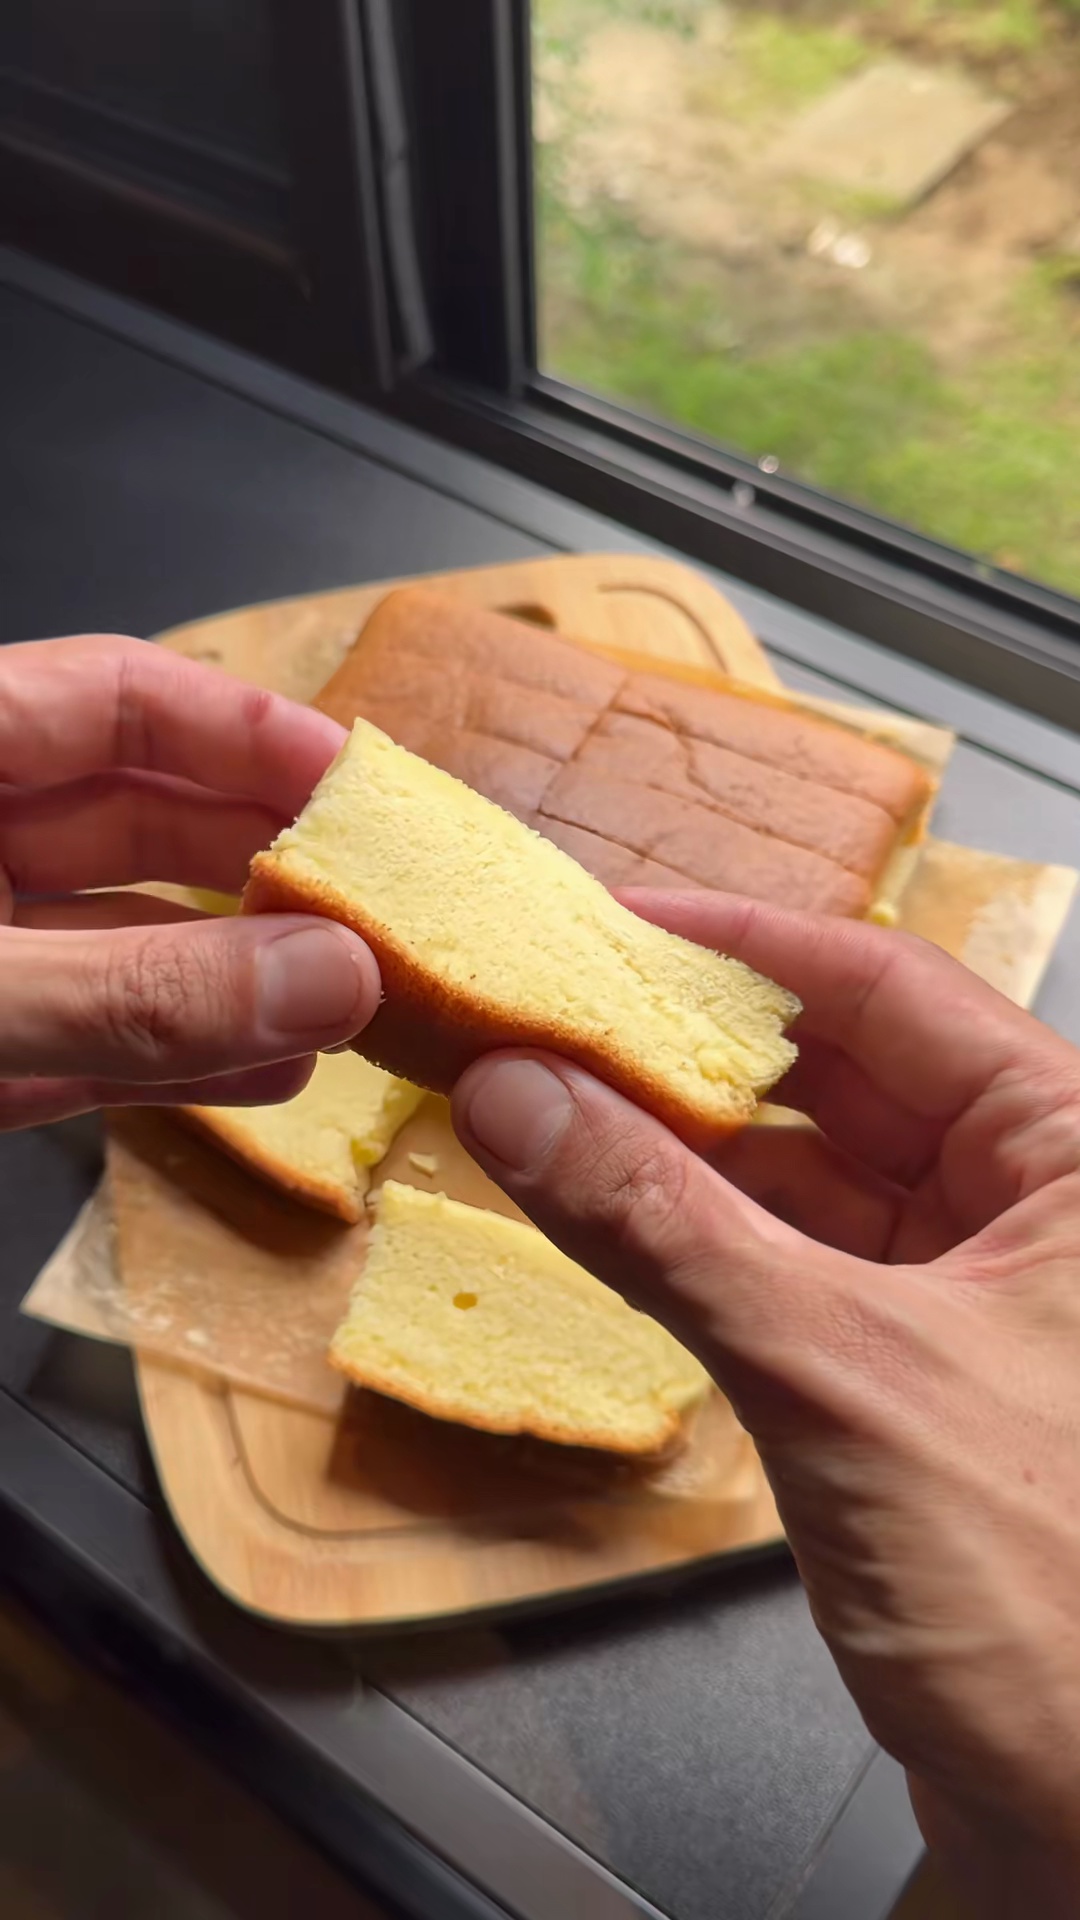
 Preview15mPreviewOnce baked, remove the Castella cake from the air fryer and let it cool completely in the mold before carefully unmolding and slicing. Serve and enjoy!
💡 Tip: Click on any step to mark it as completed and track your cooking progress!