Back to Japanese Recipes


Author:
my_kitchen_menus
TikTok
11M
236K
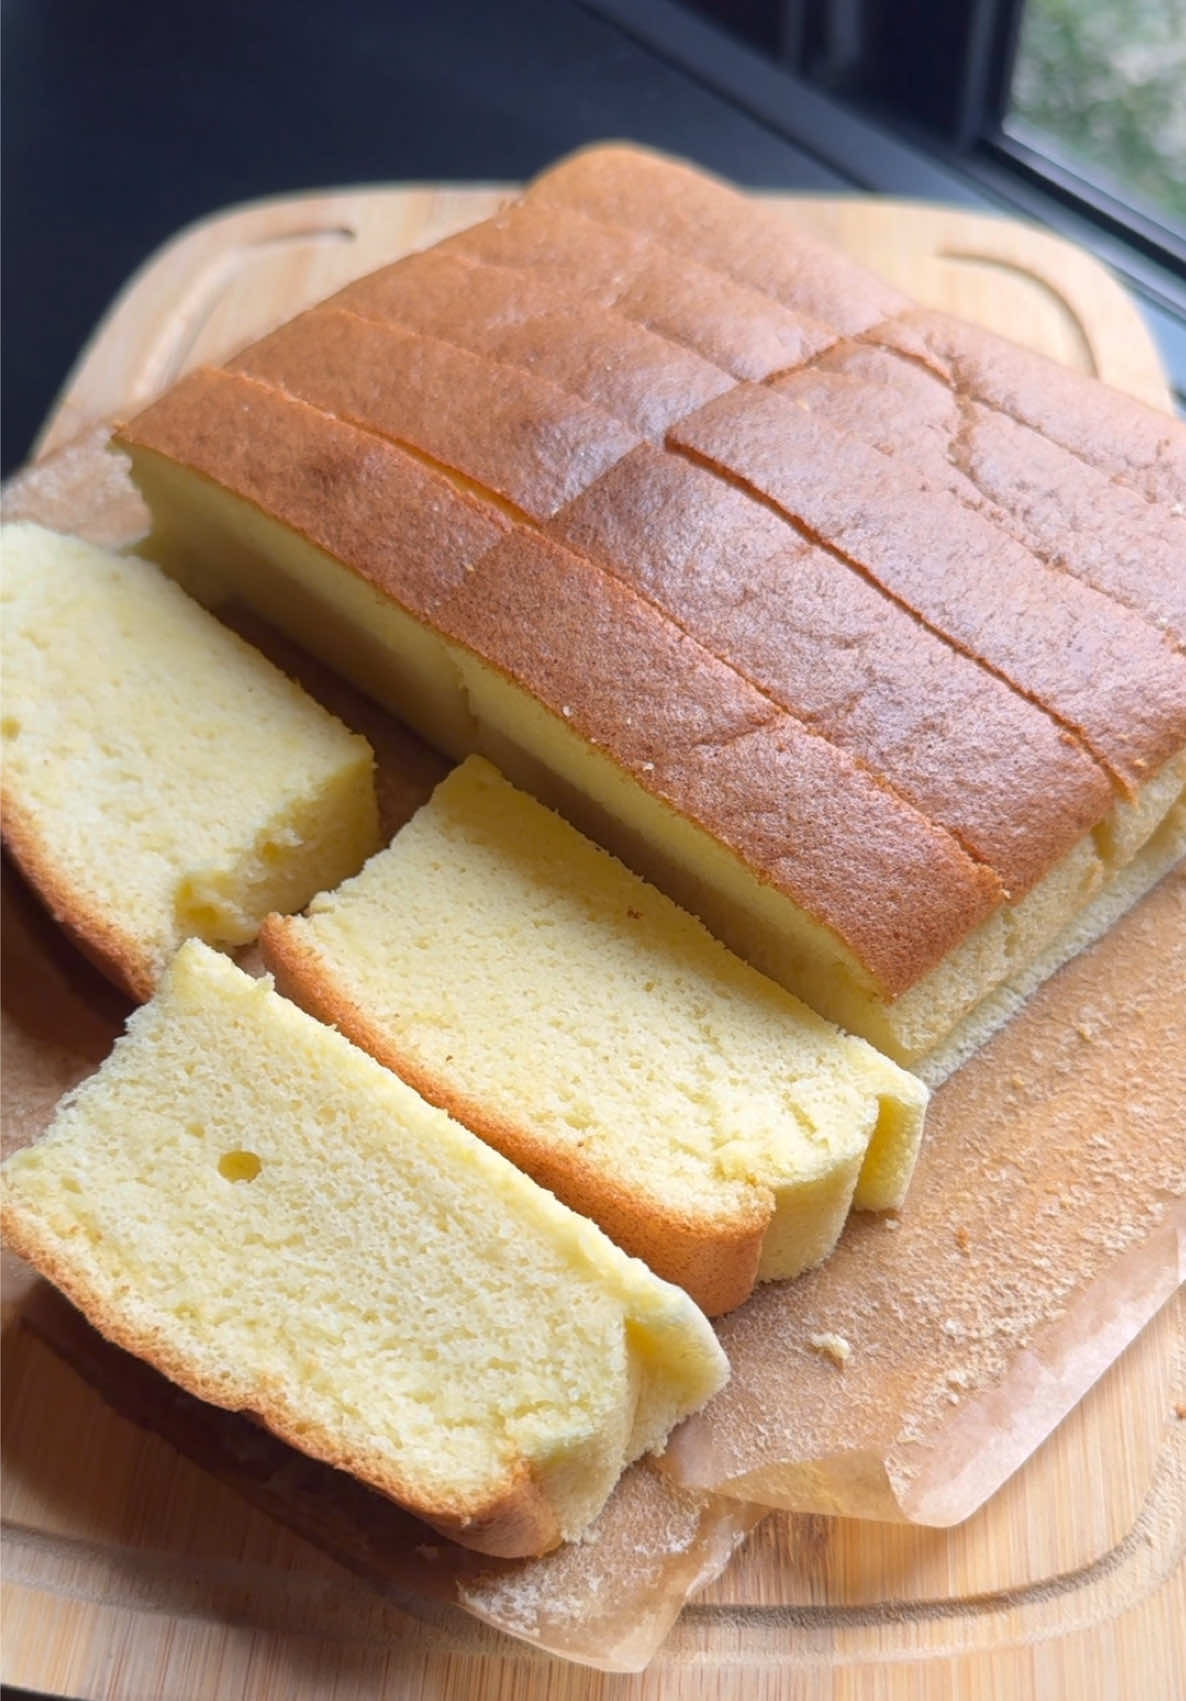
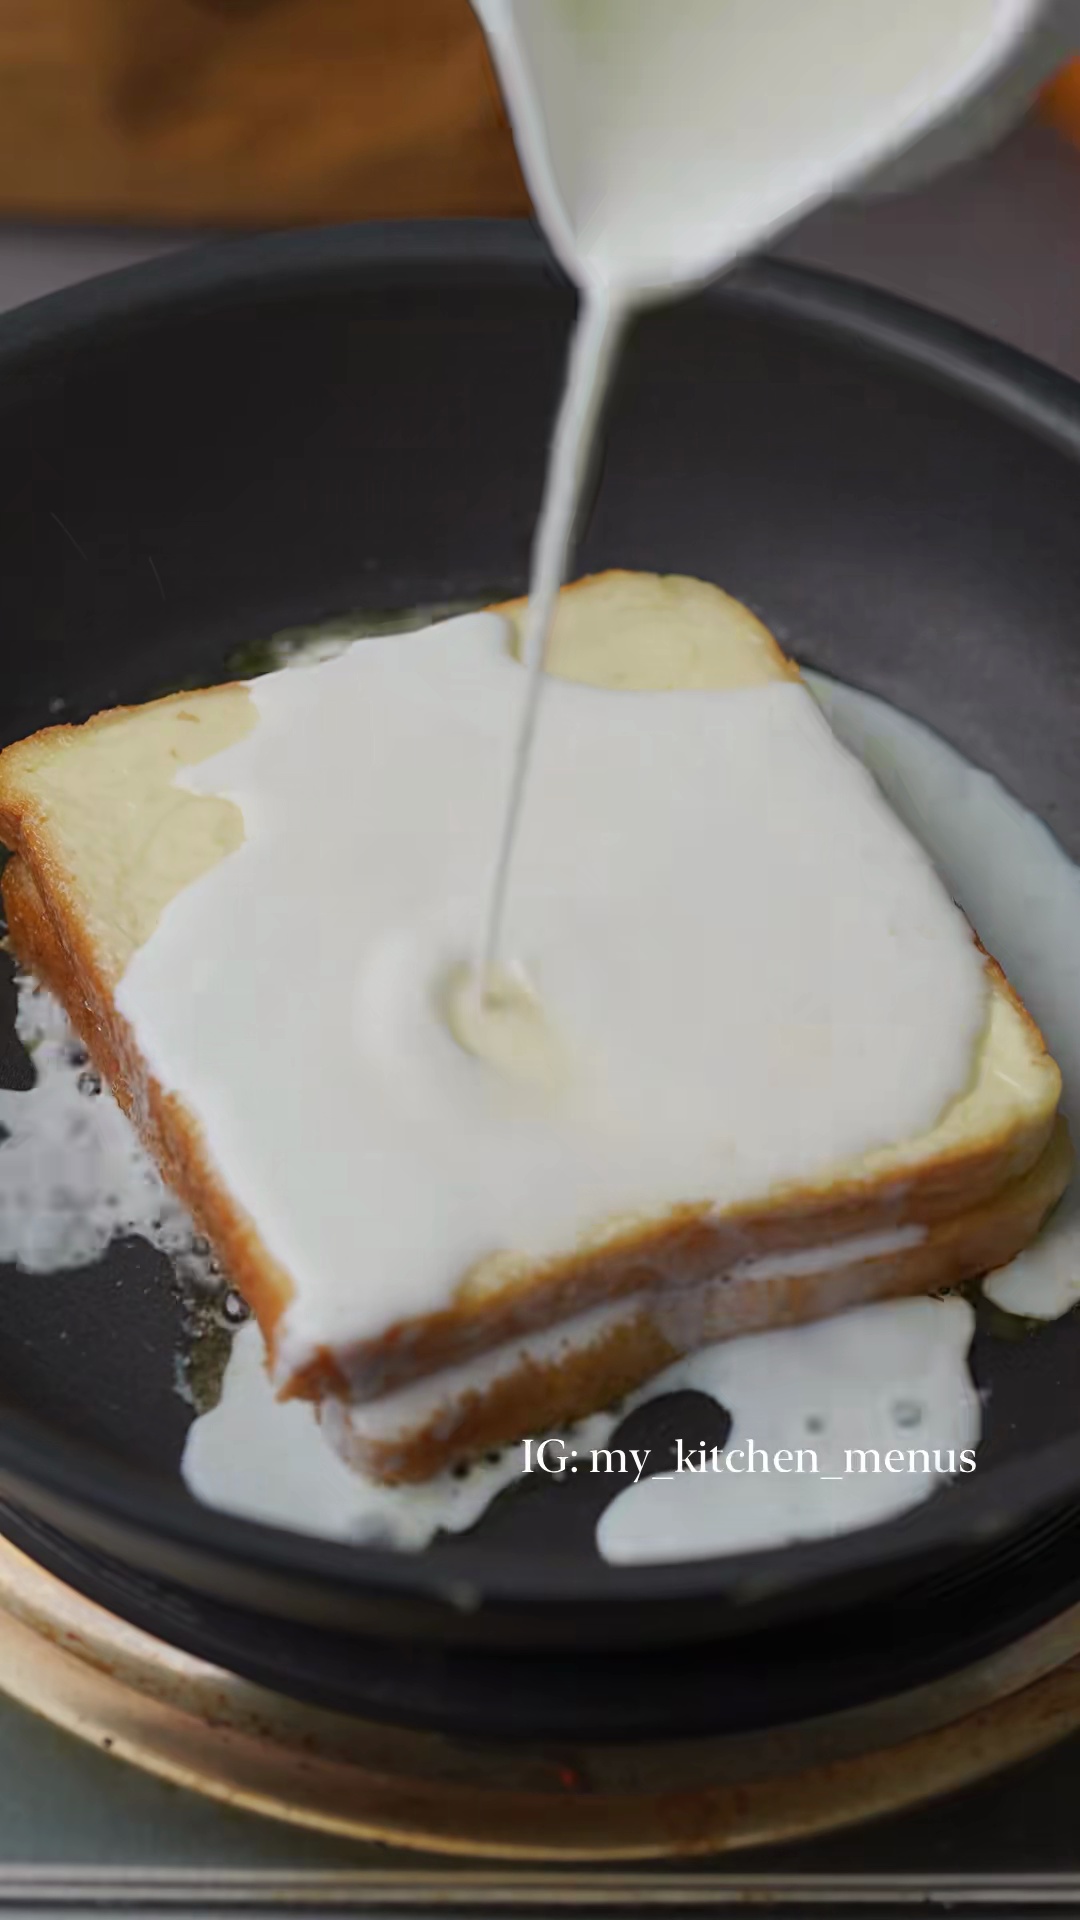
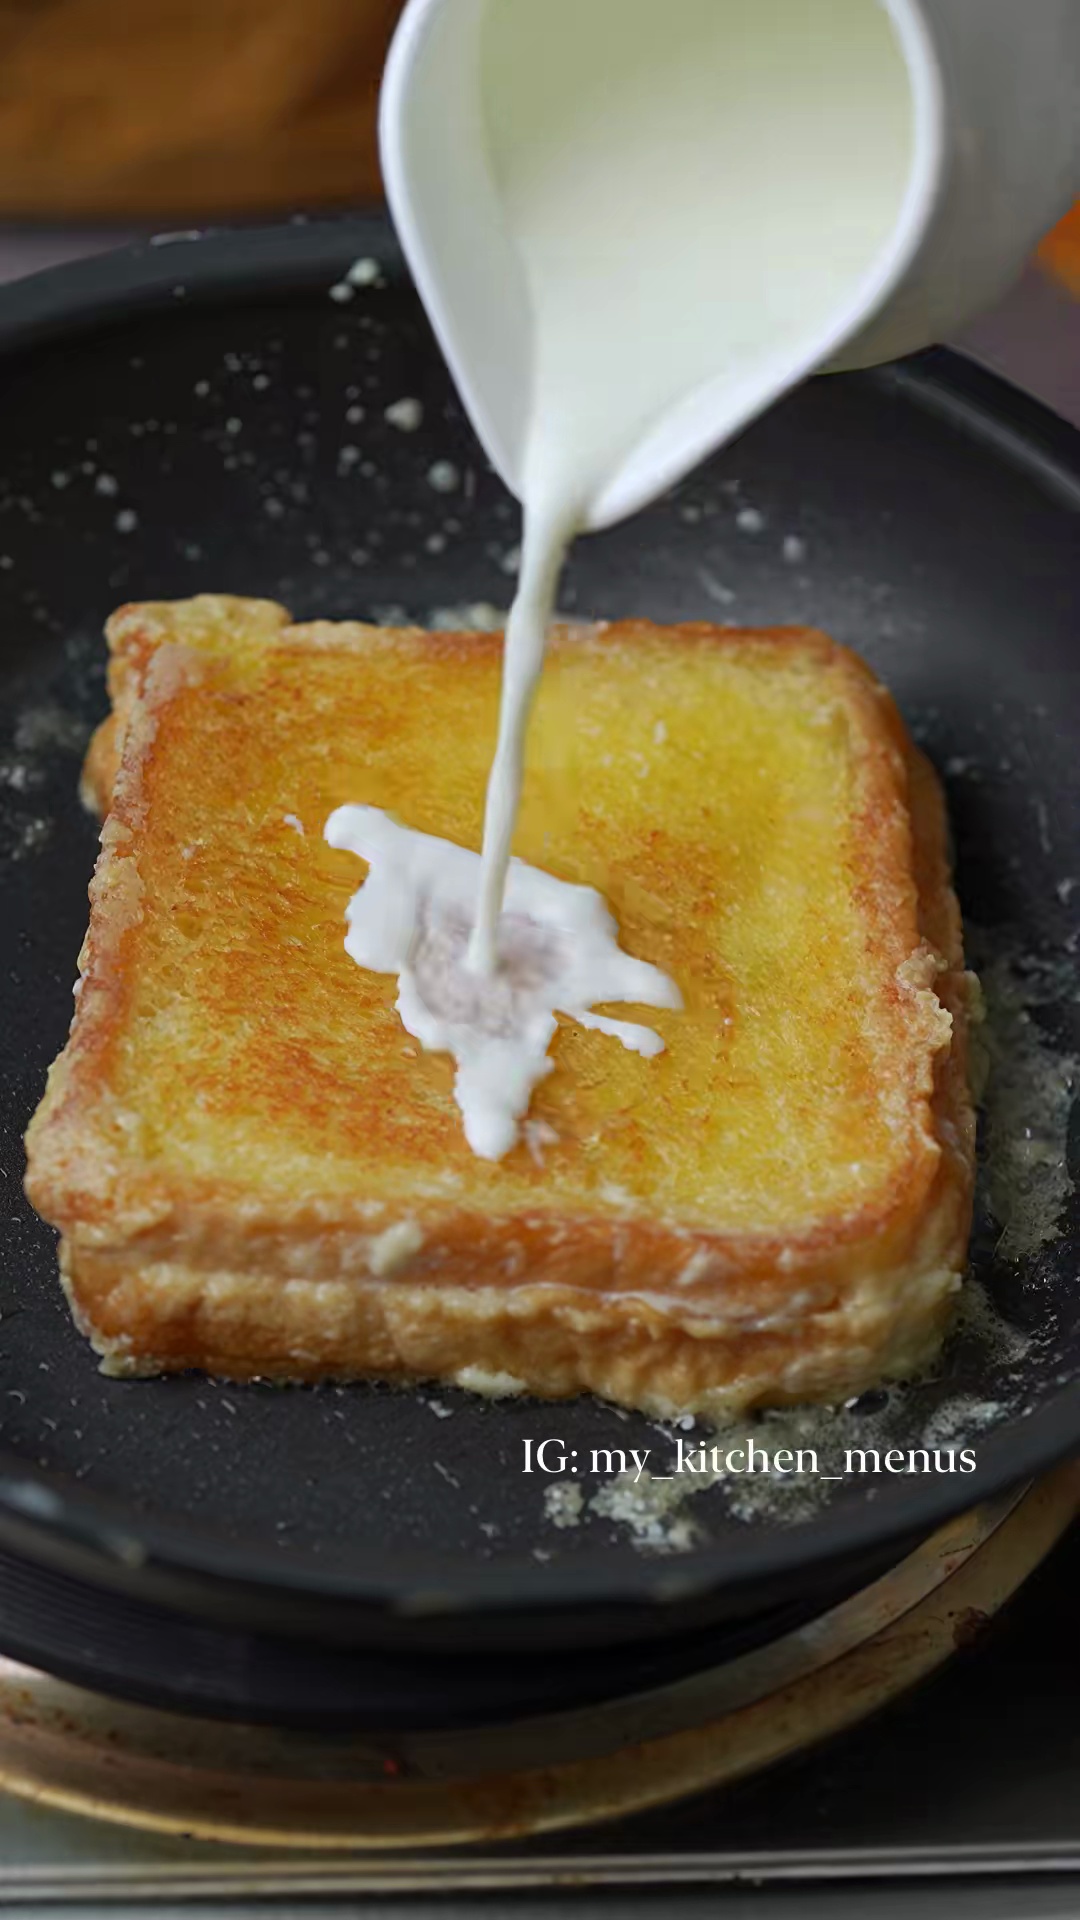
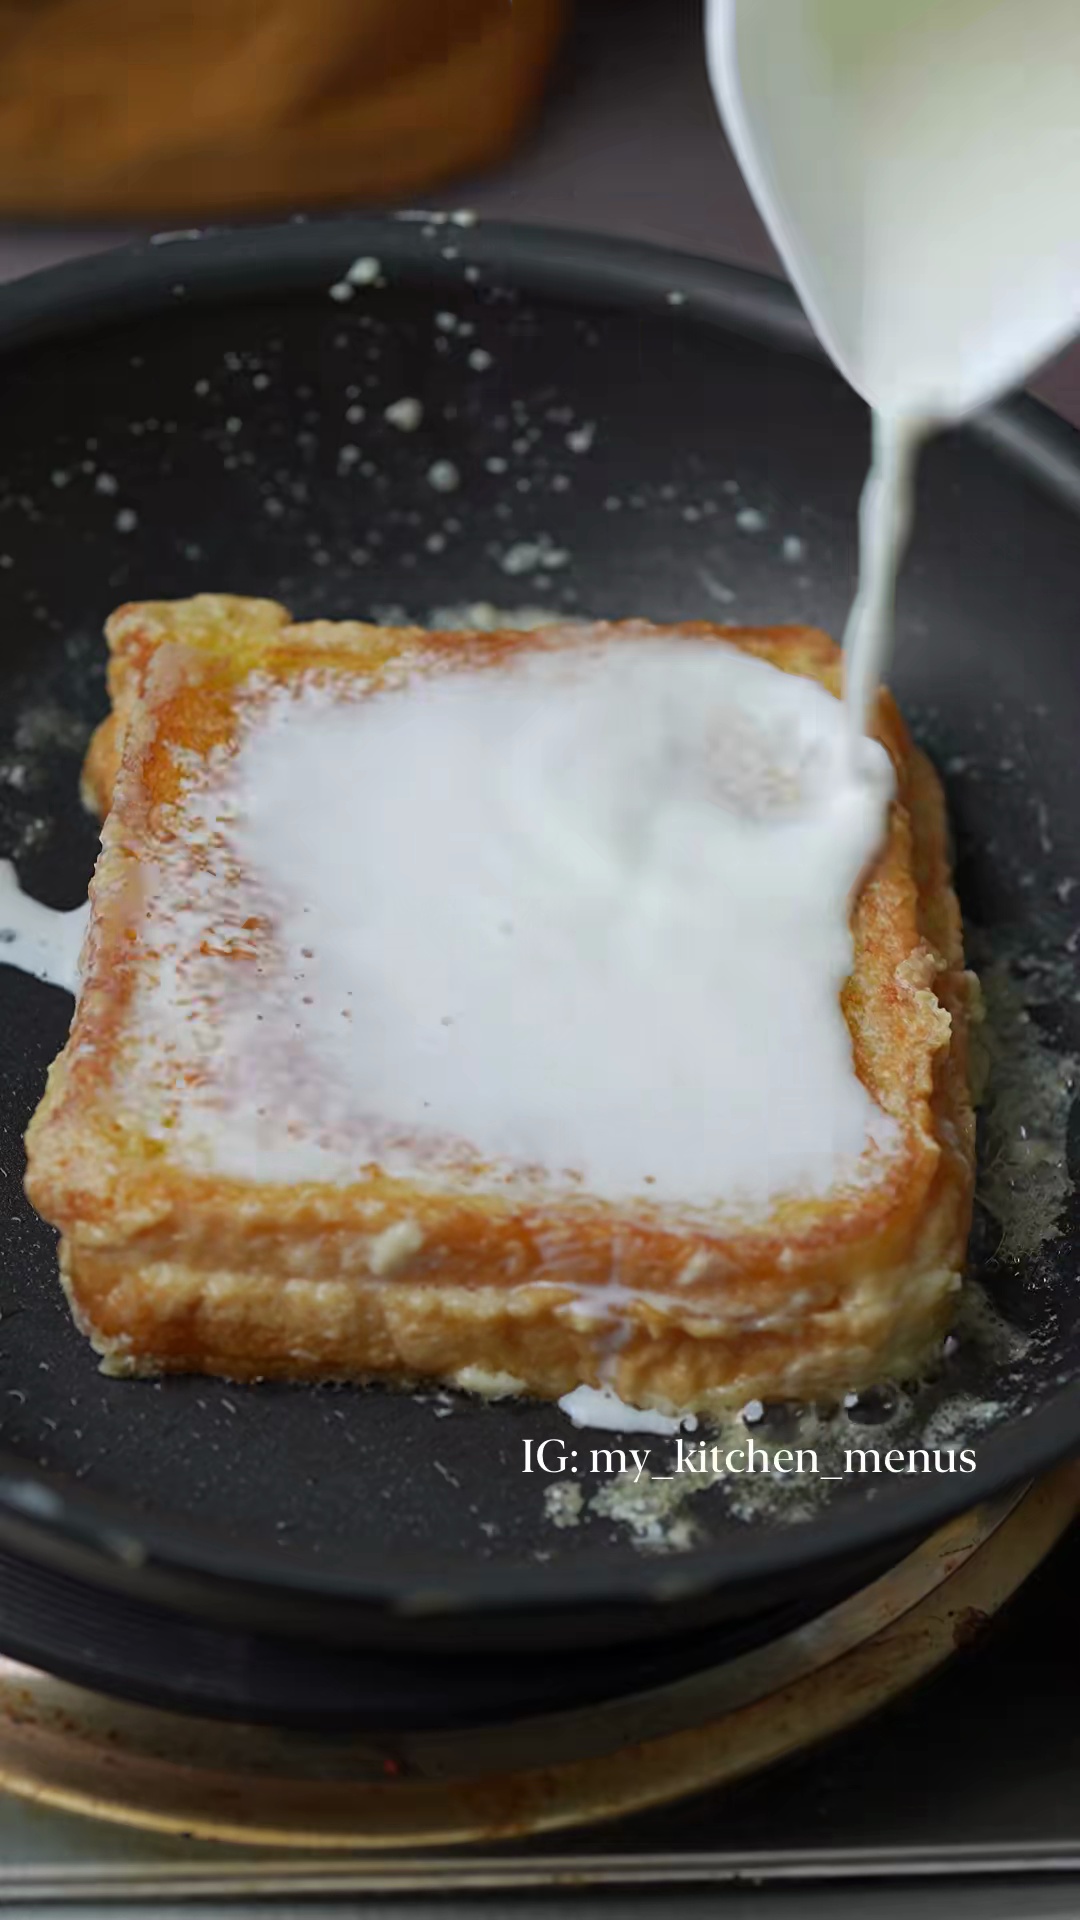
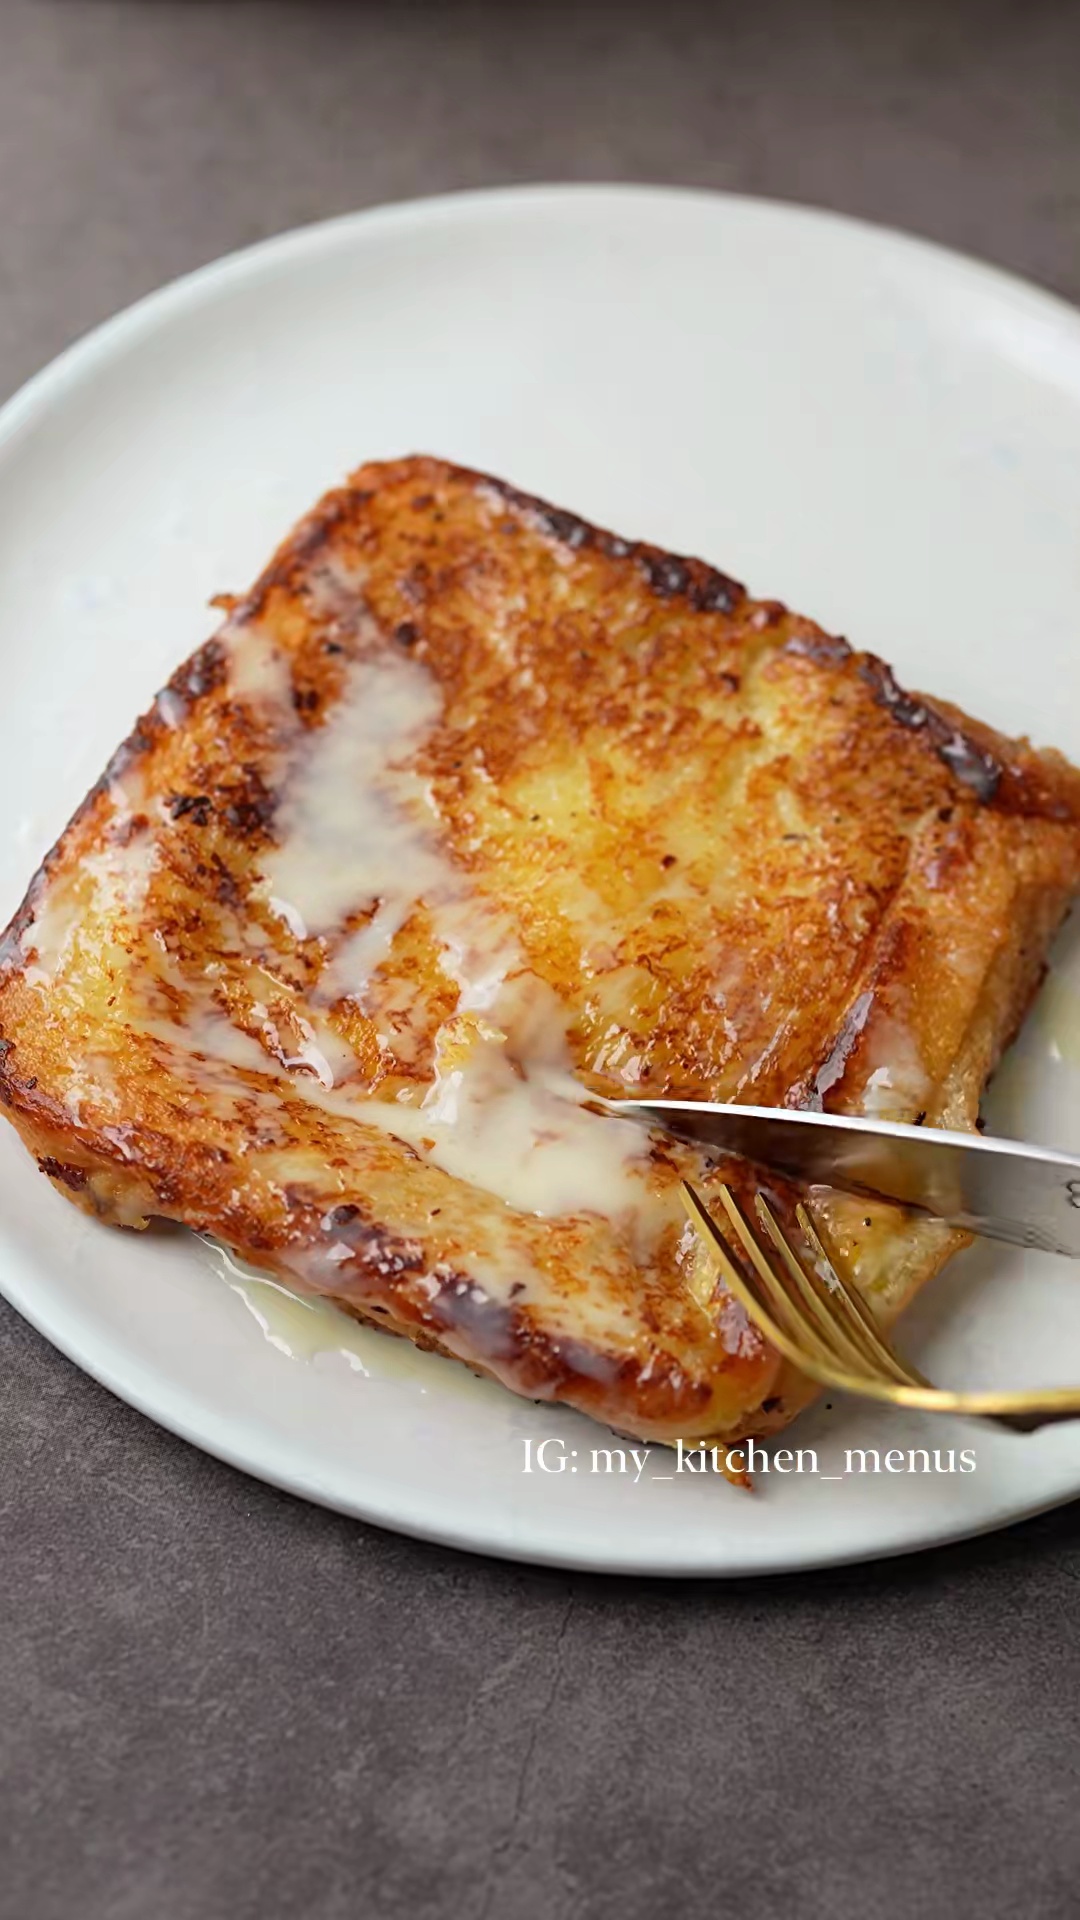
Soft and Fluffy Milk Bread
Indulge in the simple pleasure of homemade milk bread, a wonderfully soft, fluffy, and slightly sweet loaf perfect for breakfast, sandwiches, or simply enjoyed with butter. This recipe, inspired by a quick video, guides you through creating a tender crumb and golden crust, making it an ideal staple for any bread lover.
#Milk Bread
#Homemade Bread
#Soft Bread
#Breakfast
#Easy Recipe
#Baking
#Japanese Bread
#Comfort Food
Ingredients ready for mixing
Recipe Information
30m
Prep Time
30m
Cook Time
3h 20m
Total Time
8
Servings
Medium
Japanese
English
Nutrition (per serving)
220
Calories
7g
Protein
35g
Carbs
8g
Fat

Dough being kneaded
Ingredients
Servings: 8
💡 Tip: Check off ingredients as you add them to keep track of your progress!
Dough after first proof
Instructions
0/8 completed
0%
- In a large mixing bowl, combine the bread flour, granulated sugar, instant yeast, and salt. Whisk briefly to ensure they are well mixed.2mPreview2mPreviewIn a large mixing bowl, combine the bread flour, granulated sugar, instant yeast, and salt. Whisk briefly to ensure they are well mixed.
- Gradually add the warm milk to the dry ingredients, mixing with a spatula or wooden spoon until a shaggy, cohesive dough forms.3m
 Preview3mPreviewGradually add the warm milk to the dry ingredients, mixing with a spatula or wooden spoon until a shaggy, cohesive dough forms.
 - Transfer the dough to a lightly floured surface and knead for about 8-10 minutes until it becomes smooth and elastic. Gradually add the softened butter and continue kneading until the butter is fully incorporated and the dough passes the windowpane test (stretches thin without tearing).15mPreview15mPreviewTransfer the dough to a lightly floured surface and knead for about 8-10 minutes until it becomes smooth and elastic. Gradually add the softened butter and continue kneading until the butter is fully incorporated and the dough passes the windowpane test (stretches thin without tearing).
- Place the kneaded dough in a lightly greased bowl, cover with plastic wrap or a damp cloth, and let it rise in a warm place for 60-90 minutes, or until it has doubled in size.1h 30mPreview1h 30mPreviewPlace the kneaded dough in a lightly greased bowl, cover with plastic wrap or a damp cloth, and let it rise in a warm place for 60-90 minutes, or until it has doubled in size.
- Gently punch down the risen dough to release air. Transfer it to a lightly floured surface, divide it into 3 equal portions, and shape each portion into a smooth ball or roll them into logs.10m
 Preview10mPreviewGently punch down the risen dough to release air. Transfer it to a lightly floured surface, divide it into 3 equal portions, and shape each portion into a smooth ball or roll them into logs.
 - Arrange the shaped dough pieces in a greased standard loaf pan. Cover the pan again and let it rise for another 30-45 minutes, or until the dough has nearly doubled in size and fills the pan.45m
 Preview45mPreviewArrange the shaped dough pieces in a greased standard loaf pan. Cover the pan again and let it rise for another 30-45 minutes, or until the dough has nearly doubled in size and fills the pan.
 - Preheat your oven to 180°C (350°F). If desired, lightly beat the egg and brush the top of the risen dough with egg wash for a golden crust. Bake for 25-30 minutes, or until the top is golden brown and the internal temperature reaches 90-95°C (195-205°F).30m
 Preview30mPreviewPreheat your oven to 180°C (350°F). If desired, lightly beat the egg and brush the top of the risen dough with egg wash for a golden crust. Bake for 25-30 minutes, or until the top is golden brown and the internal temperature reaches 90-95°C (195-205°F).
 - Remove the bread from the oven and let it cool in the loaf pan for 5-10 minutes before transferring it to a wire rack to cool completely. This prevents the bottom from becoming soggy.10m
 Preview10mPreviewRemove the bread from the oven and let it cool in the loaf pan for 5-10 minutes before transferring it to a wire rack to cool completely. This prevents the bottom from becoming soggy.
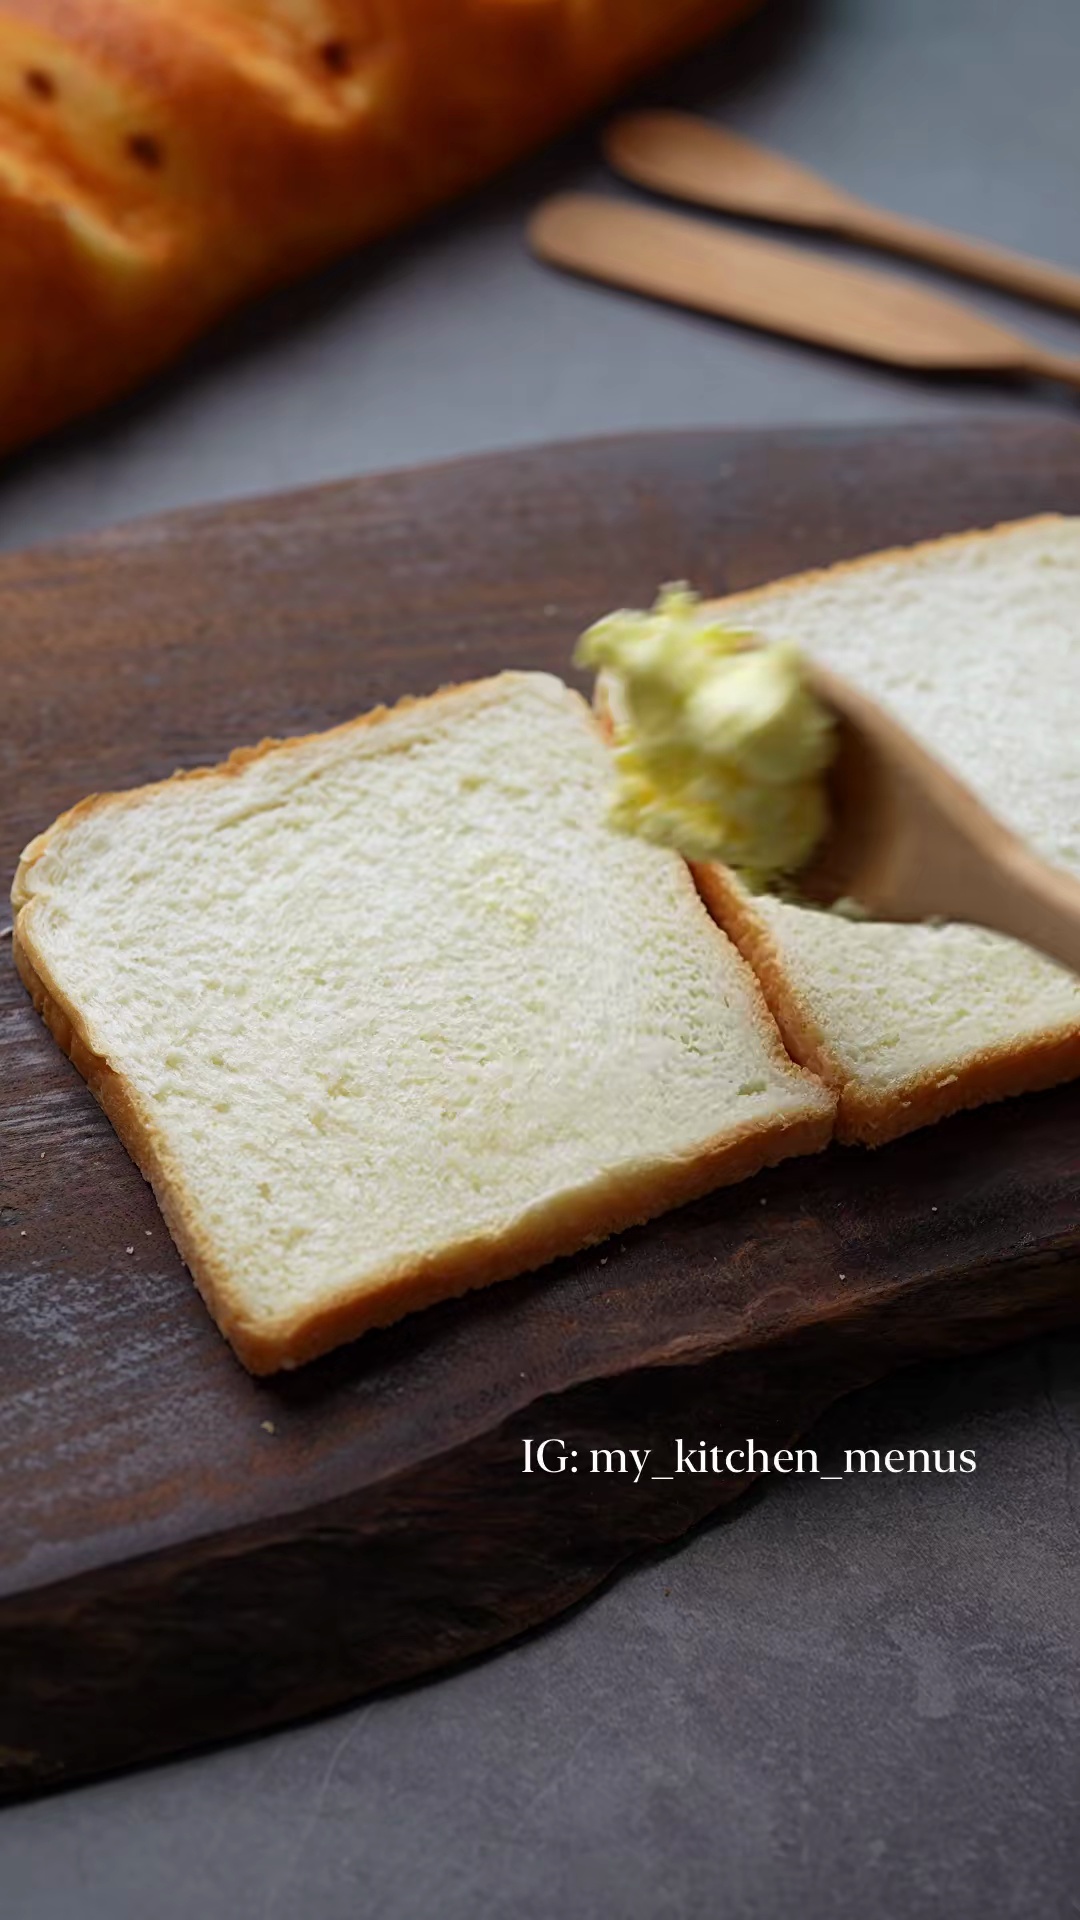
💡 Tip: Click on any step to mark it as completed and track your cooking progress!