Back to Indian Recipes

Author:
kitchenfood25
TikTok
1M
19K
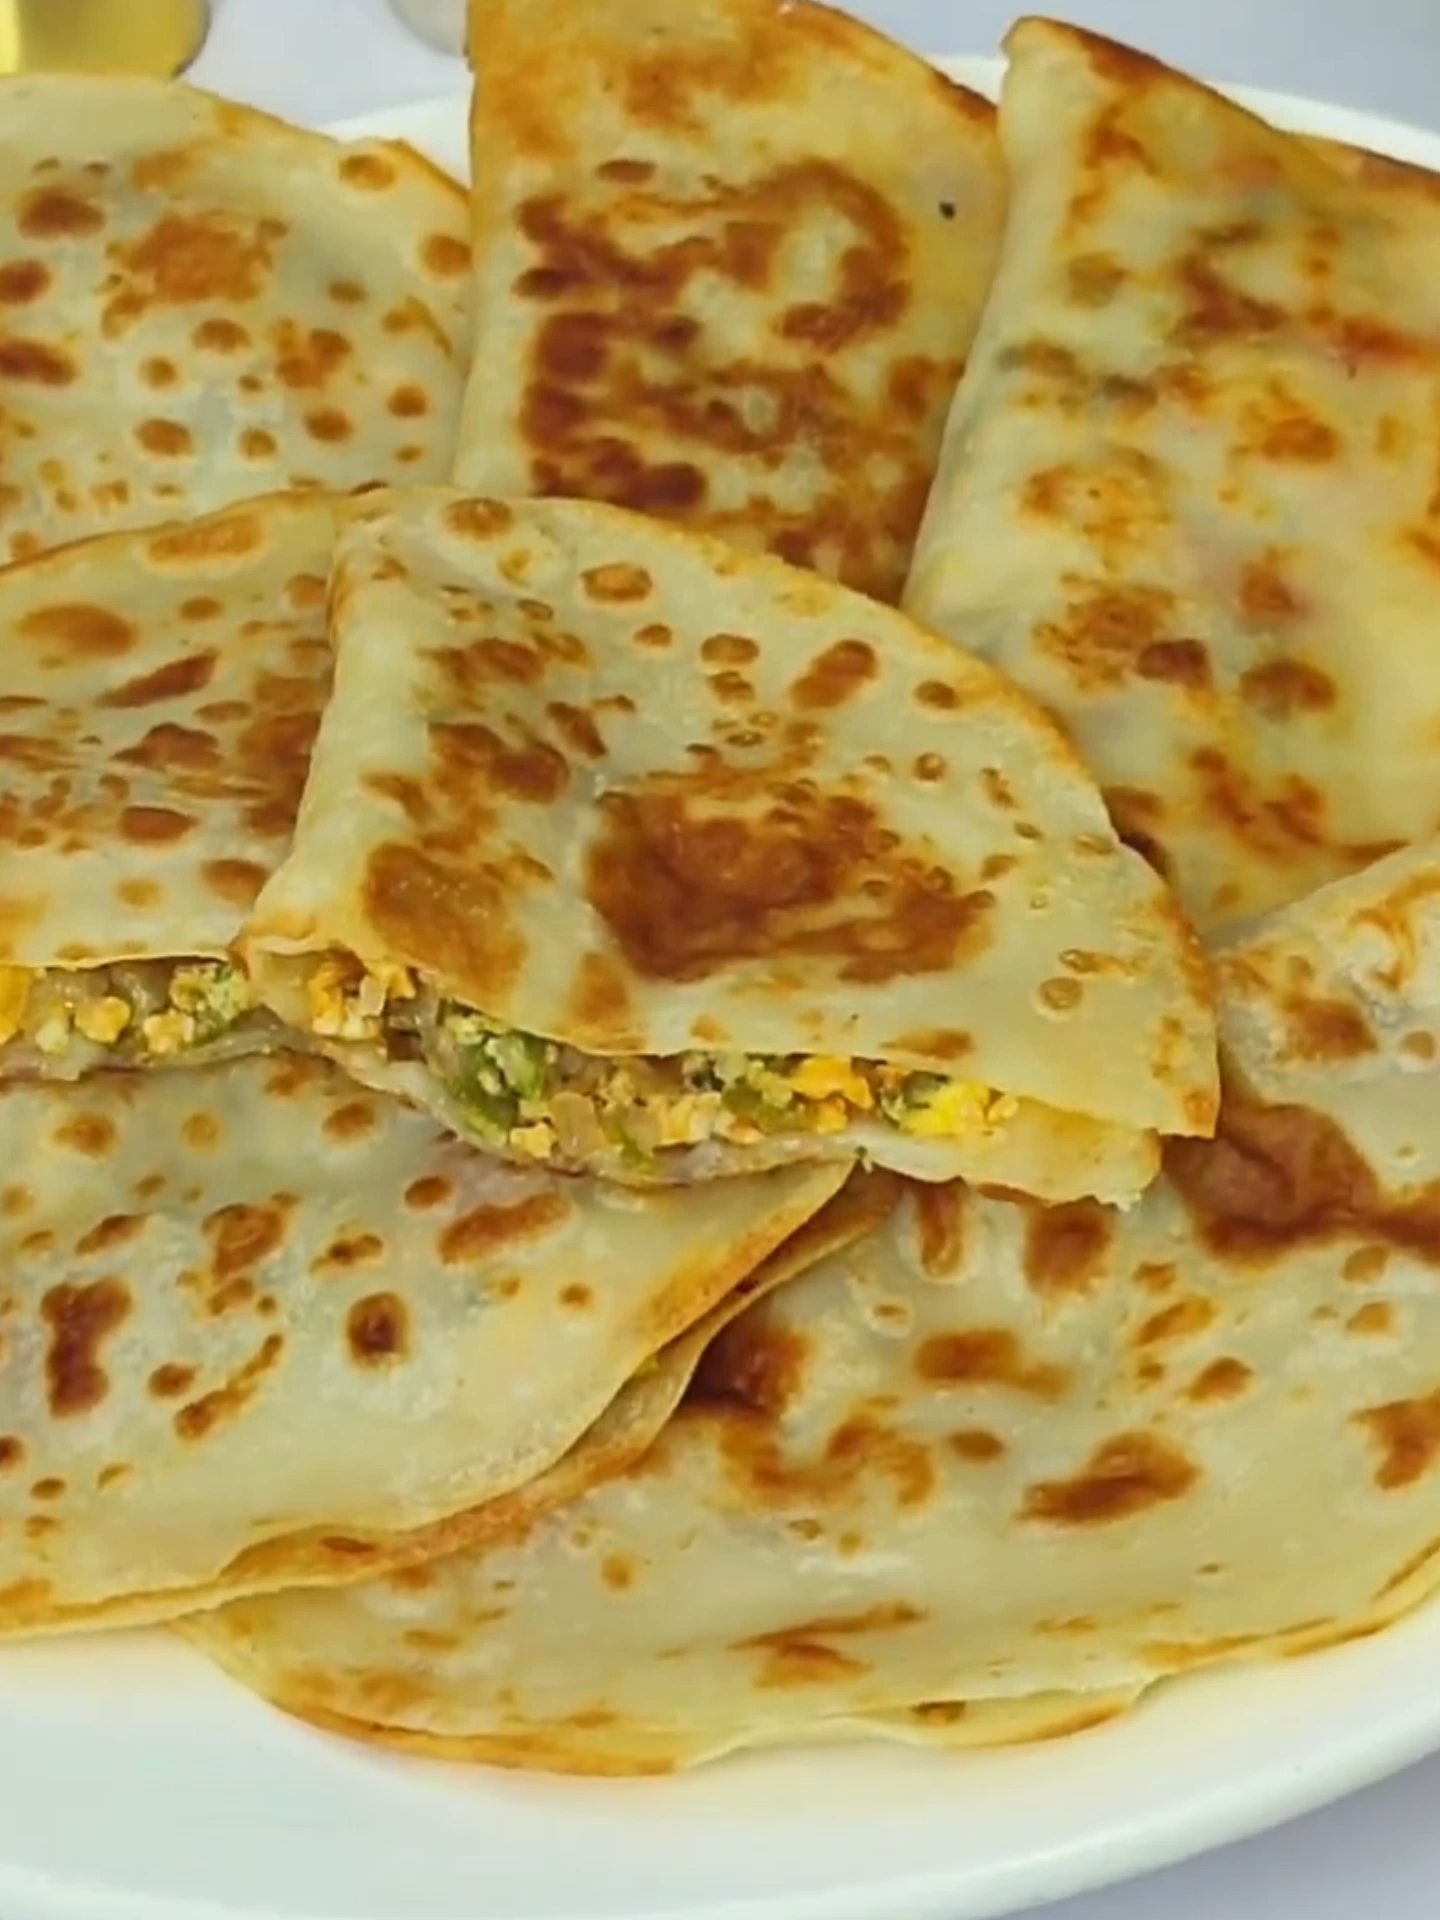
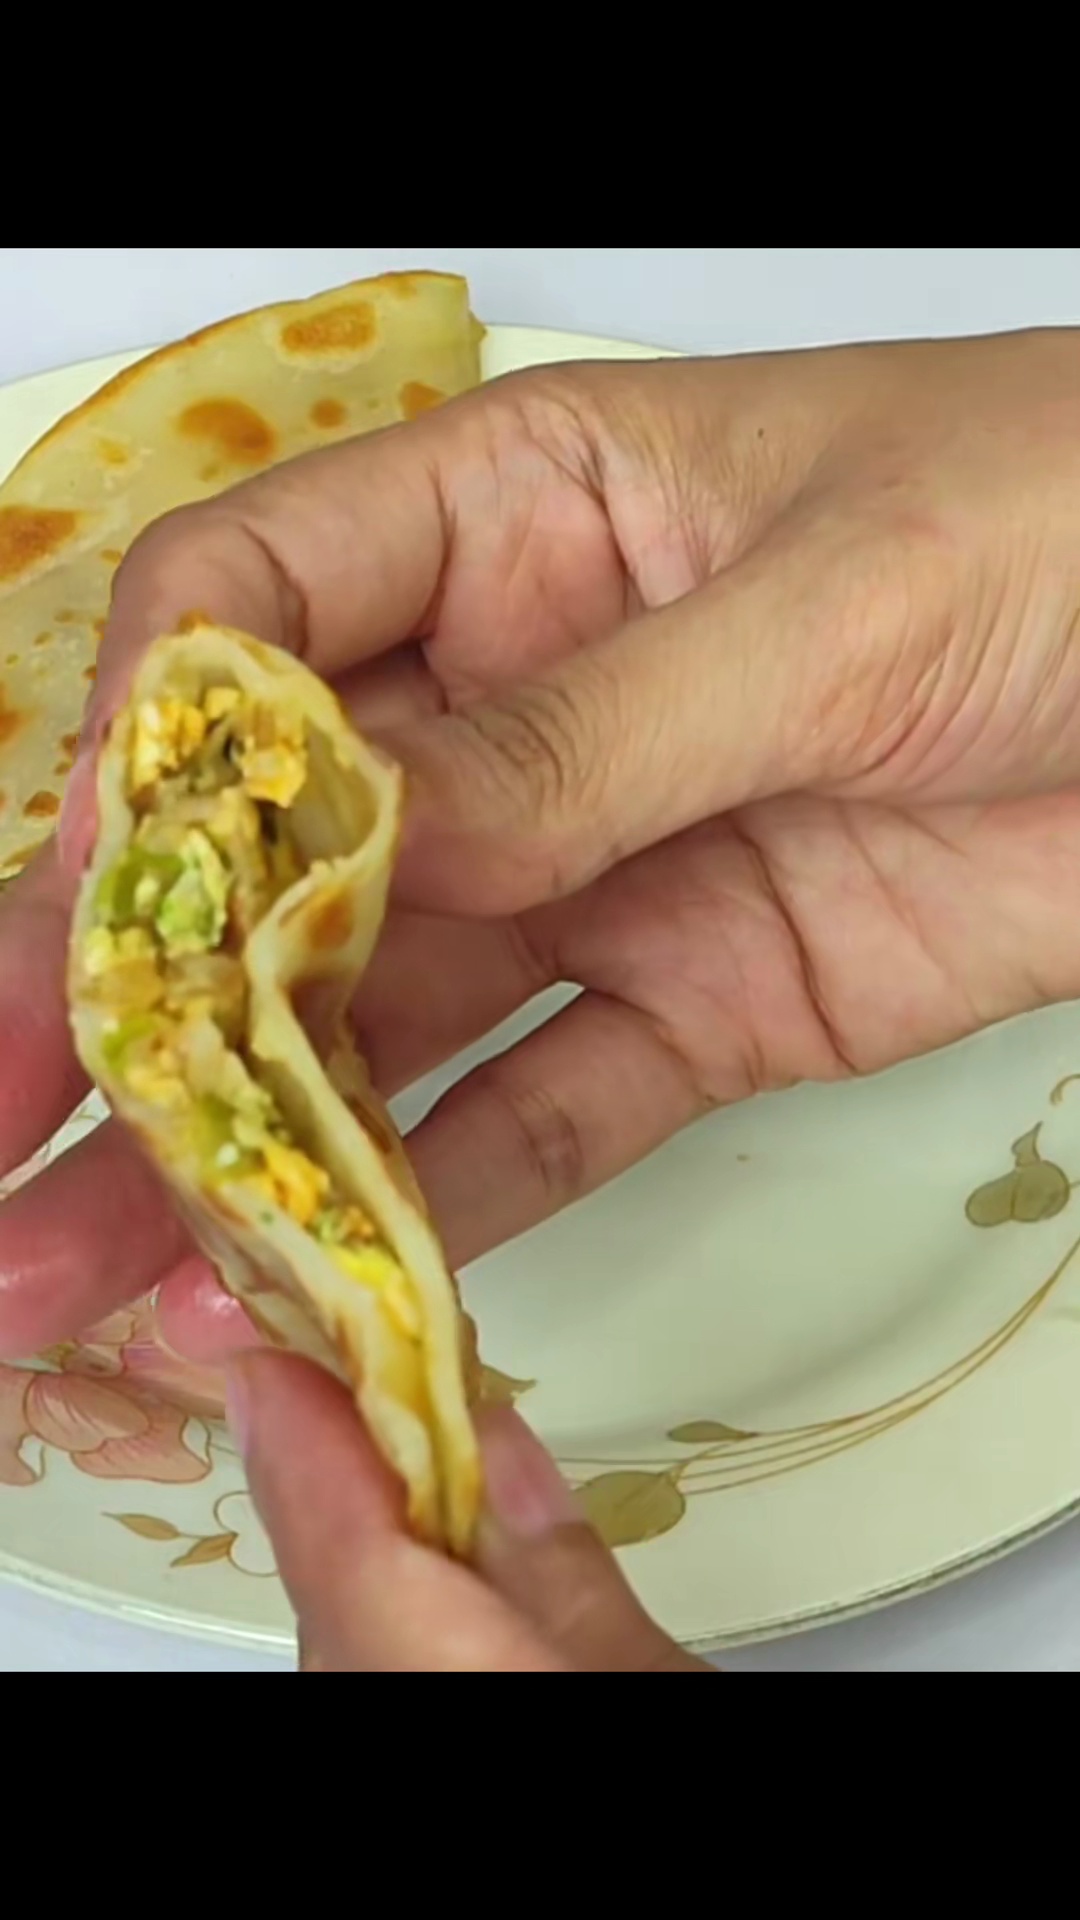
Authentic Breakfast Nashta Paratha
This recipe guides you through making traditional, flaky Nashta Paratha, perfect for a hearty breakfast. The process involves preparing a soft dough, layering it with oil or ghee, and pan-frying to achieve a crispy exterior and tender interior. Enjoy these parathas with yogurt, pickles, or a hot cup of tea.
#Breakfast
#Indian
#Flatbread
#Vegetarian
#Nashta
#Pan-fried
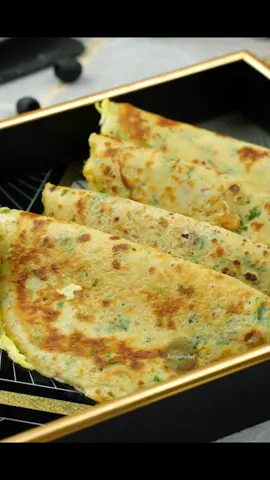
Finished Golden Paratha
Recipe Information
45m
Prep Time
25m
Cook Time
1h 10m
Total Time
4
Servings
Medium
Indian
English
Nutrition (per serving)
250
Calories
7g
Protein
35g
Carbs
10g
Fat
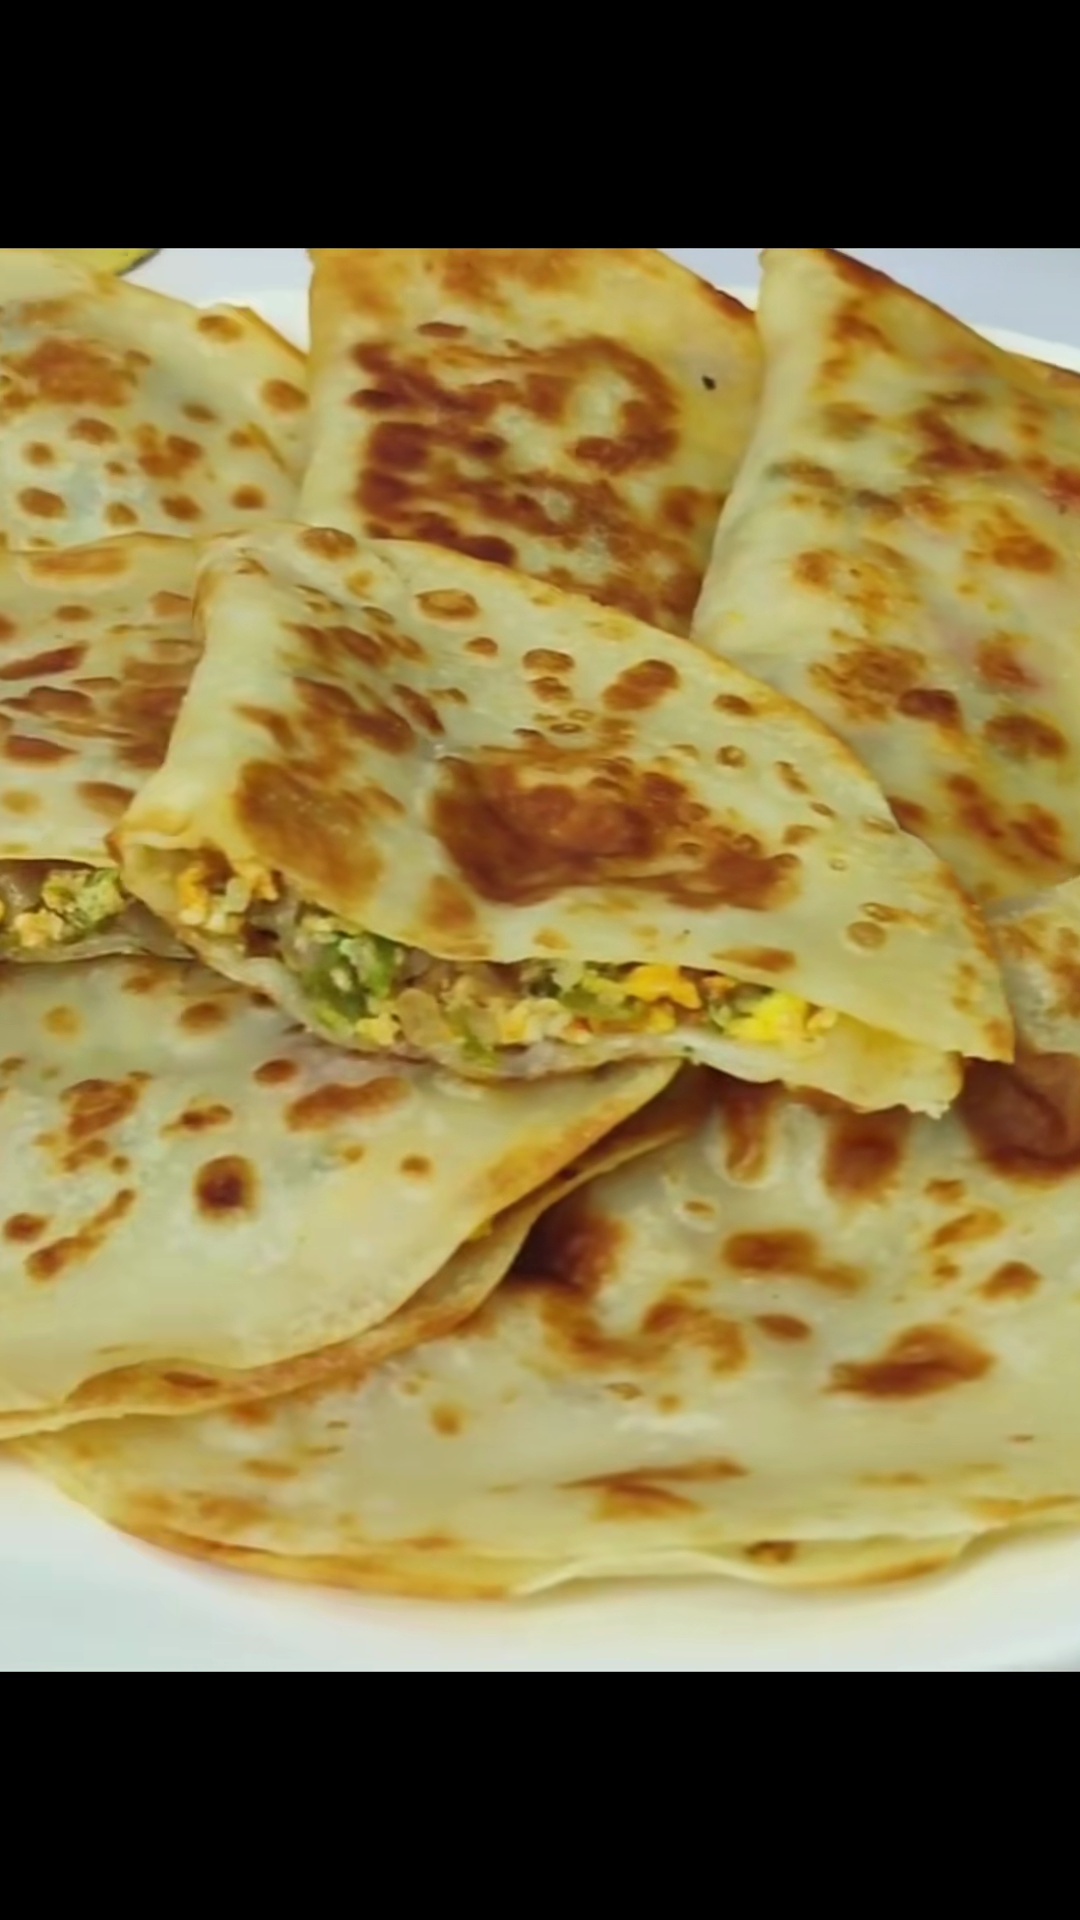
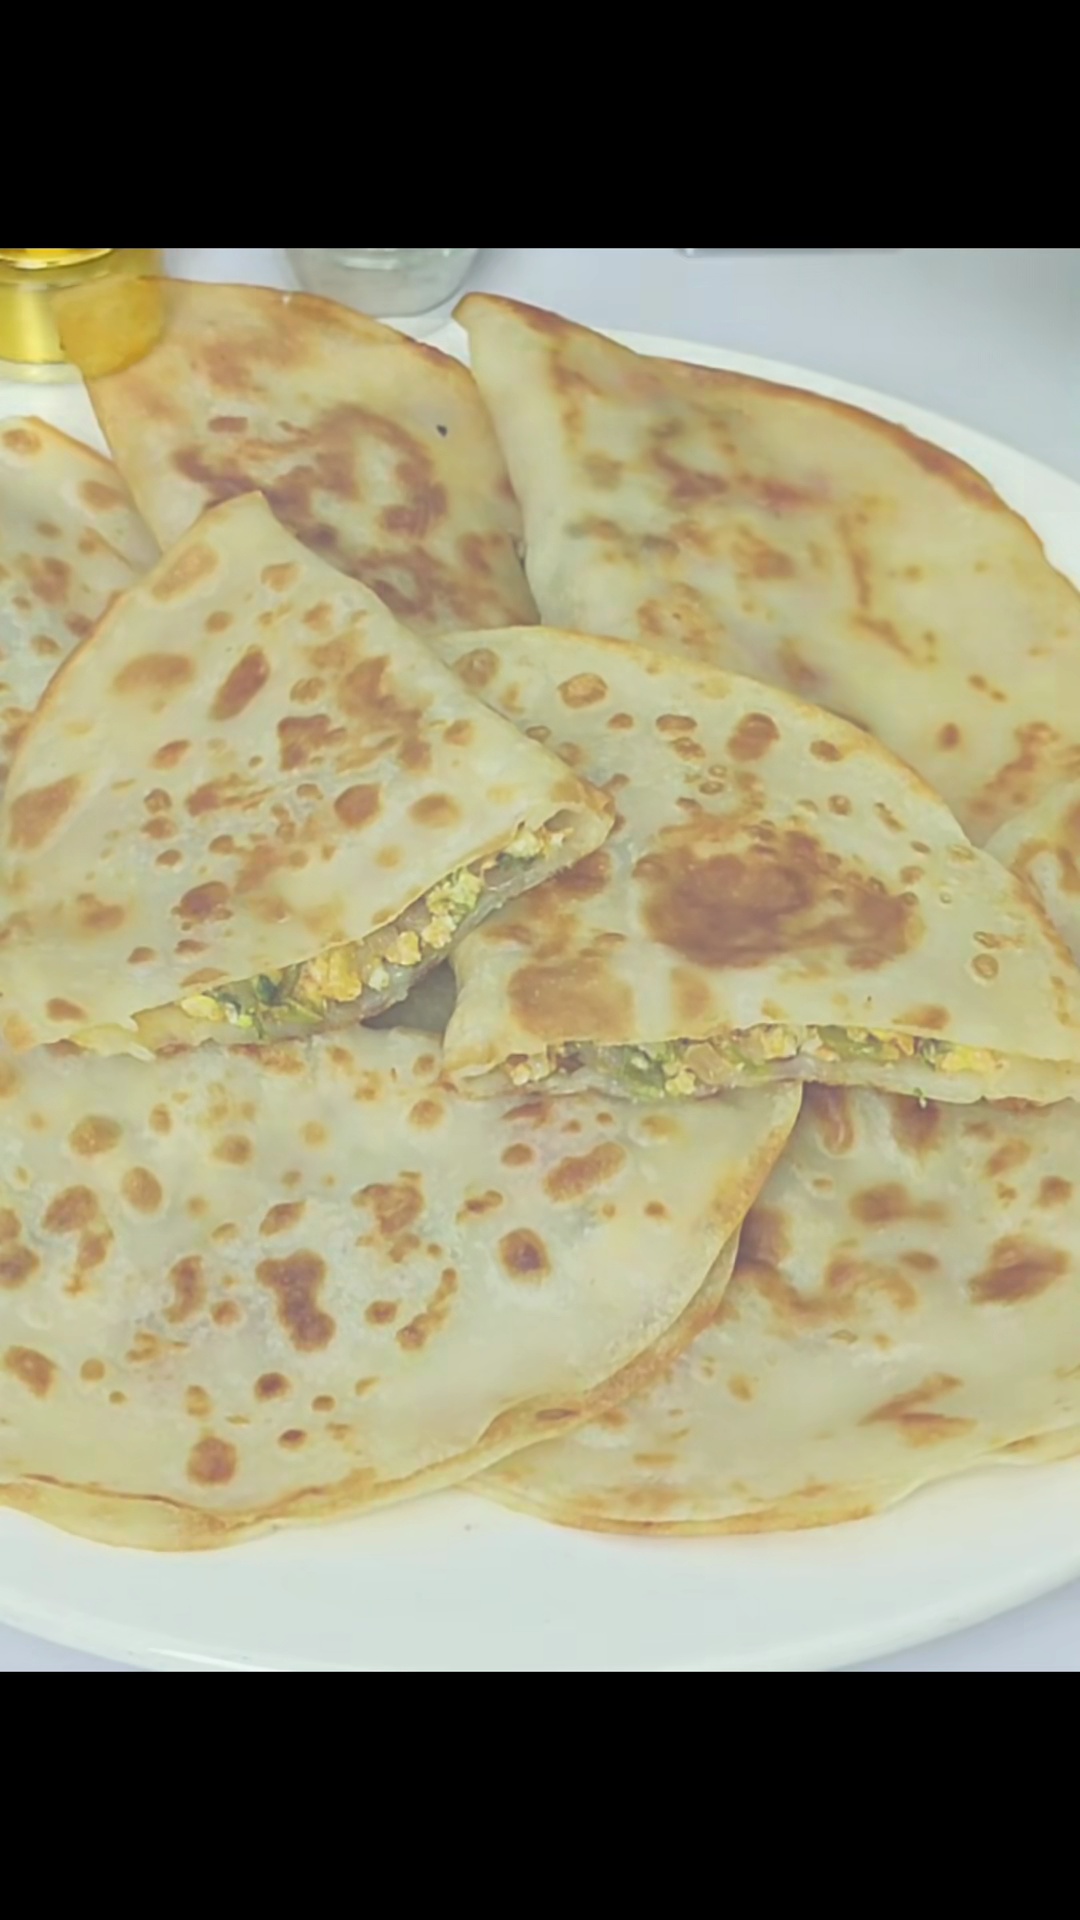
Stack of Fresh Parathas
Ingredients
Servings: 4
💡 Tip: Check off ingredients as you add them to keep track of your progress!
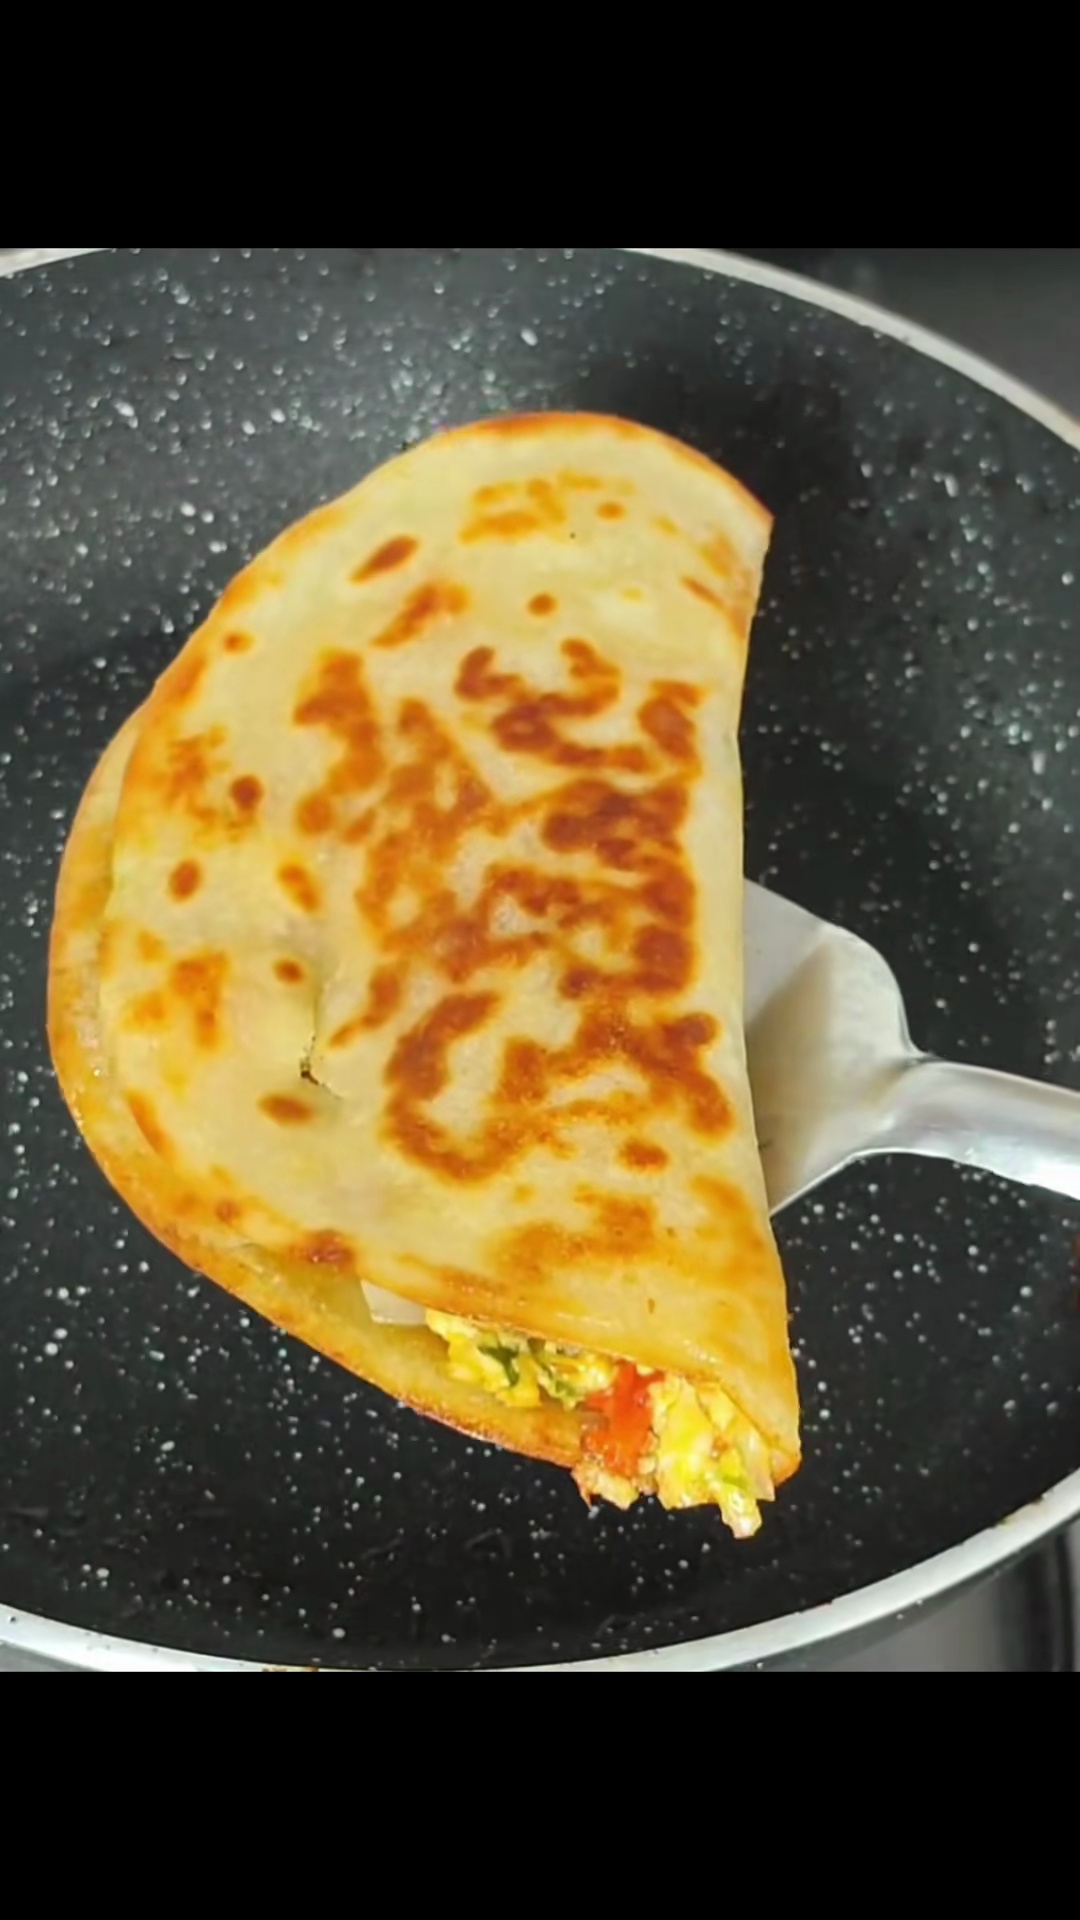
Paratha Cooking on Tawa
Instructions
0/11 completed
0%
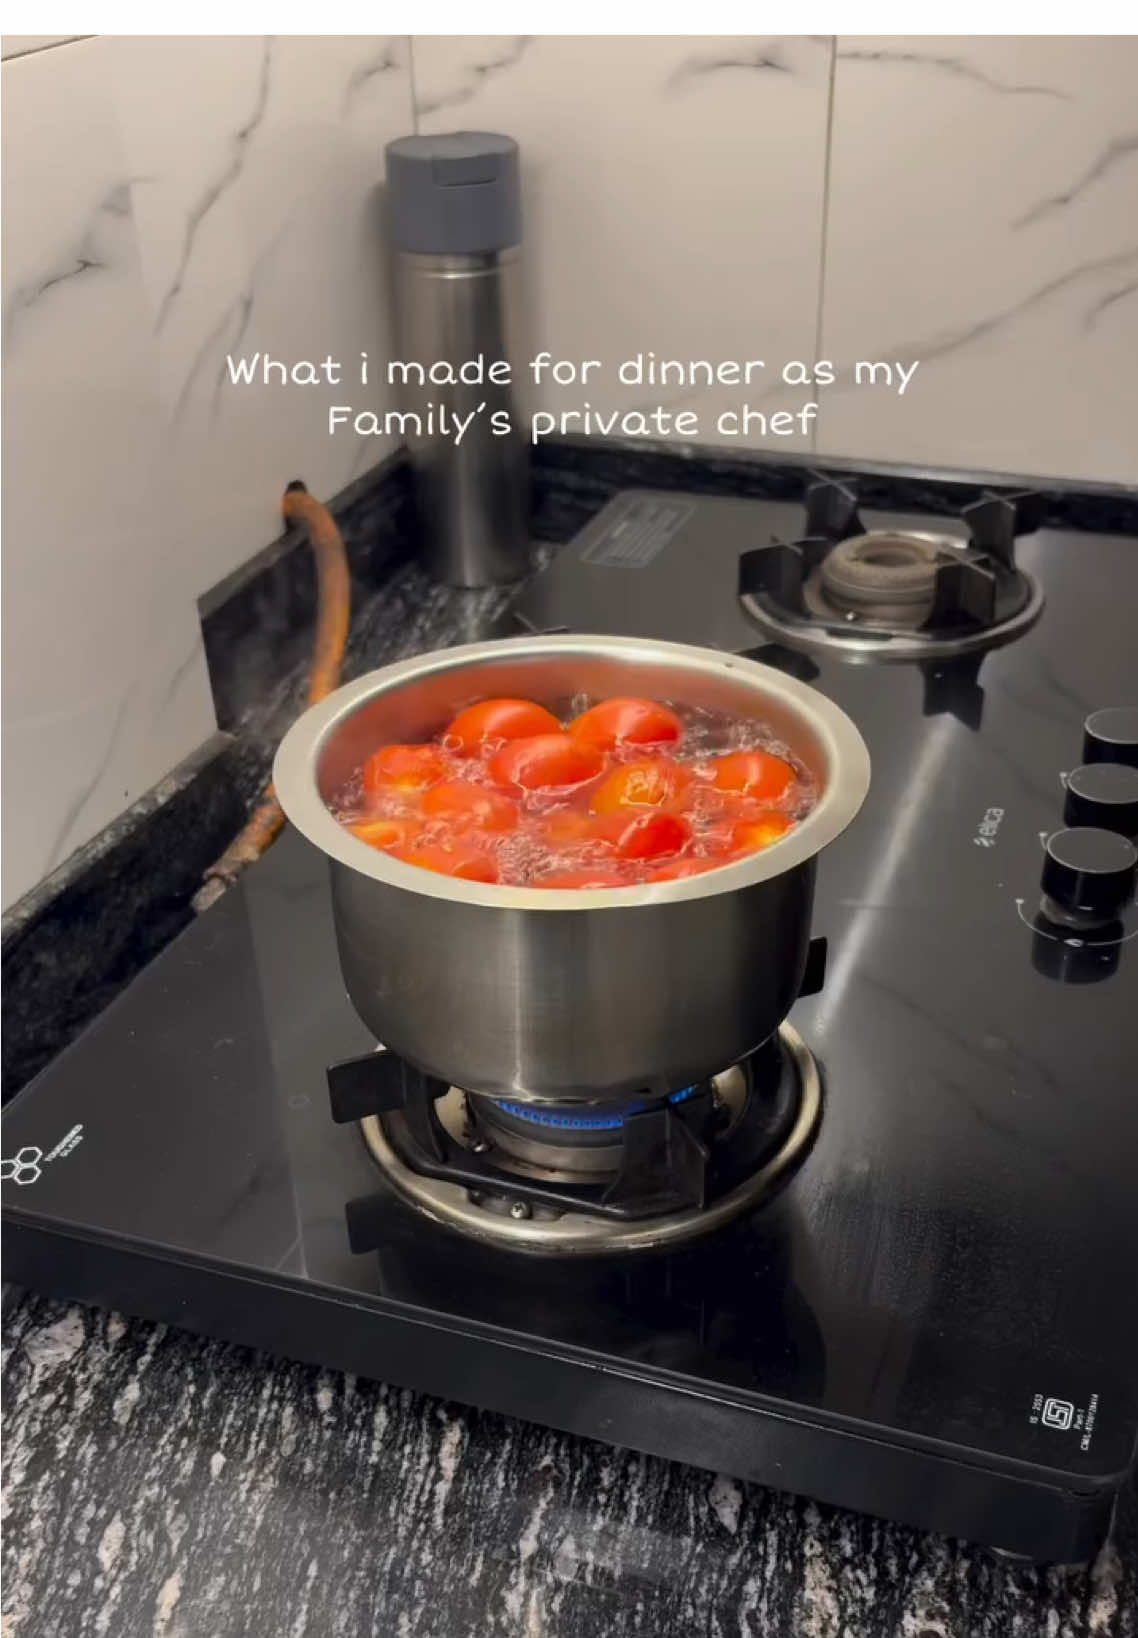
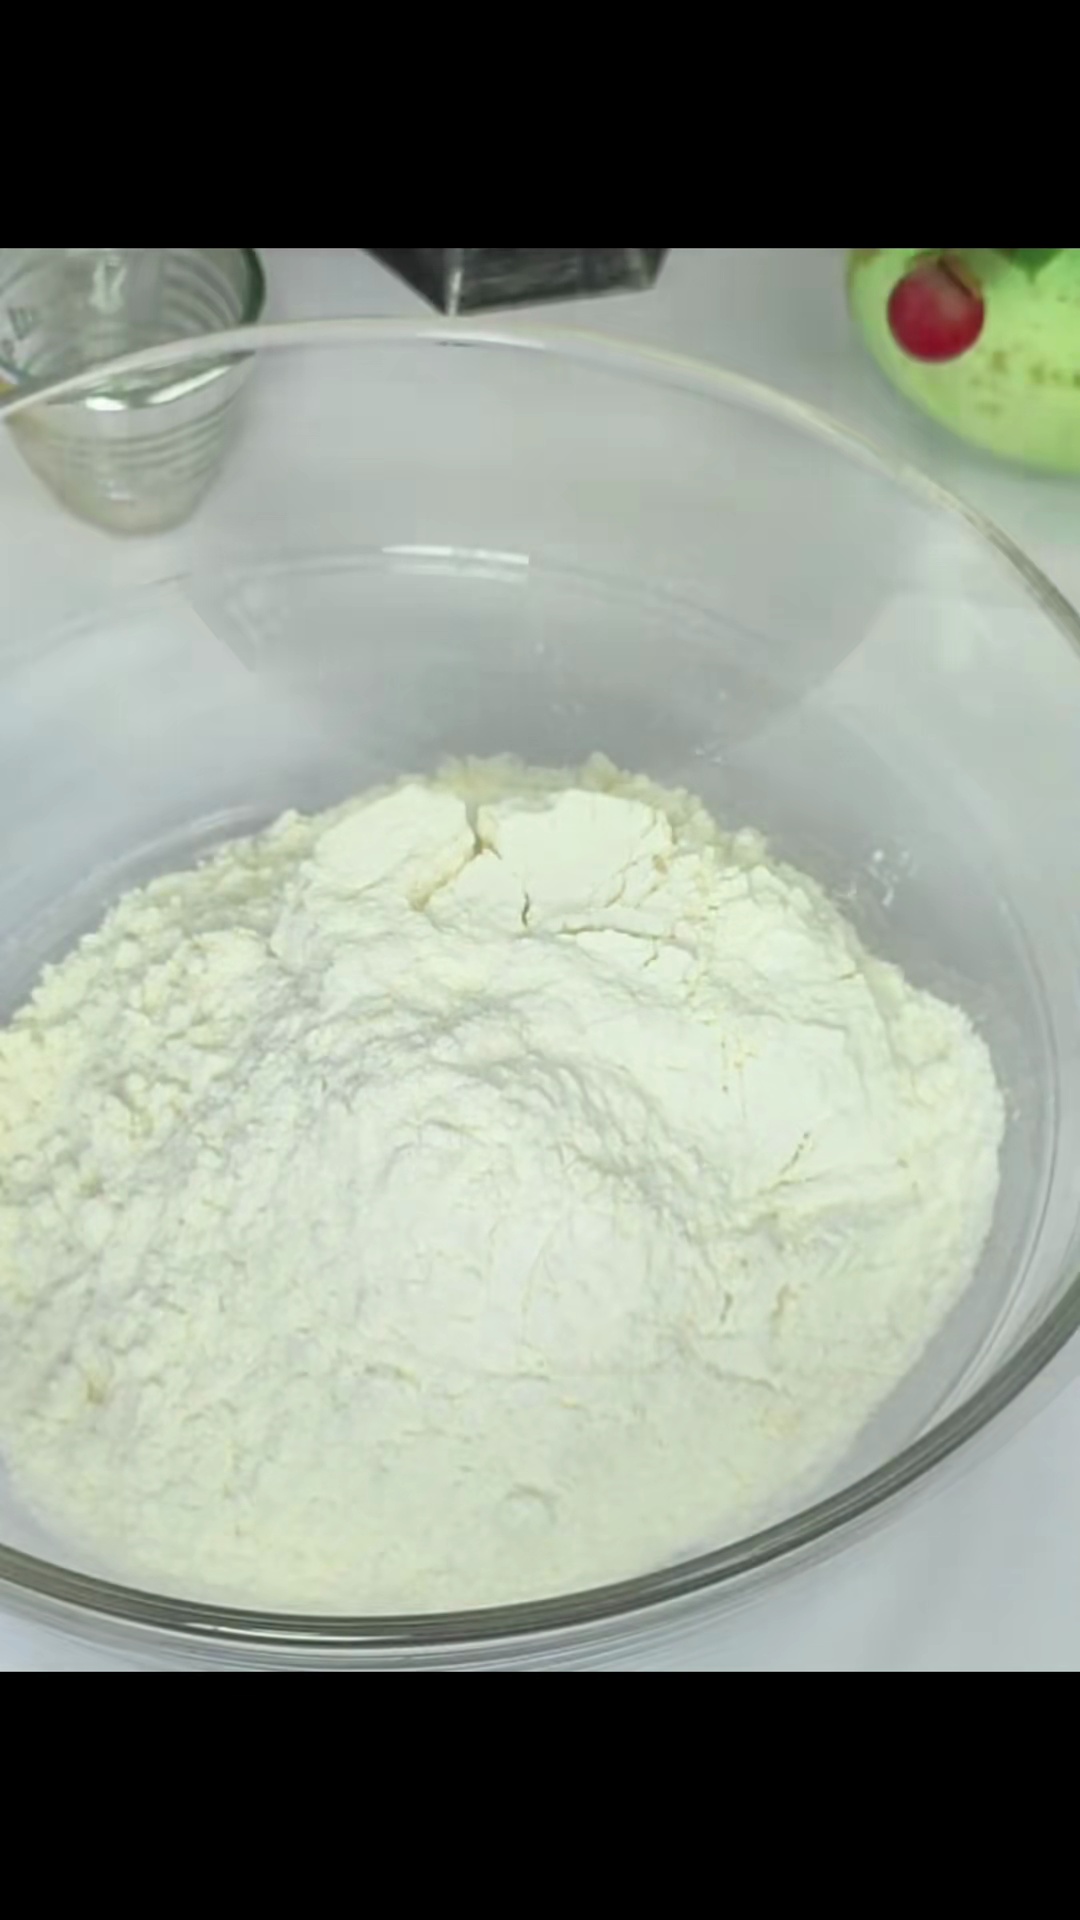
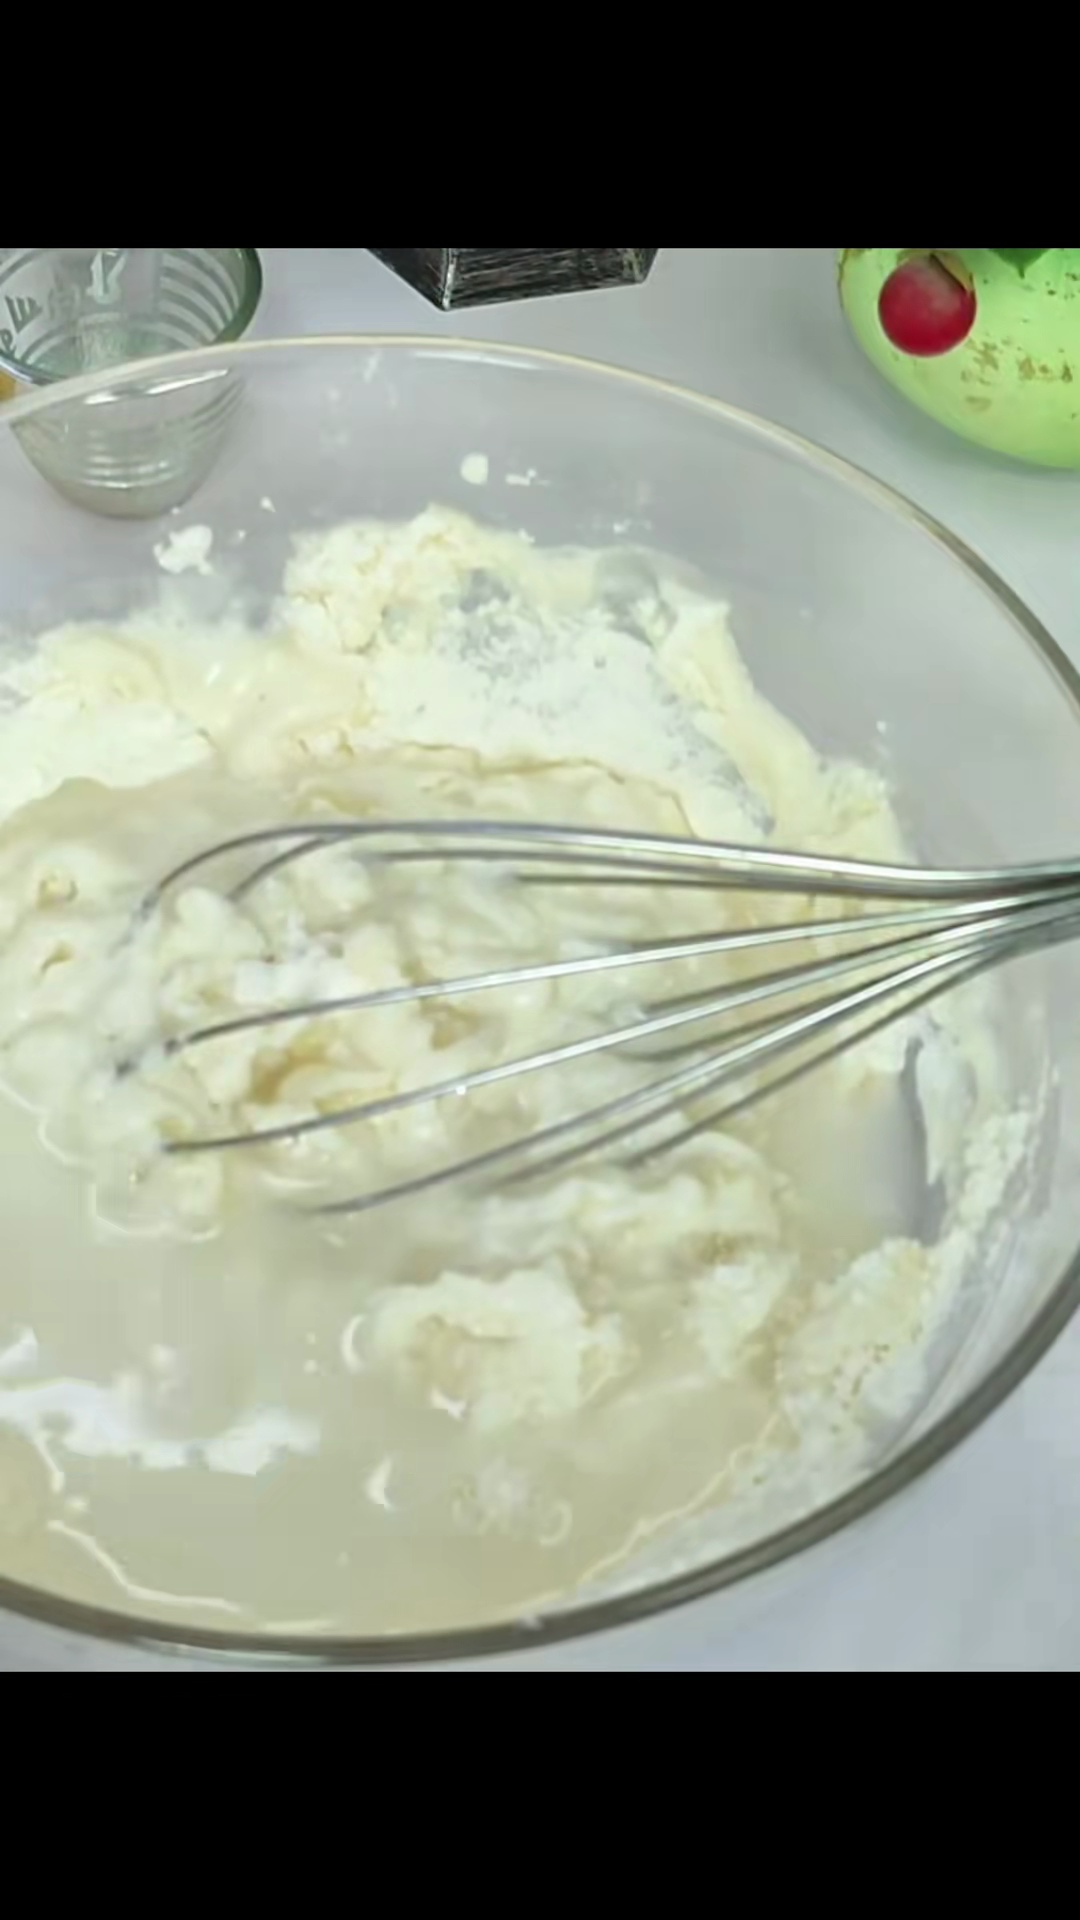
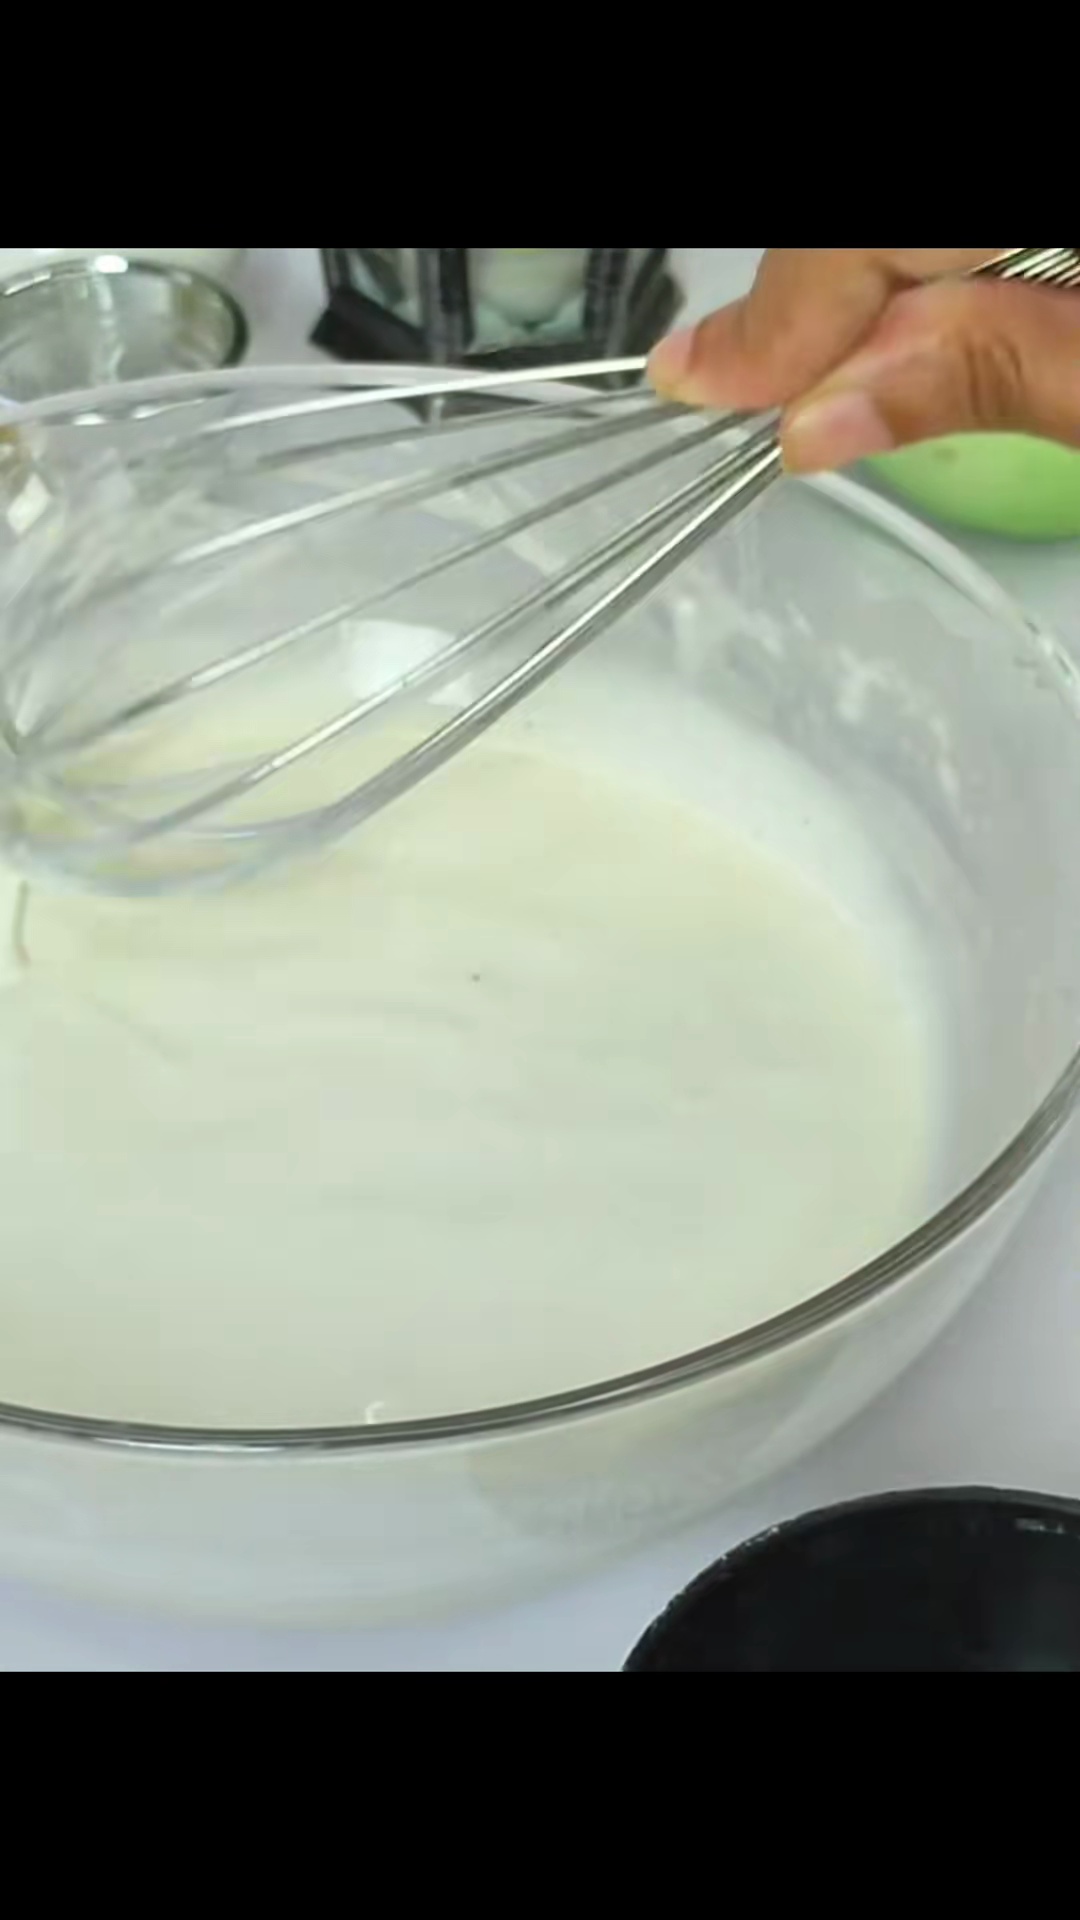
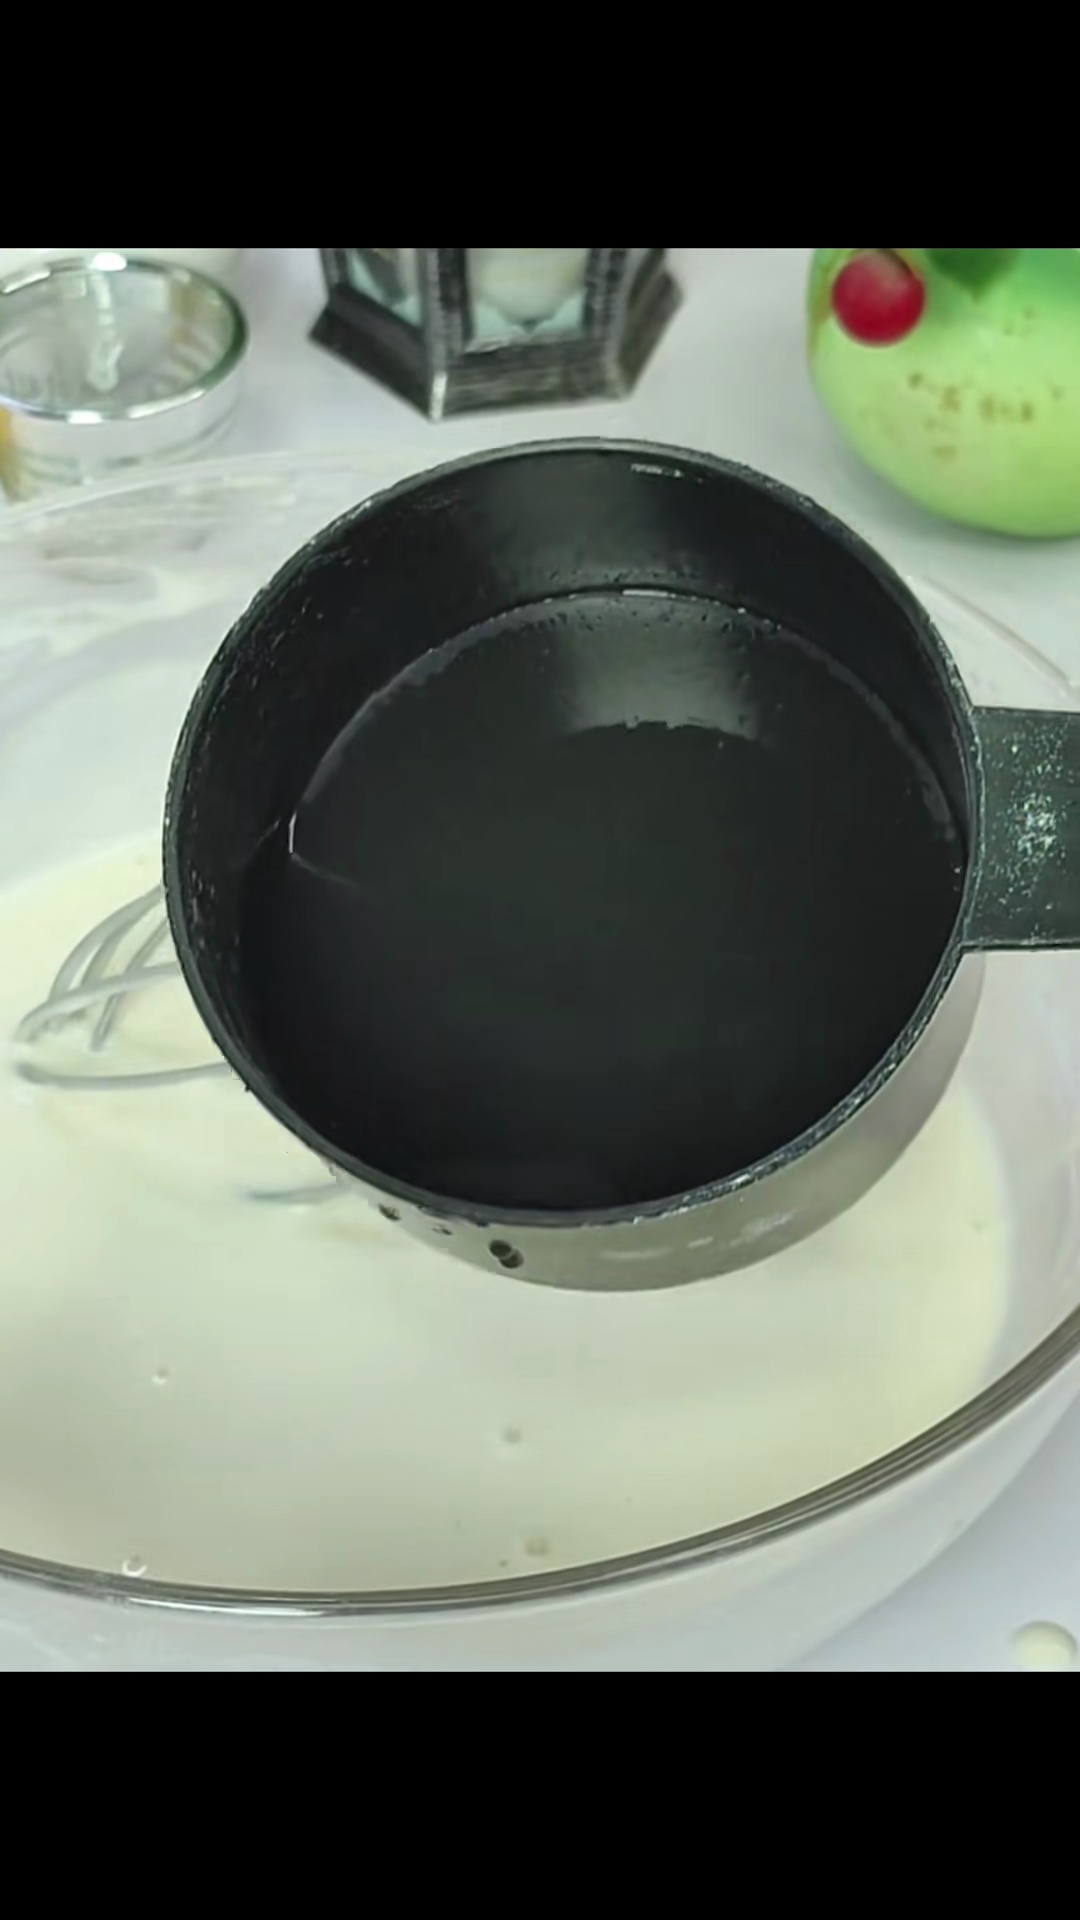
- In a large mixing bowl, combine the whole wheat flour and salt. Gradually add water, mixing until a shaggy dough forms.3m
 Preview3mPreviewIn a large mixing bowl, combine the whole wheat flour and salt. Gradually add water, mixing until a shaggy dough forms.
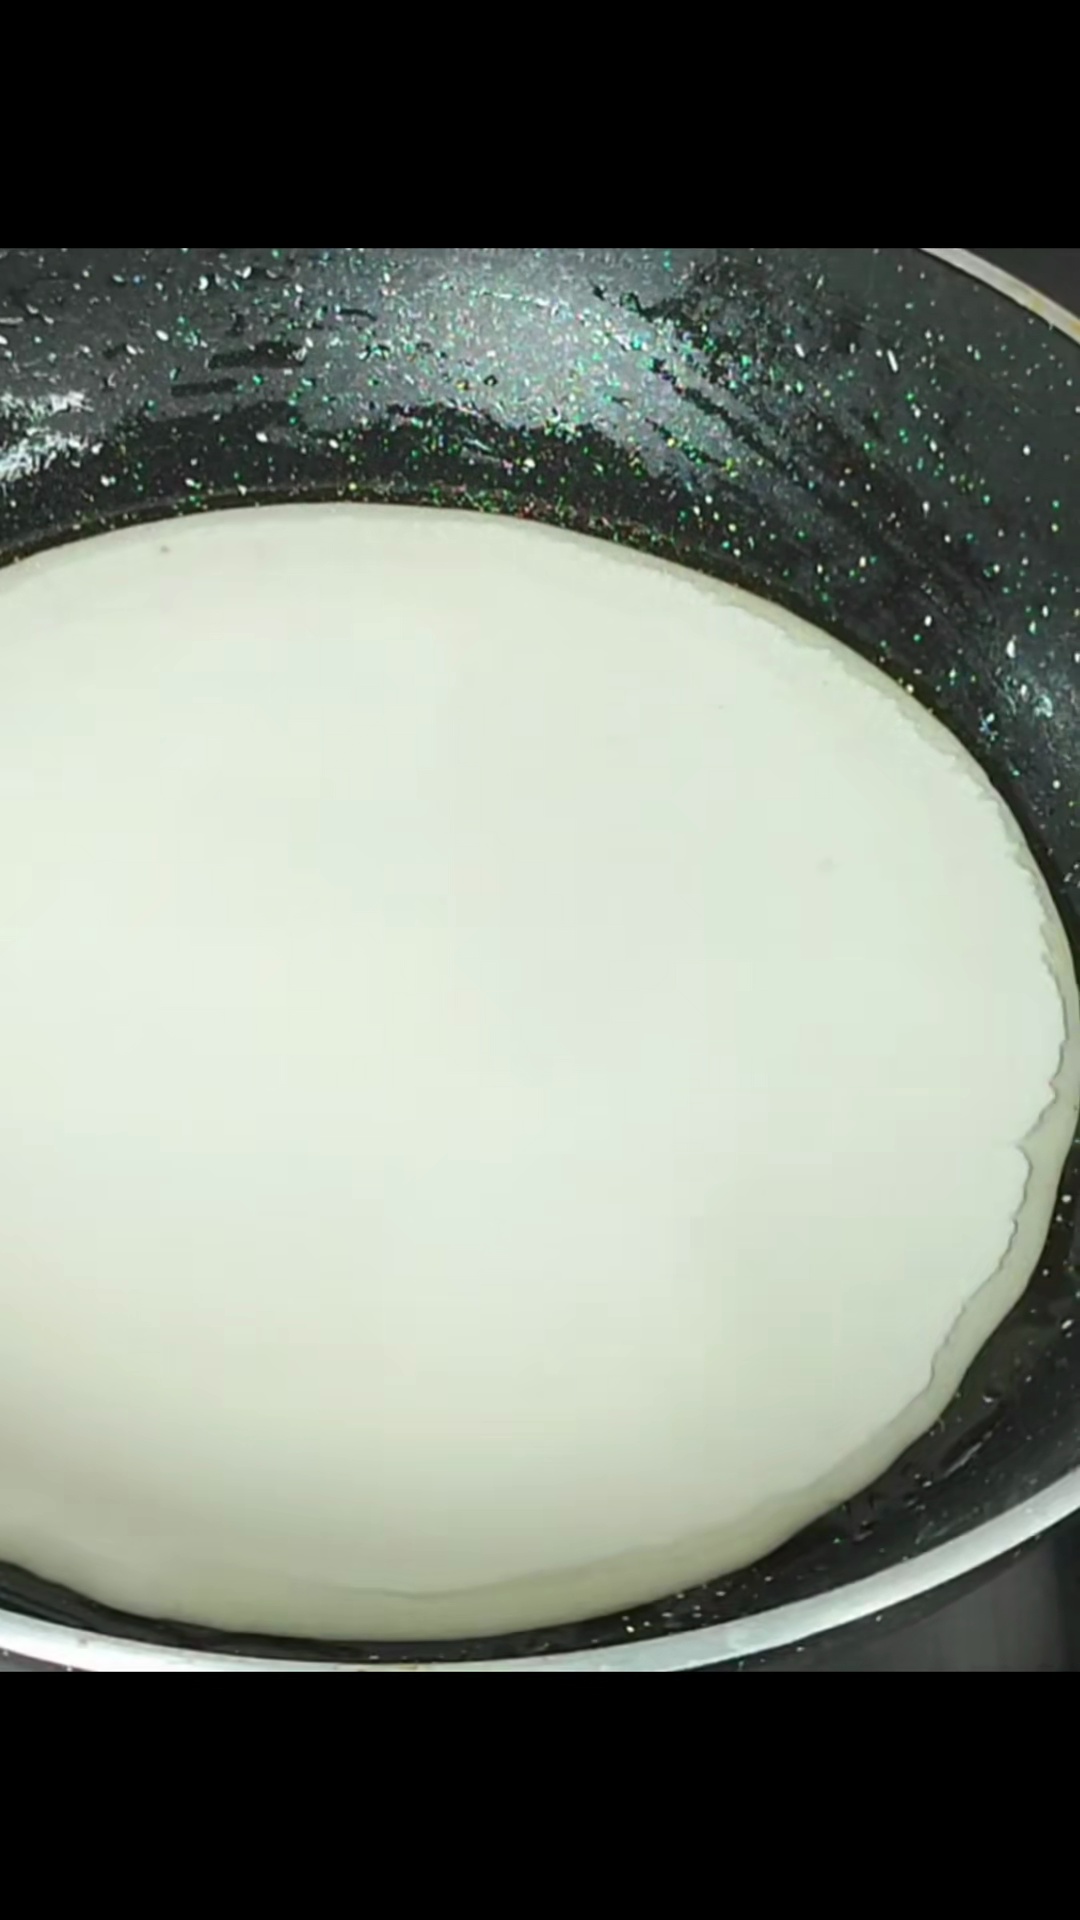
 - Transfer the shaggy dough to a clean surface and knead it for 5-7 minutes until it becomes smooth and elastic. Add 1 tablespoon of oil during kneading to make it softer.7m
 Preview7mPreviewTransfer the shaggy dough to a clean surface and knead it for 5-7 minutes until it becomes smooth and elastic. Add 1 tablespoon of oil during kneading to make it softer.
 - Cover the dough with a damp cloth or plastic wrap and let it rest for at least 30 minutes at room temperature. This helps the gluten relax, making the dough easier to roll.30m
 Preview30mPreviewCover the dough with a damp cloth or plastic wrap and let it rest for at least 30 minutes at room temperature. This helps the gluten relax, making the dough easier to roll.
 - Divide the rested dough into 4-6 equal portions. Roll each portion into a smooth ball.2m
 Preview2mPreviewDivide the rested dough into 4-6 equal portions. Roll each portion into a smooth ball.
 - Take one dough ball, dust it lightly with dry flour, and roll it out into a thin circle (about 6-7 inches in diameter) using a rolling pin.2m
 Preview2mPreviewTake one dough ball, dust it lightly with dry flour, and roll it out into a thin circle (about 6-7 inches in diameter) using a rolling pin.
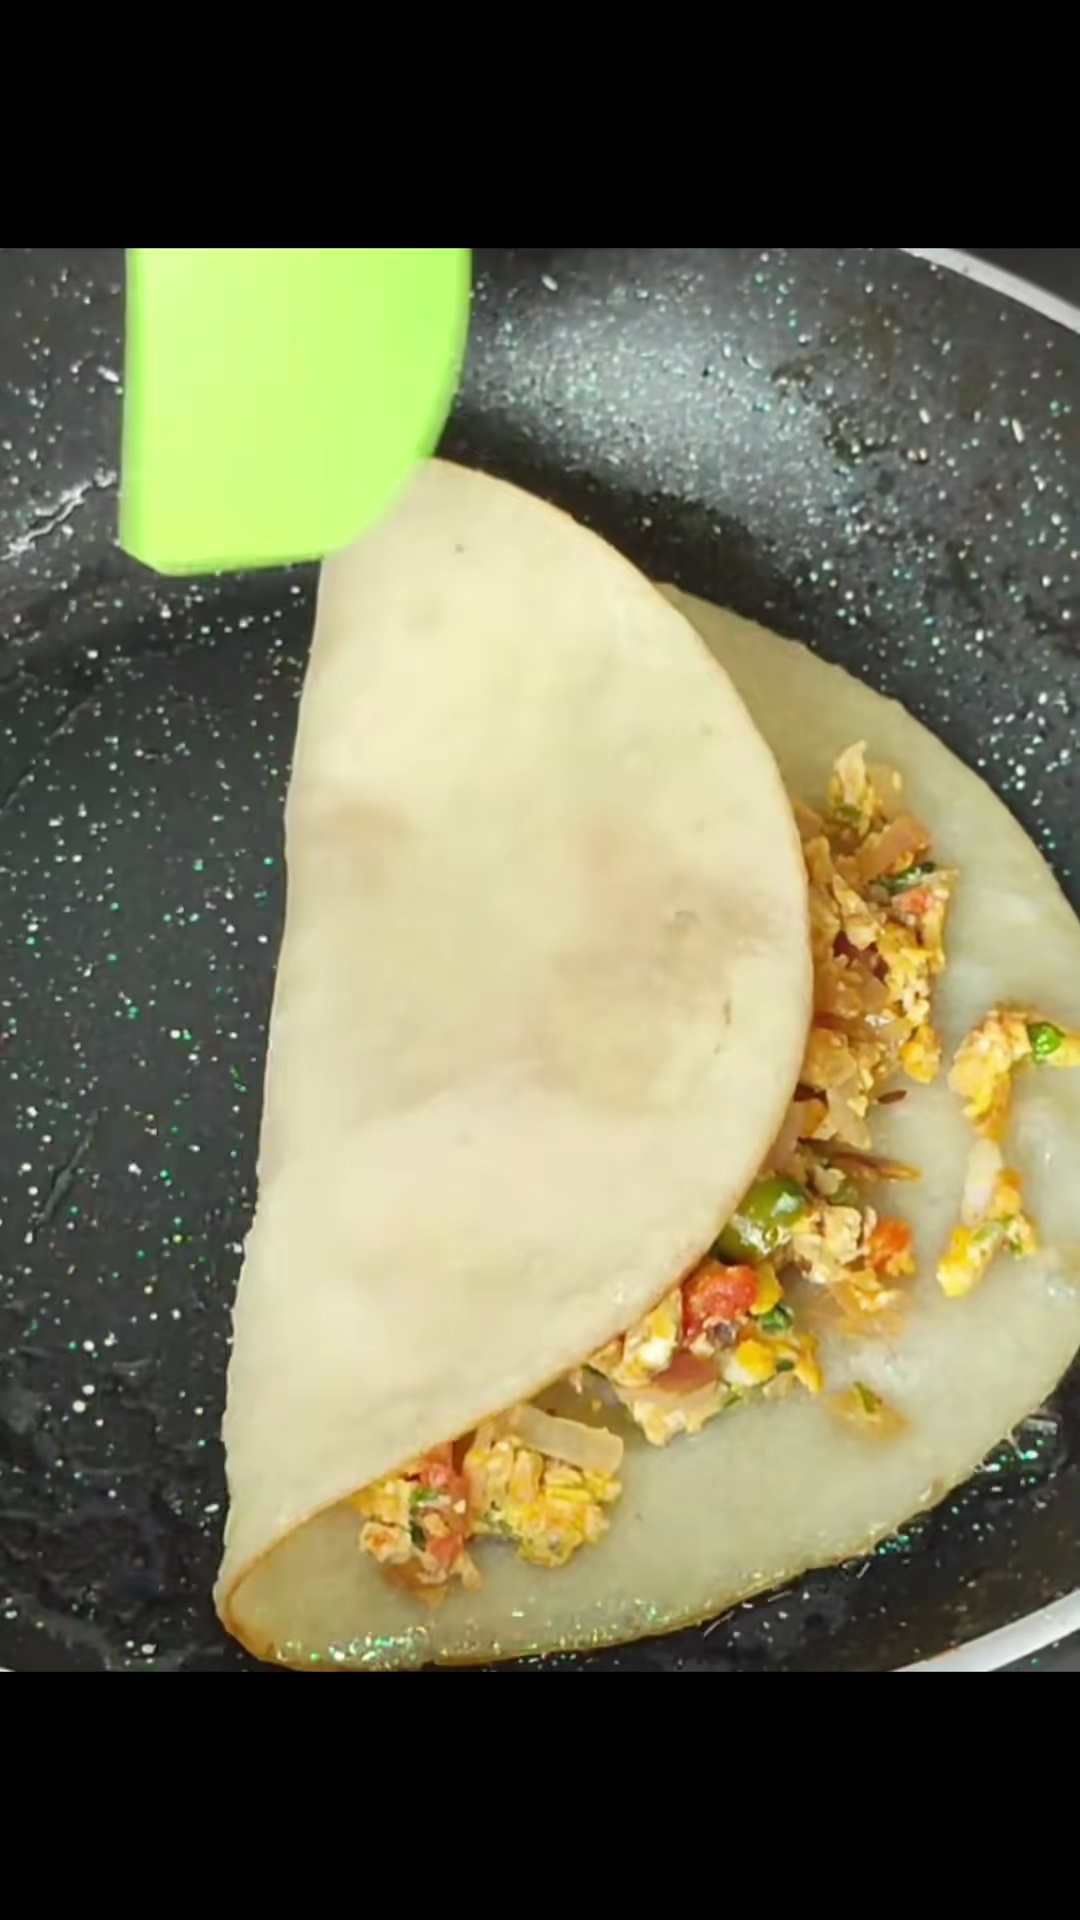
 - Spread a thin layer of oil or ghee over the rolled-out circle. Fold the circle in half, then fold it again into a triangle or square. Alternatively, you can roll it into a log and then coil it, pressing down to create layers.3m
 Preview3mPreviewSpread a thin layer of oil or ghee over the rolled-out circle. Fold the circle in half, then fold it again into a triangle or square. Alternatively, you can roll it into a log and then coil it, pressing down to create layers.
 - Dust the folded dough piece lightly with flour and roll it out gently into a paratha of your desired thickness, usually about 6-7 inches in diameter. Try to maintain the layers created in the previous step.3m
 Preview3mPreviewDust the folded dough piece lightly with flour and roll it out gently into a paratha of your desired thickness, usually about 6-7 inches in diameter. Try to maintain the layers created in the previous step.
 - Heat a tawa (griddle) or a heavy-bottomed frying pan over medium-high heat. Place a rolled paratha on the hot tawa.1m
 Preview1mPreviewHeat a tawa (griddle) or a heavy-bottomed frying pan over medium-high heat. Place a rolled paratha on the hot tawa.
 - Cook for about 30 seconds until small bubbles appear on the surface, then flip the paratha. Apply about 1/2 teaspoon of oil or ghee to the cooked side.1m
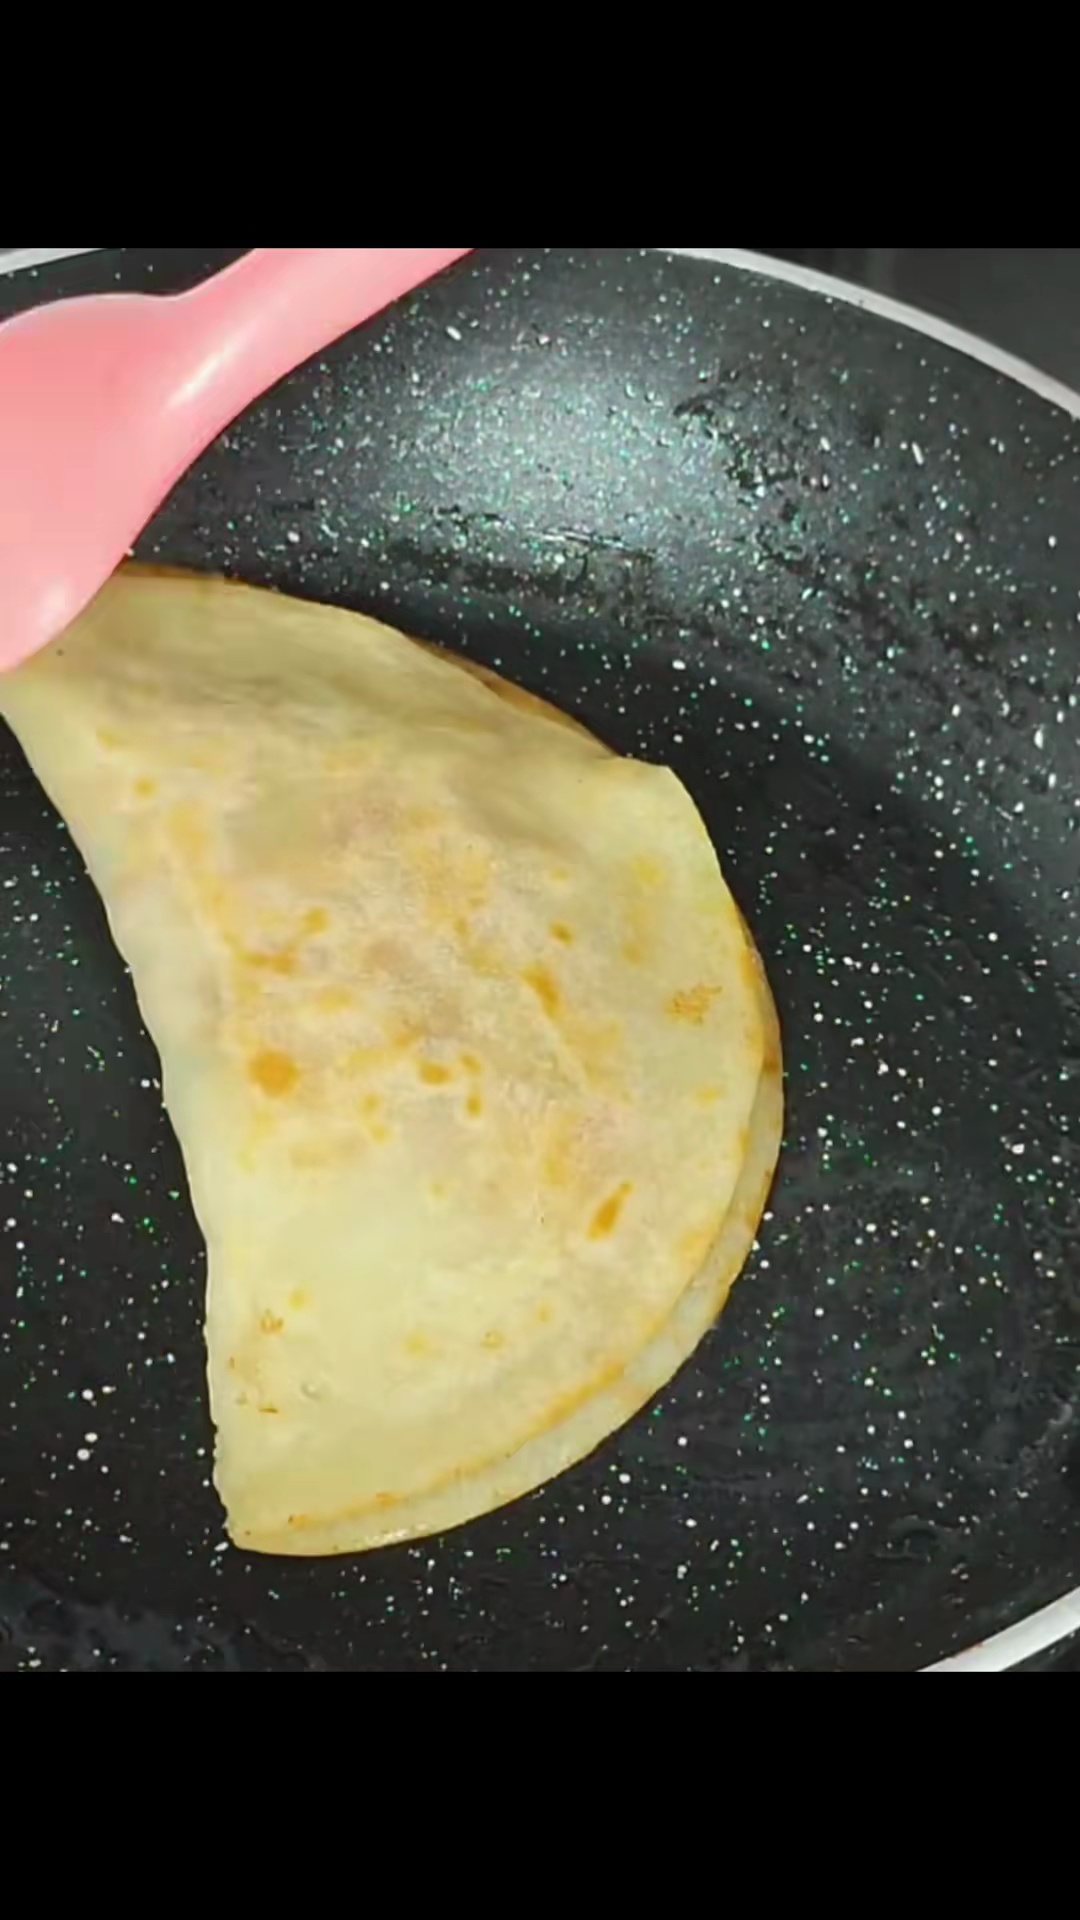 Preview1mPreviewCook for about 30 seconds until small bubbles appear on the surface, then flip the paratha. Apply about 1/2 teaspoon of oil or ghee to the cooked side.
 - Flip again and apply oil or ghee to the other side. Cook each side for another 1-2 minutes, pressing gently with a spatula, until both sides are golden brown and crispy, and the paratha is cooked through.2m
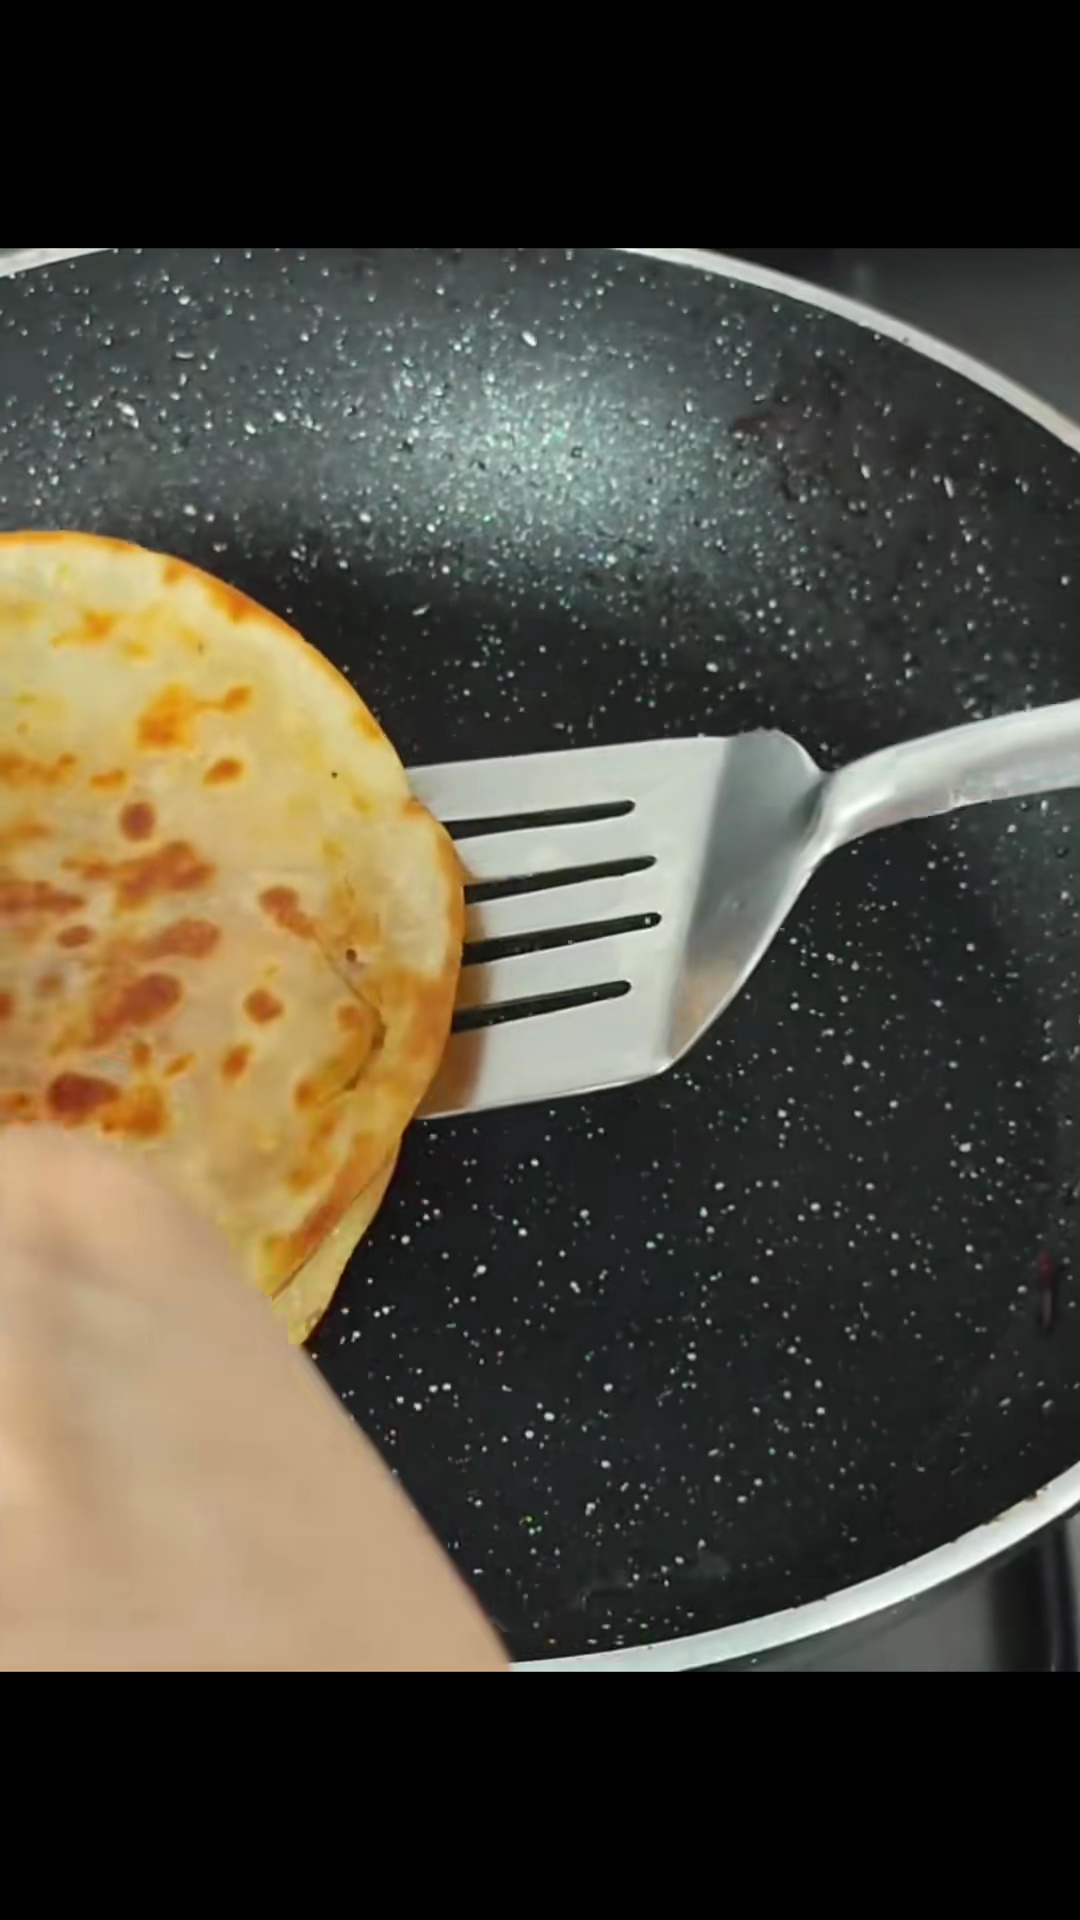 Preview2mPreviewFlip again and apply oil or ghee to the other side. Cook each side for another 1-2 minutes, pressing gently with a spatula, until both sides are golden brown and crispy, and the paratha is cooked through.
 - Remove the cooked paratha from the tawa and repeat the process with the remaining dough balls. Serve hot.1m
 Preview1mPreviewRemove the cooked paratha from the tawa and repeat the process with the remaining dough balls. Serve hot.
💡 Tip: Click on any step to mark it as completed and track your cooking progress!