Back to Dessert Decoration Recipes

Author:
danawking
TikTok
315K
46K
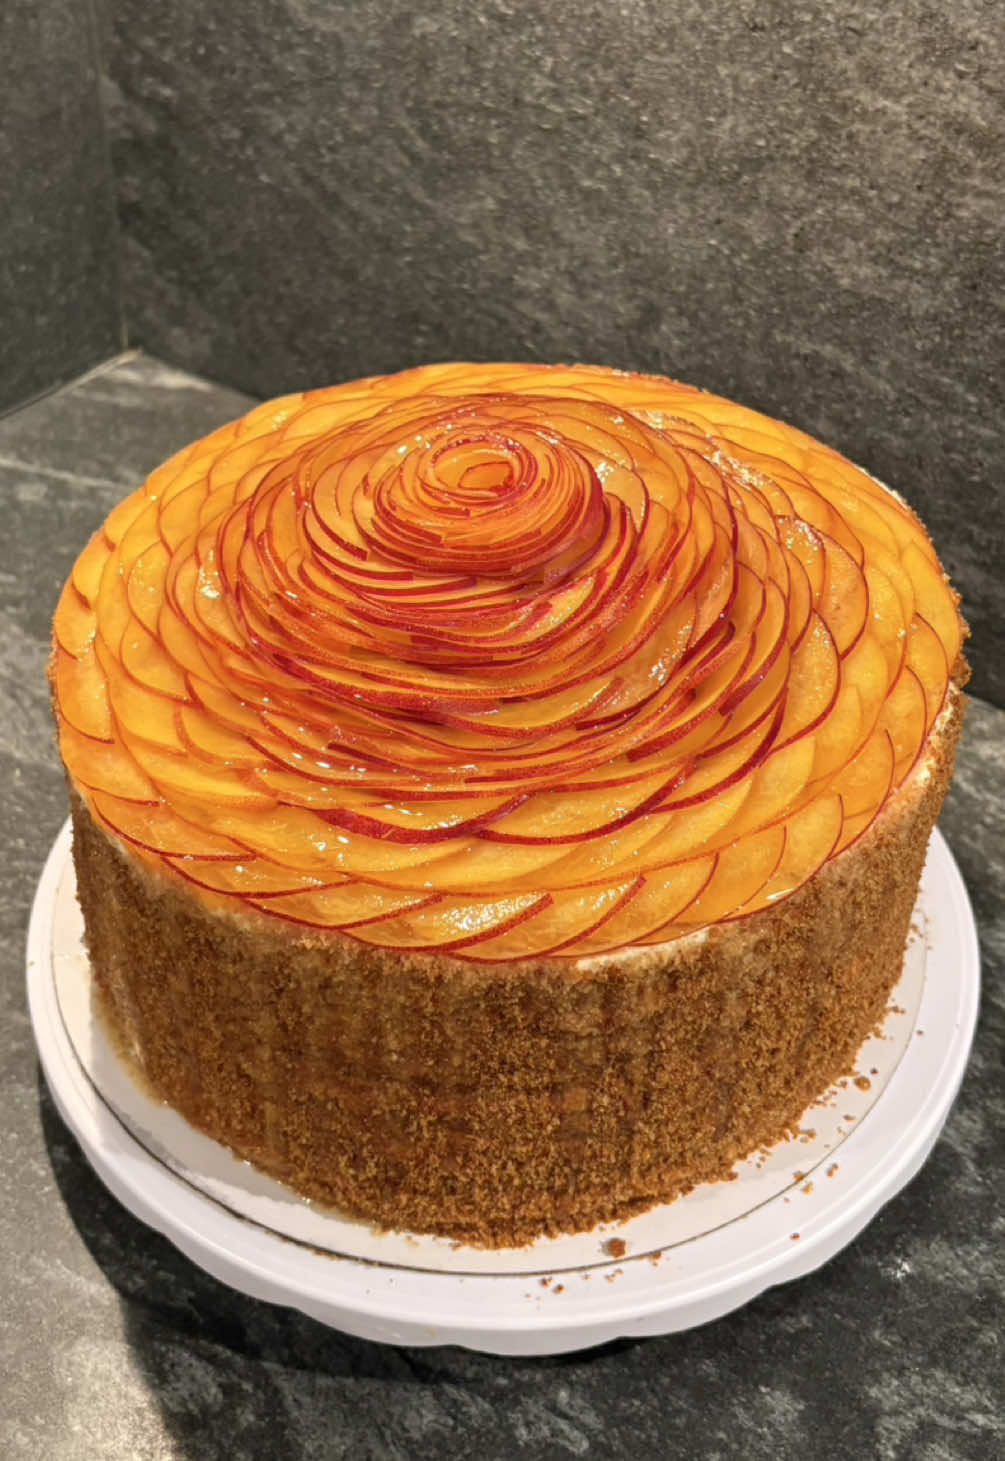
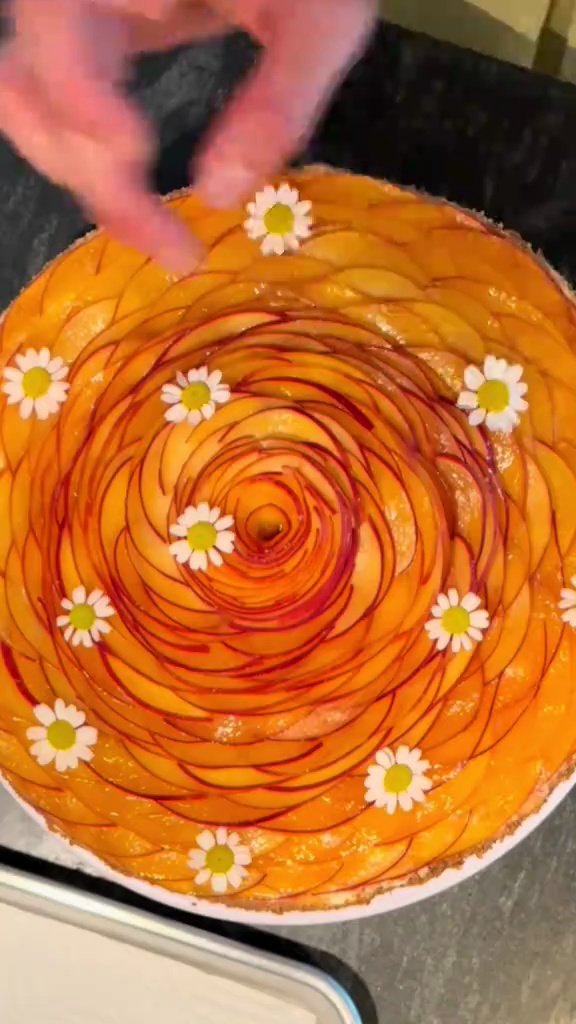
Easy Nectarine Rose Cake Decoration: Craft a Stunning Topper
Discover how to create an exquisite nectarine rose, a perfect edible garnish for any summer dessert, especially a Medovik cake. This simple tutorial guides you through slicing and arranging fruit to form a beautiful, elegant rose. Unleash your creativity with fresh farmer's market produce!
#Fruit Rose
#Nectarine Decoration
#Cake Topper
#Dessert Garnish
#Edible Art
#DIY Decoration
#Summer Dessert
Thinly Sliced Nectarines
Recipe Information
14m
Prep Time
0m
Cook Time
14m
Total Time
1
Servings
Easy
Dessert Decoration
English
Nutrition (per serving)
70
Calories
1g
Protein
17g
Carbs
0g
Fat
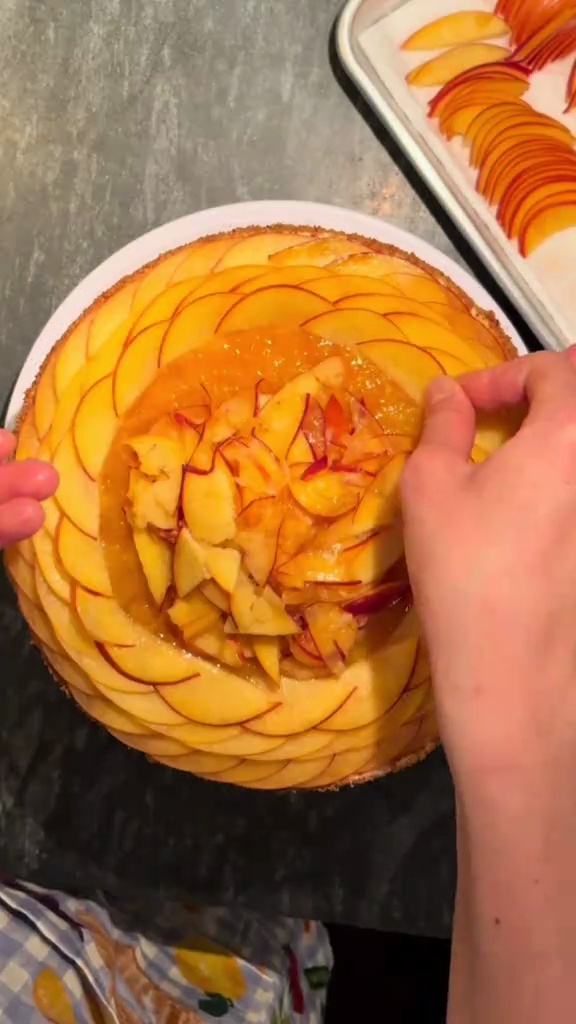
Overlapping Nectarine Slices for Rose Base
Ingredients
Servings: 1
💡 Tip: Check off ingredients as you add them to keep track of your progress!
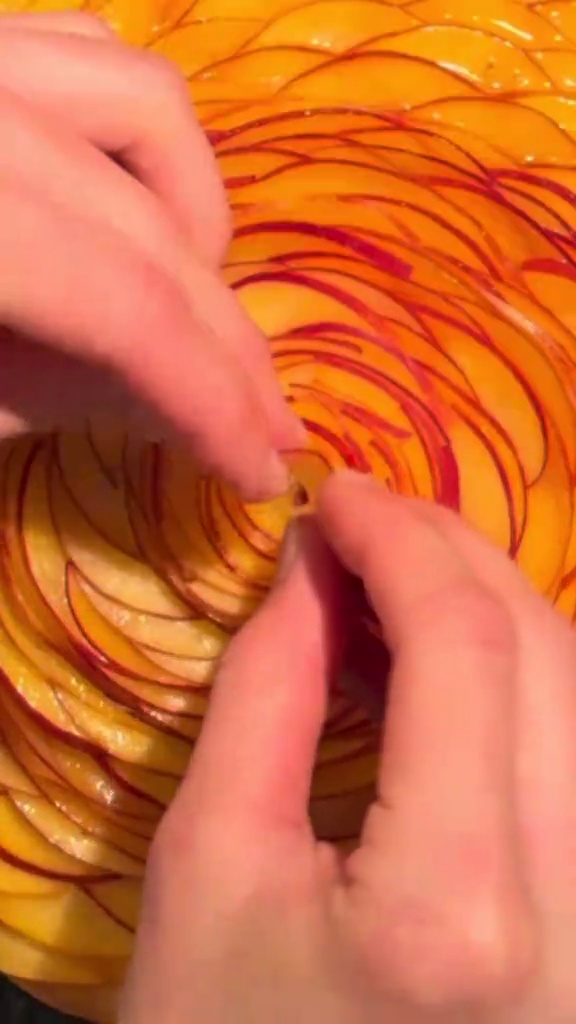
Rolling the Nectarine Rose
Instructions
0/5 completed
0%
- Slice nectarines thinly: Carefully cut the nectarines into very thin, uniform slices. The thinner the slices, the more pliable and realistic the rose will appear.3mPreview3mPreviewSlice nectarines thinly: Carefully cut the nectarines into very thin, uniform slices. The thinner the slices, the more pliable and realistic the rose will appear.
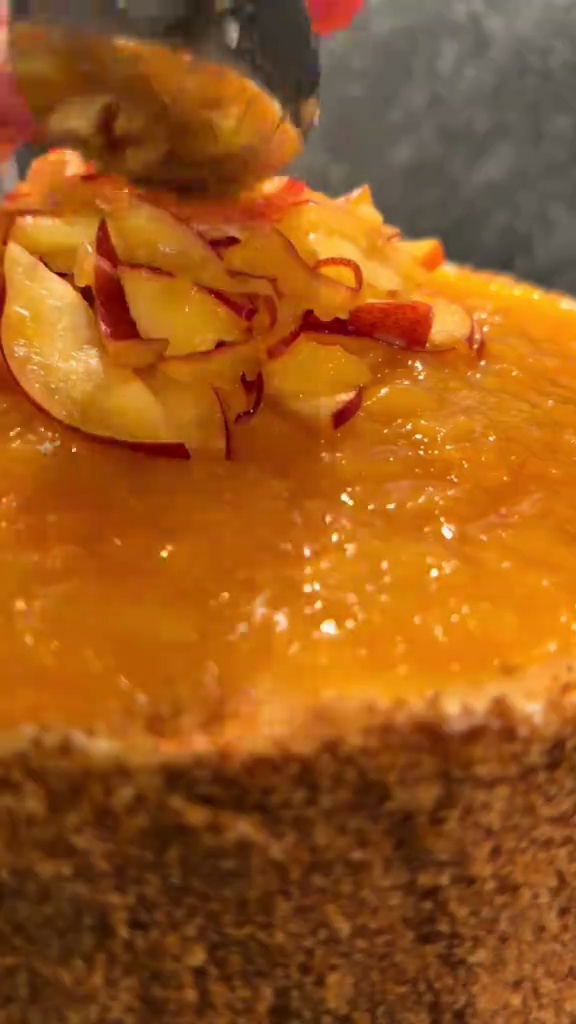
- Arrange slices overlapping: Lay the thin nectarine slices in a straight line on a flat surface, overlapping each slice slightly over the previous one. This forms the base of your rose.3mPreview3mPreviewArrange slices overlapping: Lay the thin nectarine slices in a straight line on a flat surface, overlapping each slice slightly over the previous one. This forms the base of your rose.
- Gently roll the slices: Starting from one end, carefully and tightly roll the entire line of overlapping nectarine slices into a spiral. Keep the roll firm but don't squeeze too hard.2mPreview2mPreviewGently roll the slices: Starting from one end, carefully and tightly roll the entire line of overlapping nectarine slices into a spiral. Keep the roll firm but don't squeeze too hard.
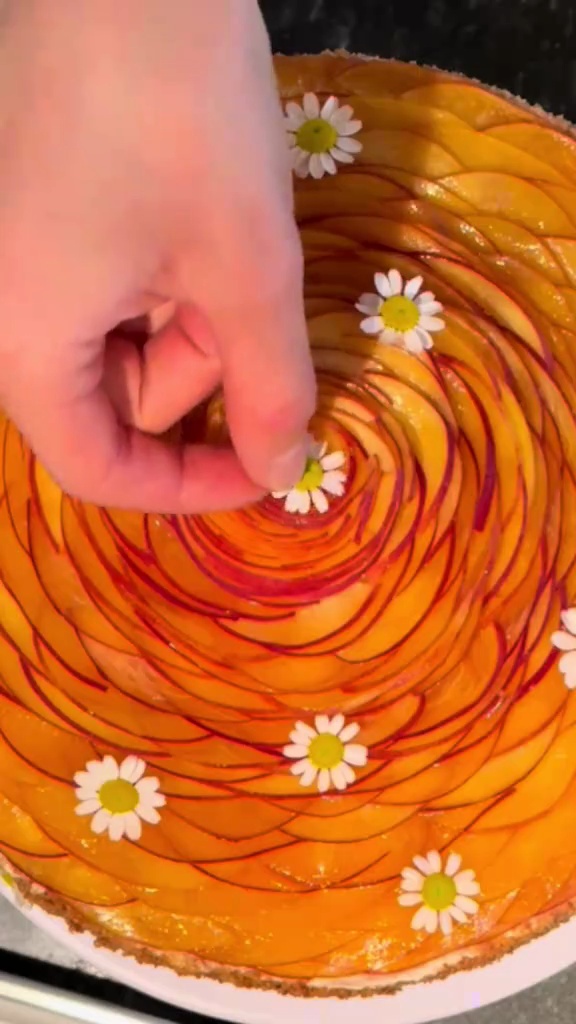
- Fan out the 'petals': Once rolled, gently fan out the outer edges of the nectarine slices to create the appearance of open rose petals. Adjust until you achieve a beautiful, natural rose shape.4m
 Preview4mPreviewFan out the 'petals': Once rolled, gently fan out the outer edges of the nectarine slices to create the appearance of open rose petals. Adjust until you achieve a beautiful, natural rose shape.
 - Trim and place: If necessary, carefully trim the bottom of the nectarine rose to create a flat, stable base for placement on your cake or dessert. Arrange as desired.2m
 Preview2mPreviewTrim and place: If necessary, carefully trim the bottom of the nectarine rose to create a flat, stable base for placement on your cake or dessert. Arrange as desired.
advertisement
advertisement
💡 Tip: Click on any step to mark it as completed and track your cooking progress!