Back to Asian Recipes

Author:
sania.jaffer6
TikTok
8M
189K
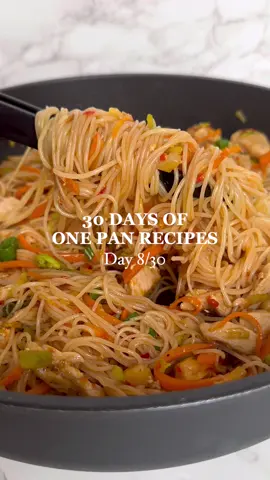
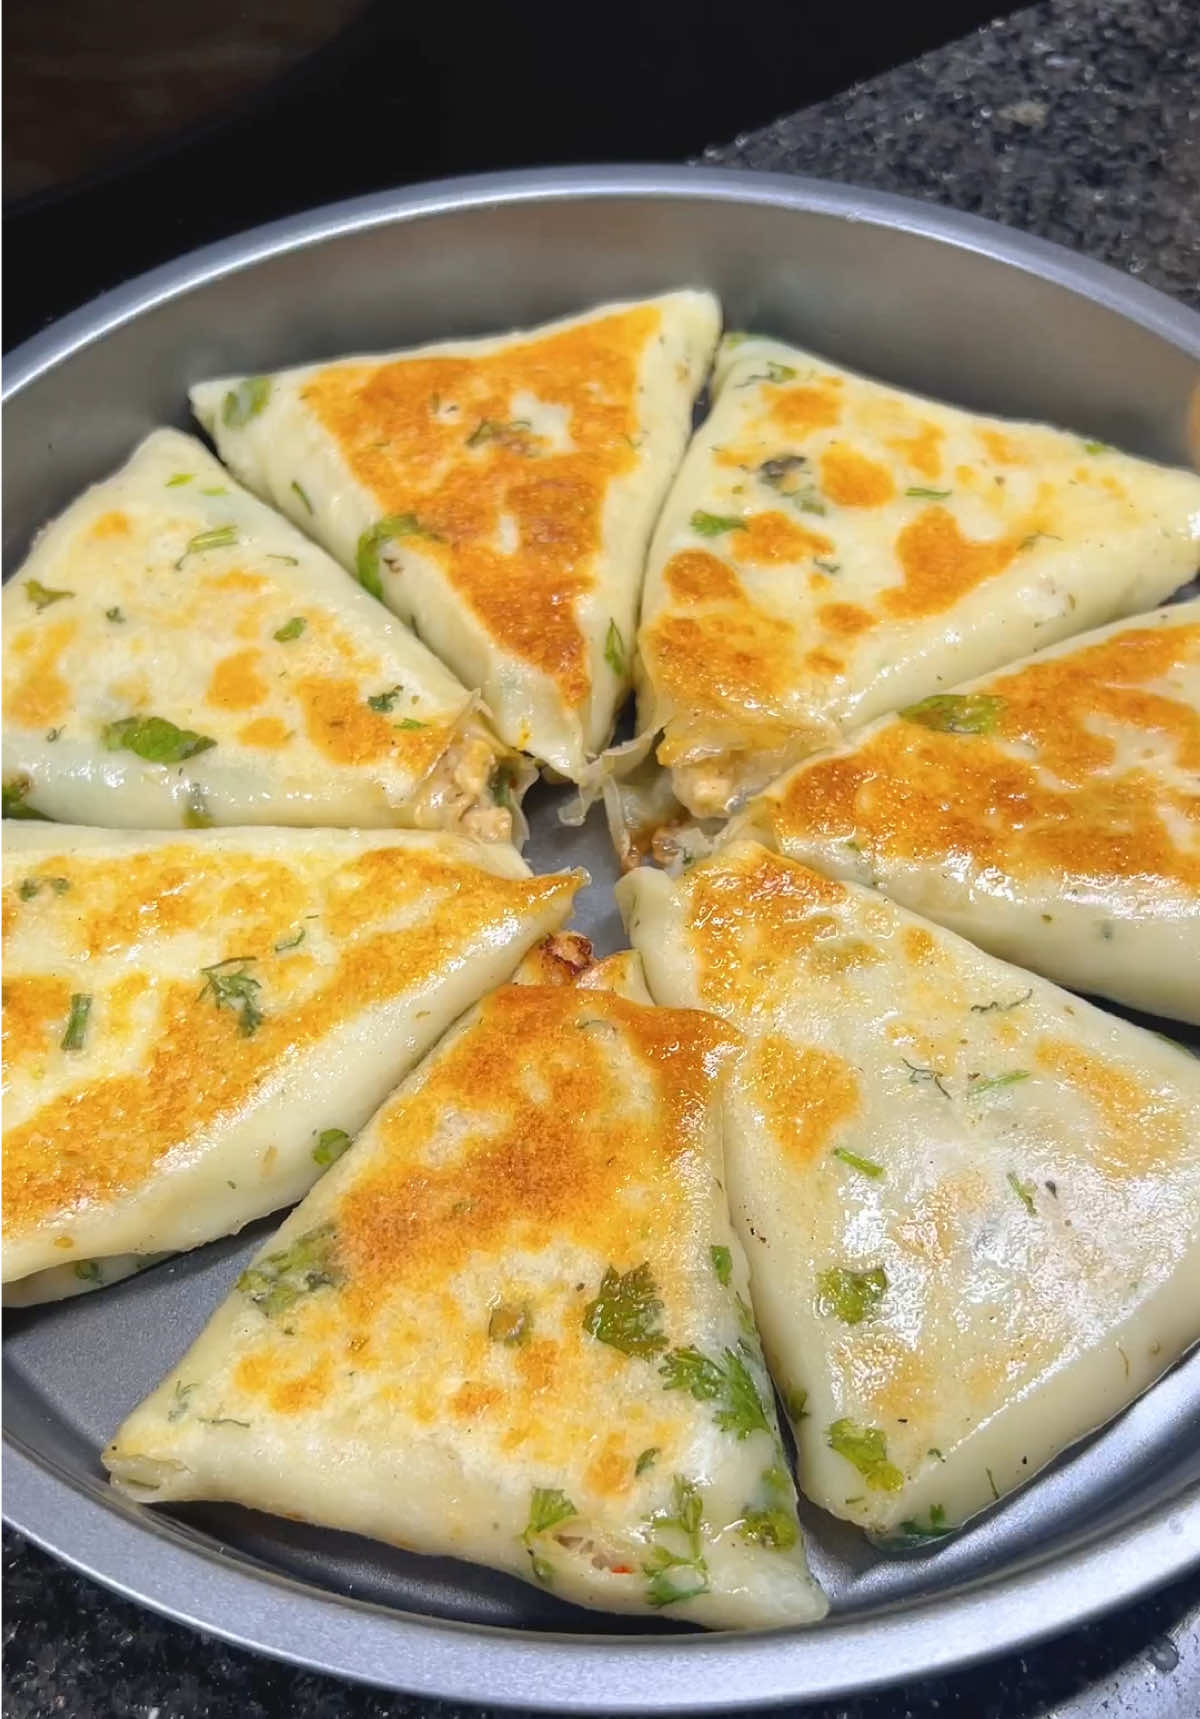
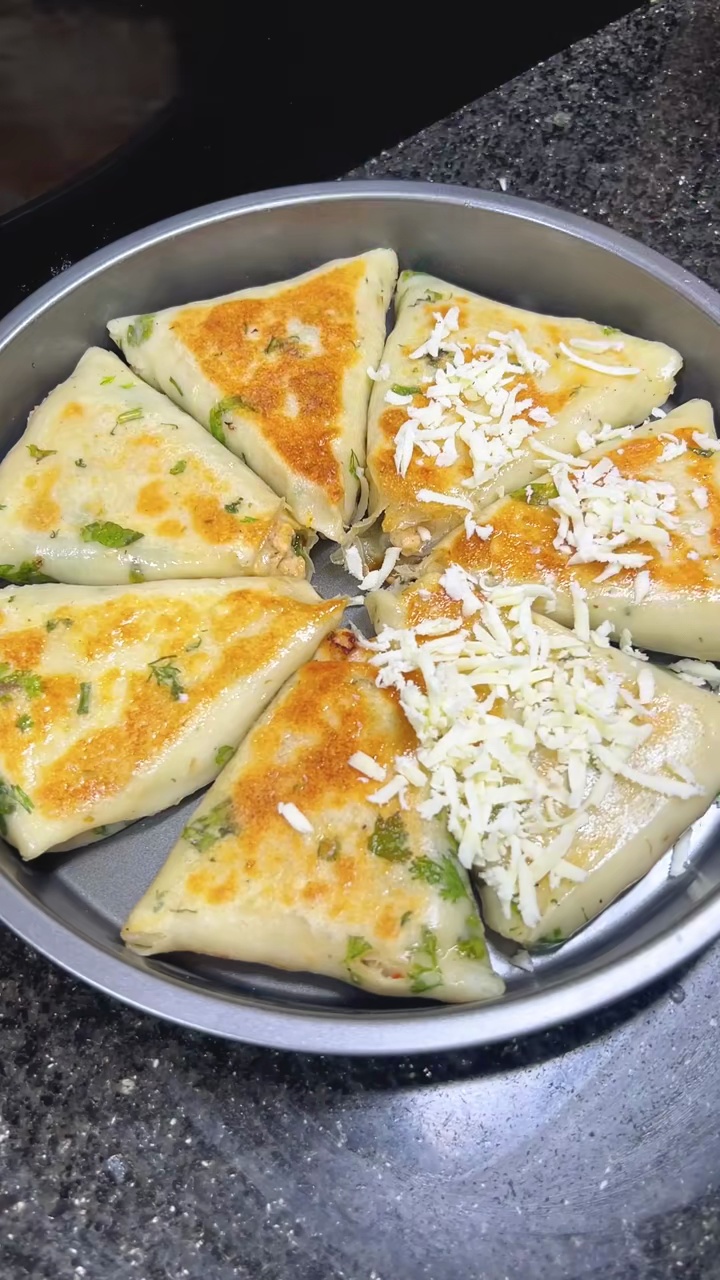
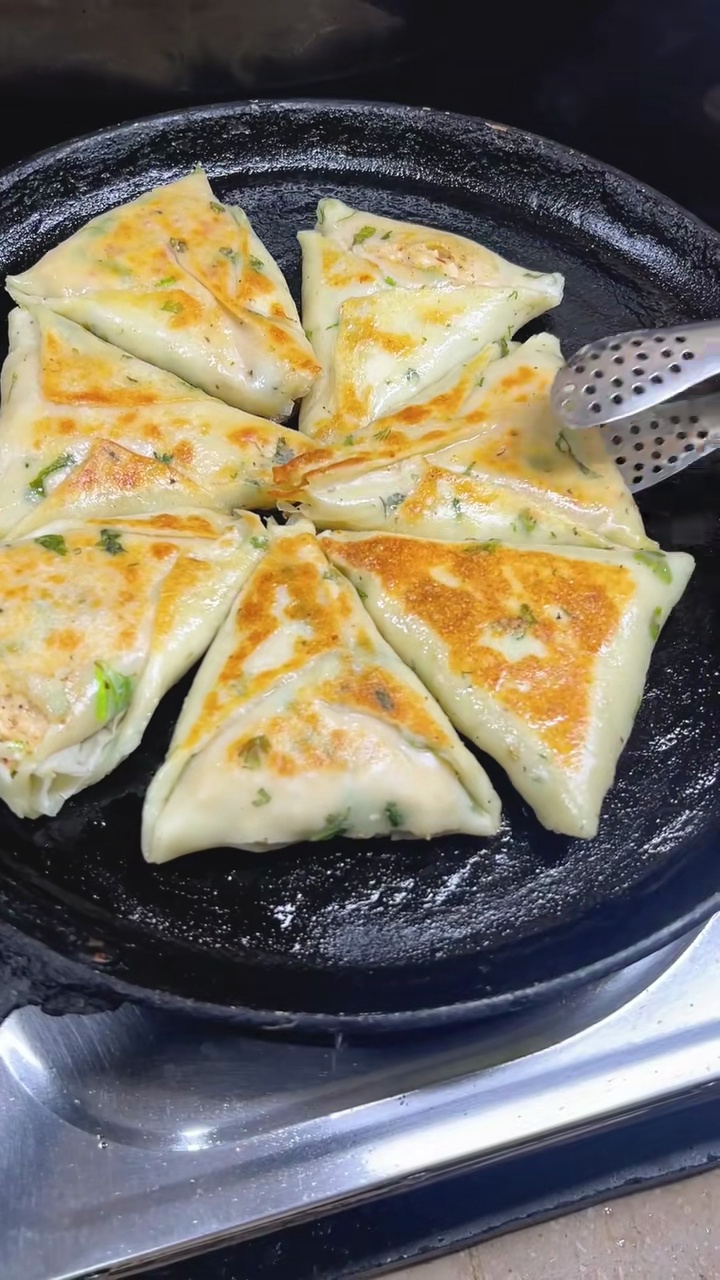
Crispy Spring Sheet Wraps
These crispy spring sheet wraps are a delicious and easy-to-make appetizer or snack, perfect for any occasion, including Ramadan iftars. Filled with a savory mixture of ground meat (or vegetables) and finely shredded vegetables, seasoned perfectly, and fried to a golden crisp. This recipe is a must-try for a satisfying and flavorful bite.
#spring roll
#wrap
#crispy
#fried
#appetizer
#snack
#easyrecipe
#ramadan
#iftar
#yummy
#viral
#homemade
#chicken
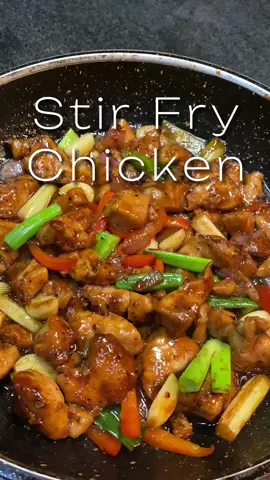
Golden Crispy Spring Rolls
Recipe Information
45m
Prep Time
30m
Cook Time
1h 15m
Total Time
4
Servings
Medium
Asian
English
Nutrition (per serving)
380
Calories
18g
Protein
35g
Carbs
20g
Fat
Freshly Fried Spring Rolls on a Rack
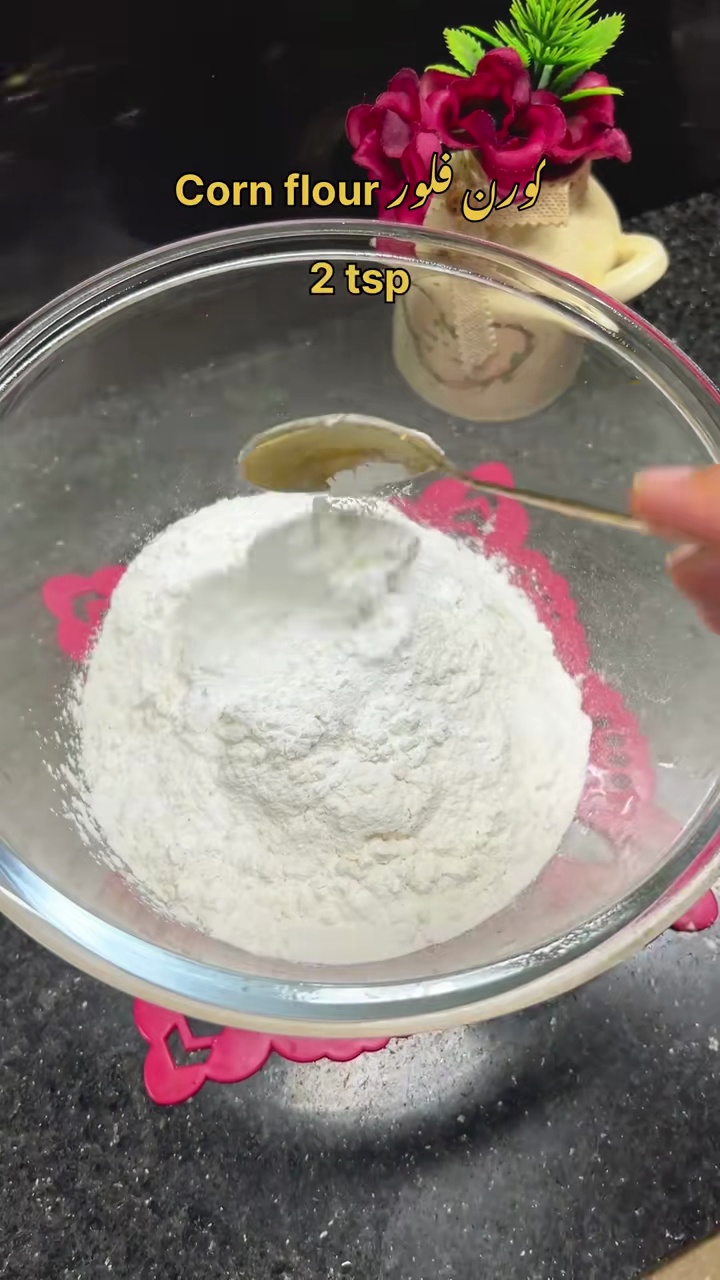
Ingredients
Servings: 4
💡 Tip: Check off ingredients as you add them to keep track of your progress!

Close-up of Finished Spring Roll
Instructions
0/10 completed
0%
- Prepare the vegetables by finely shredding the cabbage and carrots, chopping the onion, and mincing the garlic and ginger. This ensures even cooking and texture in the filling.10m
 Preview10mPreviewPrepare the vegetables by finely shredding the cabbage and carrots, chopping the onion, and mincing the garlic and ginger. This ensures even cooking and texture in the filling.
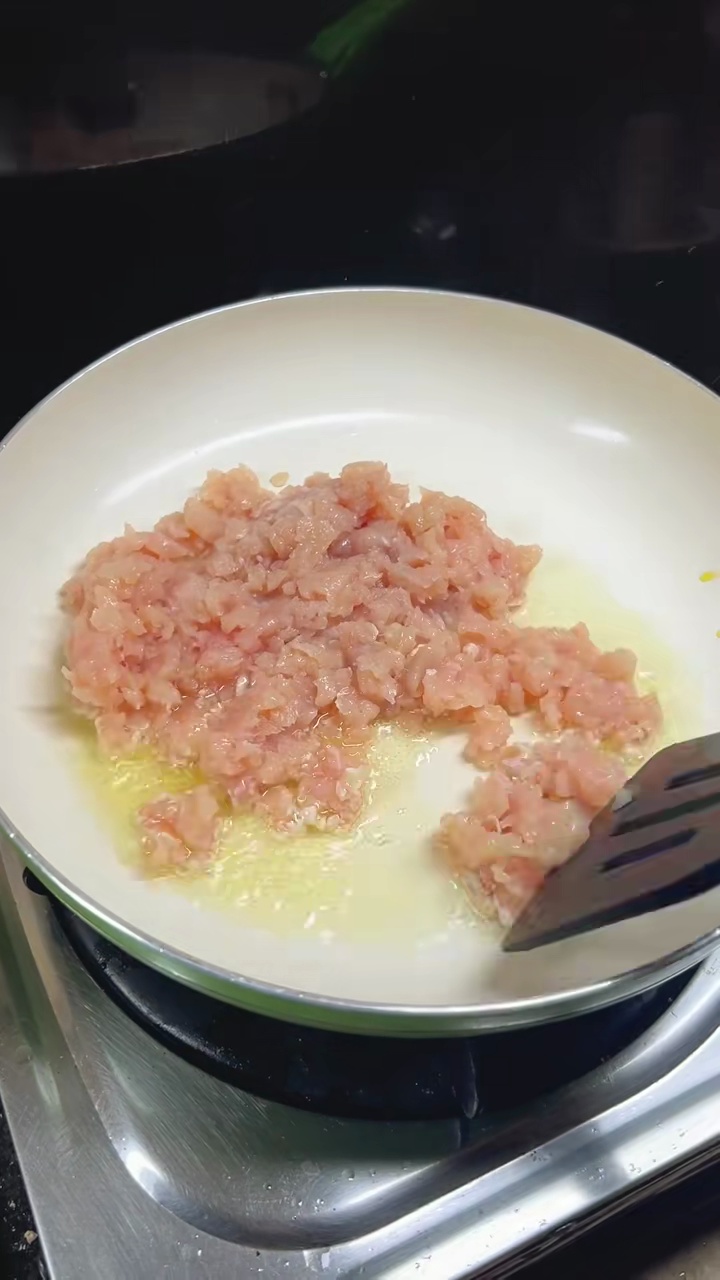
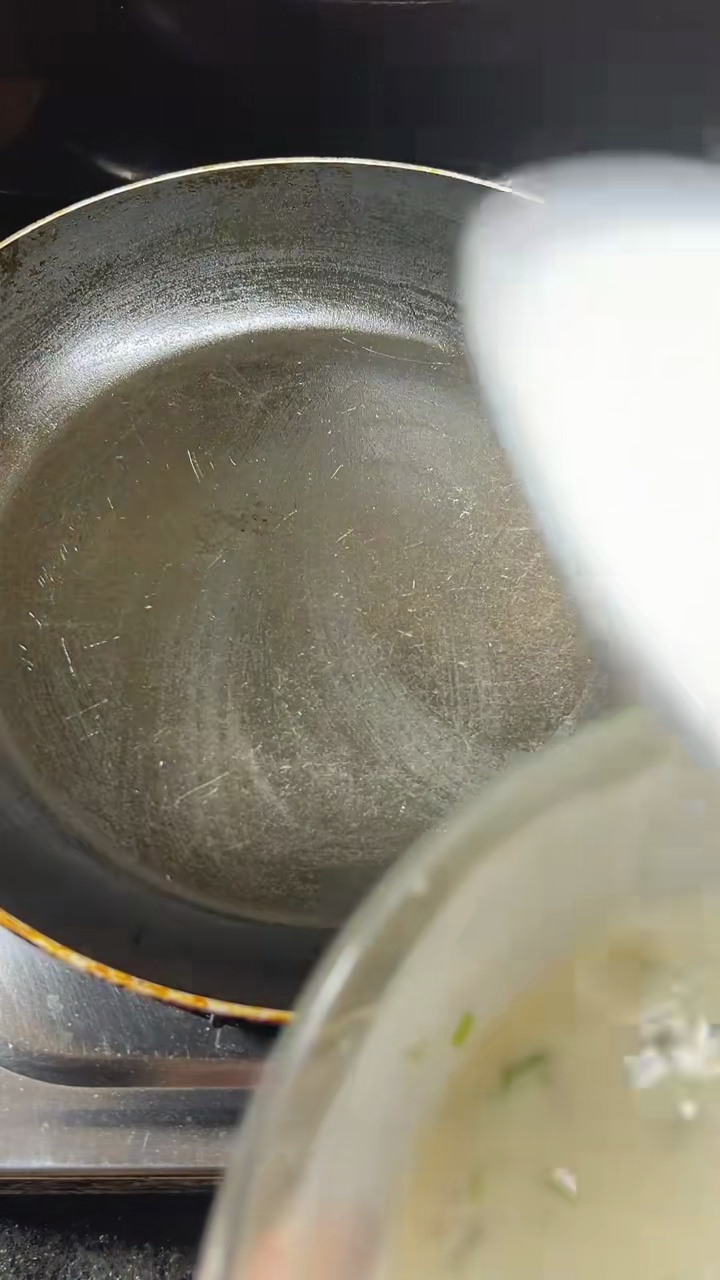
 - In a large pan or wok, heat 1 tablespoon of vegetable oil over medium-high heat. Add the ground chicken (or chosen protein) and cook, breaking it up with a spoon, until it's no longer pink. Drain any excess fat.7m
 Preview7mPreviewIn a large pan or wok, heat 1 tablespoon of vegetable oil over medium-high heat. Add the ground chicken (or chosen protein) and cook, breaking it up with a spoon, until it's no longer pink. Drain any excess fat.
 - Add the chopped onion, minced garlic, and grated ginger to the pan with the cooked meat. Sauté for 3-4 minutes until the onions are softened and fragrant.4m
 Preview4mPreviewAdd the chopped onion, minced garlic, and grated ginger to the pan with the cooked meat. Sauté for 3-4 minutes until the onions are softened and fragrant.
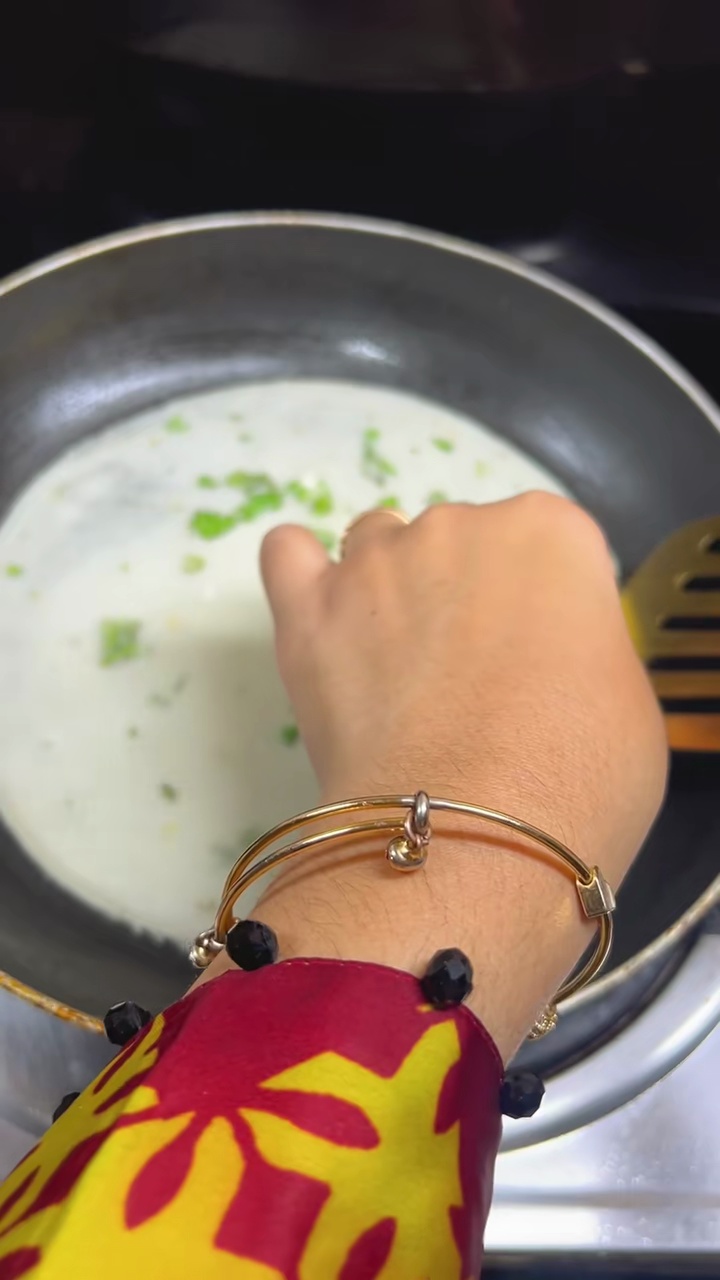
 - Stir in the shredded cabbage and carrots. Cook for another 5-7 minutes, stirring occasionally, until the vegetables are tender-crisp.7m
 Preview7mPreviewStir in the shredded cabbage and carrots. Cook for another 5-7 minutes, stirring occasionally, until the vegetables are tender-crisp.
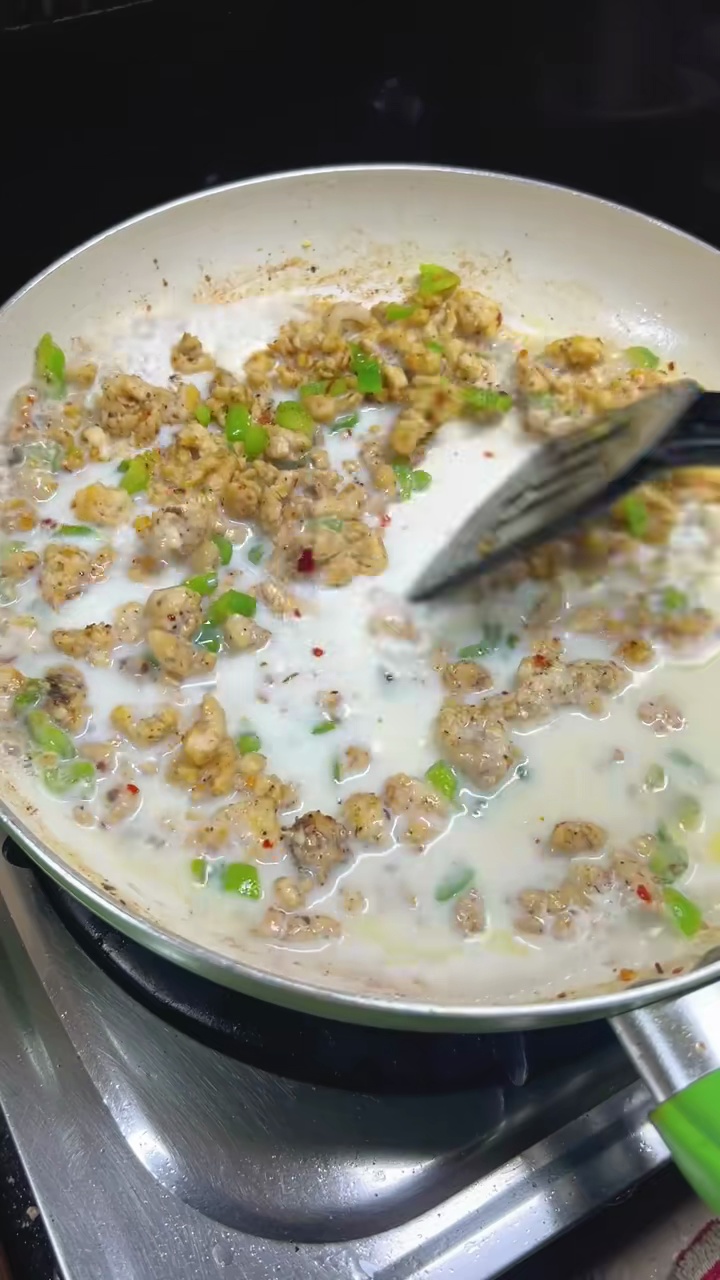
 - Season the filling with soy sauce, sesame oil, salt, and black pepper. Mix well to combine all ingredients and flavors. Taste and adjust seasoning as needed.3m
 Preview3mPreviewSeason the filling with soy sauce, sesame oil, salt, and black pepper. Mix well to combine all ingredients and flavors. Taste and adjust seasoning as needed.
 - Transfer the cooked filling to a bowl and let it cool completely. This is crucial as hot filling can make the wrappers soggy and difficult to handle.15m
 Preview15mPreviewTransfer the cooked filling to a bowl and let it cool completely. This is crucial as hot filling can make the wrappers soggy and difficult to handle.
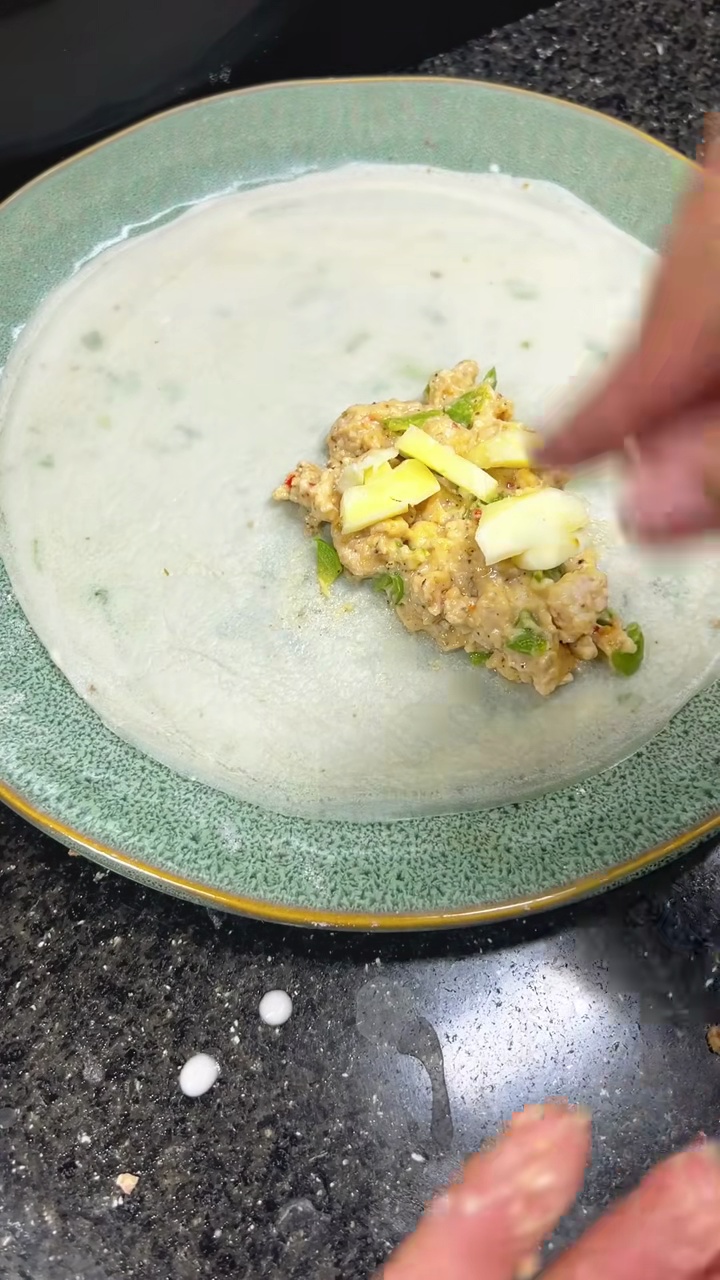
 - Once the filling is cool, prepare your workstation for wrapping. Place a spring roll wrapper on a clean, dry surface with one corner pointing towards you (diamond shape). Place about 2 tablespoons of filling near the bottom corner.5m
 Preview5mPreviewOnce the filling is cool, prepare your workstation for wrapping. Place a spring roll wrapper on a clean, dry surface with one corner pointing towards you (diamond shape). Place about 2 tablespoons of filling near the bottom corner.
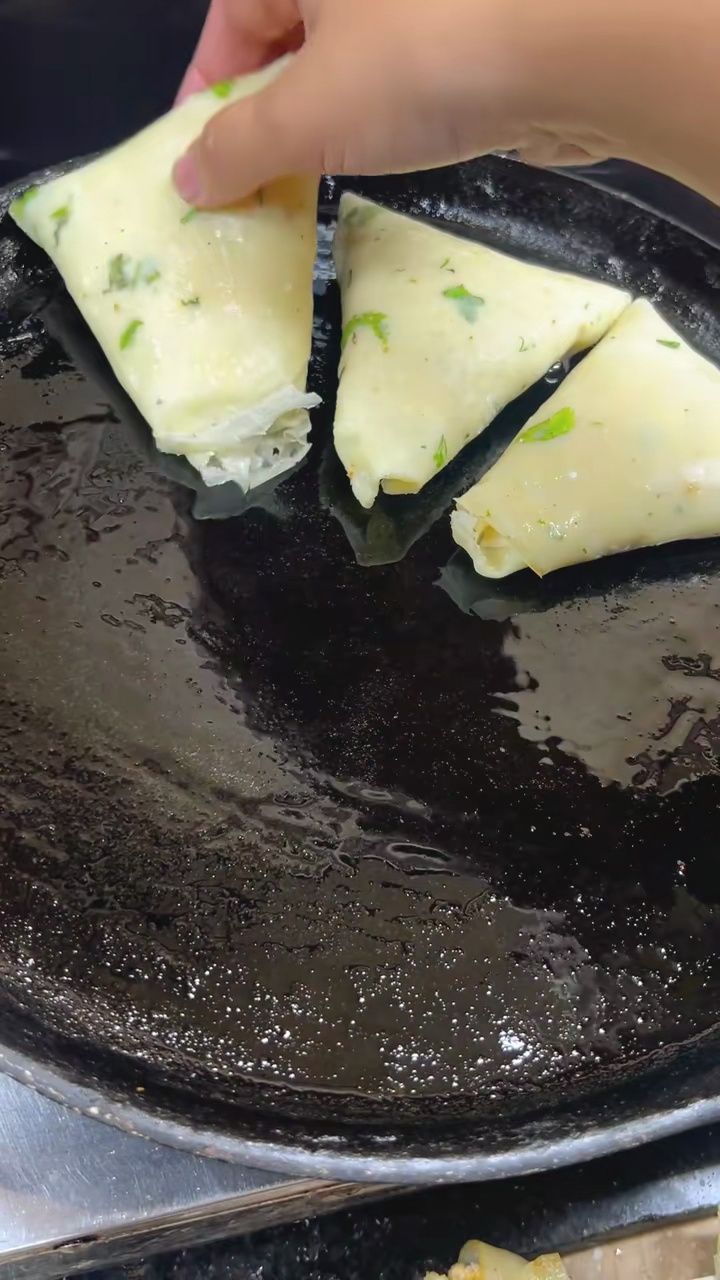
 - Fold the bottom corner over the filling. Then fold in the left and right corners towards the center. Roll the wrapper tightly upwards, sealing the top corner with a dab of beaten egg.20m
 Preview20mPreviewFold the bottom corner over the filling. Then fold in the left and right corners towards the center. Roll the wrapper tightly upwards, sealing the top corner with a dab of beaten egg.
 - In a deep pot or wok, heat 3-4 cups of vegetable oil to 350°F (175°C). Carefully place the spring rolls into the hot oil, frying in batches to avoid overcrowding.5m
 Preview5mPreviewIn a deep pot or wok, heat 3-4 cups of vegetable oil to 350°F (175°C). Carefully place the spring rolls into the hot oil, frying in batches to avoid overcrowding.
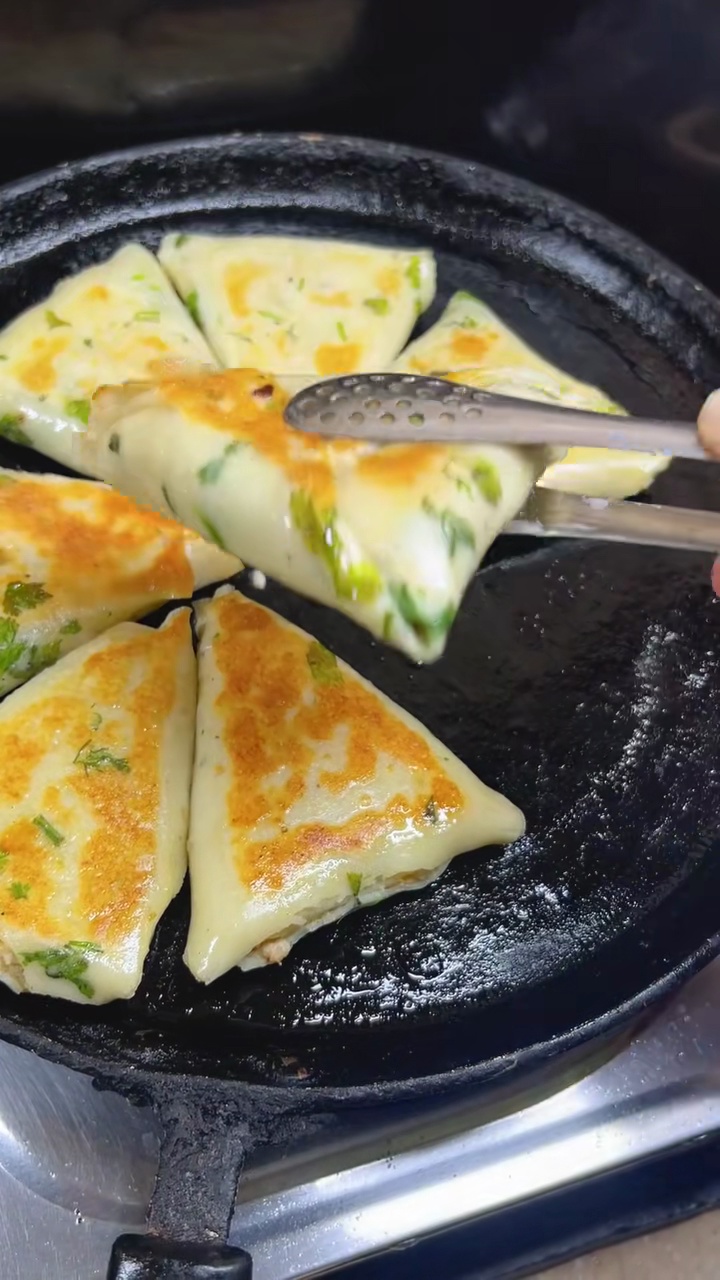
 - Fry each batch for 4-6 minutes, or until golden brown and crispy, turning occasionally. Remove the fried spring rolls with a slotted spoon and place them on a wire rack lined with paper towels to drain excess oil.10m
 Preview10mPreviewFry each batch for 4-6 minutes, or until golden brown and crispy, turning occasionally. Remove the fried spring rolls with a slotted spoon and place them on a wire rack lined with paper towels to drain excess oil.
💡 Tip: Click on any step to mark it as completed and track your cooking progress!