Back to Japanese Recipes

Author:
the.mountain.village
TikTok
202K
2K
Easy Homemade Mochi Recipe: Soft & Chewy Japanese Dessert
Learn how to make delicious Japanese mochi at home with this easy-to-follow recipe. This traditional dessert is soft, chewy, and perfect for any occasion. Follow along for simple steps to create your own delightful mochi!
#Mochi
#Japanese Dessert
#Easy Recipe
#Homemade
#Sweet Treat
#Dessert
#Chewy
#Glutinous Rice

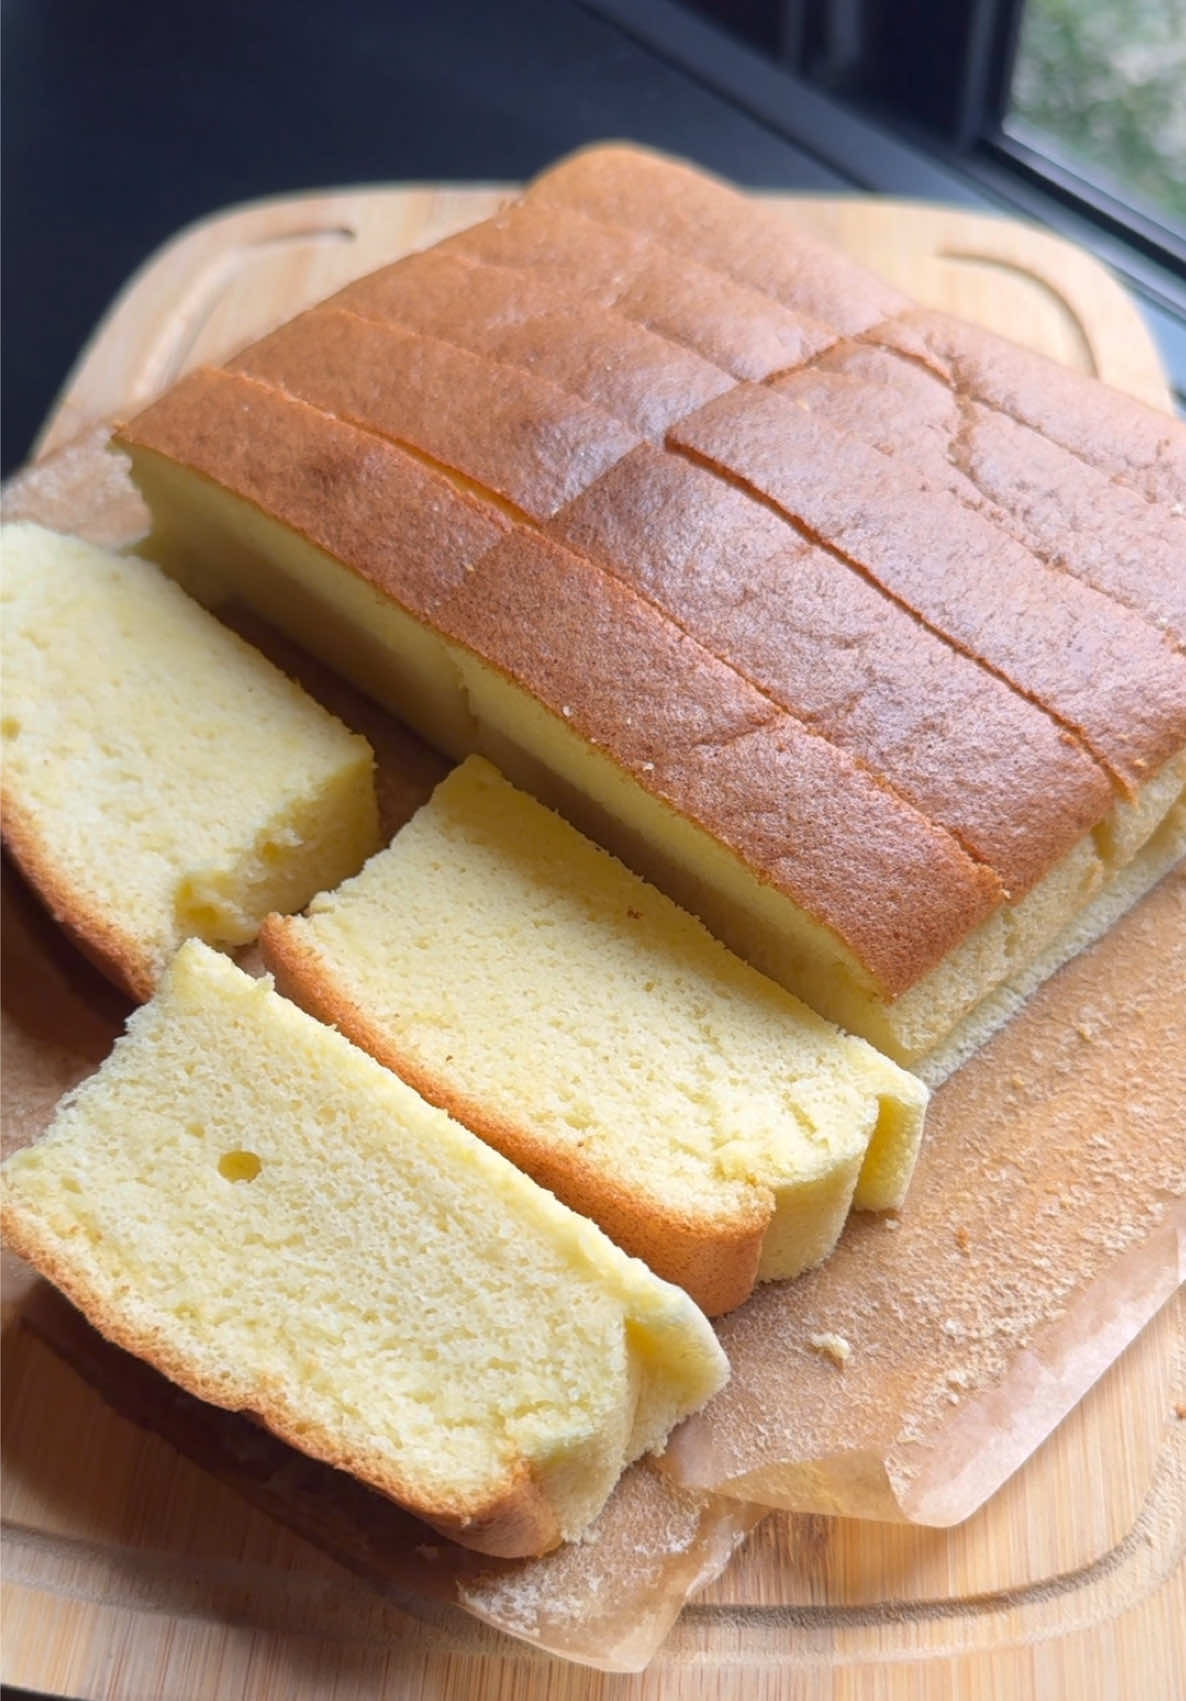
Freshly Made Mochi
Recipe Information
5m
Prep Time
15m
Cook Time
20m
Total Time
8
Servings
Easy
Japanese
English
Nutrition (per serving)
140
Calories
2g
Protein
32g
Carbs
0g
Fat
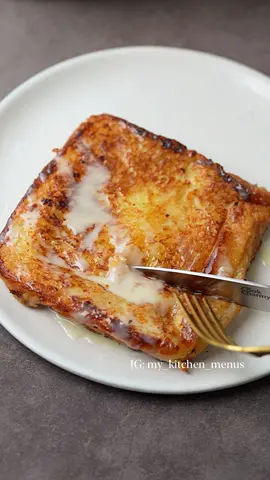
Soft & Chewy Mochi Dessert
Ingredients
advertisement
Servings: 8
💡 Tip: Check off ingredients as you add them to keep track of your progress!

Delicious Homemade Mochi
Instructions
0/6 completed
0%
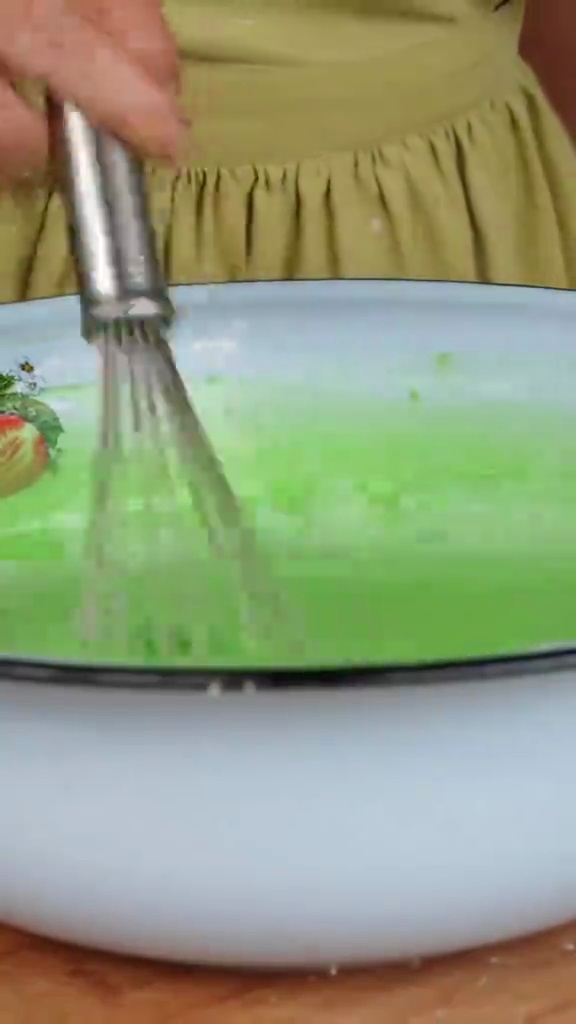
- In a microwave-safe bowl, combine the sweet glutinous rice flour, sugar, and water. Whisk until smooth and no lumps remain.1m
 Preview1mPreviewIn a microwave-safe bowl, combine the sweet glutinous rice flour, sugar, and water. Whisk until smooth and no lumps remain.
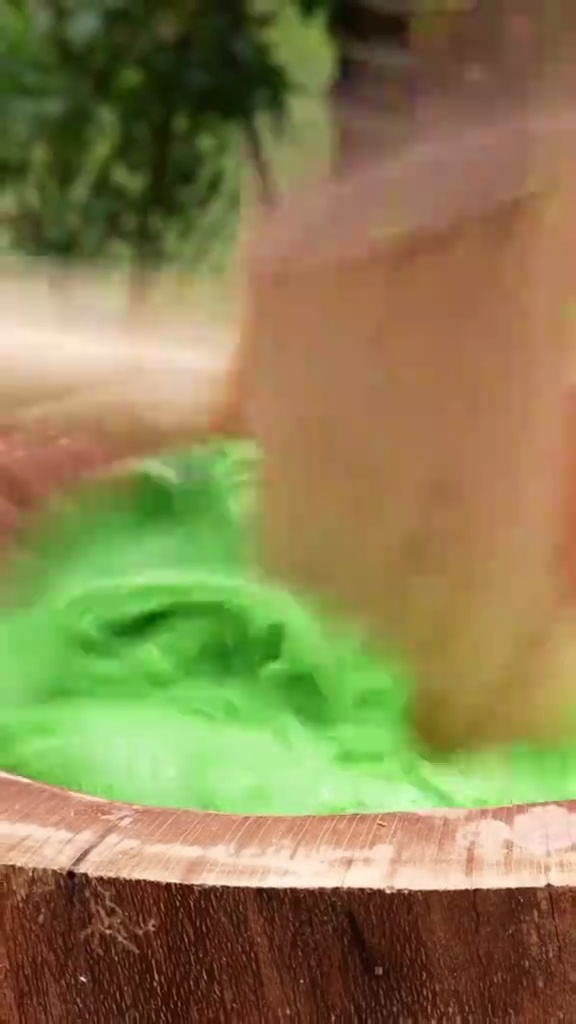
 - Cover the bowl loosely with plastic wrap and microwave on high for 1 minute. Stir, then microwave for another 1-2 minutes, stirring every minute, until the dough is translucent and very sticky.3m
 Preview3mPreviewCover the bowl loosely with plastic wrap and microwave on high for 1 minute. Stir, then microwave for another 1-2 minutes, stirring every minute, until the dough is translucent and very sticky.
 - Generously dust a clean working surface with cornstarch. Carefully transfer the hot, sticky mochi dough onto the prepared surface.1m
 Preview1mPreviewGenerously dust a clean working surface with cornstarch. Carefully transfer the hot, sticky mochi dough onto the prepared surface.
 - Dust the top of the mochi dough with more cornstarch. Using a cornstarch-dusted knife or dough cutter, cut the dough into 8-10 equal pieces.2m
 Preview2mPreviewDust the top of the mochi dough with more cornstarch. Using a cornstarch-dusted knife or dough cutter, cut the dough into 8-10 equal pieces.
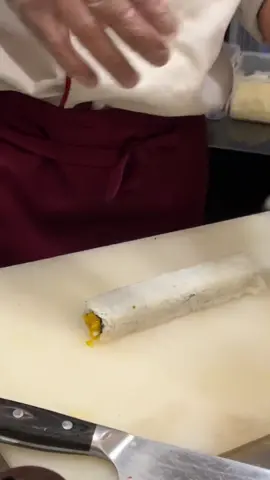
 - Take one piece of mochi dough, flatten it into a disc. Place a small amount of your desired filling (e.g., red bean paste) in the center, then carefully gather the edges of the dough to seal it completely.5m
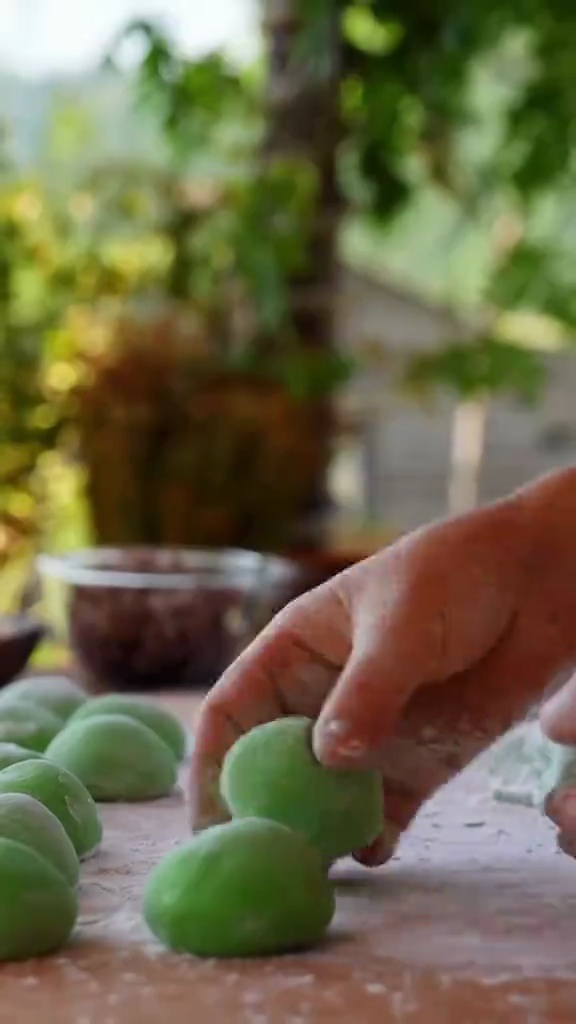 Preview5mPreviewTake one piece of mochi dough, flatten it into a disc. Place a small amount of your desired filling (e.g., red bean paste) in the center, then carefully gather the edges of the dough to seal it completely.
 - Serve the freshly made mochi immediately. Enjoy!0mPreview0mPreviewServe the freshly made mochi immediately. Enjoy!
advertisement
advertisement
💡 Tip: Click on any step to mark it as completed and track your cooking progress!