Back to Dessert Recipes

Author:
partagesderecettes_
TikTok
580K
26K
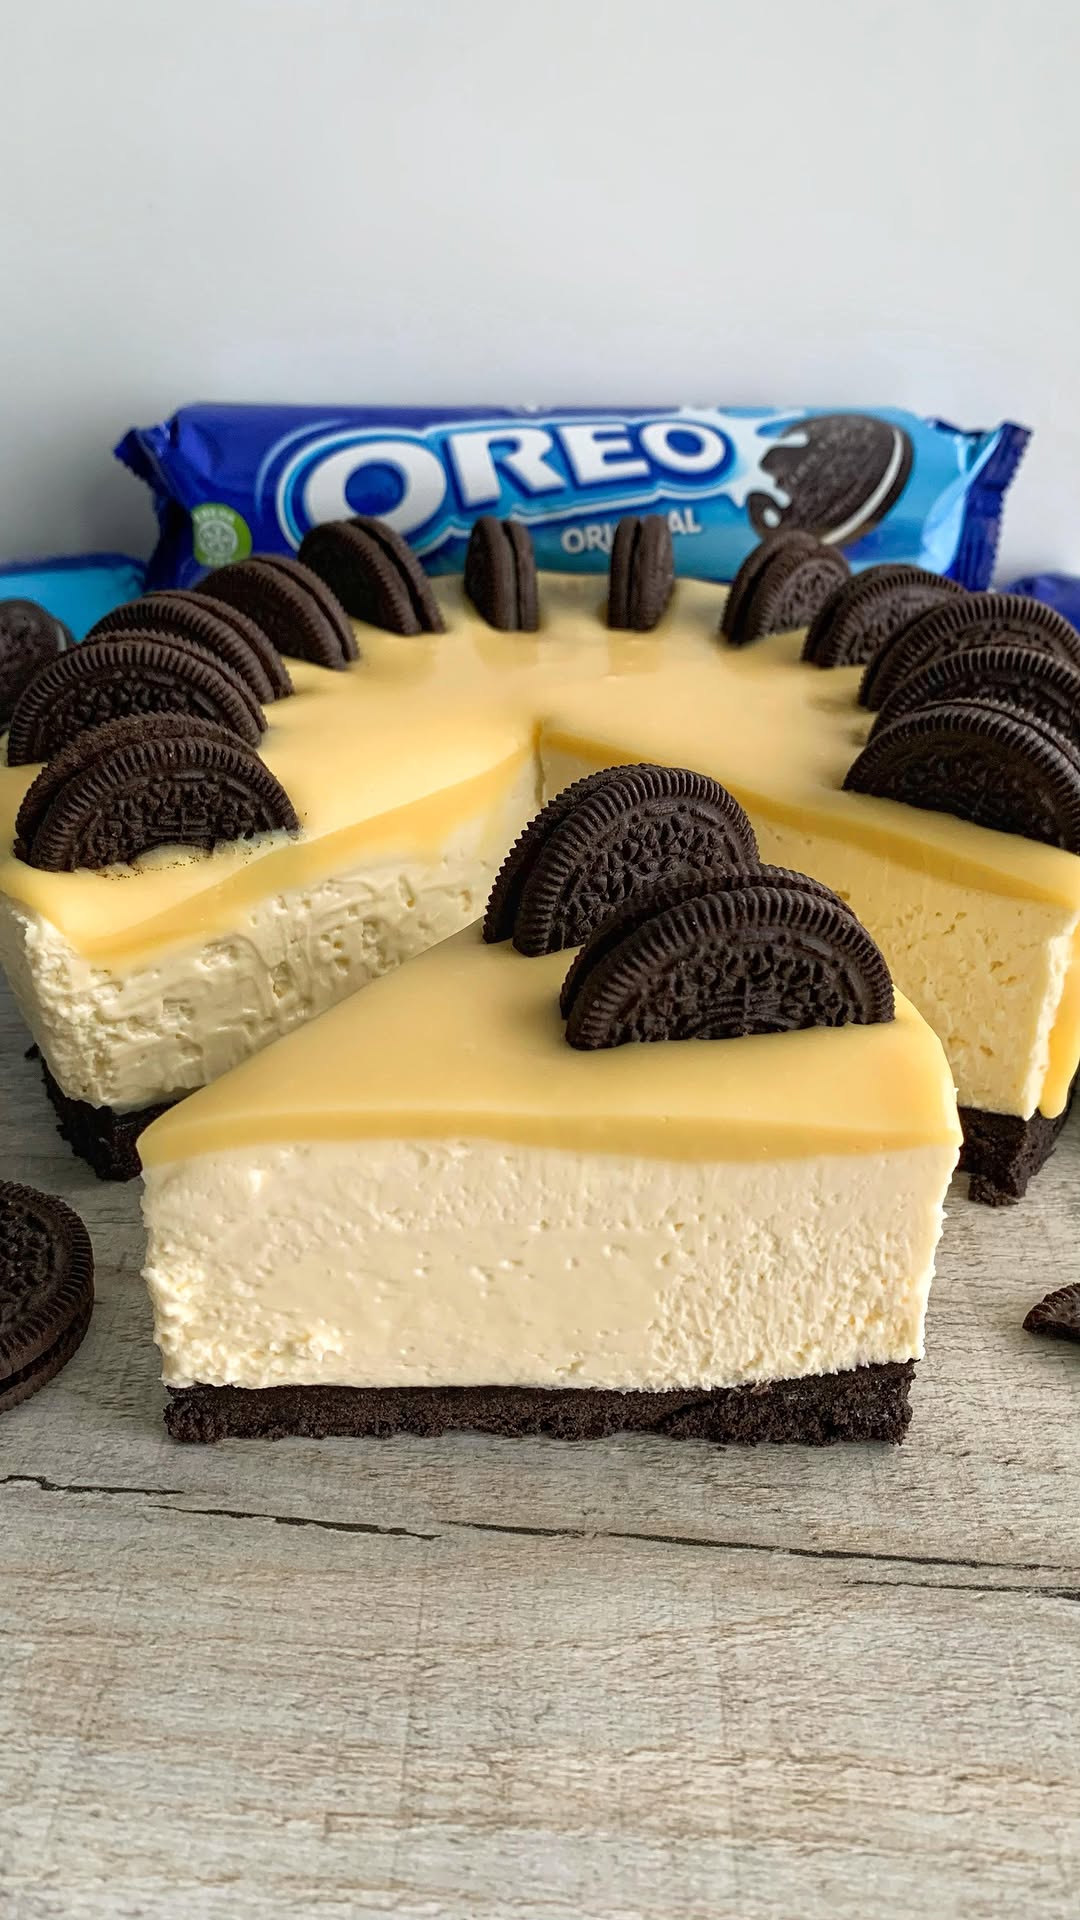
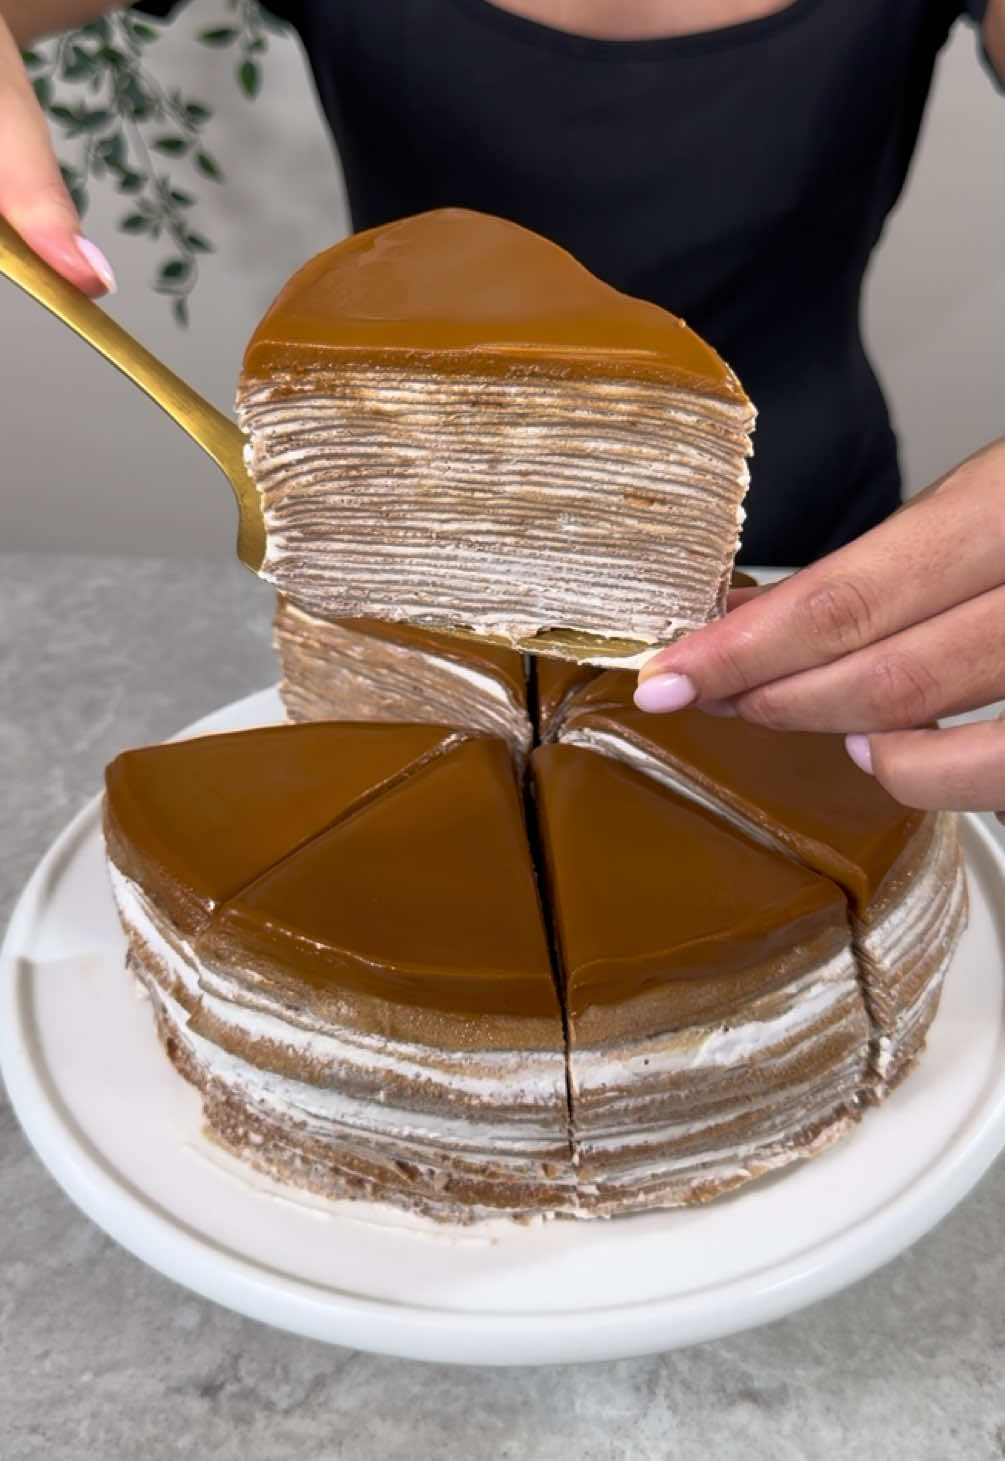
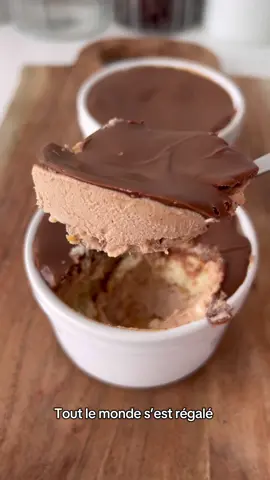
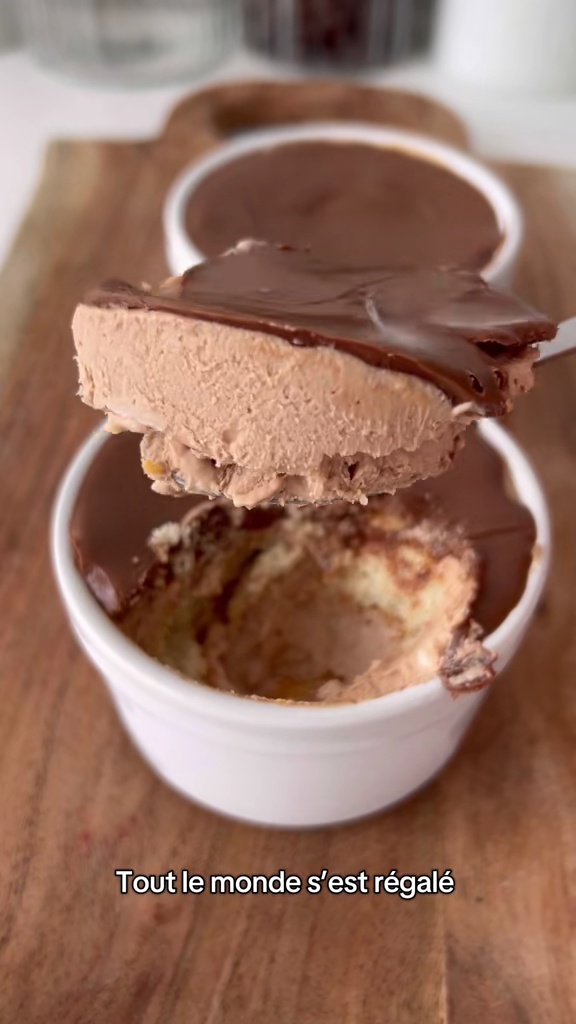
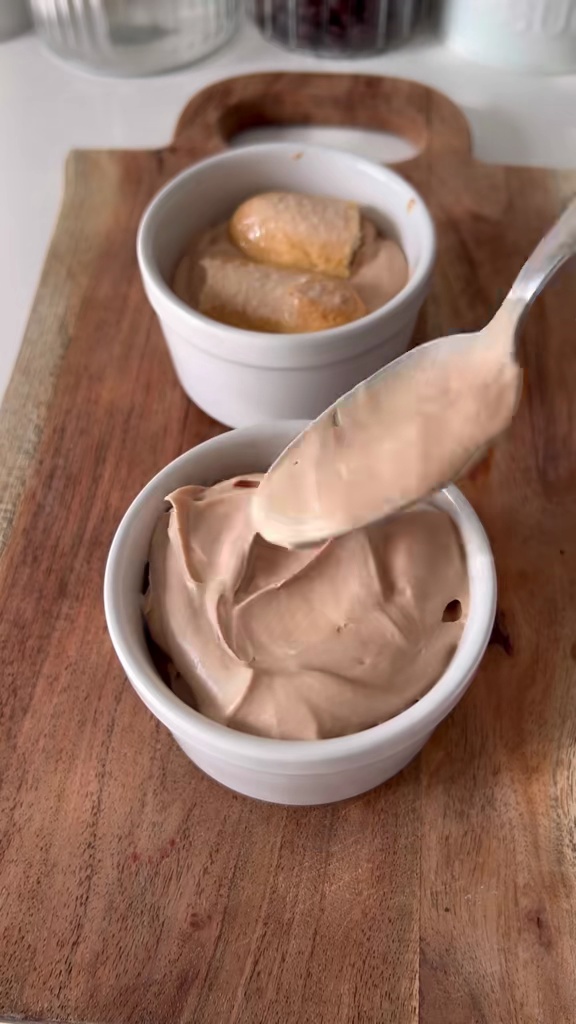
Easy Layered Chocolate Ice Cream Dessert
Indulge in this delightful and easy-to-make layered chocolate ice cream dessert, perfect for satisfying your sweet cravings. This recipe features a creamy blend of vanilla ice cream, chocolate spread, and milk, layered over a crunchy crushed cone base, topped with whipped cream and a generous sprinkle of grated chocolate. A no-bake treat that requires minimal effort and delivers maximum flavor, ideal for any occasion.
#Dessert
#Frozen Dessert
#Ice Cream
#Easy Recipe
#No Bake
#Chocolate
#Quick Treat
Finished Layered Dessert
Recipe Information
15m
Prep Time
0m
Cook Time
3h 15m
Total Time
2
Servings
Easy
Dessert
French
Nutrition (per serving)
480
Calories
6g
Protein
45g
Carbs
35g
Fat
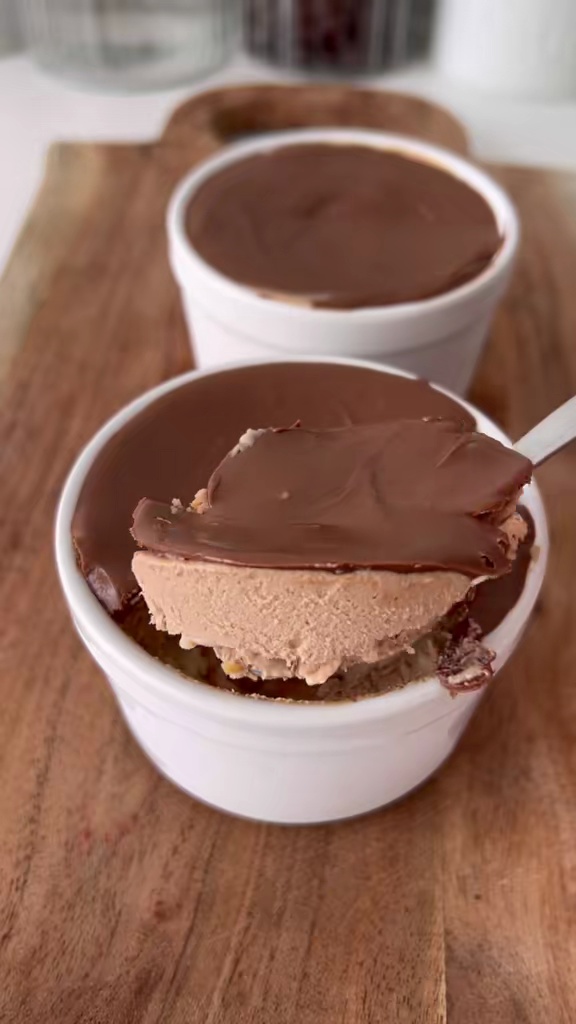
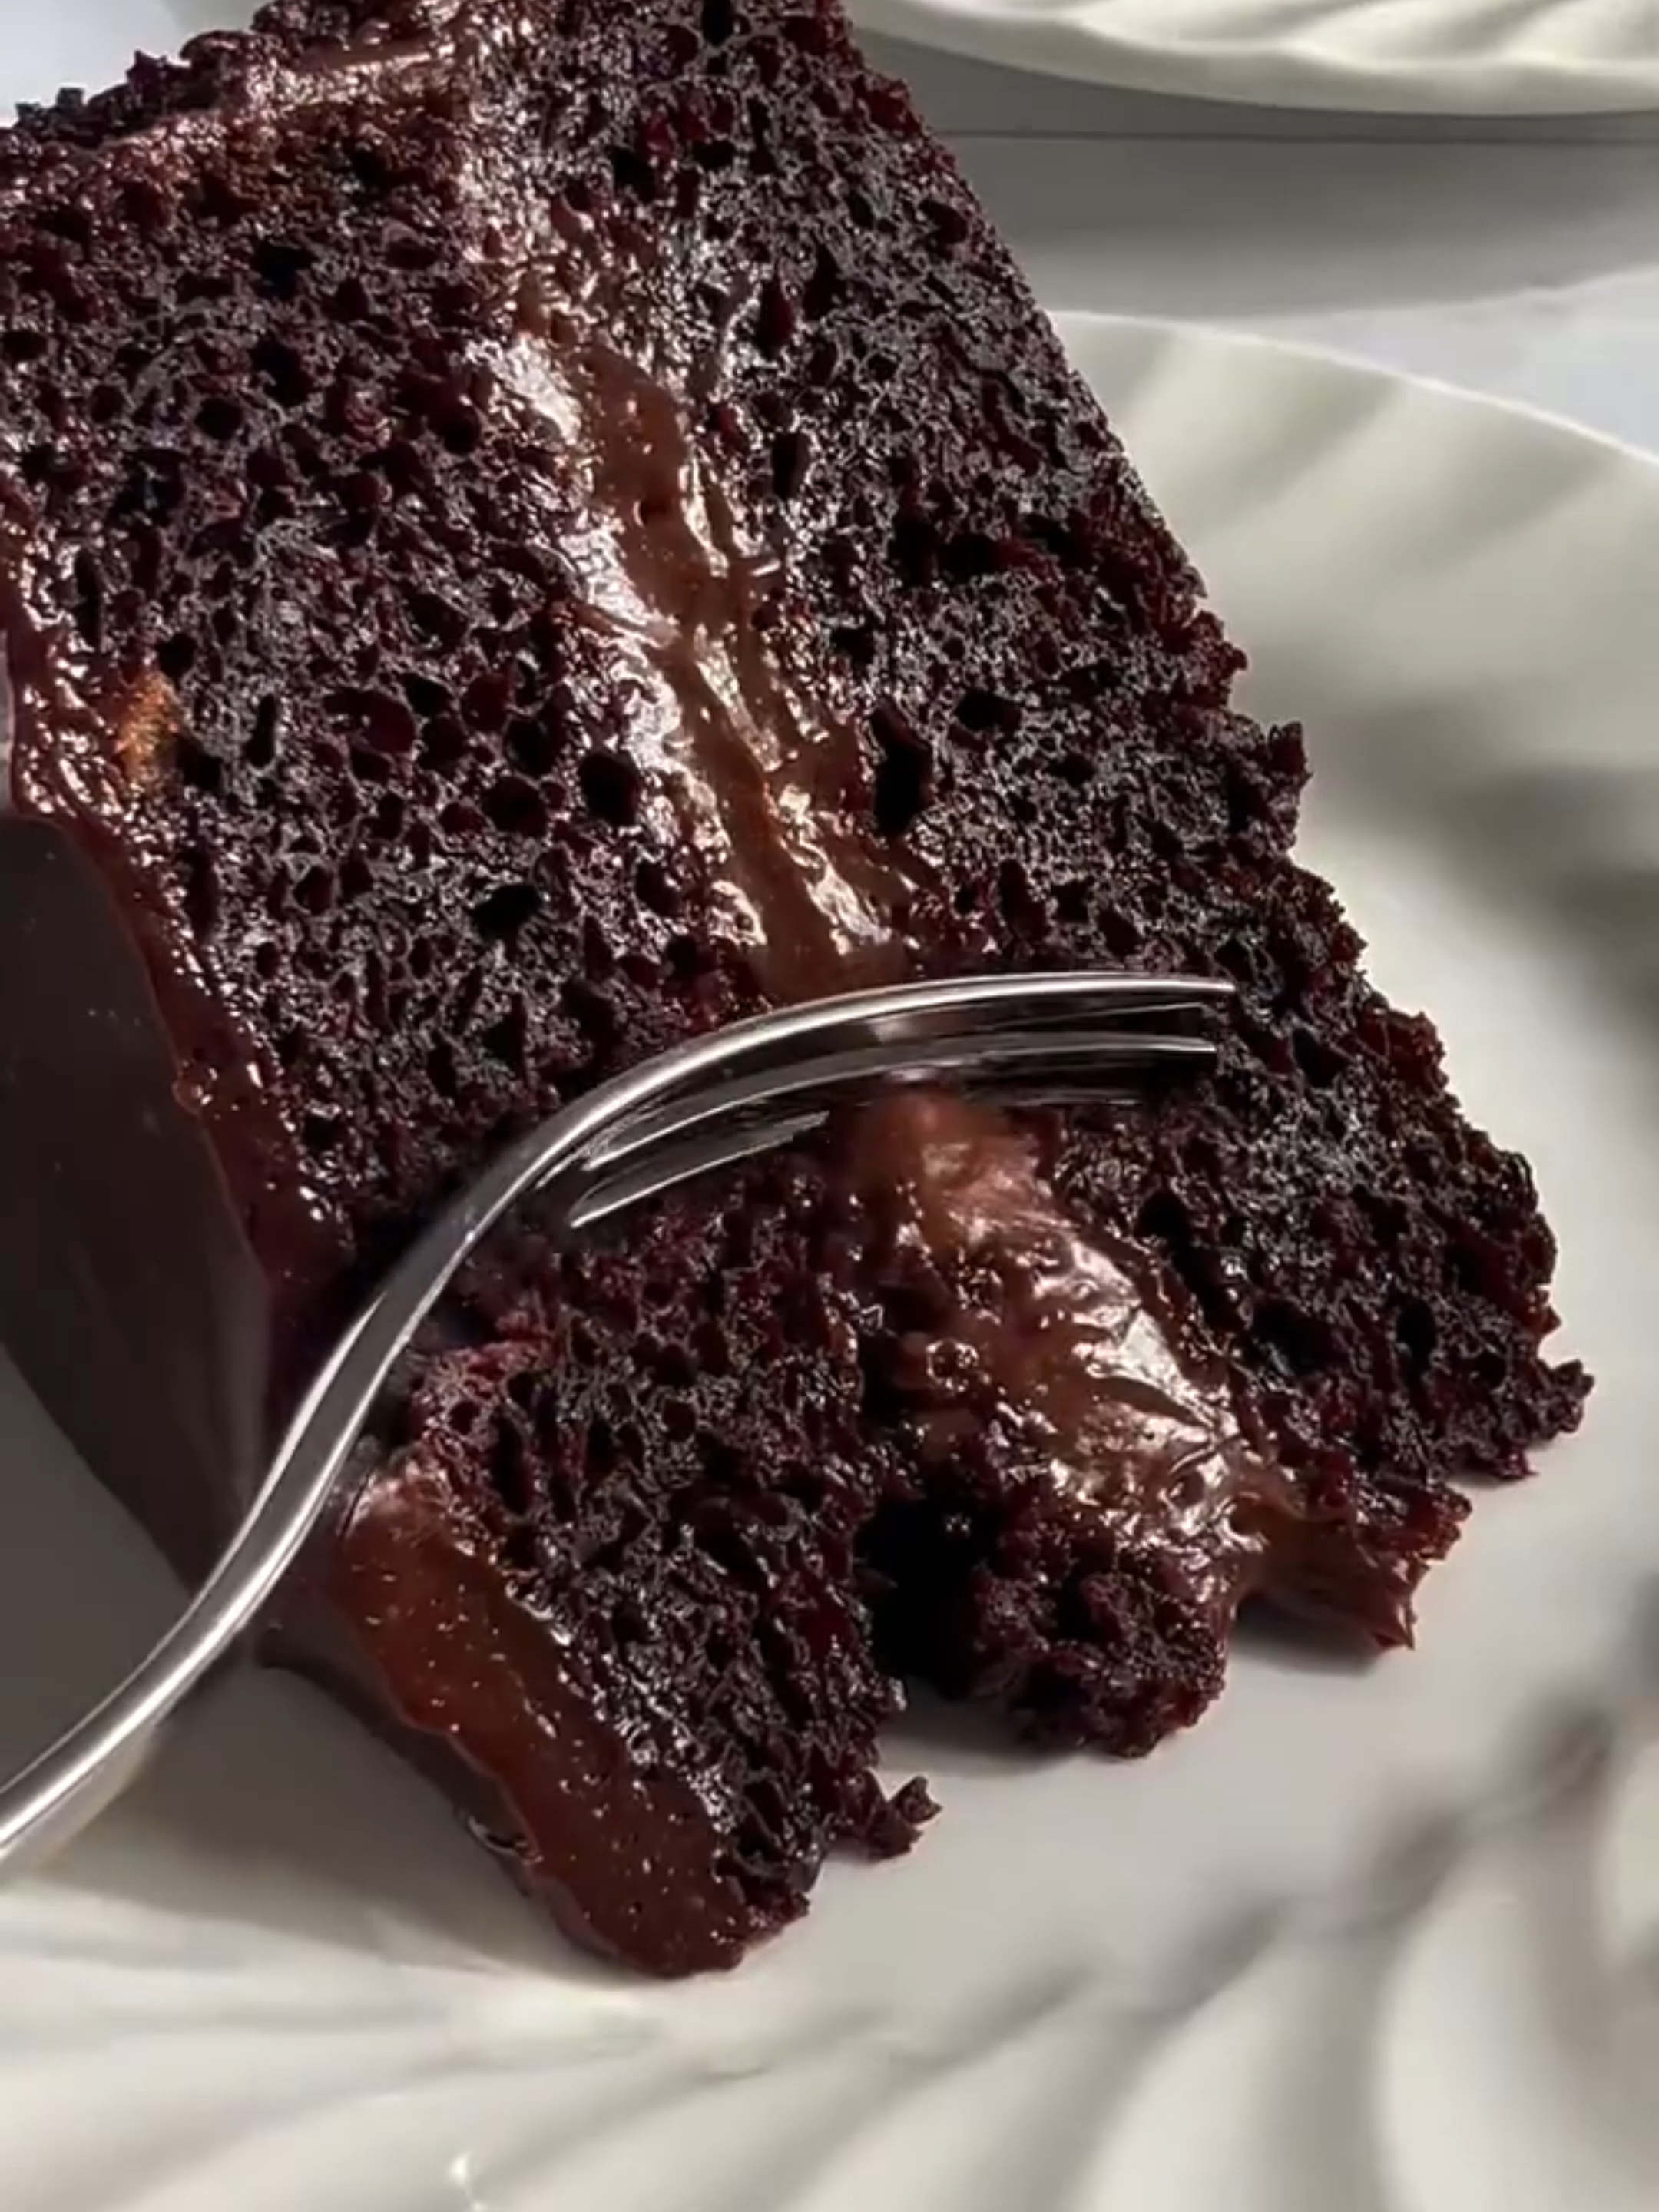
Close-up of the Dessert
Ingredients
Servings: 2
💡 Tip: Check off ingredients as you add them to keep track of your progress!
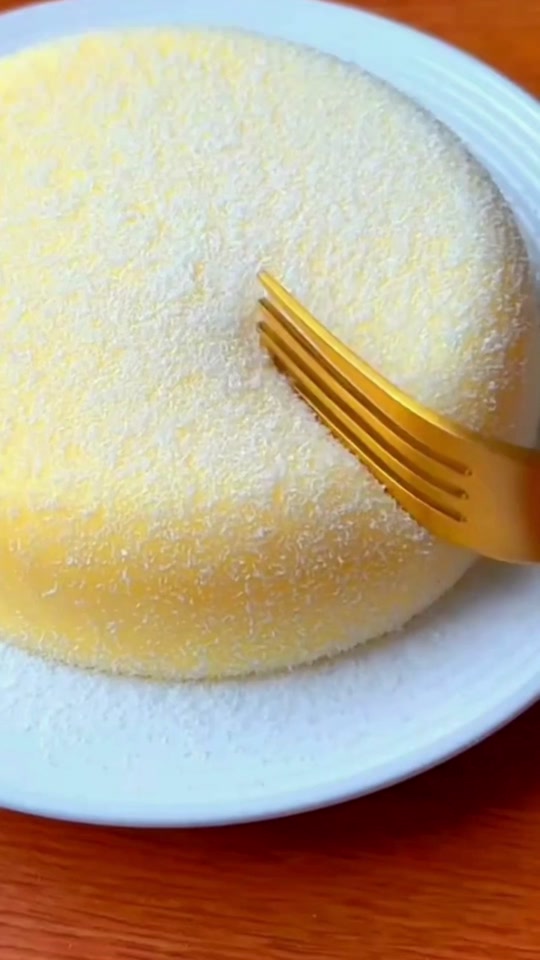
Dessert with Whipped Cream
Instructions
0/7 completed
0%
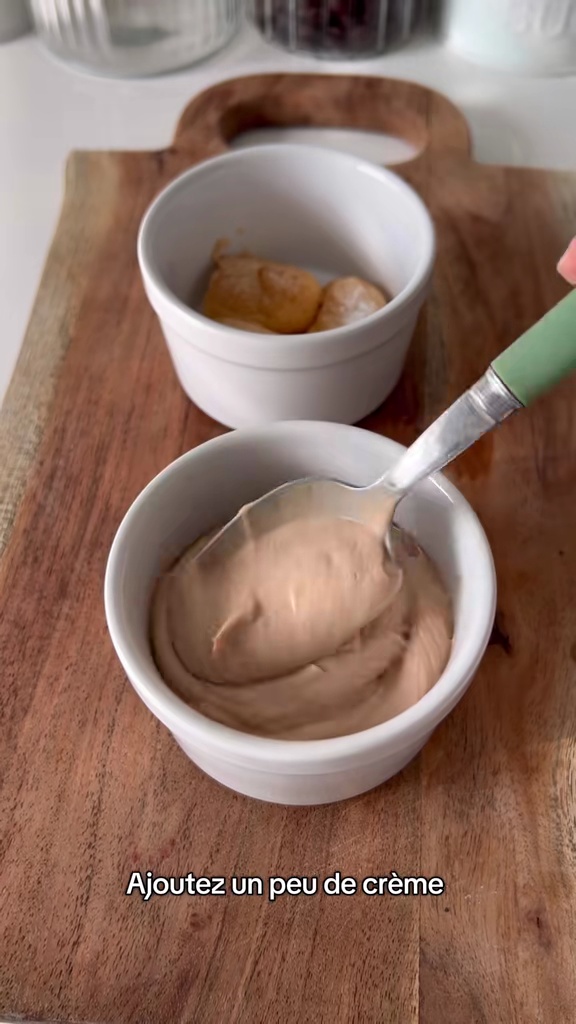
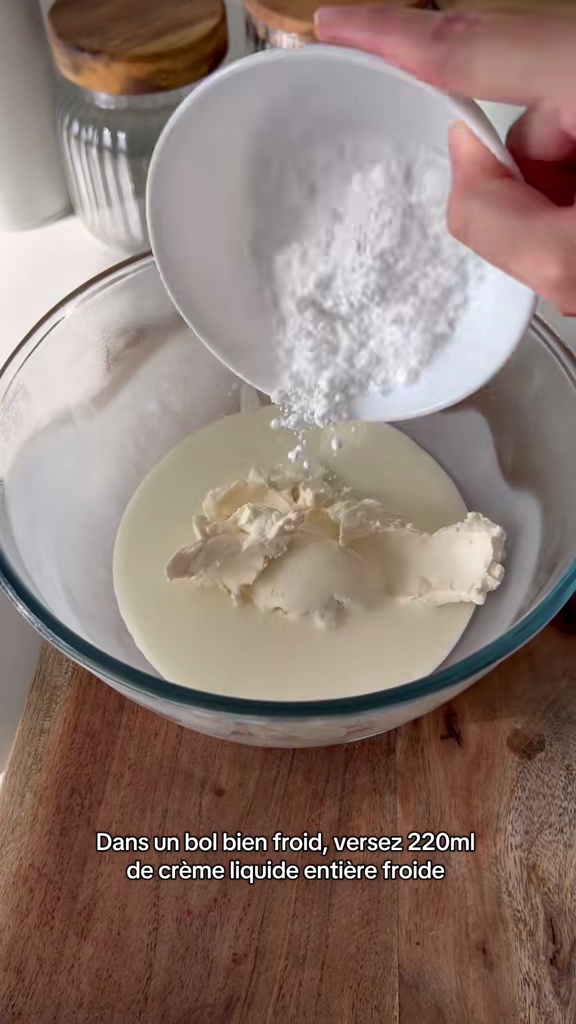
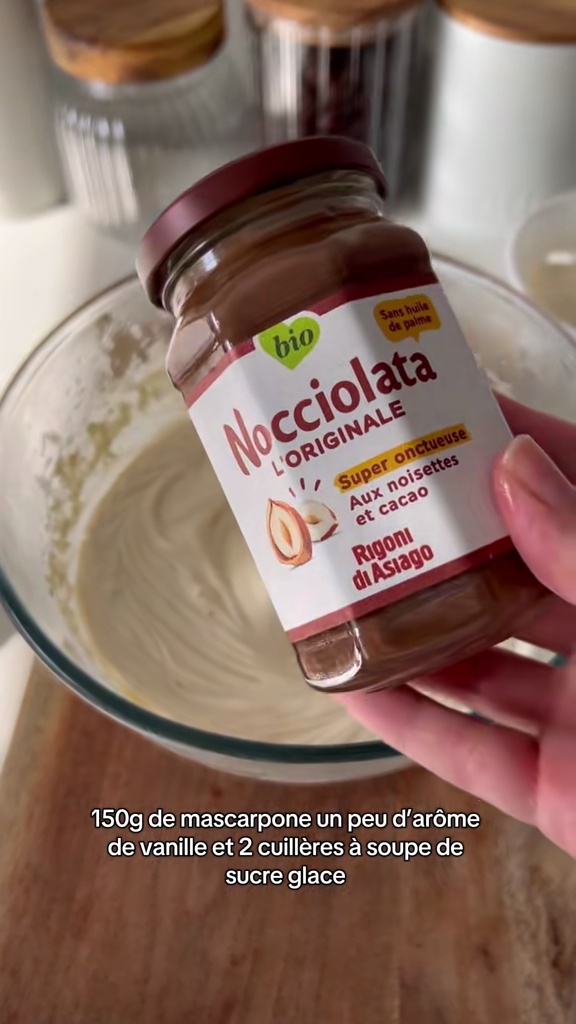
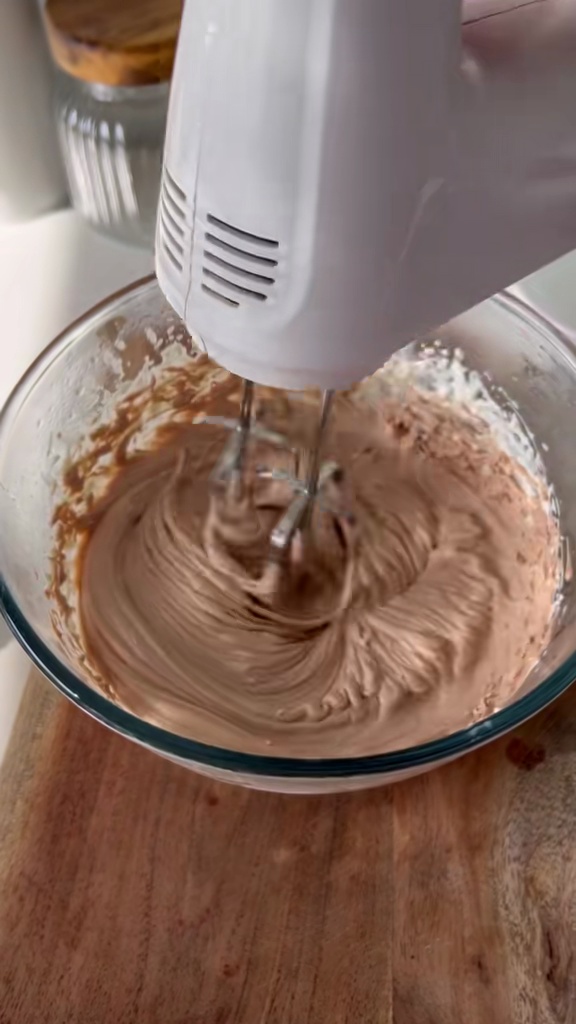
- In a blender, combine the vanilla ice cream, chocolate spread, and milk. Blend until smooth and creamy, forming the first dessert layer.1m
 Preview1mPreviewIn a blender, combine the vanilla ice cream, chocolate spread, and milk. Blend until smooth and creamy, forming the first dessert layer.
 - Crush the ice cream cones or wafers into small pieces. These will form the crunchy base of your dessert.1m
 Preview1mPreviewCrush the ice cream cones or wafers into small pieces. These will form the crunchy base of your dessert.
 - Divide the crushed cones evenly and layer them at the bottom of your serving glasses or jars.1m
 Preview1mPreviewDivide the crushed cones evenly and layer them at the bottom of your serving glasses or jars.
 - Pour the blended ice cream mixture over the crushed cone layer in each glass, filling about two-thirds of the way up.1m
 Preview1mPreviewPour the blended ice cream mixture over the crushed cone layer in each glass, filling about two-thirds of the way up.
 - Carefully spoon or pipe a generous layer of whipped cream on top of the chocolate ice cream mixture.1mPreview1mPreviewCarefully spoon or pipe a generous layer of whipped cream on top of the chocolate ice cream mixture.
- Grate or shave the chocolate bar over the whipped cream layer to create a decorative and delicious topping.1m
 Preview1mPreviewGrate or shave the chocolate bar over the whipped cream layer to create a decorative and delicious topping.
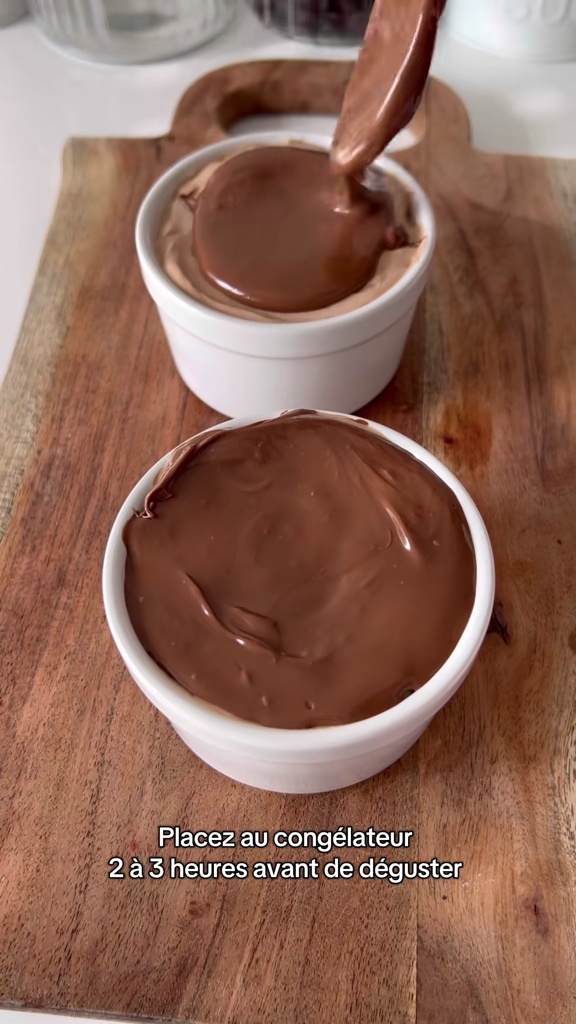
 - Place the assembled desserts in the freezer for at least 3 hours, or until completely set and firm. Serve chilled.3hPreview3hPreviewPlace the assembled desserts in the freezer for at least 3 hours, or until completely set and firm. Serve chilled.
💡 Tip: Click on any step to mark it as completed and track your cooking progress!