Back to Dessert Recipes

Author:
chef.burcinarda
TikTok
34K
592
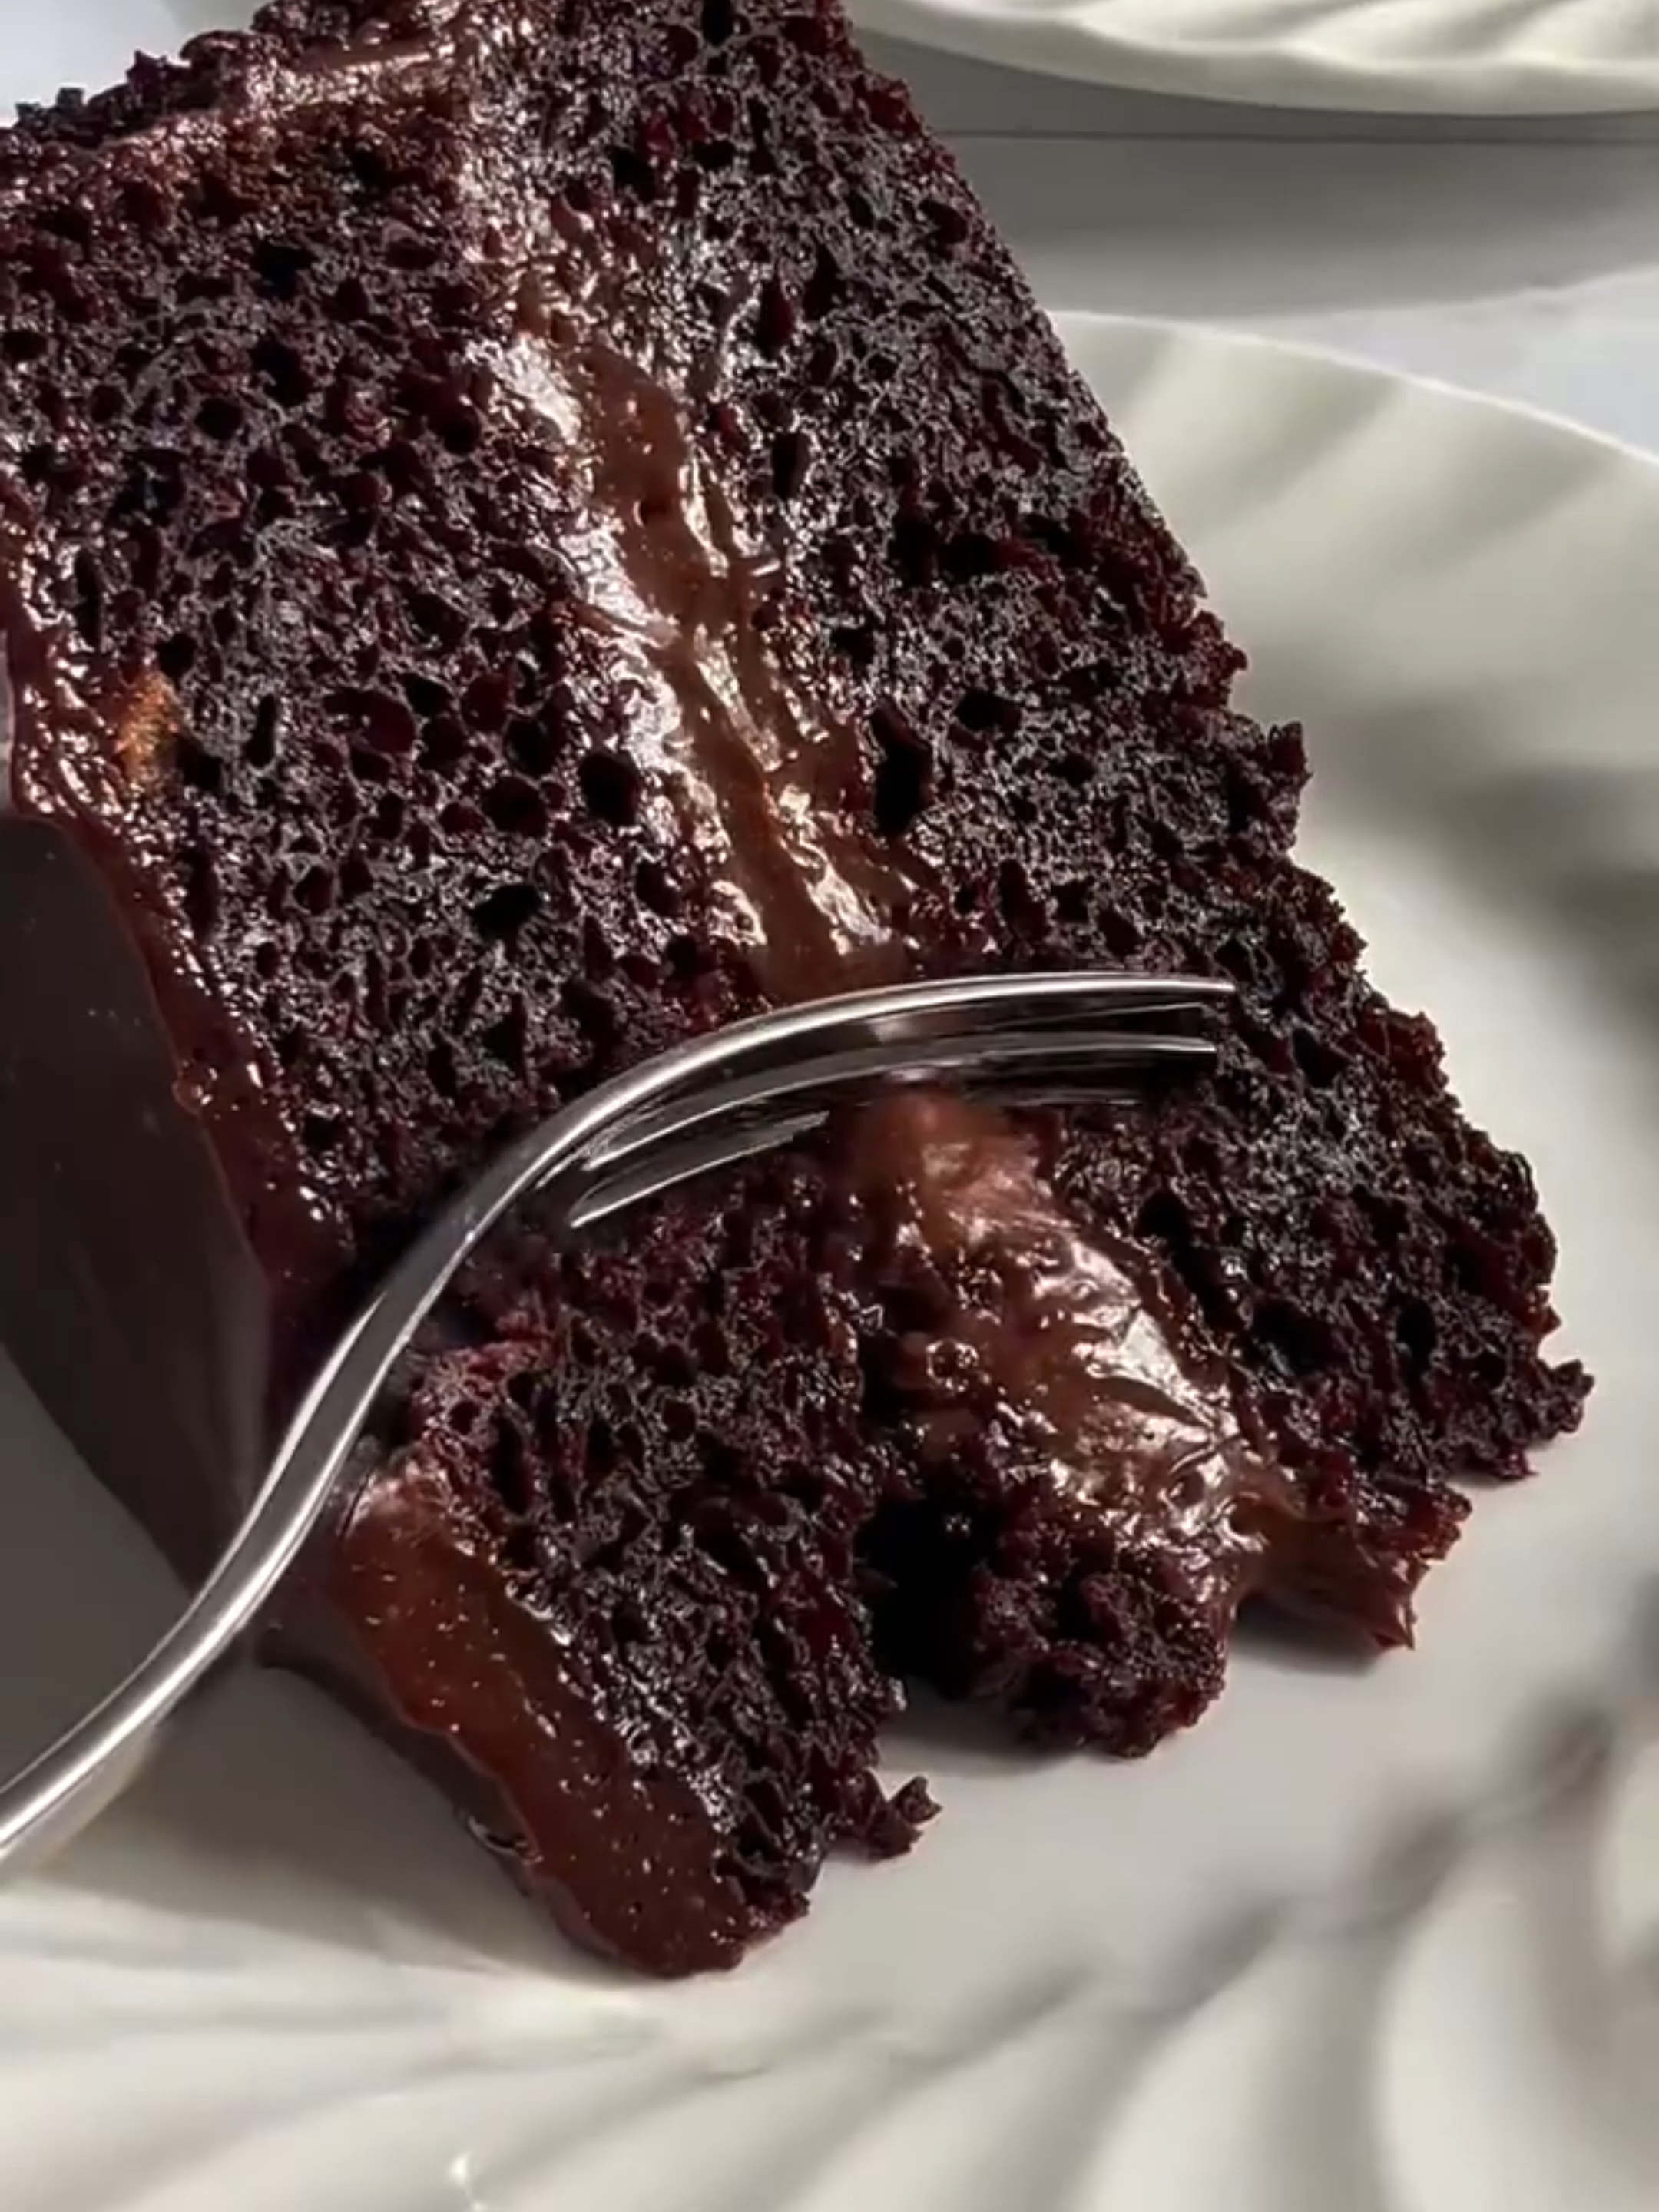
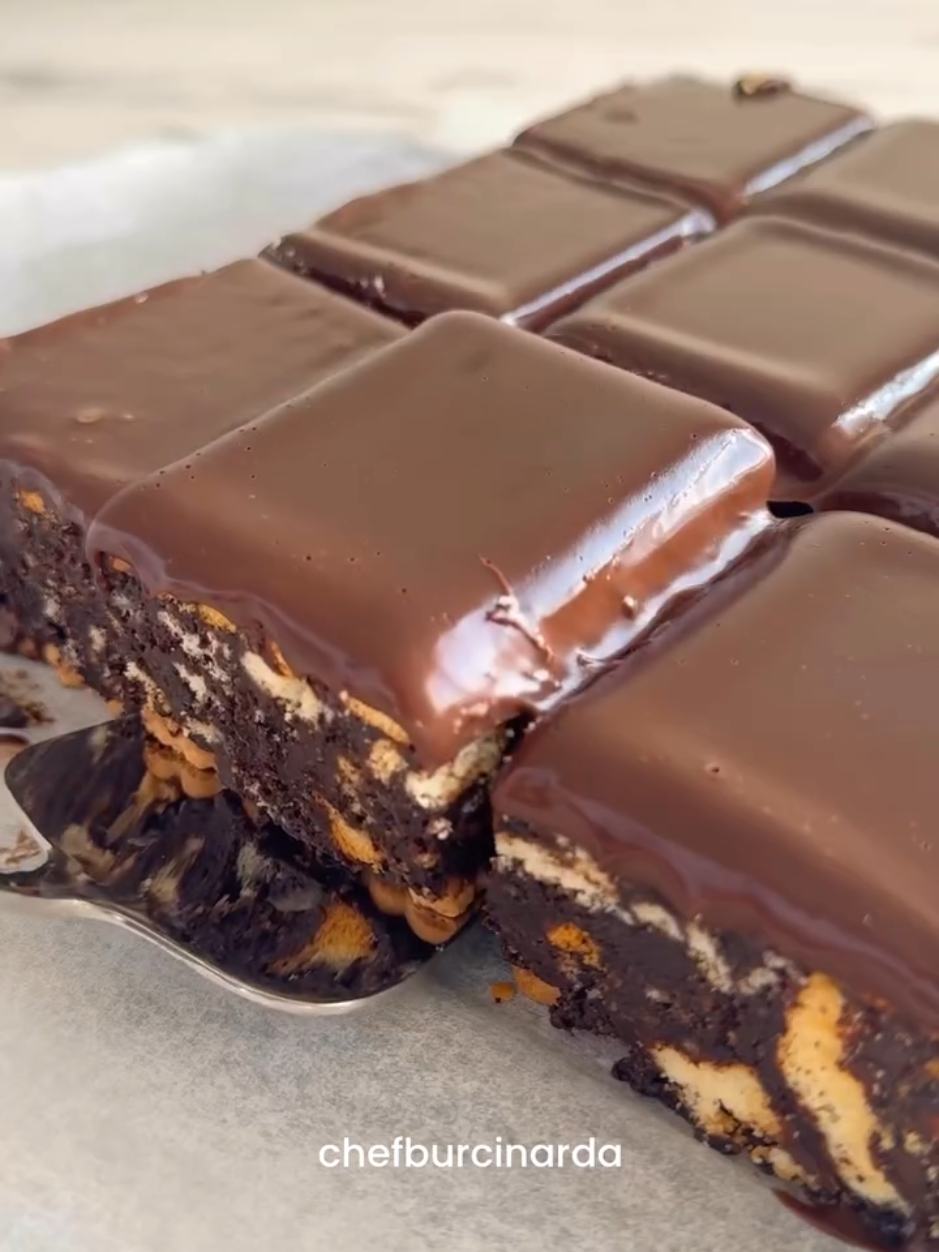
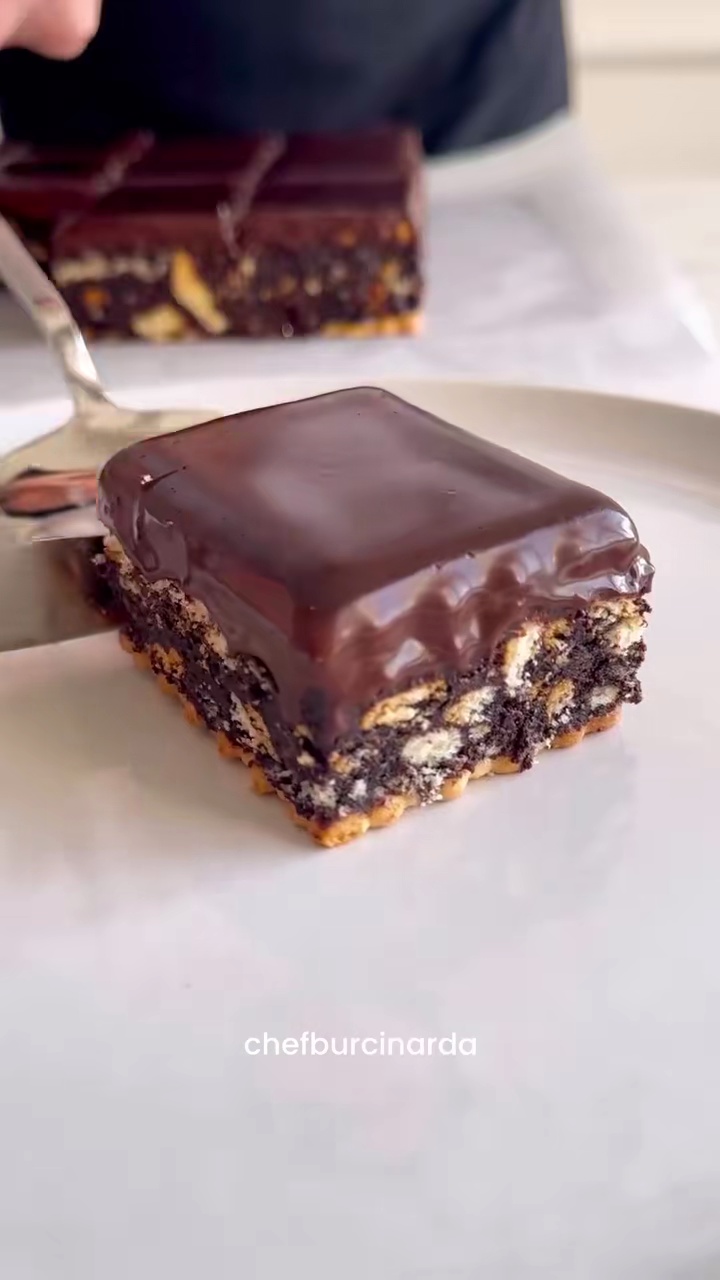
Easy No-Bake Mosaic Cake with Chocolate Ganache
Indulge in a simple yet delicious no-bake mosaic cake, made with crushed biscuits enveloped in a rich chocolate sauce and topped with a smooth dark chocolate ganache. This recipe is perfect for a quick dessert without turning on the oven, requiring only a few hours of chilling to achieve a firm, sliceable treat.
#No-bake cake
#Chocolate cake
#Biscuit cake
#Dessert
#Easy recipe
#Sweet treat
#European dessert
Chocolate sauce ingredients heating
Recipe Information
20m
Prep Time
5m
Cook Time
3h 50m
Total Time
8
Servings
Easy
Dessert
English
Nutrition (per serving)
480
Calories
2g
Protein
48g
Carbs
25g
Fat
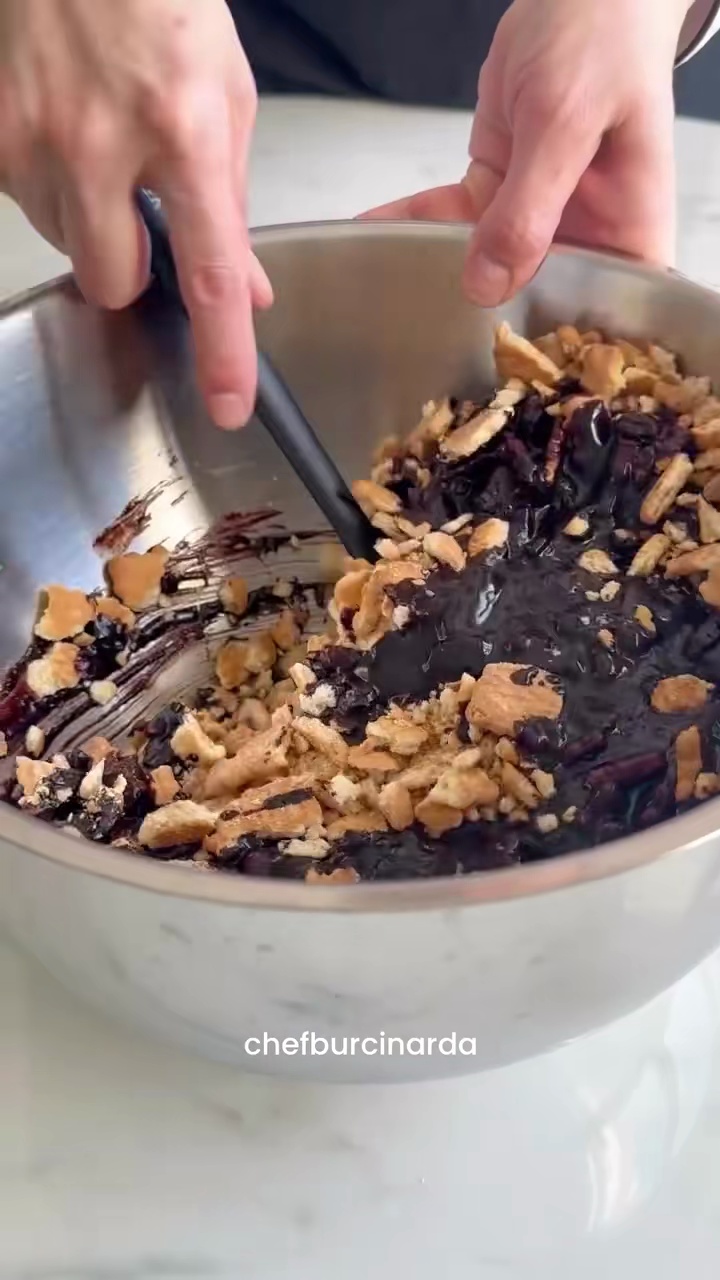
Mixing biscuits with chocolate sauce
Ingredients
Servings: 8
💡 Tip: Check off ingredients as you add them to keep track of your progress!
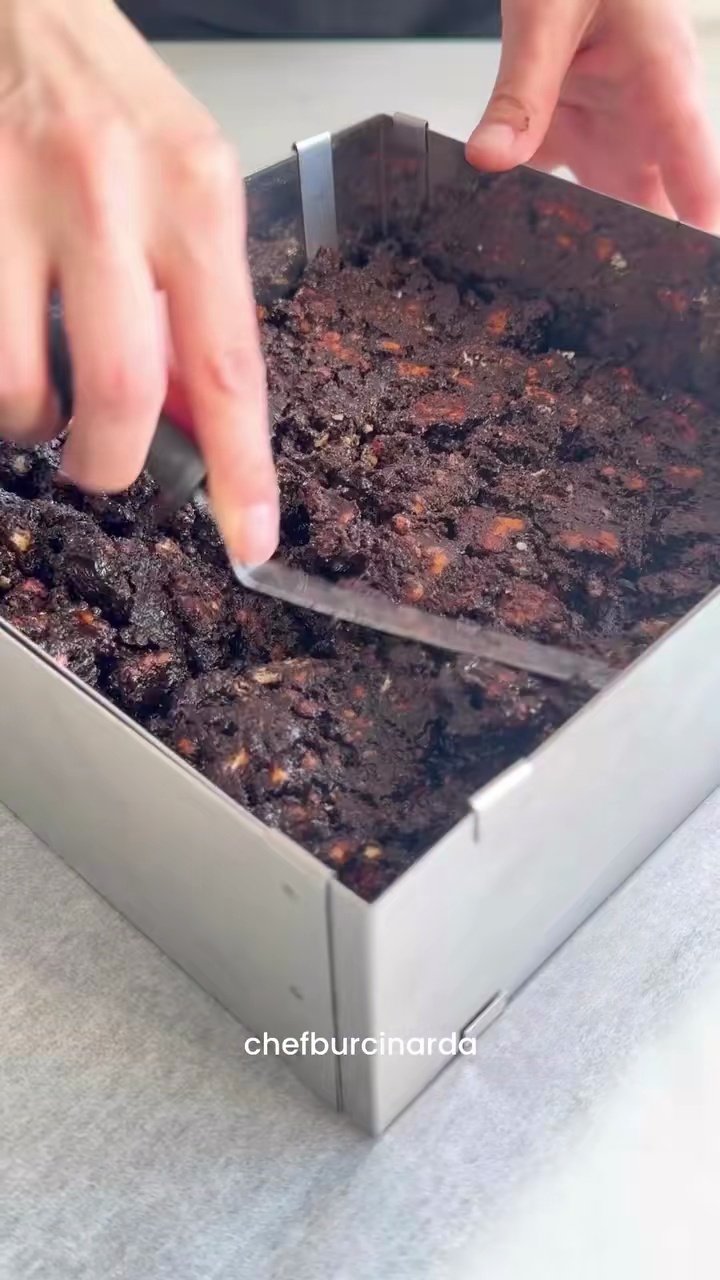
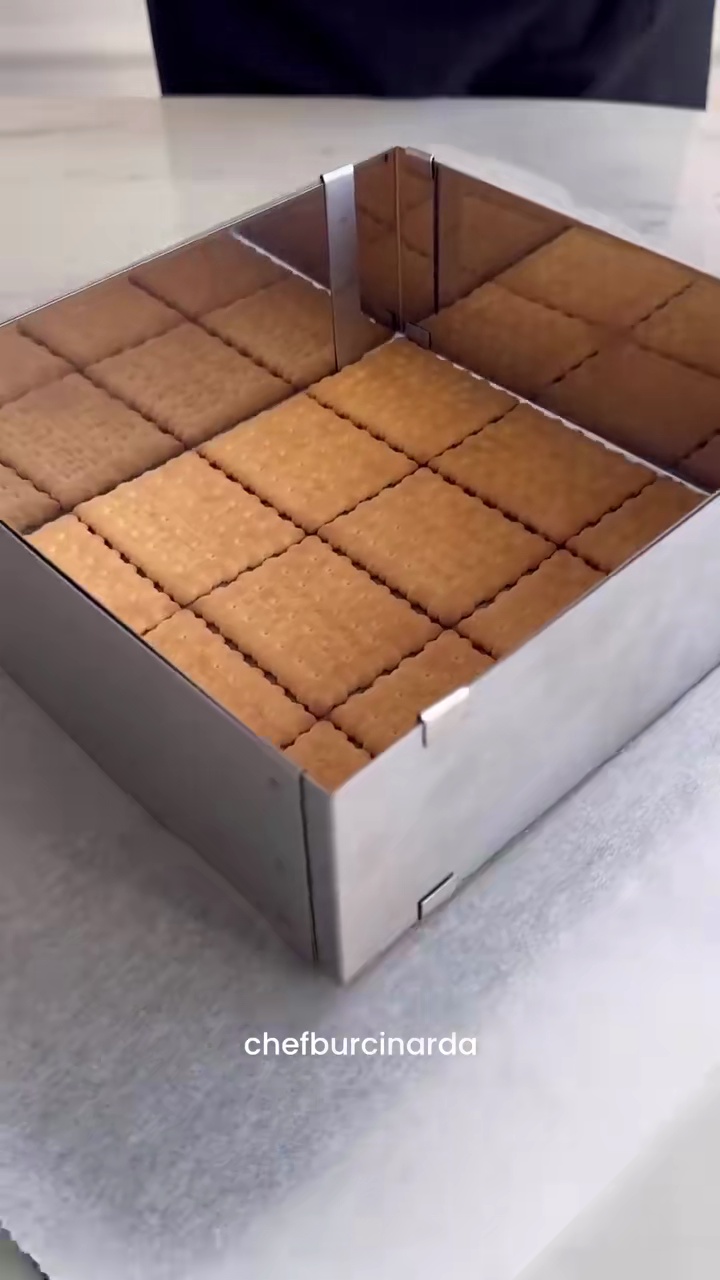
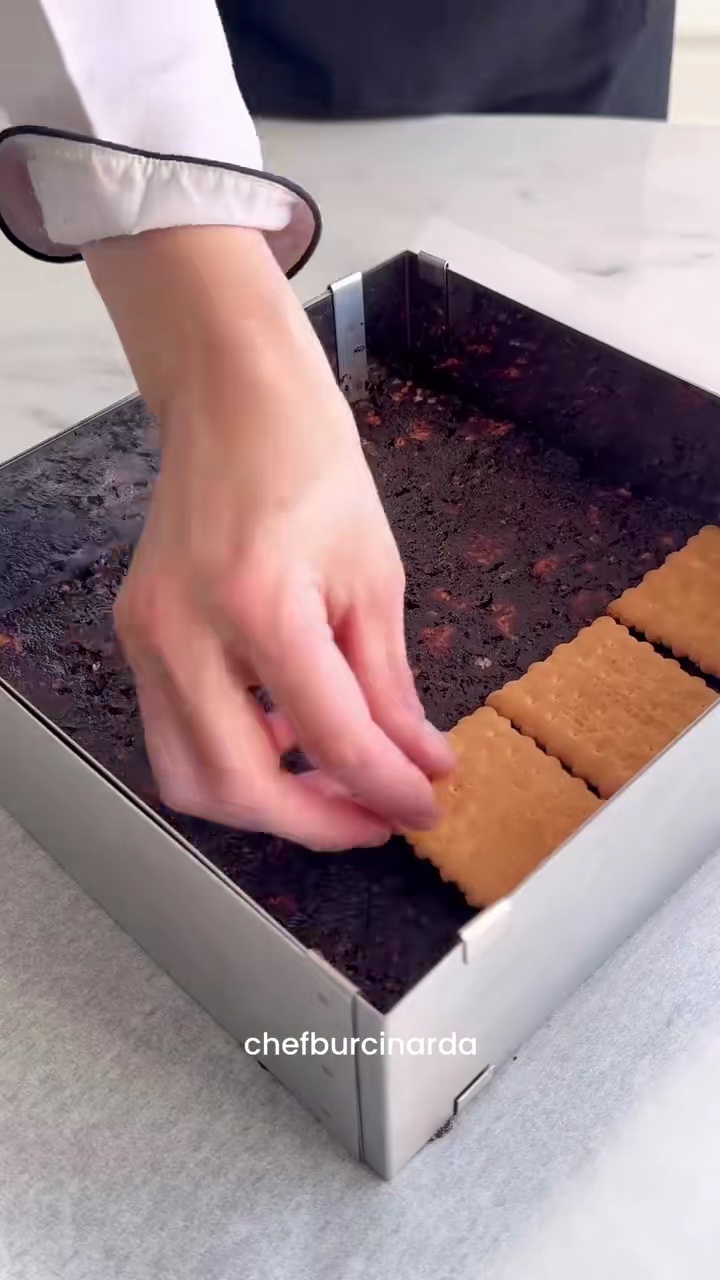
Shaping the cake in the mold
Instructions
0/9 completed
0%
- In a saucepan, combine milk, granulated sugar, and cocoa powder. Heat over medium heat, stirring continuously until the sugar dissolves and the mixture is well combined and slightly simmering.5mPreview5mPreviewIn a saucepan, combine milk, granulated sugar, and cocoa powder. Heat over medium heat, stirring continuously until the sugar dissolves and the mixture is well combined and slightly simmering.
- Remove the saucepan from the heat and add the butter. Stir until the butter completely melts and is fully incorporated into the chocolate mixture.2m
 Preview2mPreviewRemove the saucepan from the heat and add the butter. Stir until the butter completely melts and is fully incorporated into the chocolate mixture.
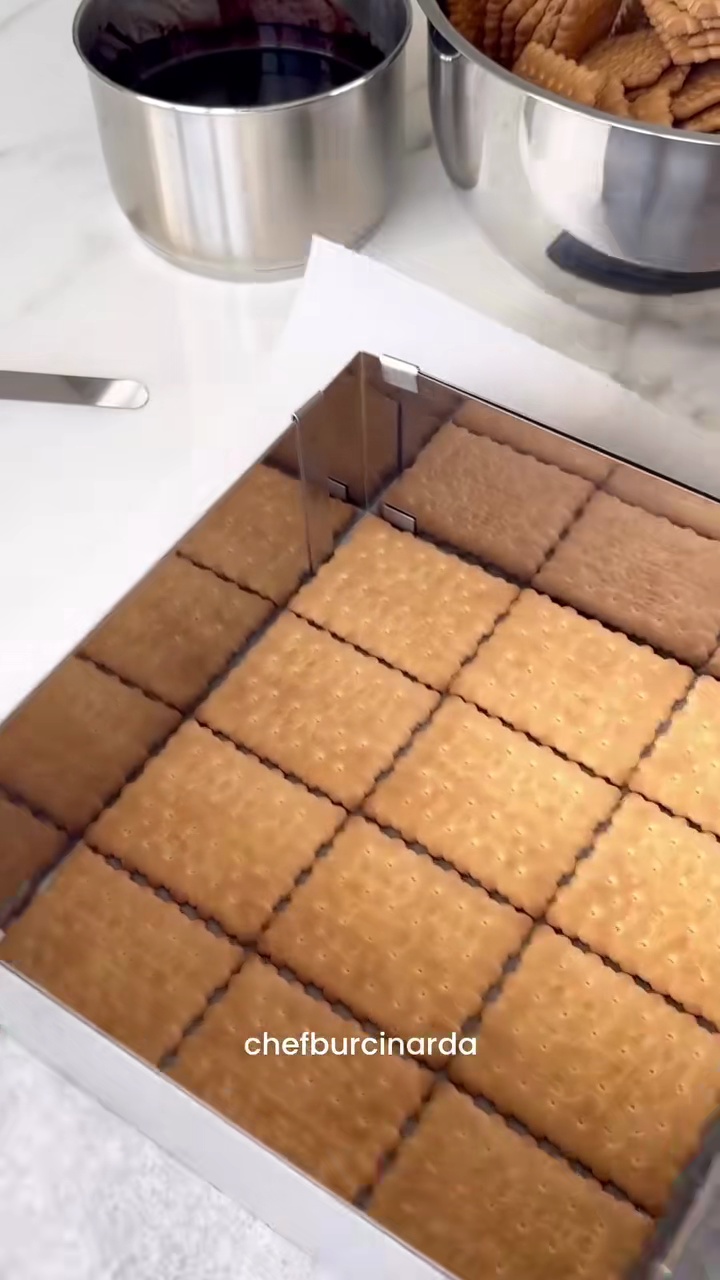
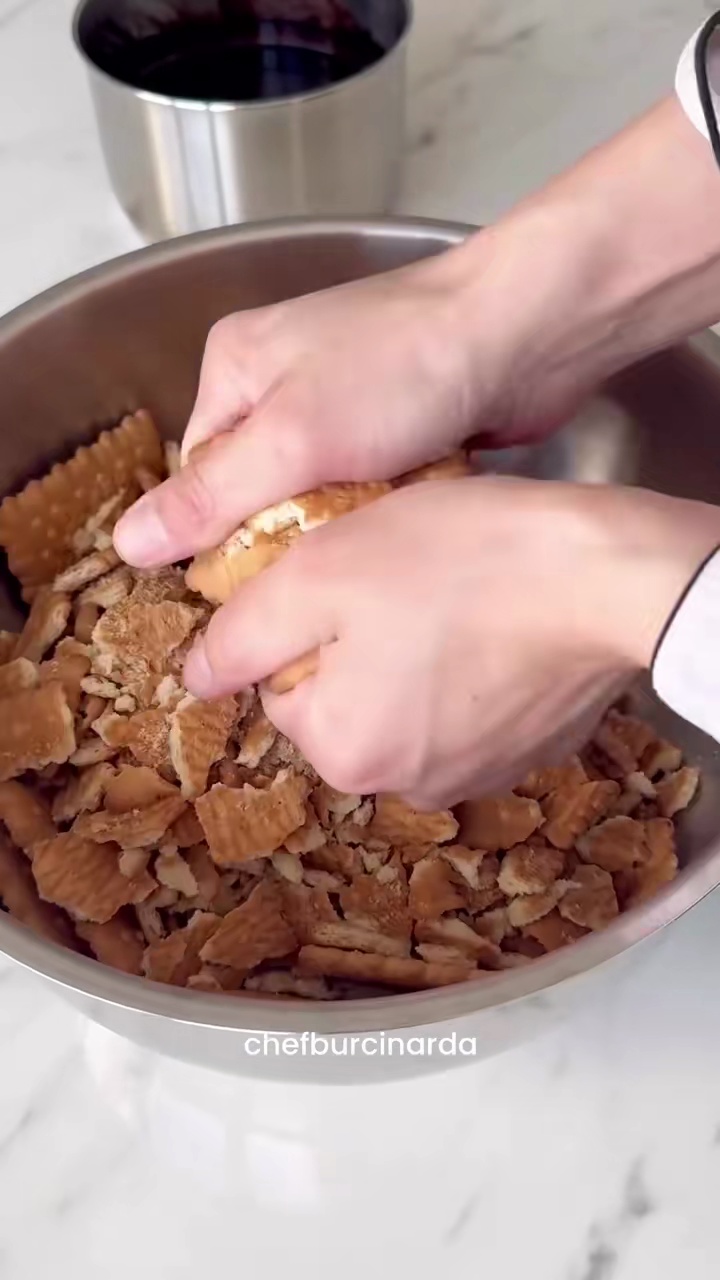
 - Break the petibor biscuits into medium-sized pieces (not too fine) into a large mixing bowl.3m
 Preview3mPreviewBreak the petibor biscuits into medium-sized pieces (not too fine) into a large mixing bowl.
 - Pour the warm chocolate sauce over the broken biscuits. Gently mix with a spatula or spoon until all the biscuit pieces are evenly coated with the chocolate sauce.3mPreview3mPreviewPour the warm chocolate sauce over the broken biscuits. Gently mix with a spatula or spoon until all the biscuit pieces are evenly coated with the chocolate sauce.
- Line a loaf pan or desired mold with cling film, leaving an overhang on the sides. Transfer the biscuit and chocolate mixture into the prepared mold, pressing it down firmly and evenly with the back of a spoon or your hands.3mPreview3mPreviewLine a loaf pan or desired mold with cling film, leaving an overhang on the sides. Transfer the biscuit and chocolate mixture into the prepared mold, pressing it down firmly and evenly with the back of a spoon or your hands.
- Cover the mold with the overhanging cling film and refrigerate for at least 2-4 hours, or until the cake is firm and set.1m
 Preview1mPreviewCover the mold with the overhanging cling film and refrigerate for at least 2-4 hours, or until the cake is firm and set.
 - Prepare the chocolate ganache: Heat the liquid cream in a small saucepan until it just begins to simmer. Remove from heat and pour it over the chopped dark chocolate in a heatproof bowl. Let it sit for 2-3 minutes, then stir until smooth and glossy.5m
 Preview5mPreviewPrepare the chocolate ganache: Heat the liquid cream in a small saucepan until it just begins to simmer. Remove from heat and pour it over the chopped dark chocolate in a heatproof bowl. Let it sit for 2-3 minutes, then stir until smooth and glossy.
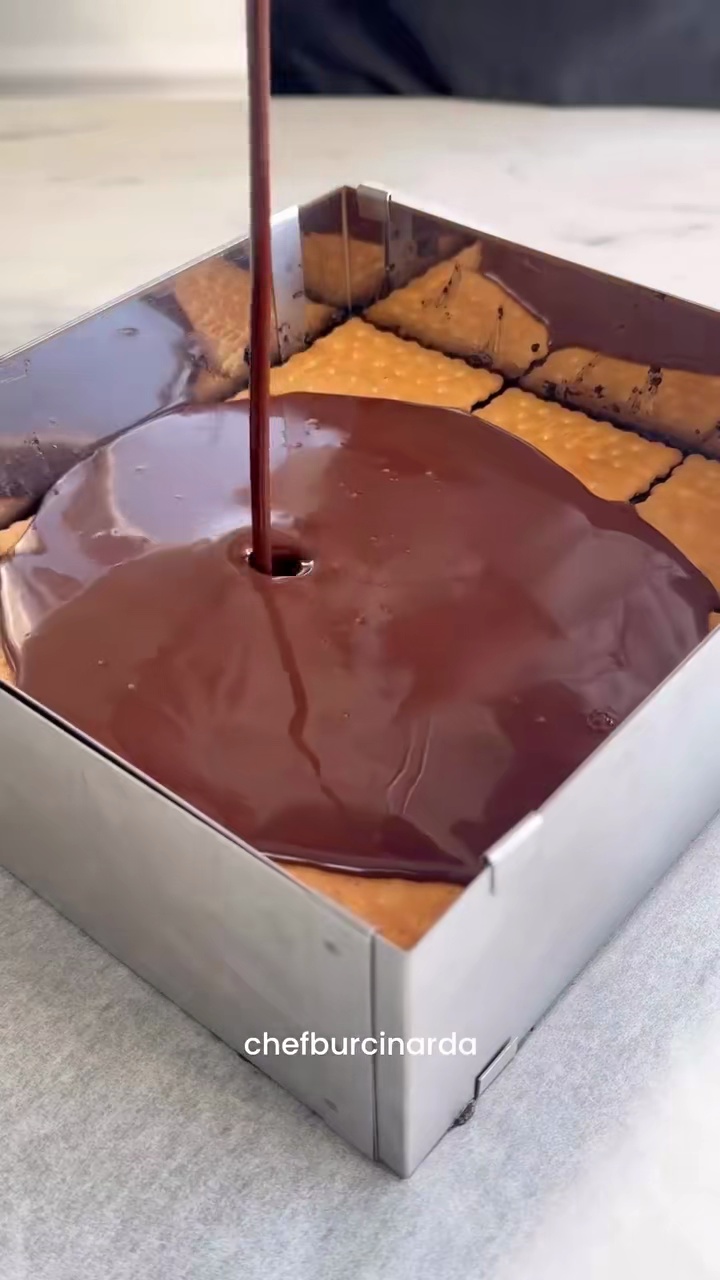
 - Once the cake is firm, invert it onto a serving plate and remove the cling film. Pour the prepared chocolate ganache over the top of the cake, spreading it evenly to cover the surface.2m
 Preview2mPreviewOnce the cake is firm, invert it onto a serving plate and remove the cling film. Pour the prepared chocolate ganache over the top of the cake, spreading it evenly to cover the surface.
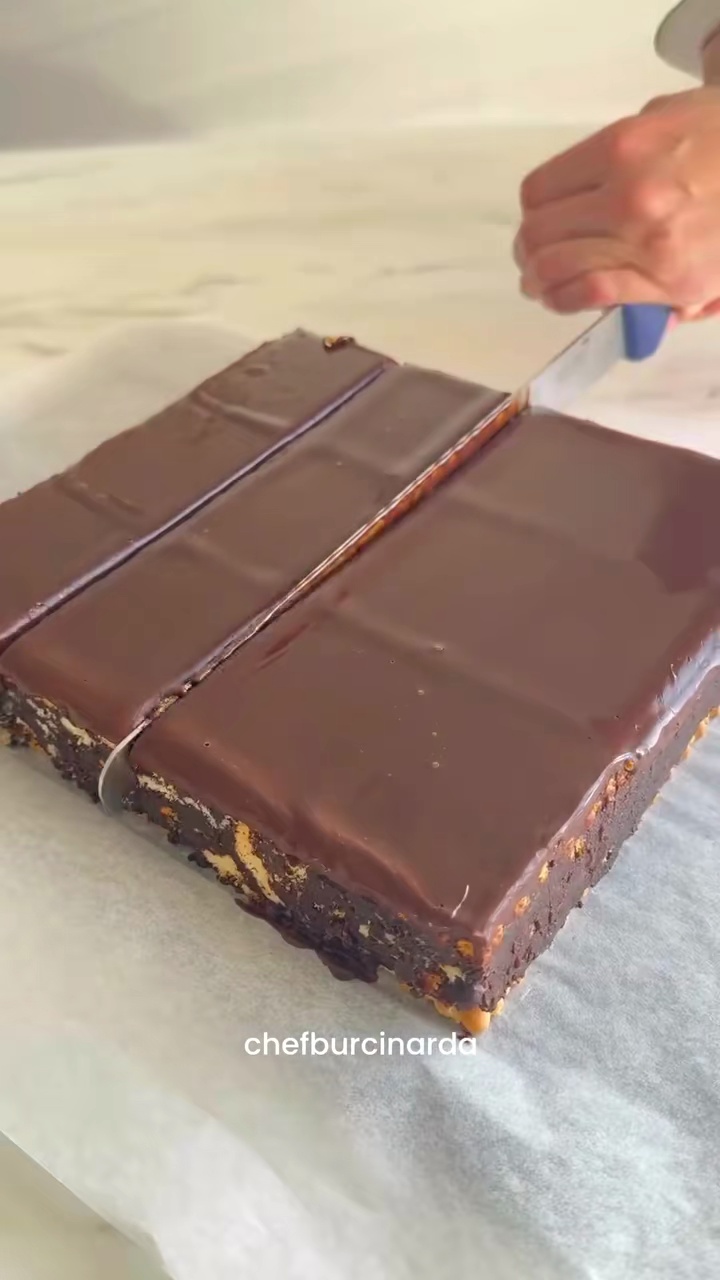
 - Refrigerate the cake for another 30 minutes to allow the ganache to set. Slice with a warm, sharp knife and serve.1m
 Preview1mPreviewRefrigerate the cake for another 30 minutes to allow the ganache to set. Slice with a warm, sharp knife and serve.
💡 Tip: Click on any step to mark it as completed and track your cooking progress!