Back to Dessert Recipes


Author:
bitebakehouse__
TikTok
15K
695
Easy Royal Icing Cookie Decoration: Pro Tips for Small Business Baking
Learn how to beautifully decorate cookies with royal icing, perfect for your small baking business or home enjoyment. This video covers making the perfect consistency icing, outlining, flooding, and adding intricate details to your cookies. Get professional tips to make your decorated cookies stand out!
#cookies
#royal icing
#cookie decoration
#baking business
#small business
#dessert
#food art
#easy recipe
#how to
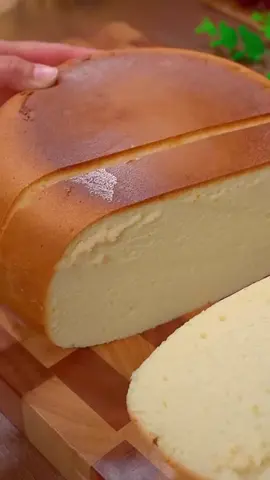
Perfectly Mixed Royal Icing
Recipe Information
40m
Prep Time
0m
Cook Time
40m
Total Time
24
Servings
Medium
Dessert
English
Nutrition (per serving)
150
Calories
2g
Protein
25g
Carbs
5g
Fat
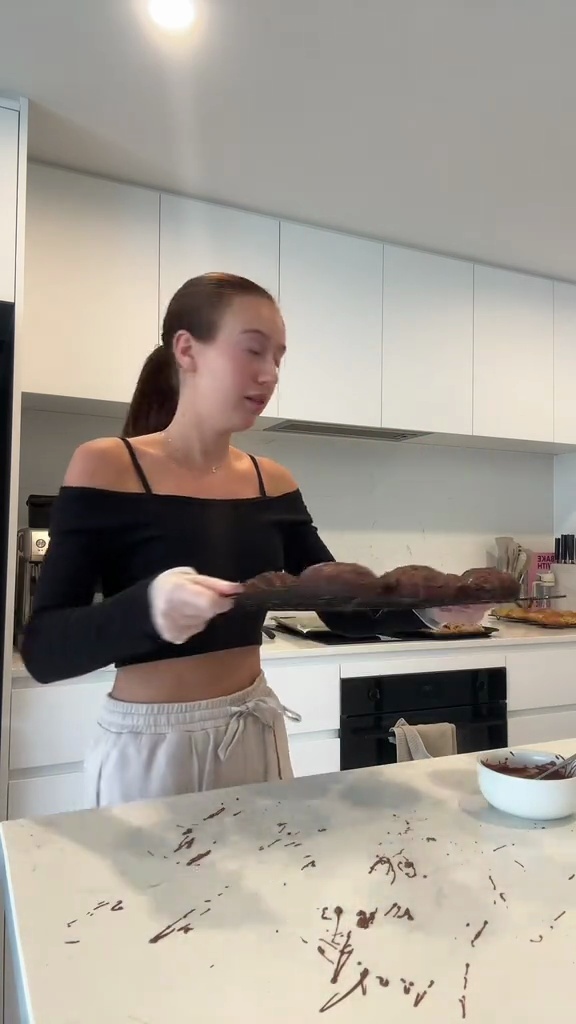
Outlining a Cookie with Icing
Ingredients
advertisement
Servings: 24
💡 Tip: Check off ingredients as you add them to keep track of your progress!

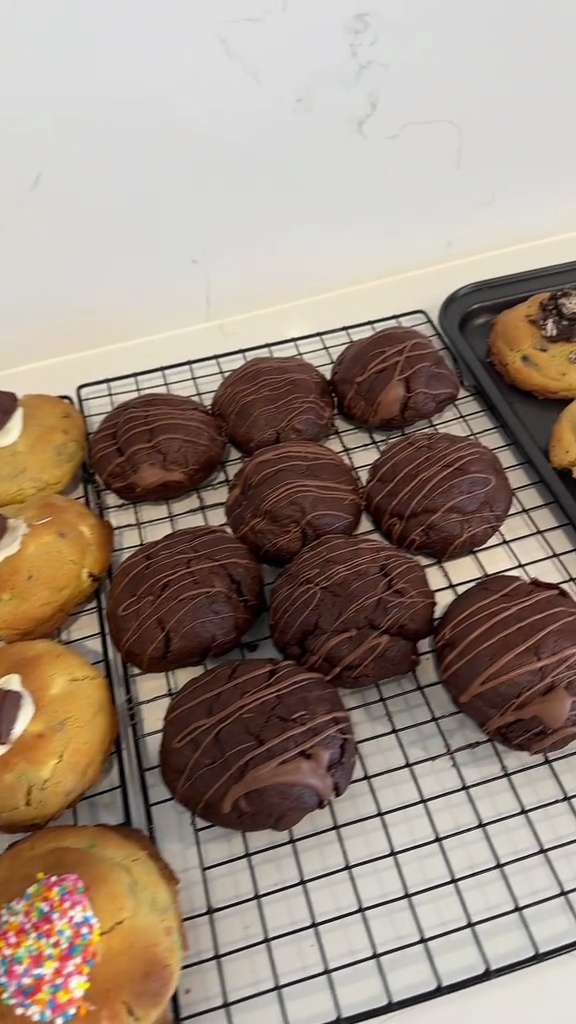
Flooding a Cookie with Icing
Instructions
0/7 completed
0%
- In a large bowl, combine sifted powdered sugar and meringue powder. Whisk briefly to mix.2m
 Preview2mPreviewIn a large bowl, combine sifted powdered sugar and meringue powder. Whisk briefly to mix.
 - Gradually add 4 tablespoons of warm water. Mix on low speed with an electric mixer until a thick paste forms.3mPreview3mPreviewGradually add 4 tablespoons of warm water. Mix on low speed with an electric mixer until a thick paste forms.
- Increase mixer speed to medium-high and beat for 5-7 minutes until stiff, glossy peaks form. For outlining icing, it should be thick enough to hold its shape. For flooding icing, thin with a few drops of water until it flows smoothly but not too fast (about 10-15 second count).7m
 Preview7mPreviewIncrease mixer speed to medium-high and beat for 5-7 minutes until stiff, glossy peaks form. For outlining icing, it should be thick enough to hold its shape. For flooding icing, thin with a few drops of water until it flows smoothly but not too fast (about 10-15 second count).
 - Divide the prepared royal icing into separate bowls for different colors. Add a few drops of gel food coloring to each bowl and mix gently until uniformly colored.5m
 Preview5mPreviewDivide the prepared royal icing into separate bowls for different colors. Add a few drops of gel food coloring to each bowl and mix gently until uniformly colored.
 - Transfer the thicker (outlining) icing into piping bags fitted with small round tips (e.g., PME #1.5 or Wilton #2). Carefully outline the edges of your cooled, baked cookies.10mPreview10mPreviewTransfer the thicker (outlining) icing into piping bags fitted with small round tips (e.g., PME #1.5 or Wilton #2). Carefully outline the edges of your cooled, baked cookies.
- Using the thinner (flooding) icing, fill in the outlined areas of the cookies. You can use a squeeze bottle or a piping bag without a tip for faster flooding. Use a scribe tool or toothpick to gently spread the icing to the edges and pop any air bubbles.15mPreview15mPreviewUsing the thinner (flooding) icing, fill in the outlined areas of the cookies. You can use a squeeze bottle or a piping bag without a tip for faster flooding. Use a scribe tool or toothpick to gently spread the icing to the edges and pop any air bubbles.
- While the flood icing is still wet (wet-on-wet technique), add dots, lines, or other simple designs with contrasting colors. For raised details, wait until the flood layer is completely dry. Allow all decorated cookies to dry completely on a flat surface for at least 6-8 hours, preferably overnight, before stacking or packaging.5m
 Preview5mPreviewWhile the flood icing is still wet (wet-on-wet technique), add dots, lines, or other simple designs with contrasting colors. For raised details, wait until the flood layer is completely dry. Allow all decorated cookies to dry completely on a flat surface for at least 6-8 hours, preferably overnight, before stacking or packaging.
advertisement
advertisement
💡 Tip: Click on any step to mark it as completed and track your cooking progress!