Back to Fusion Recipes

Author:
kookmutsjes
TikTok
21M
1M
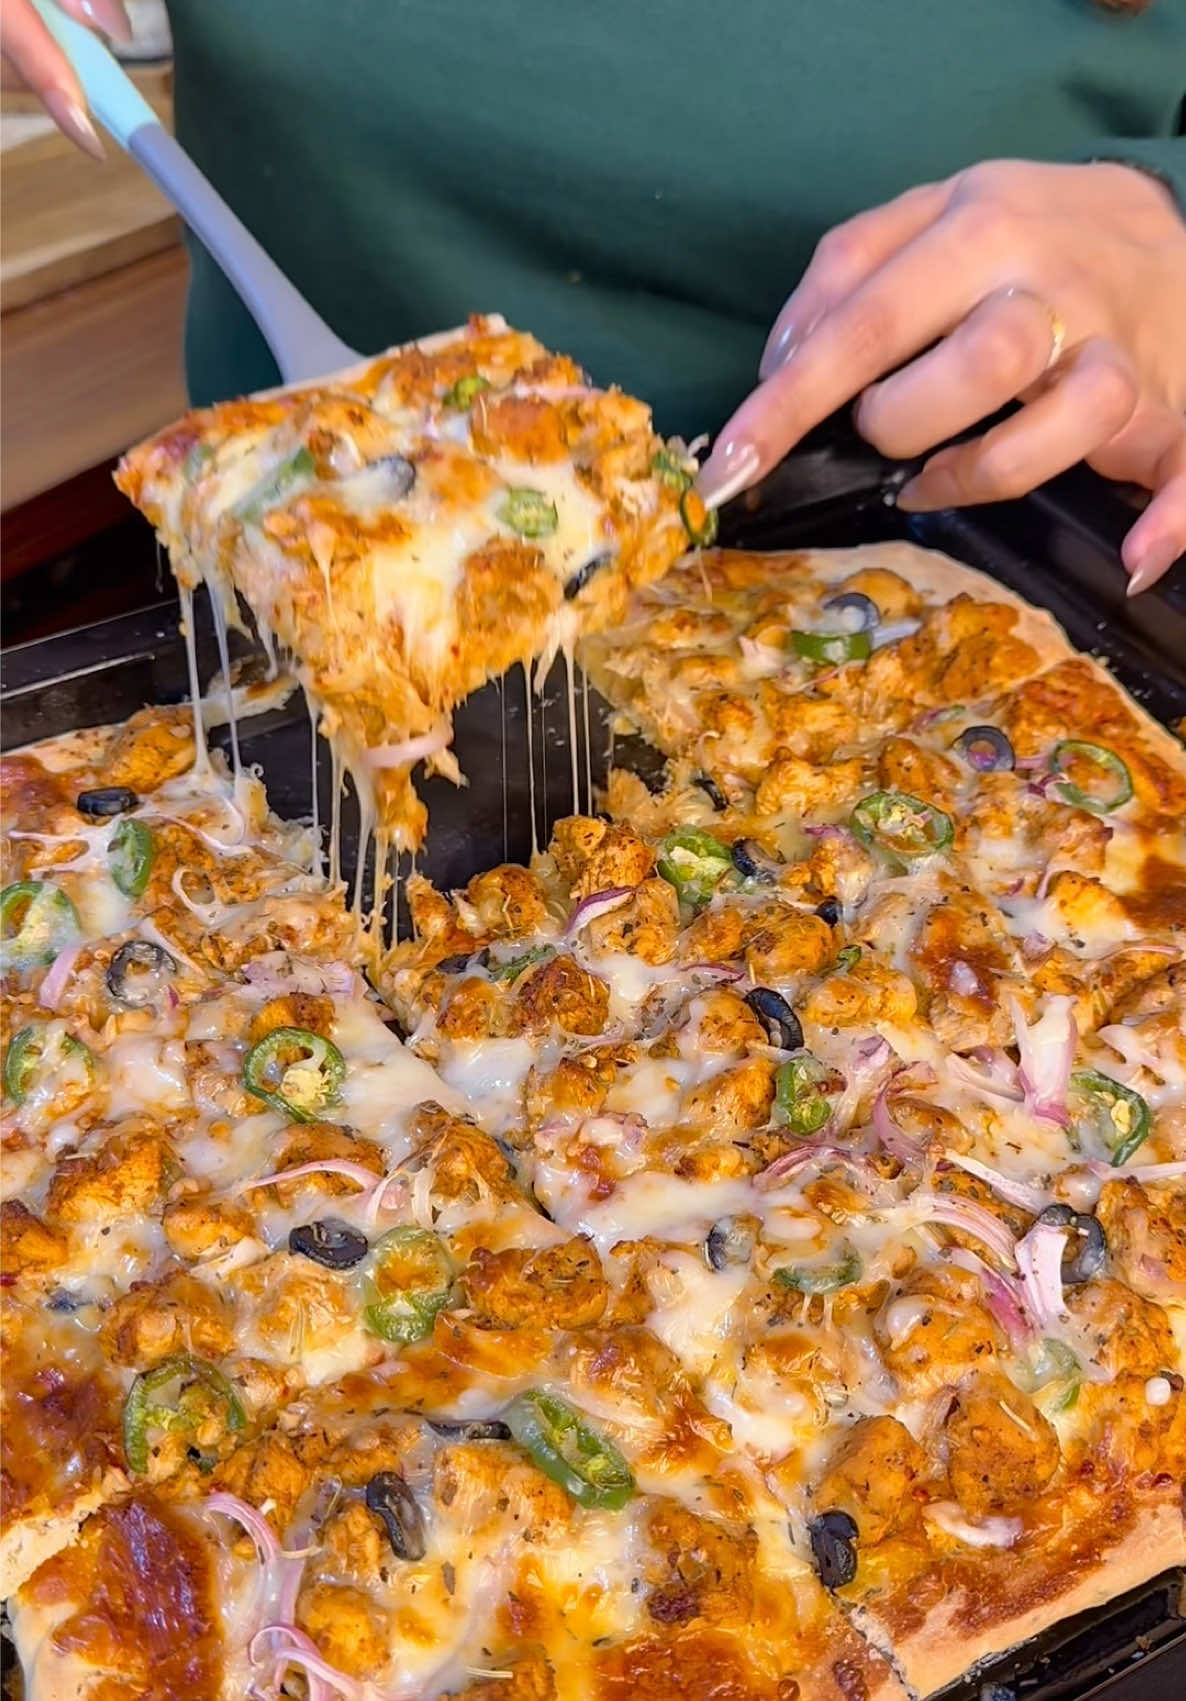
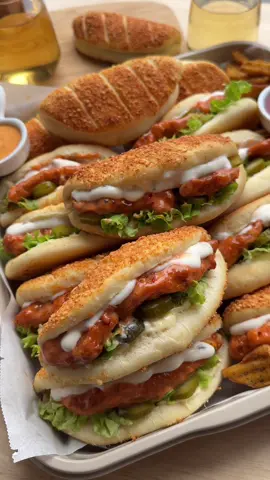
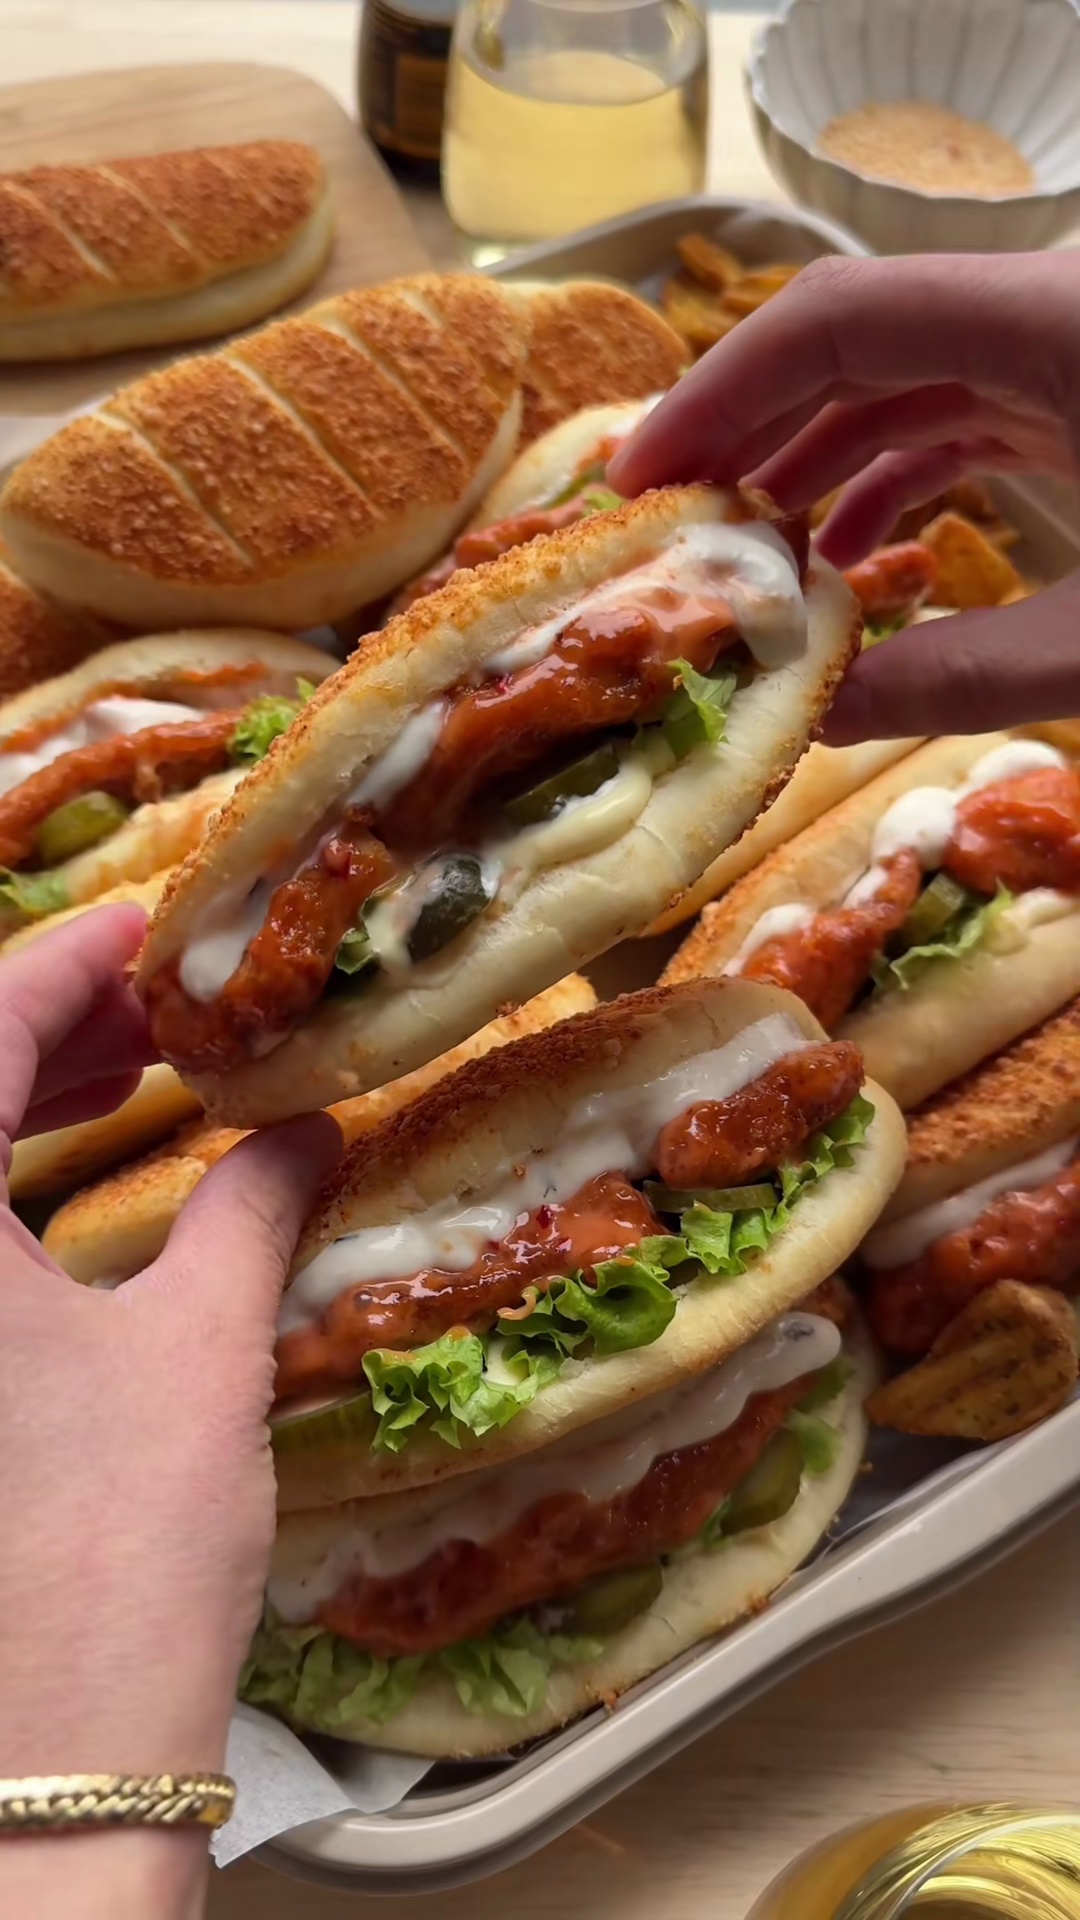
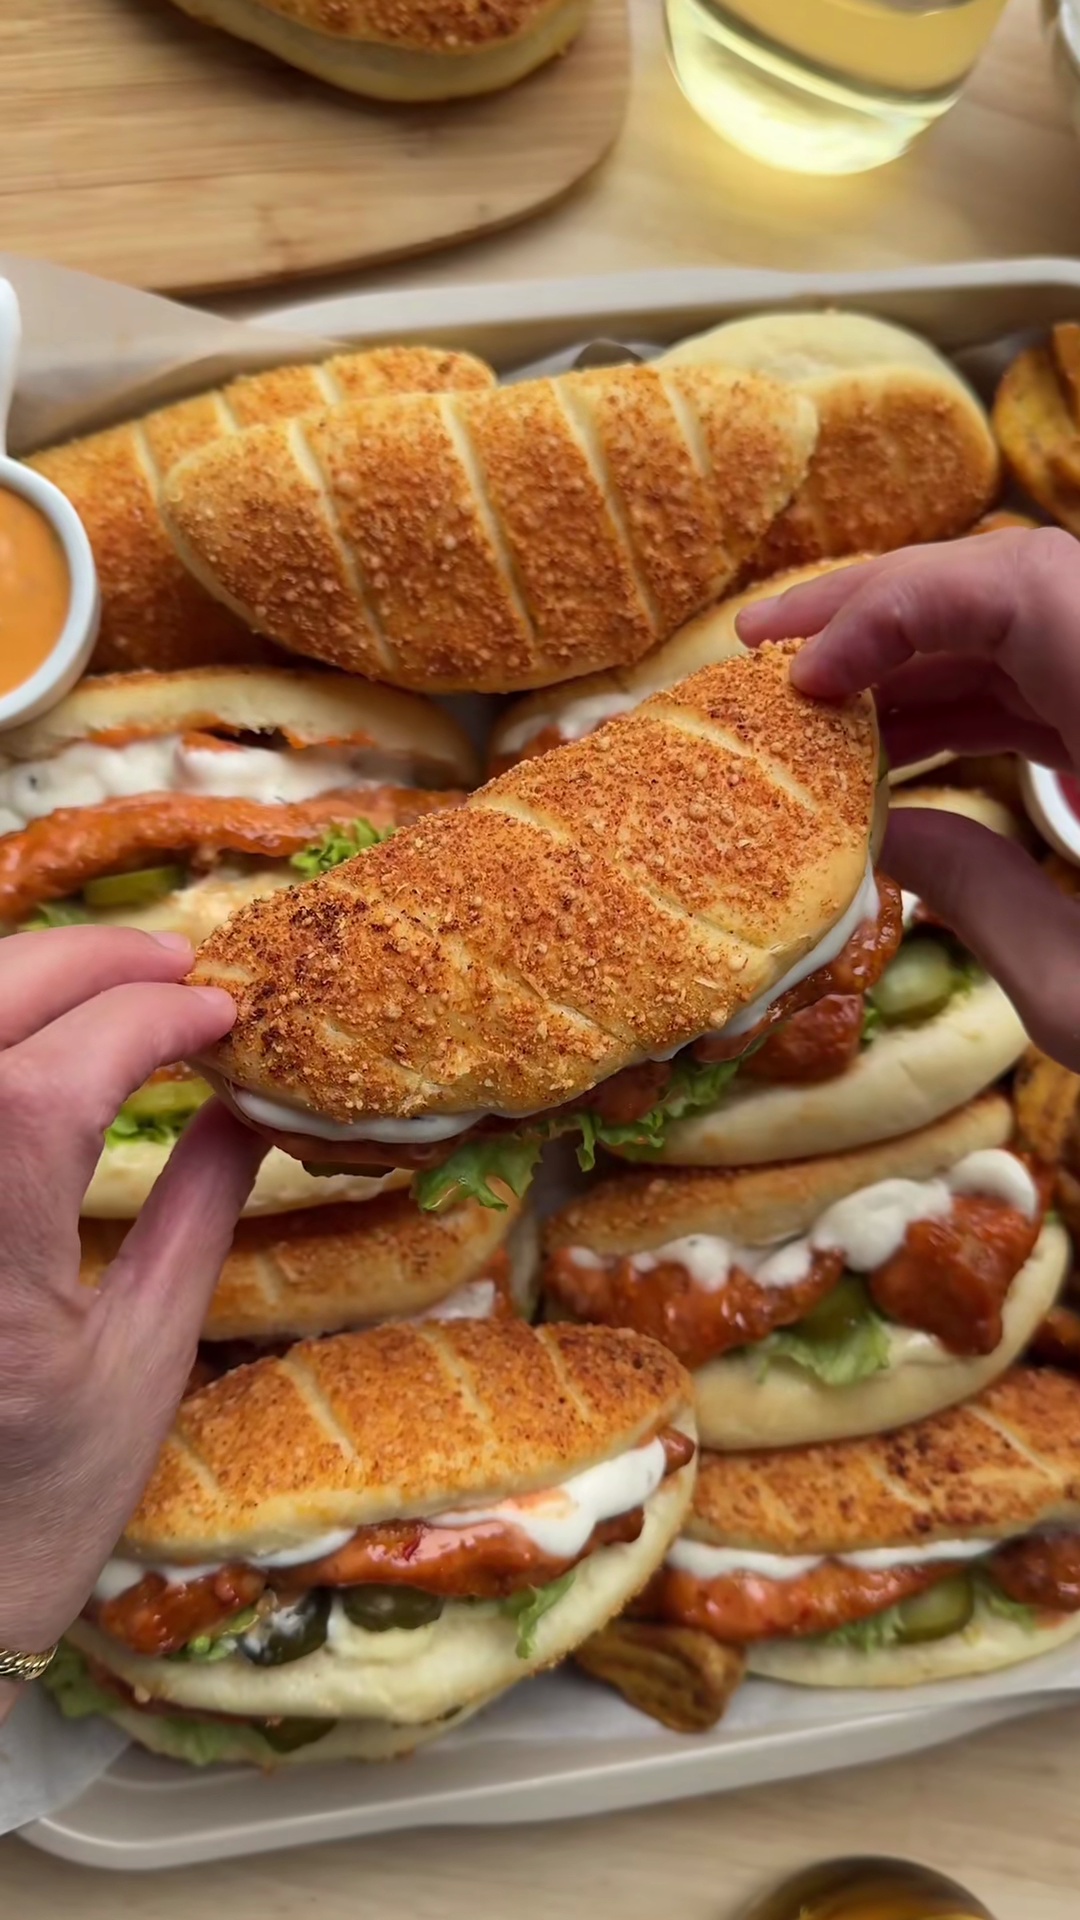
Cheesy Dynamite Chicken Buns
These Cheesy Dynamite Chicken Buns are a delicious and exciting treat, featuring soft, fluffy homemade bread filled with a spicy, creamy, and cheesy chicken mixture. The buns are topped with a savory blend of Parmesan cheese and spices, then baked until golden brown. Perfect as a flavorful appetizer, a unique snack, or a delightful side dish for any occasion. The recipe involves making a rich yeast dough from scratch and preparing a vibrant chicken filling, combining classic baking techniques with bold, modern flavors.
#Chicken
#Buns
#Bread
#Cheesy
#Spicy
#Dynamite
#Appetizer
#Snack
#Baked Goods
#Comfort Food
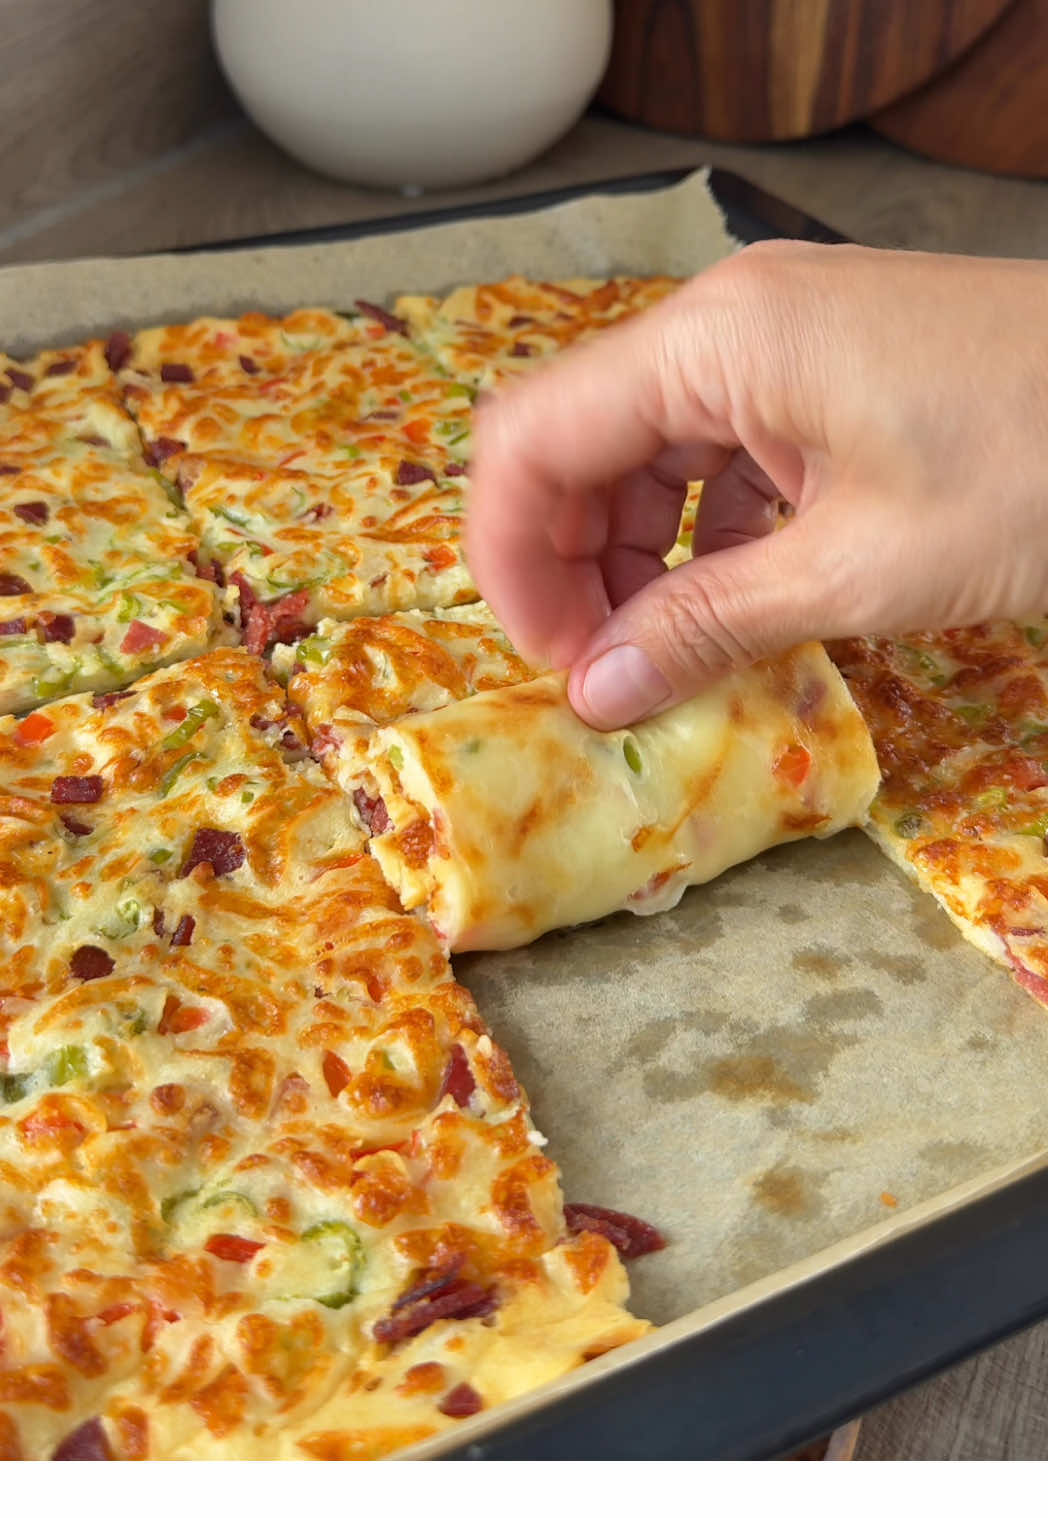
Freshly Baked Cheesy Dynamite Chicken Buns
Recipe Information
1h 15m
Prep Time
25m
Cook Time
3h 40m
Total Time
12
Servings
Medium
Fusion
English
Nutrition (per serving)
368
Calories
28g
Protein
39g
Carbs
7g
Fat
Golden Brown Buns with Spicy Chicken Filling
Ingredients
Servings: 12
💡 Tip: Check off ingredients as you add them to keep track of your progress!
Close-up of a perfectly baked bun, ready to eat
Instructions
0/9 completed
0%
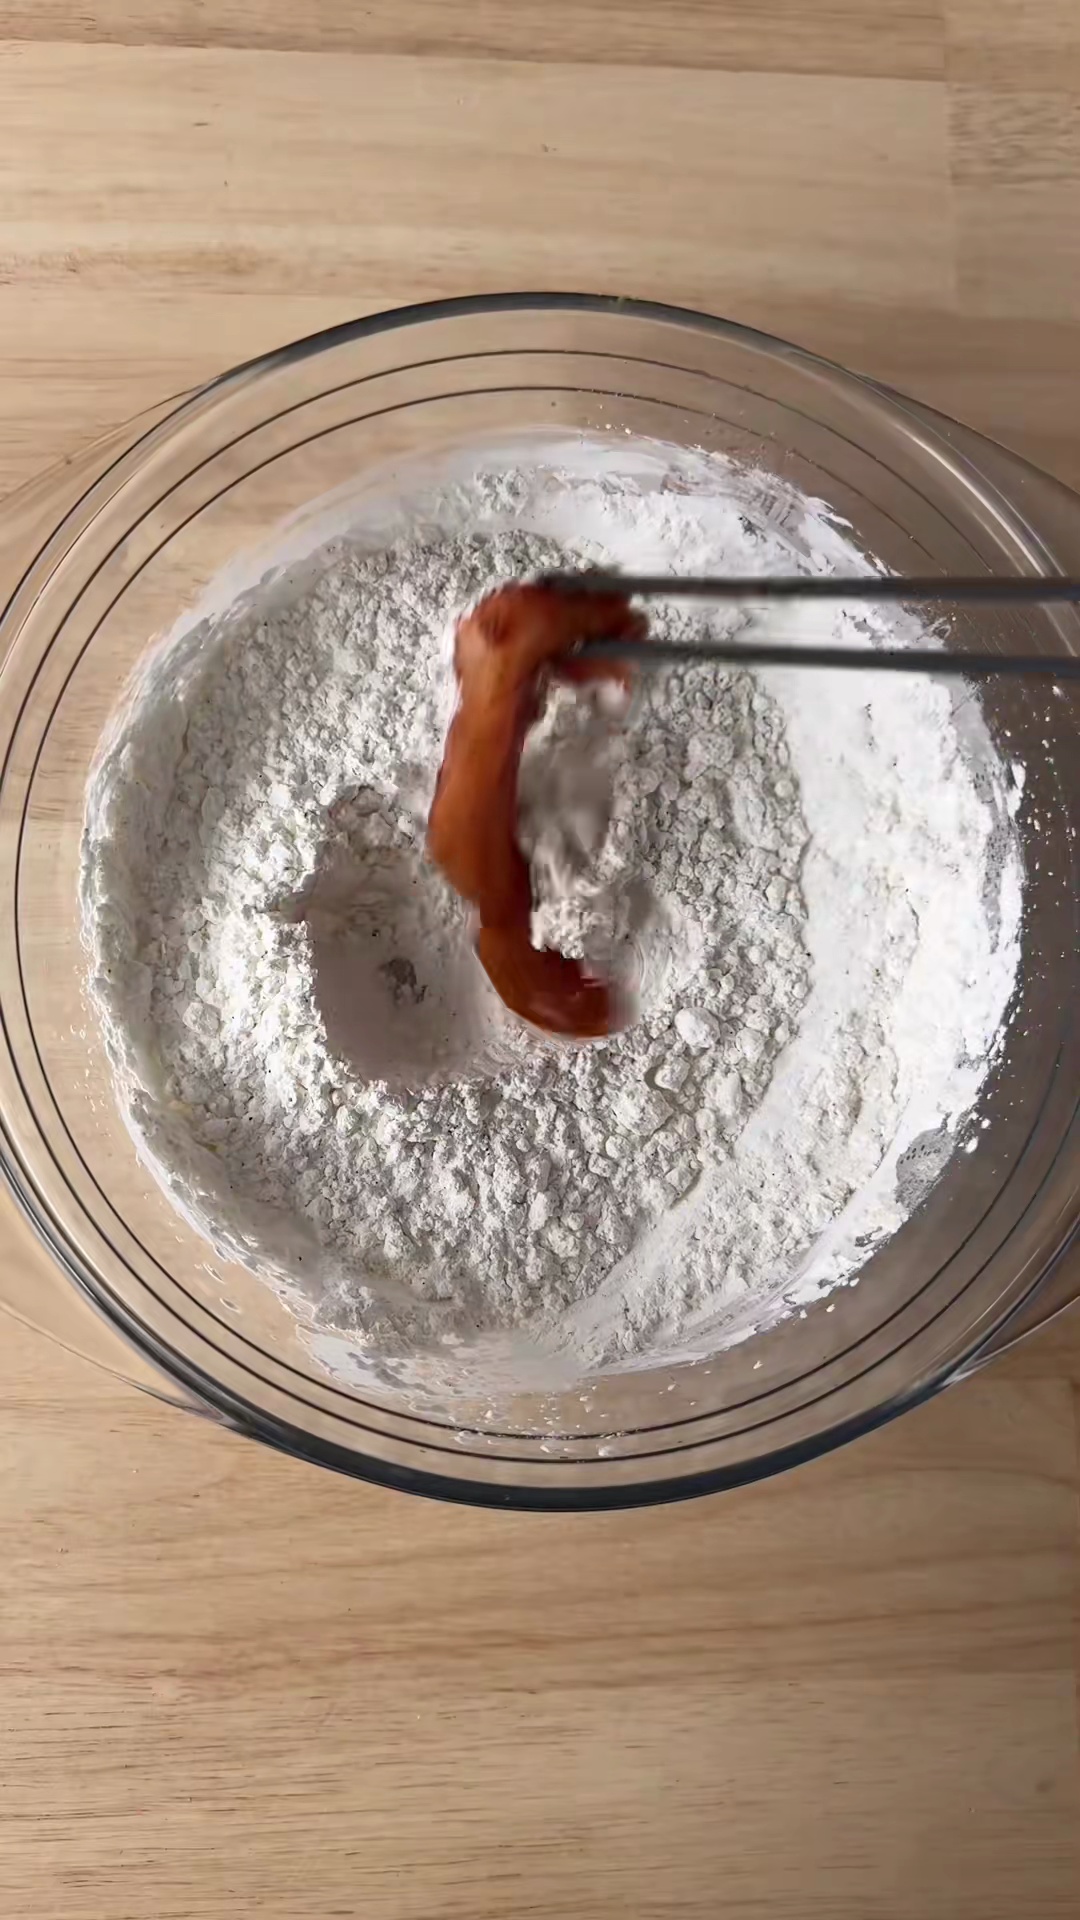
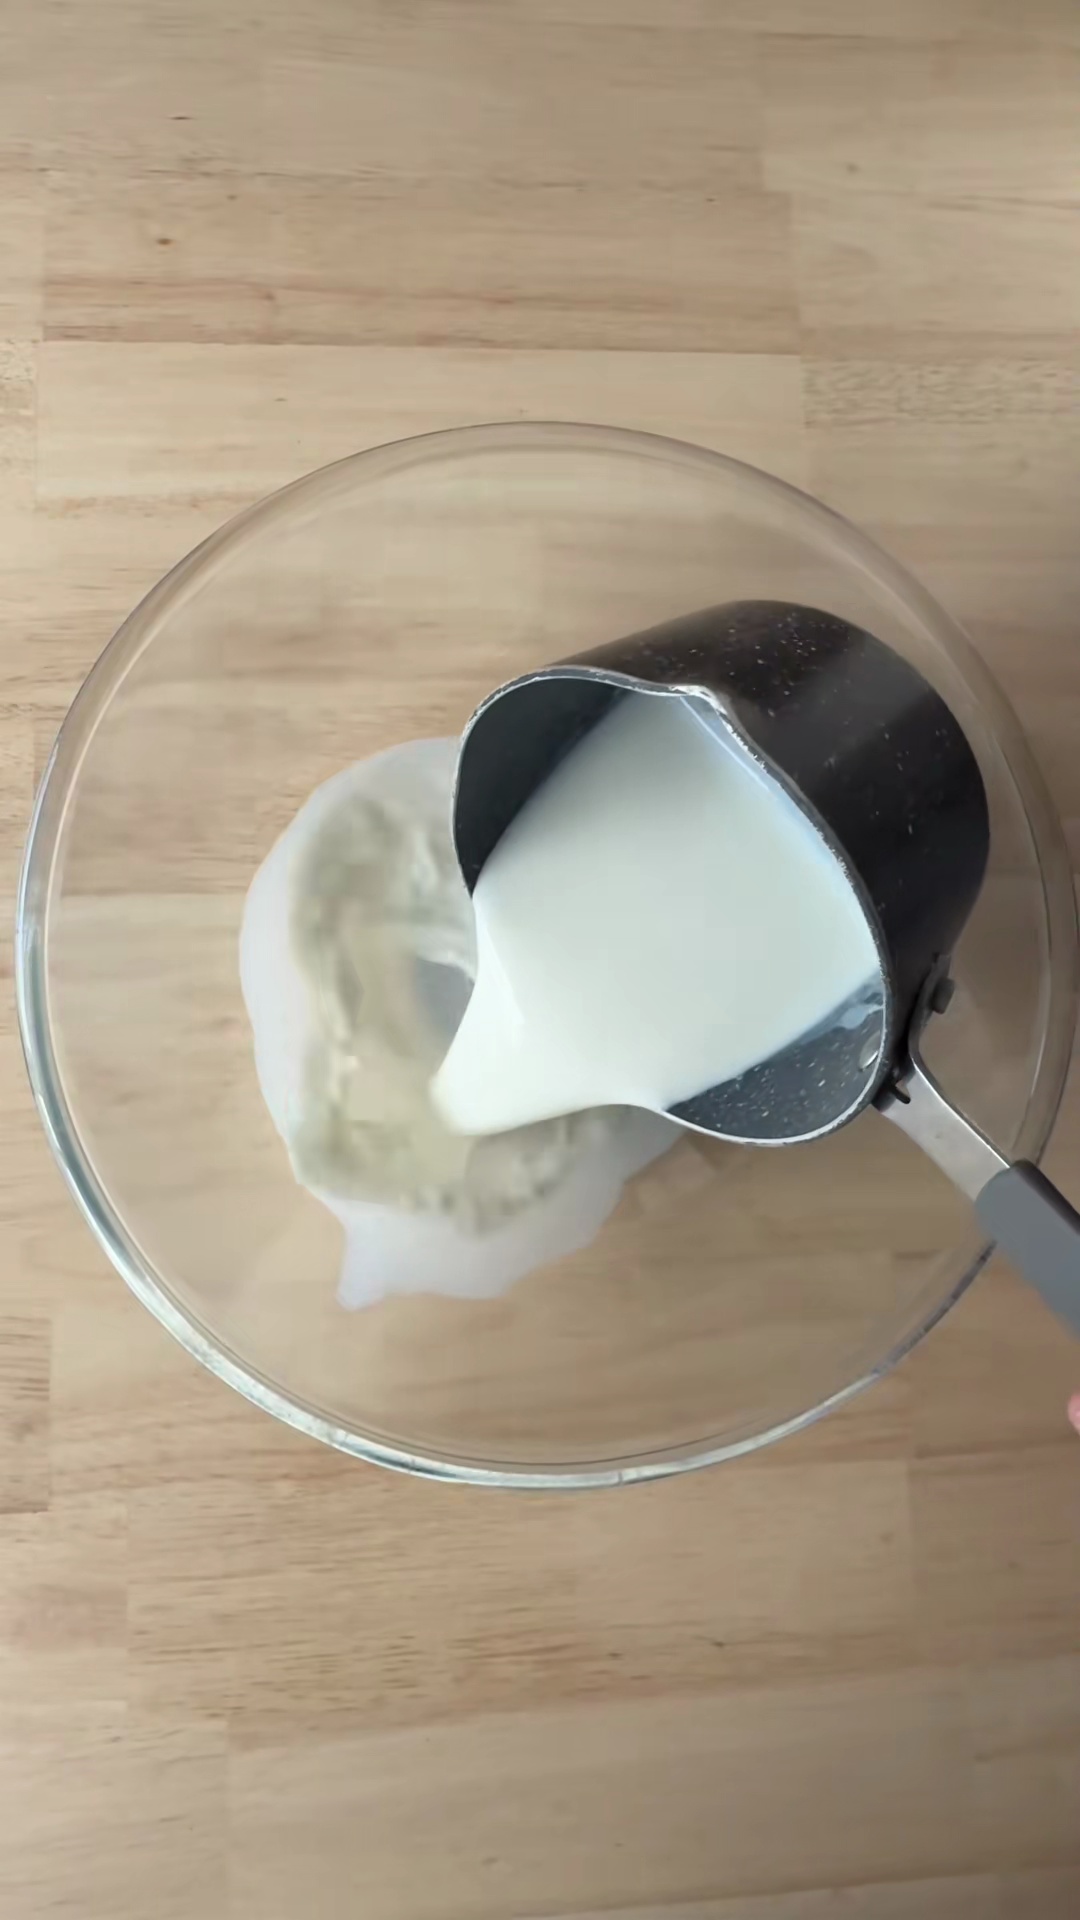
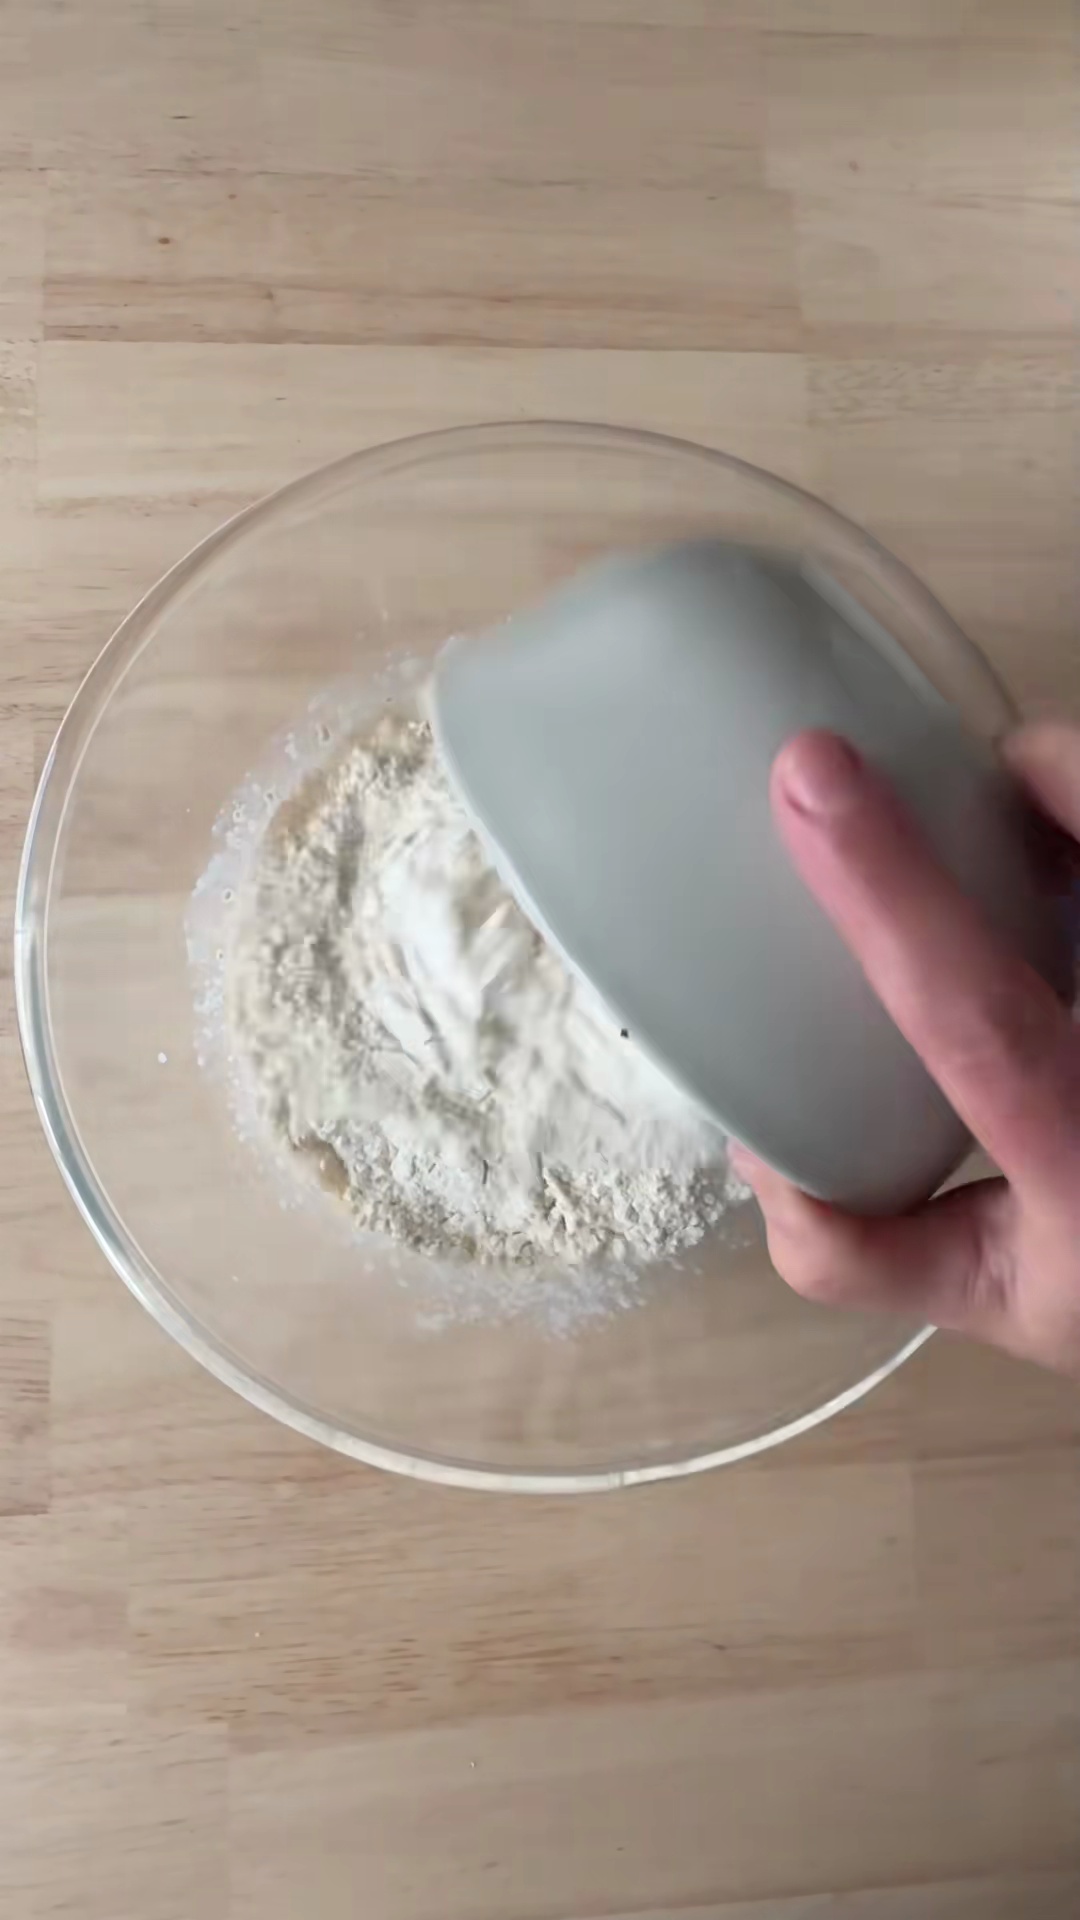
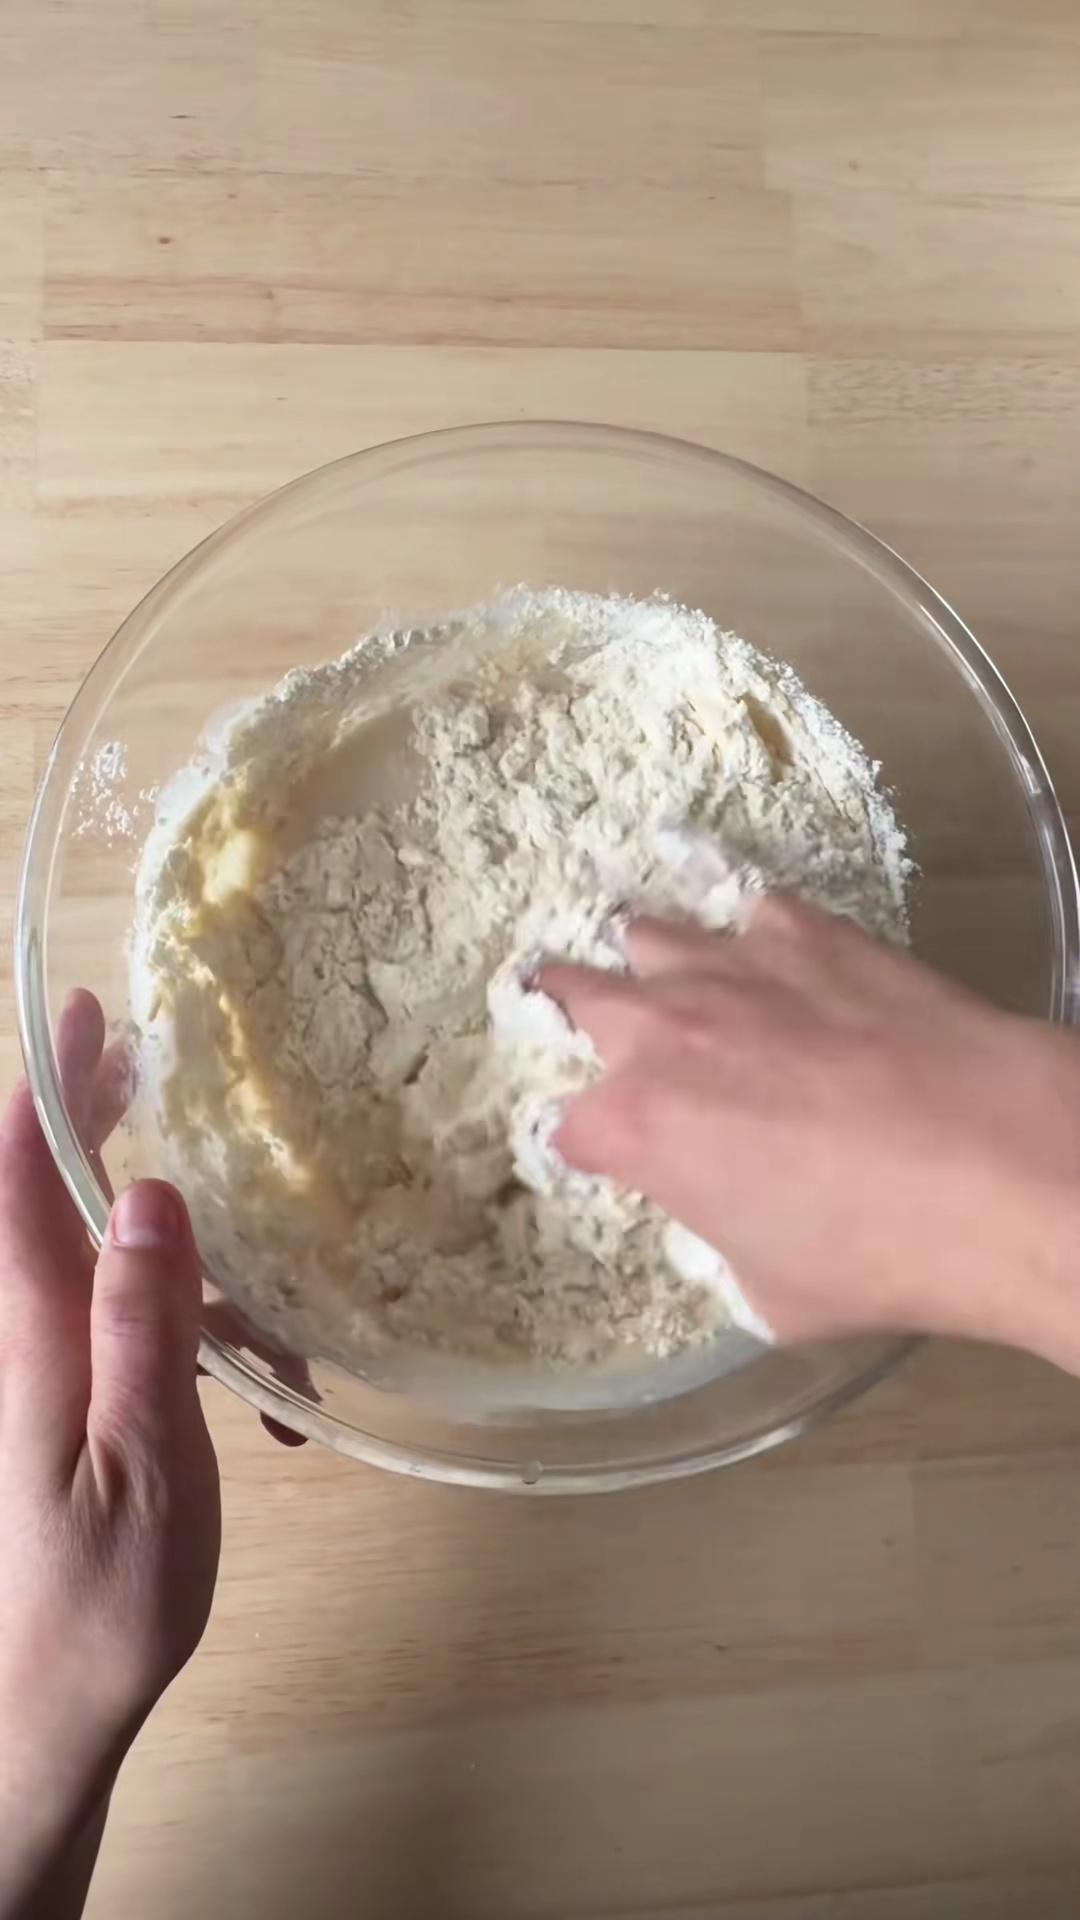
- In a large bowl, combine the lukewarm water, lukewarm milk, honey, and instant yeast. Let the mixture sit for 5 minutes until it becomes foamy, indicating the yeast is active. Add the medium egg, sunflower oil, flour, and 8g of salt. Mix with a spoon or your hands until a shaggy dough forms. Transfer the dough to a lightly floured surface and knead for 8-10 minutes. Gradually incorporate the softened unsalted butter and continue kneading for another 5 minutes until the dough is smooth, elastic, and no longer sticky.20m
 Preview20mPreviewIn a large bowl, combine the lukewarm water, lukewarm milk, honey, and instant yeast. Let the mixture sit for 5 minutes until it becomes foamy, indicating the yeast is active. Add the medium egg, sunflower oil, flour, and 8g of salt. Mix with a spoon or your hands until a shaggy dough forms. Transfer the dough to a lightly floured surface and knead for 8-10 minutes. Gradually incorporate the softened unsalted butter and continue kneading for another 5 minutes until the dough is smooth, elastic, and no longer sticky.
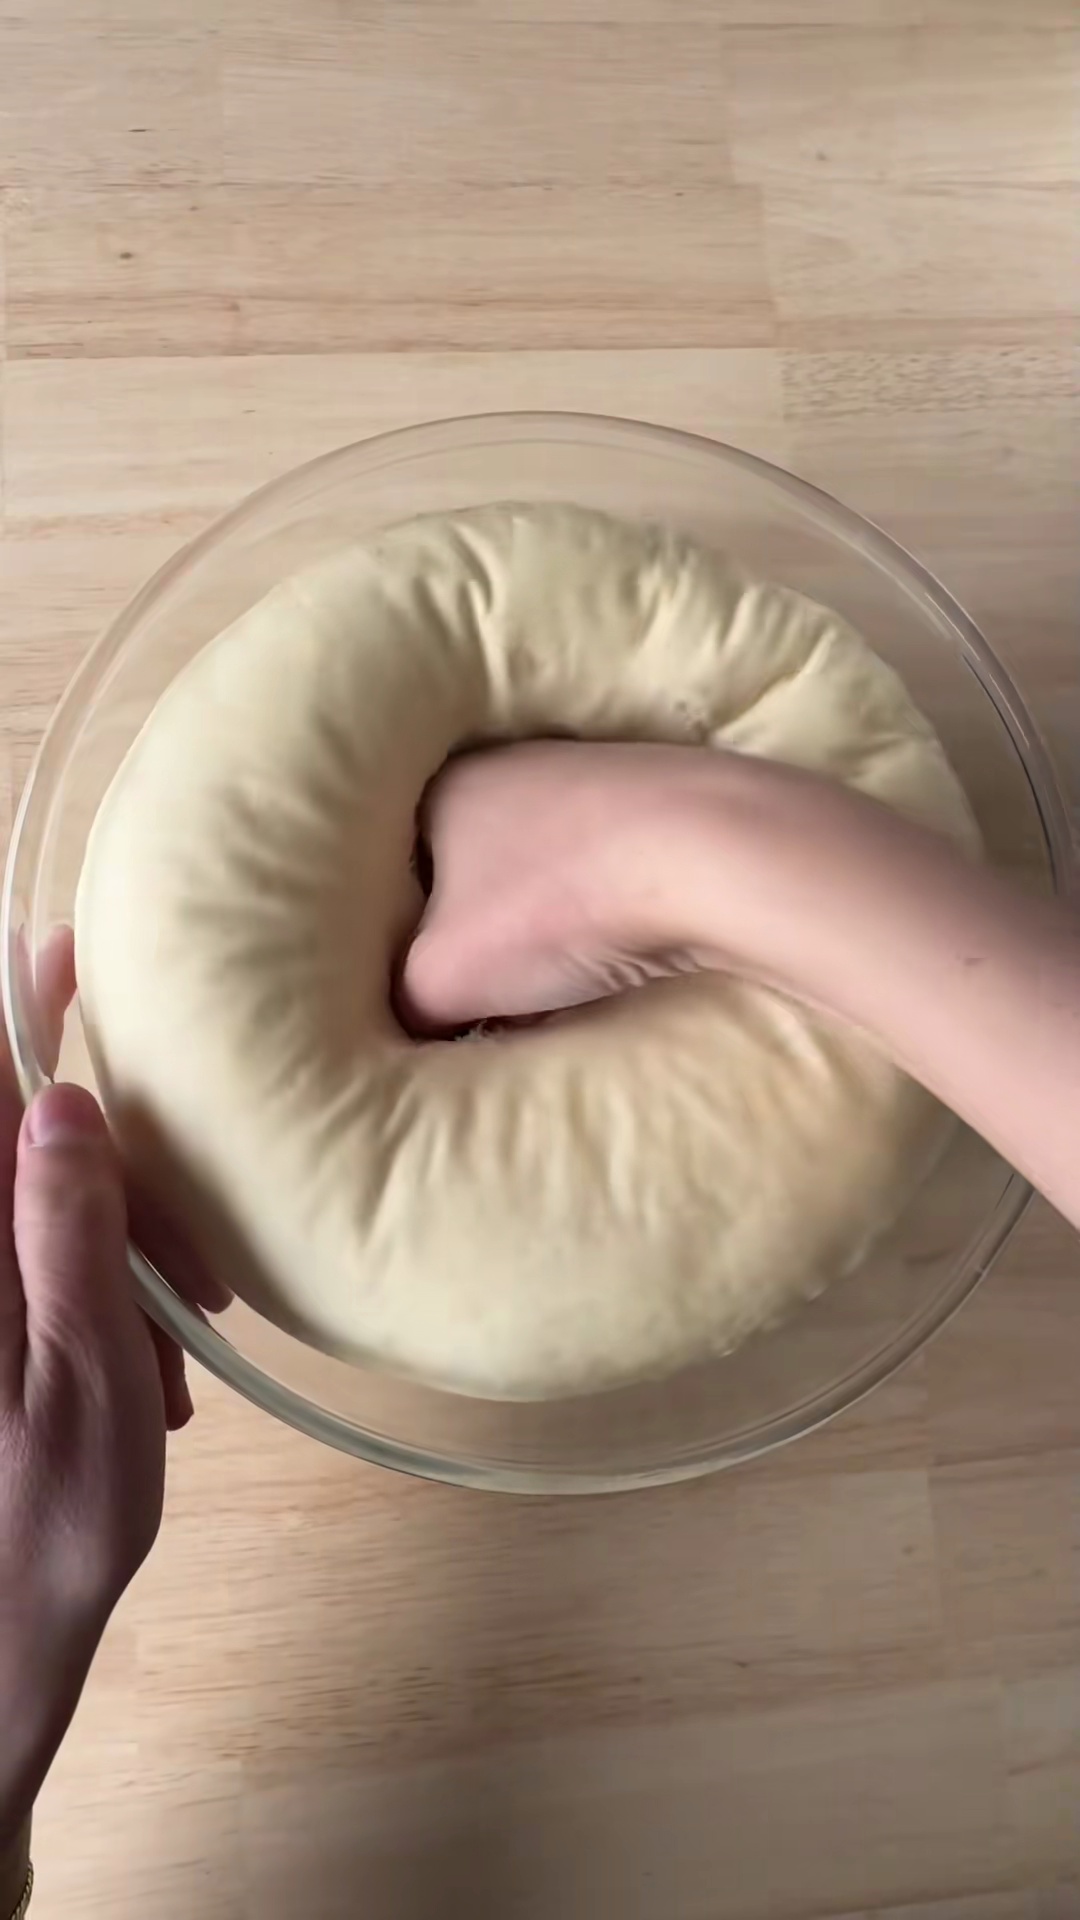
 - Transfer the kneaded dough to a lightly oiled large bowl, turning it once to coat the entire surface. Cover the bowl tightly with plastic wrap or a damp cloth and let it rise in a warm place for 60 to 90 minutes, or until the dough has visibly doubled in size.1h 15m
 Preview1h 15mPreviewTransfer the kneaded dough to a lightly oiled large bowl, turning it once to coat the entire surface. Cover the bowl tightly with plastic wrap or a damp cloth and let it rise in a warm place for 60 to 90 minutes, or until the dough has visibly doubled in size.
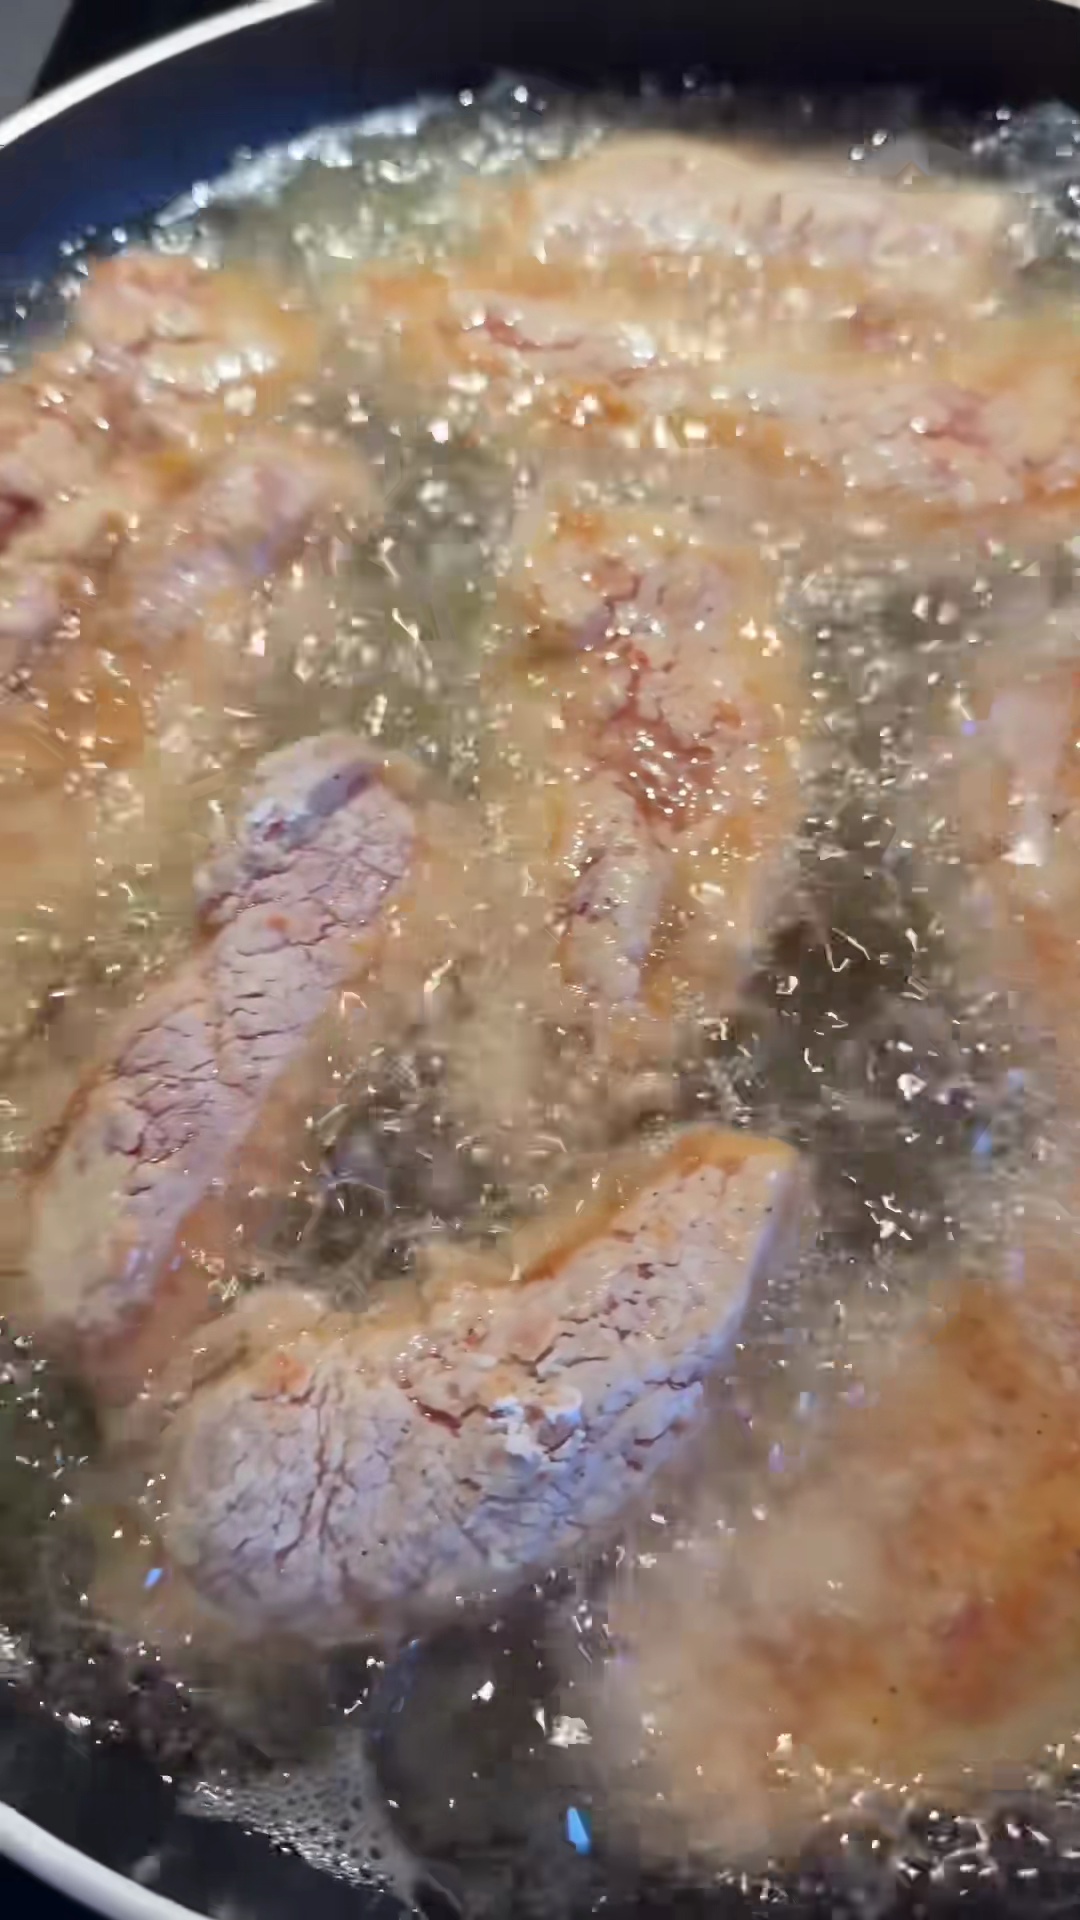
 - While the dough is proofing, prepare the chicken filling. Cook the 700g chicken breast by boiling, poaching, or pan-frying until it is fully cooked through. Let the cooked chicken cool slightly, then shred or finely dice it into small, manageable pieces.20m
 Preview20mPreviewWhile the dough is proofing, prepare the chicken filling. Cook the 700g chicken breast by boiling, poaching, or pan-frying until it is fully cooked through. Let the cooked chicken cool slightly, then shred or finely dice it into small, manageable pieces.
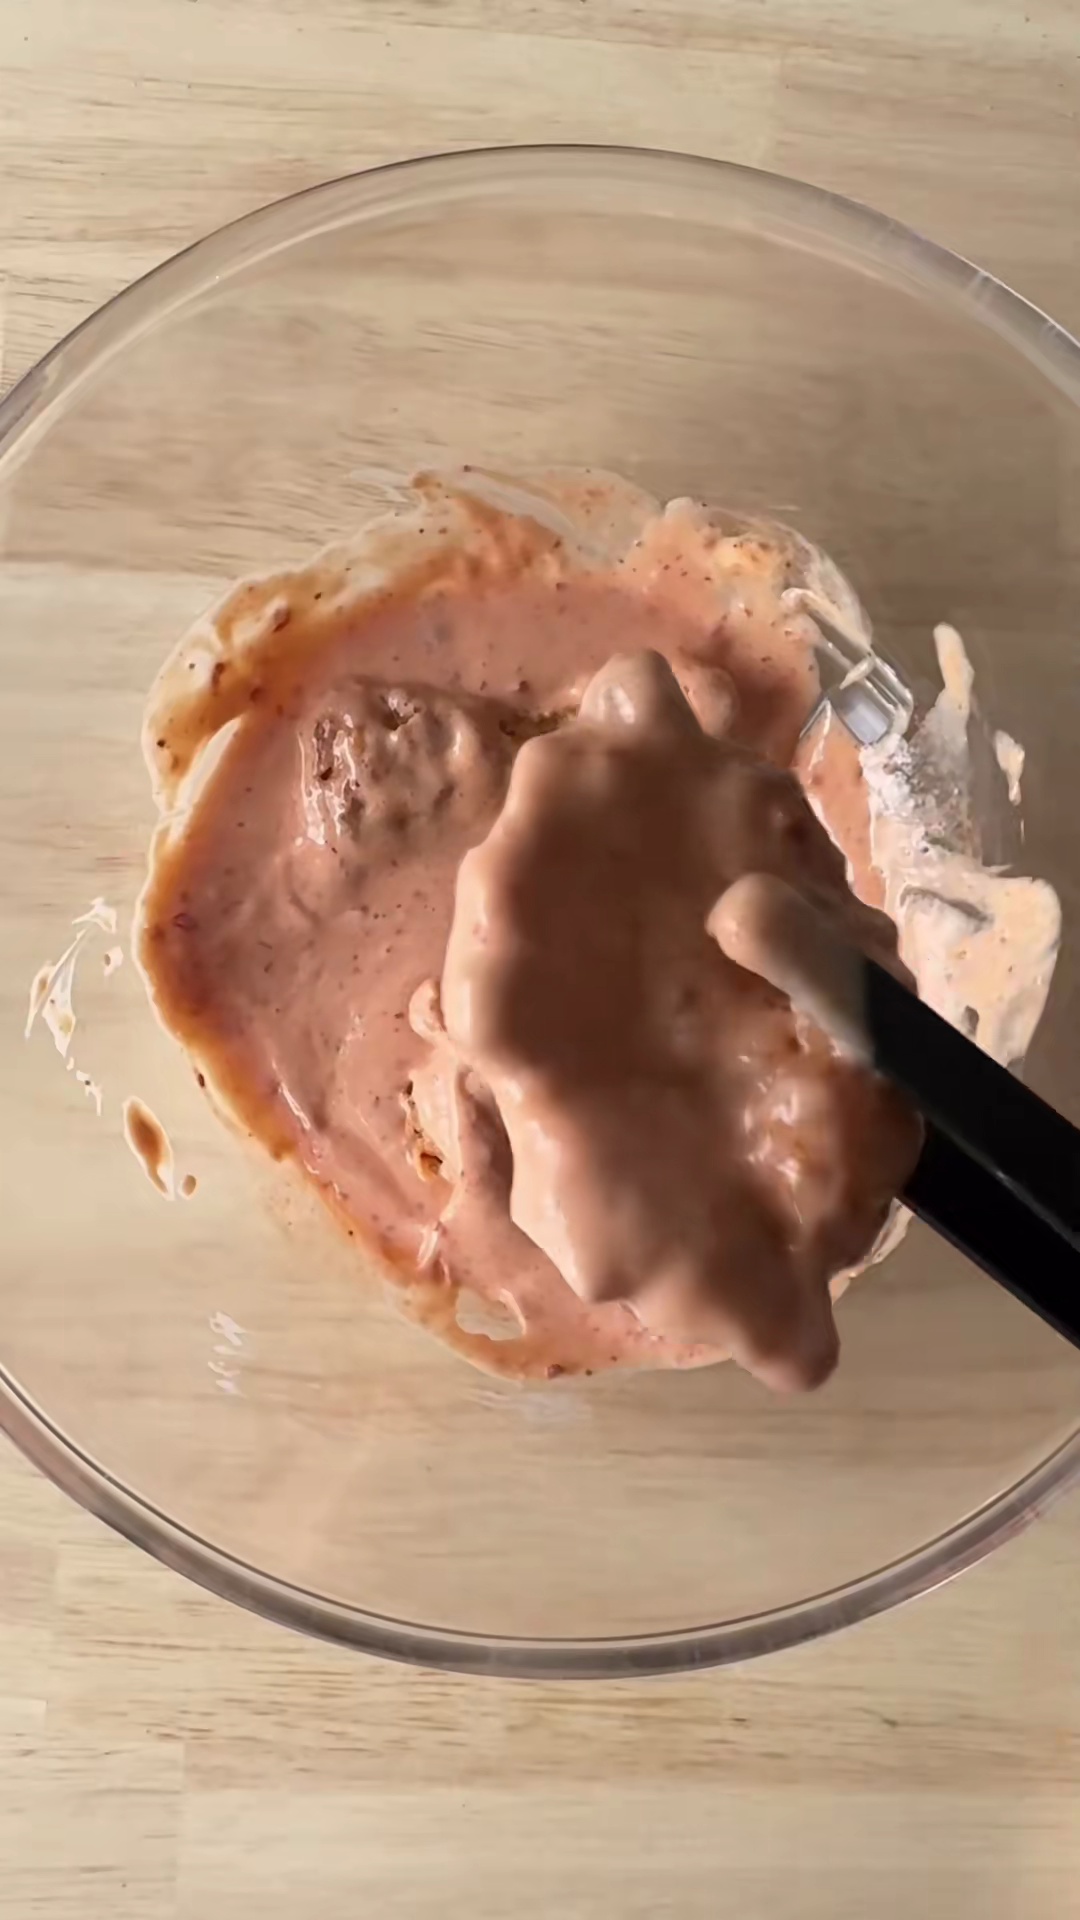
 - In a mixing bowl, combine the shredded chicken with 5g salt, 3g onion powder, 3g garlic powder, 2g black pepper, soy sauce, sriracha, mayonnaise, and shredded mozzarella cheese. Mix all ingredients thoroughly to ensure the chicken is evenly coated and the flavors are well distributed.10m
 Preview10mPreviewIn a mixing bowl, combine the shredded chicken with 5g salt, 3g onion powder, 3g garlic powder, 2g black pepper, soy sauce, sriracha, mayonnaise, and shredded mozzarella cheese. Mix all ingredients thoroughly to ensure the chicken is evenly coated and the flavors are well distributed.
 - In a small separate bowl, combine the 40g grated Parmesan cheese, 2g cayenne pepper, 1.5g onion powder, and 1g black pepper for the topping. Mix well to combine the spices and set aside.2m
 Preview2mPreviewIn a small separate bowl, combine the 40g grated Parmesan cheese, 2g cayenne pepper, 1.5g onion powder, and 1g black pepper for the topping. Mix well to combine the spices and set aside.
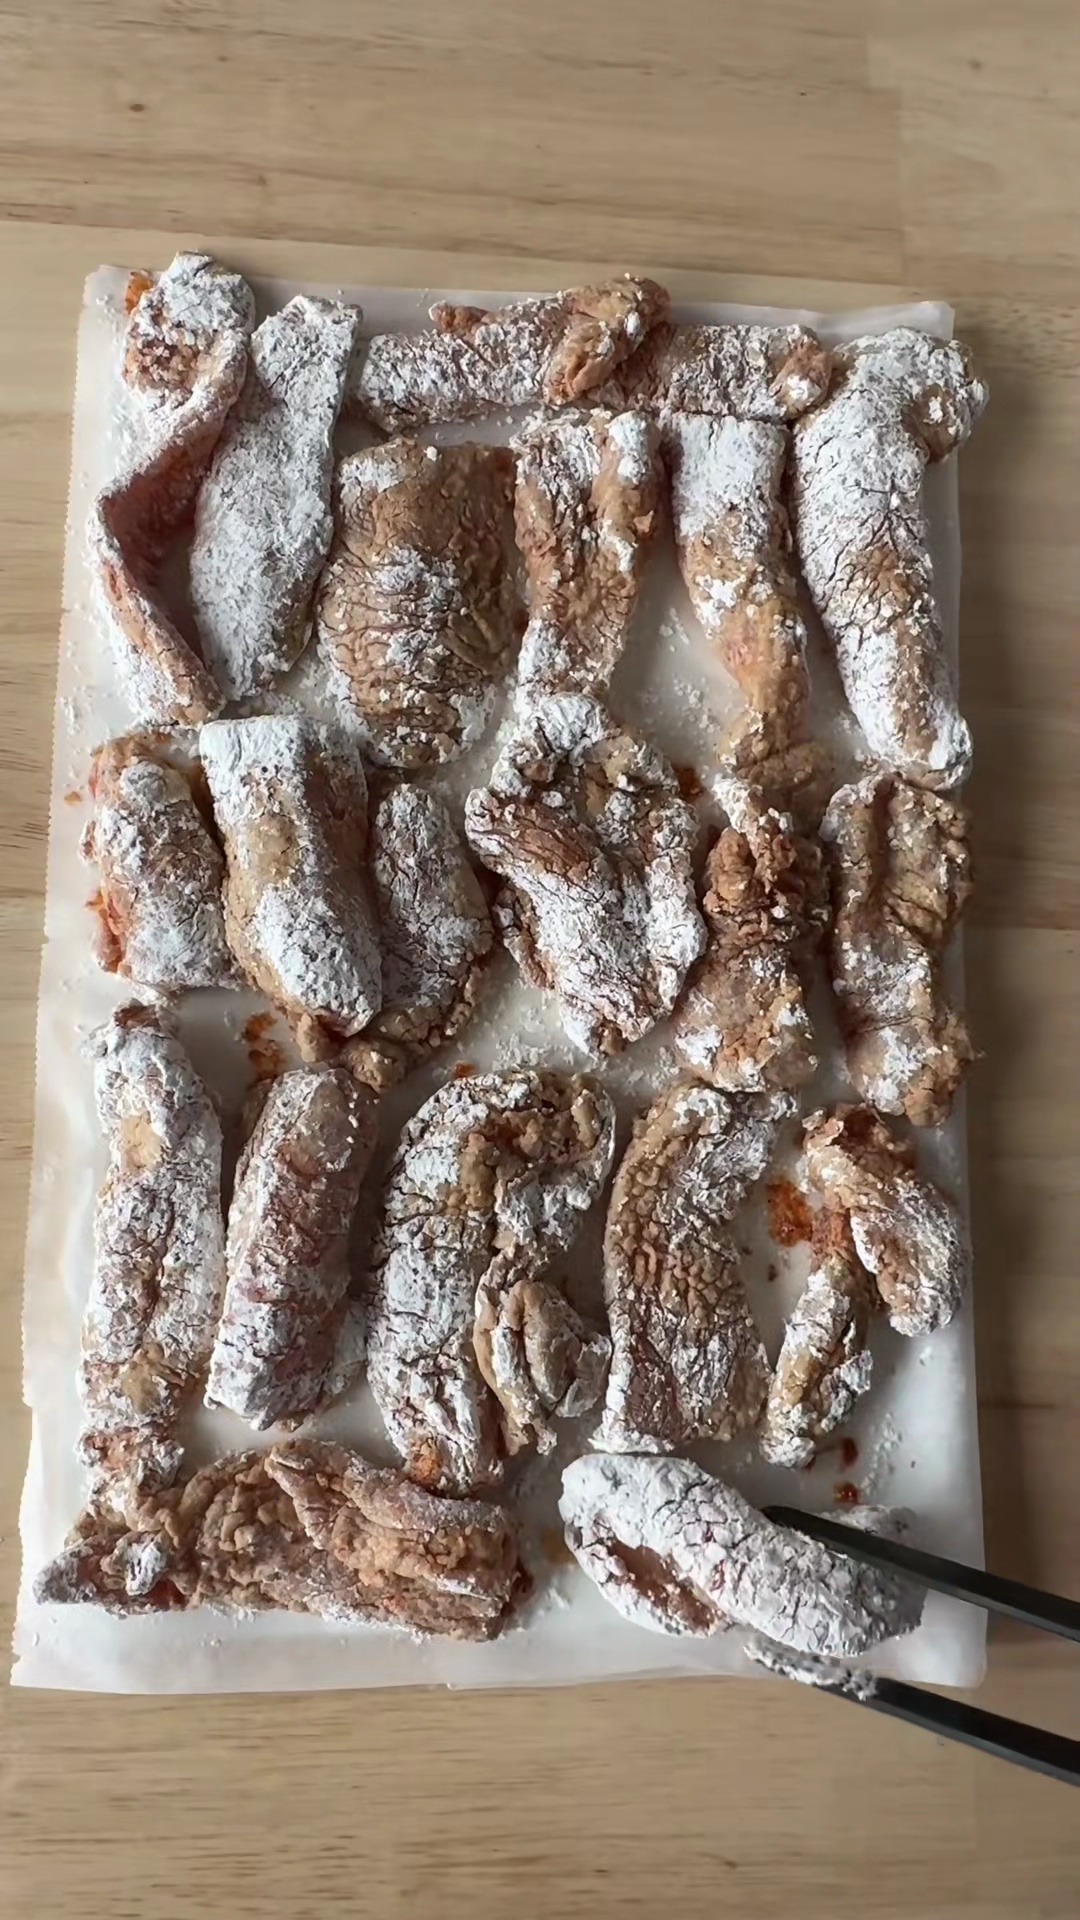
 - Gently punch down the risen dough to release the air. Transfer it to a lightly floured surface and divide it into 12 equal portions. Roll each portion into a small ball, then flatten it into a disc approximately 4-5 inches (10-12 cm) in diameter. Place a generous spoonful of the prepared chicken mixture in the center of each dough disc. Carefully gather the edges of the dough around the filling, bringing them to the top and pinching firmly to seal, forming a smooth, round bun.20m
 Preview20mPreviewGently punch down the risen dough to release the air. Transfer it to a lightly floured surface and divide it into 12 equal portions. Roll each portion into a small ball, then flatten it into a disc approximately 4-5 inches (10-12 cm) in diameter. Place a generous spoonful of the prepared chicken mixture in the center of each dough disc. Carefully gather the edges of the dough around the filling, bringing them to the top and pinching firmly to seal, forming a smooth, round bun.
 - Arrange the shaped buns on a baking sheet lined with parchment paper, leaving about 2 inches of space between each bun to allow for expansion during the second rise and baking. Cover loosely with plastic wrap and let them rise for a second time in a warm place for 30 to 45 minutes, or until they look visibly puffy. During the last 15 minutes of this second rise, preheat your oven to 180°C (350°F).45m
 Preview45mPreviewArrange the shaped buns on a baking sheet lined with parchment paper, leaving about 2 inches of space between each bun to allow for expansion during the second rise and baking. Cover loosely with plastic wrap and let them rise for a second time in a warm place for 30 to 45 minutes, or until they look visibly puffy. During the last 15 minutes of this second rise, preheat your oven to 180°C (350°F).
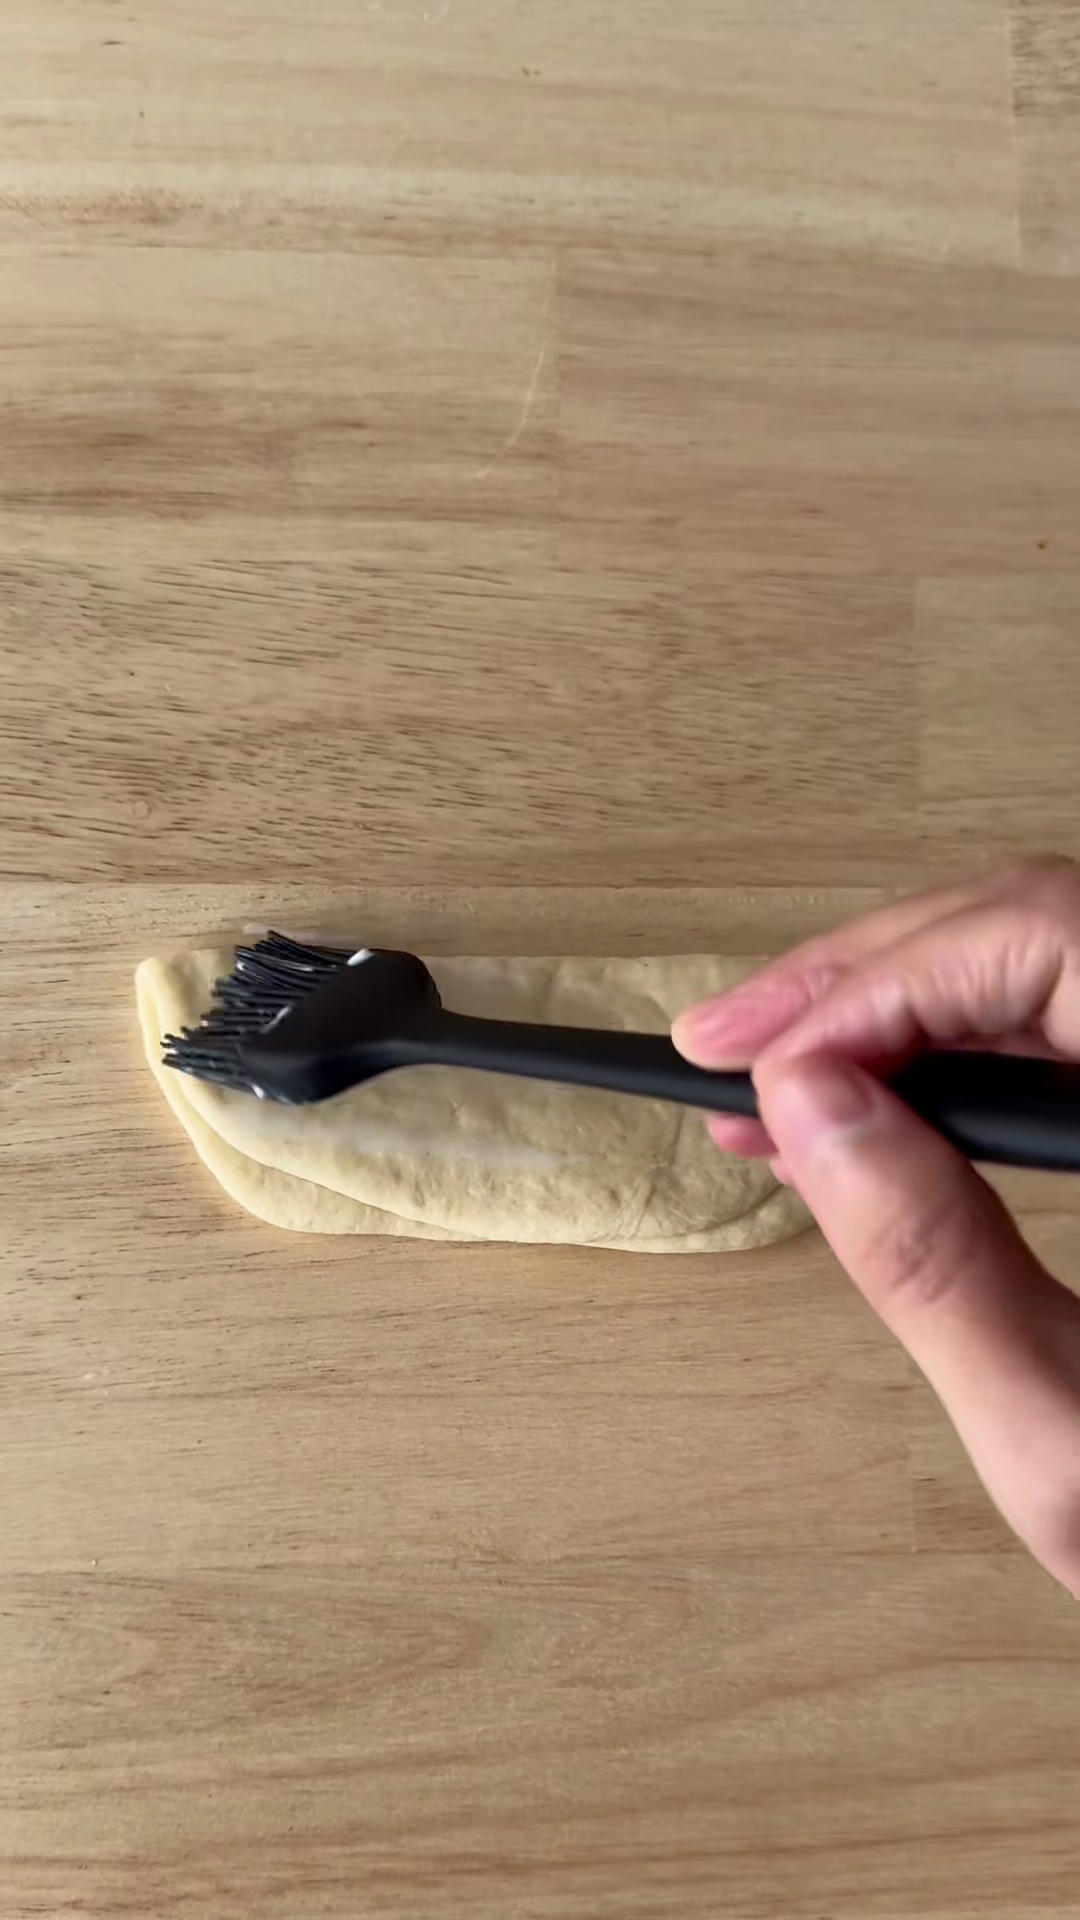
 - In a small bowl, whisk one egg with one tablespoon of water to create an egg wash. Lightly brush the tops of the risen buns with the egg wash, then generously sprinkle with the prepared Parmesan topping mixture. Bake the buns in the preheated oven for 20 to 25 minutes, or until they are golden brown on top and sound hollow when tapped on the bottom.25m
 Preview25mPreviewIn a small bowl, whisk one egg with one tablespoon of water to create an egg wash. Lightly brush the tops of the risen buns with the egg wash, then generously sprinkle with the prepared Parmesan topping mixture. Bake the buns in the preheated oven for 20 to 25 minutes, or until they are golden brown on top and sound hollow when tapped on the bottom.
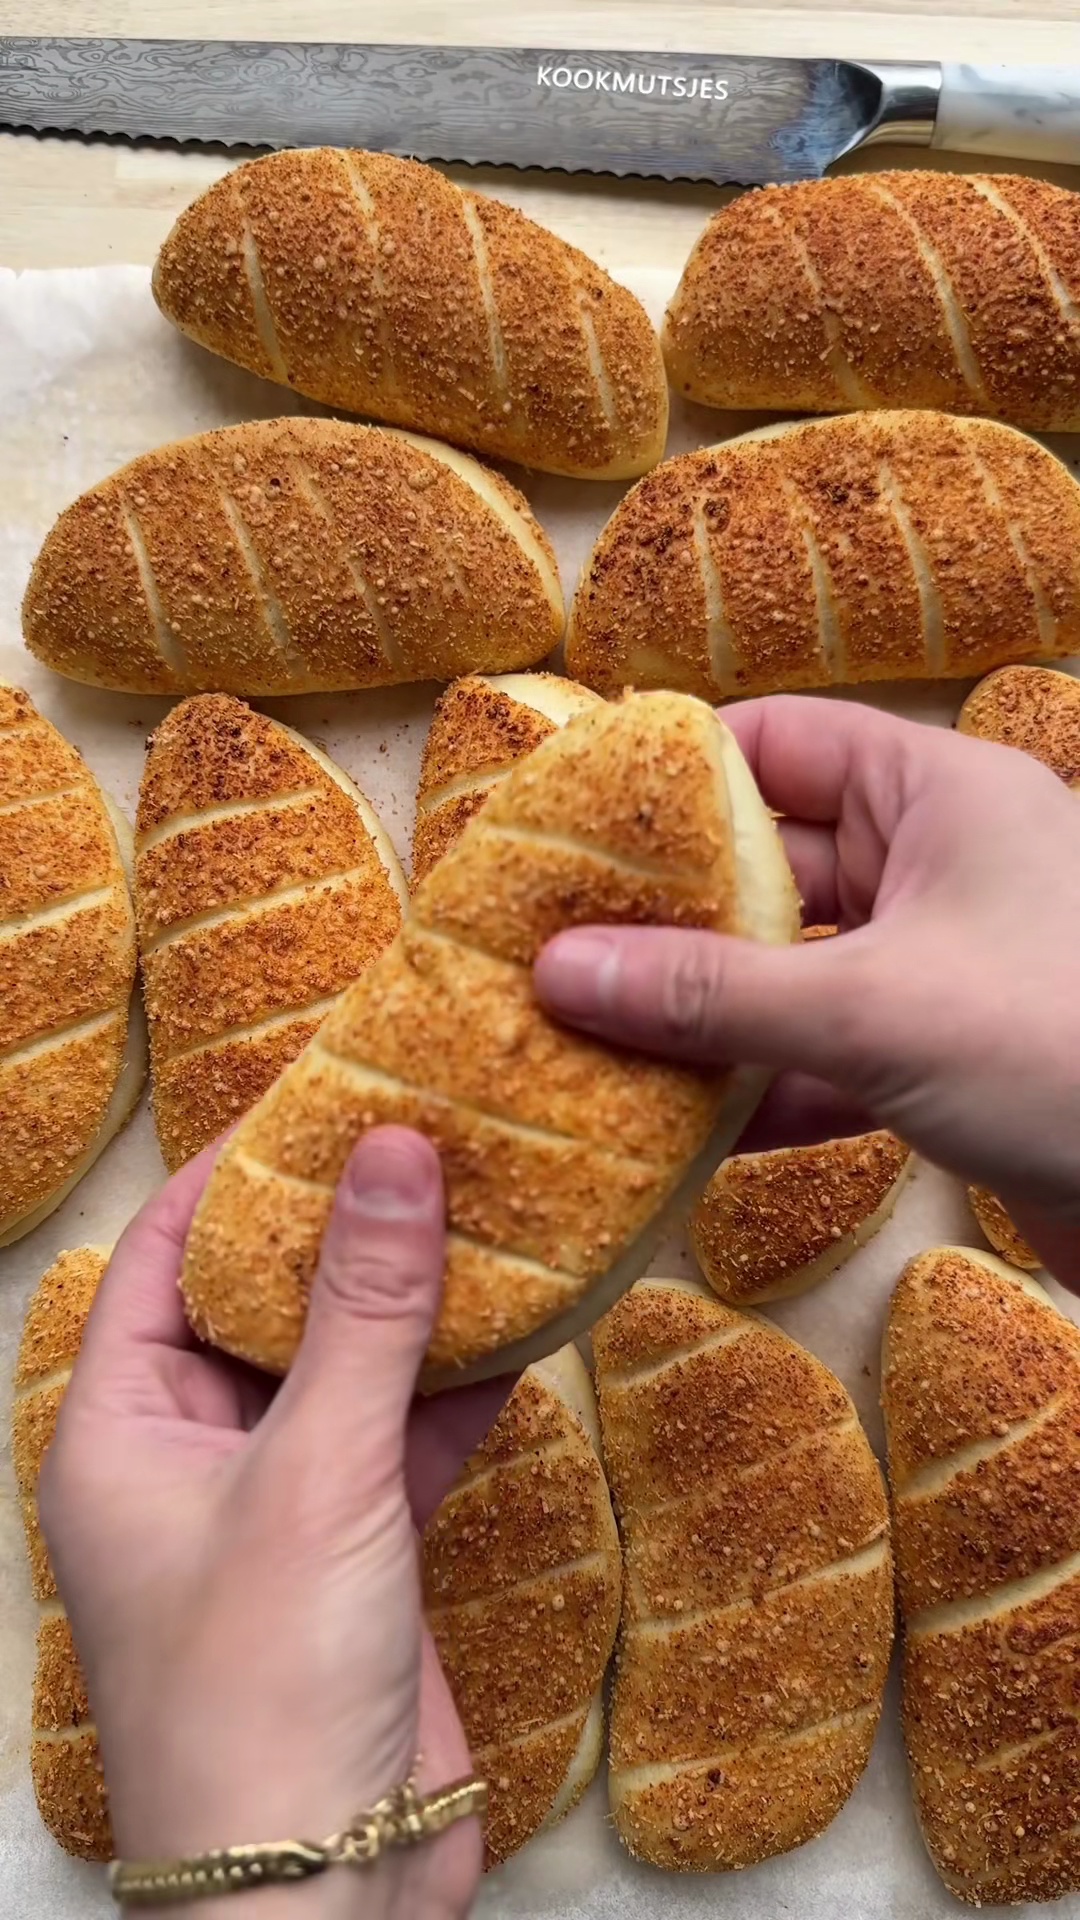
 - Once baked, carefully remove the Cheesy Dynamite Chicken Buns from the oven and transfer them to a wire rack to cool slightly for a few minutes before serving. These buns are best enjoyed warm, when the cheese is still gooey and the bread is soft.5m
 Preview5mPreviewOnce baked, carefully remove the Cheesy Dynamite Chicken Buns from the oven and transfer them to a wire rack to cool slightly for a few minutes before serving. These buns are best enjoyed warm, when the cheese is still gooey and the bread is soft.
💡 Tip: Click on any step to mark it as completed and track your cooking progress!