Back to Italian Recipes

Author:
thebackdough
TikTok
75K
1K
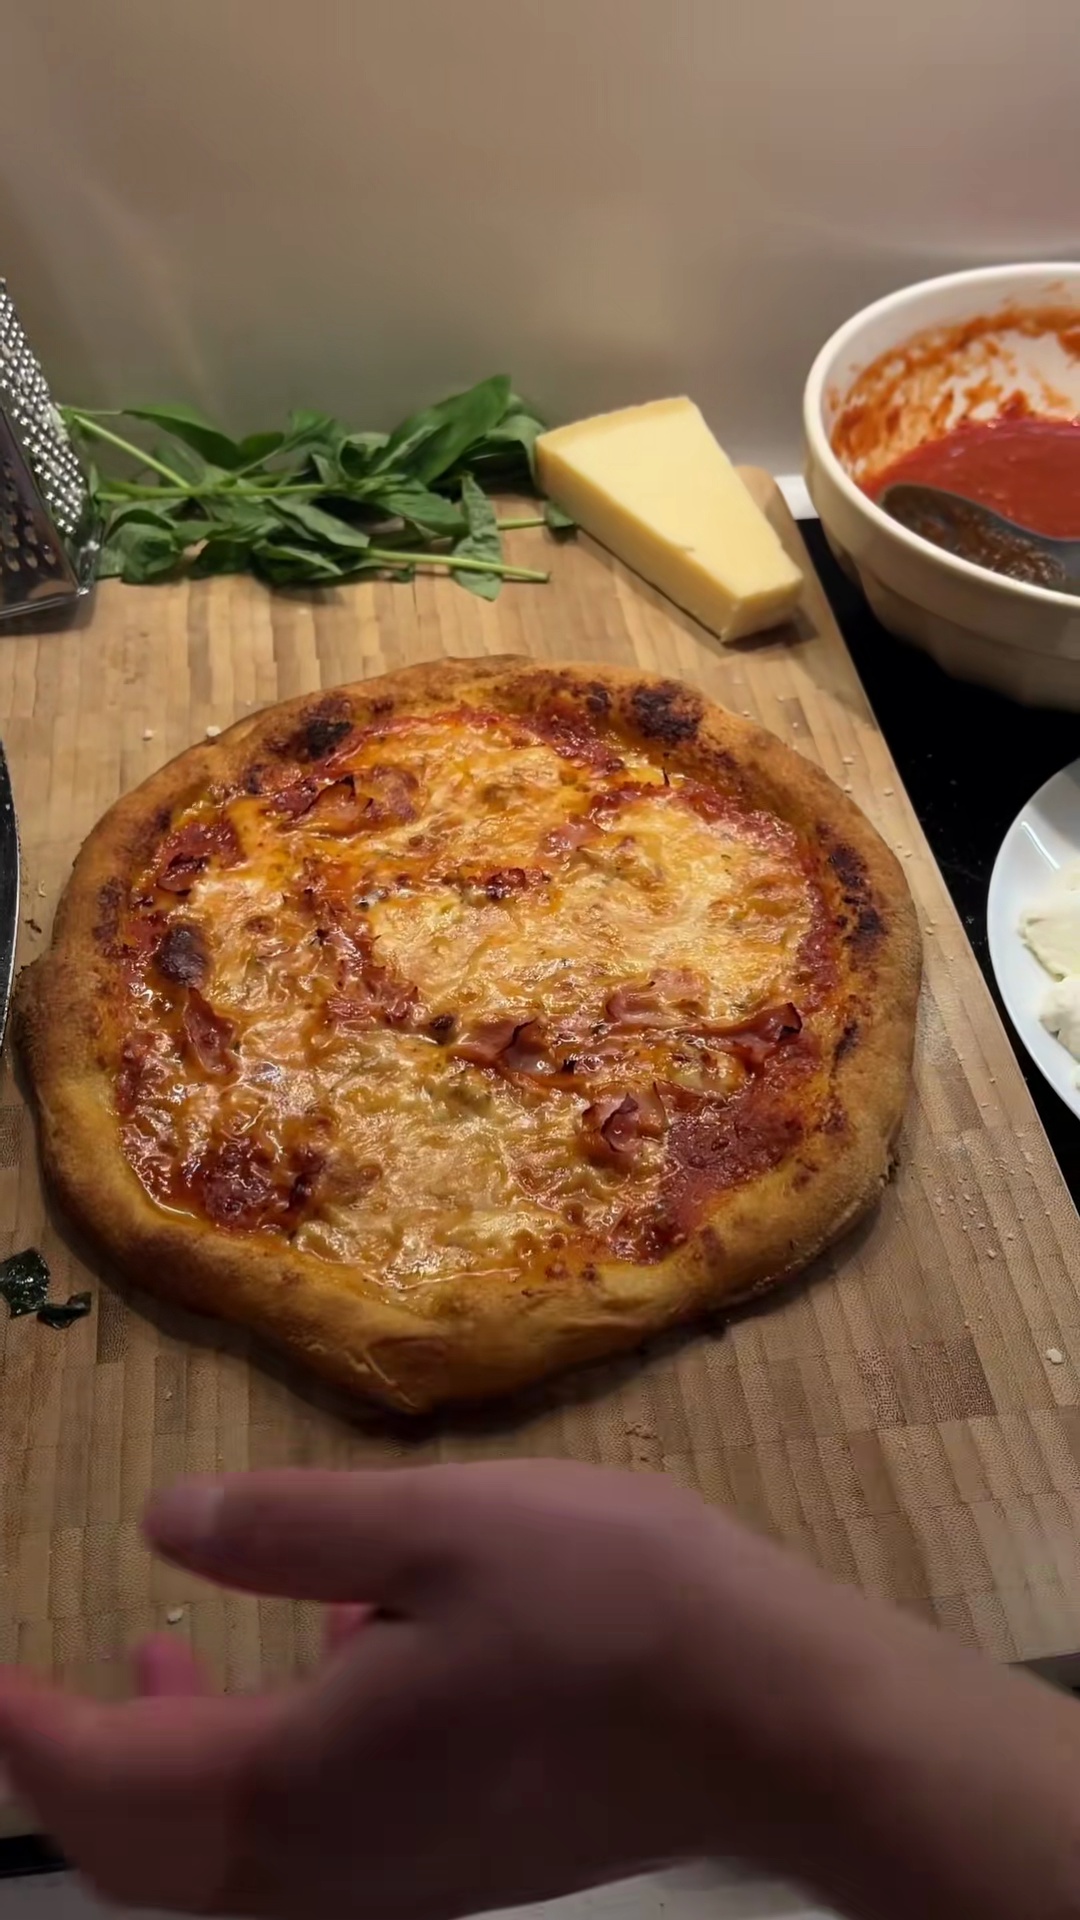
Classic Homemade Pizza Dough (for 4 Pizzas)
This recipe guides you through making a classic pizza dough from scratch, yielding four perfect dough balls ready for your next pizza night. It involves a mix of 00 flour, water, salt, and yeast, followed by kneading and a two-stage long fermentation process (12 hours each) at room temperature to develop a rich flavor and airy texture. The video focuses on the dough preparation steps, from mixing to portioning, ensuring you have a reliable base for delicious homemade pizzas.
#homemade pizza
#pizza dough
#pizza
#yeast dough
#baking
#Italian cuisine
#long fermentation
#foodtok
#pizzatok

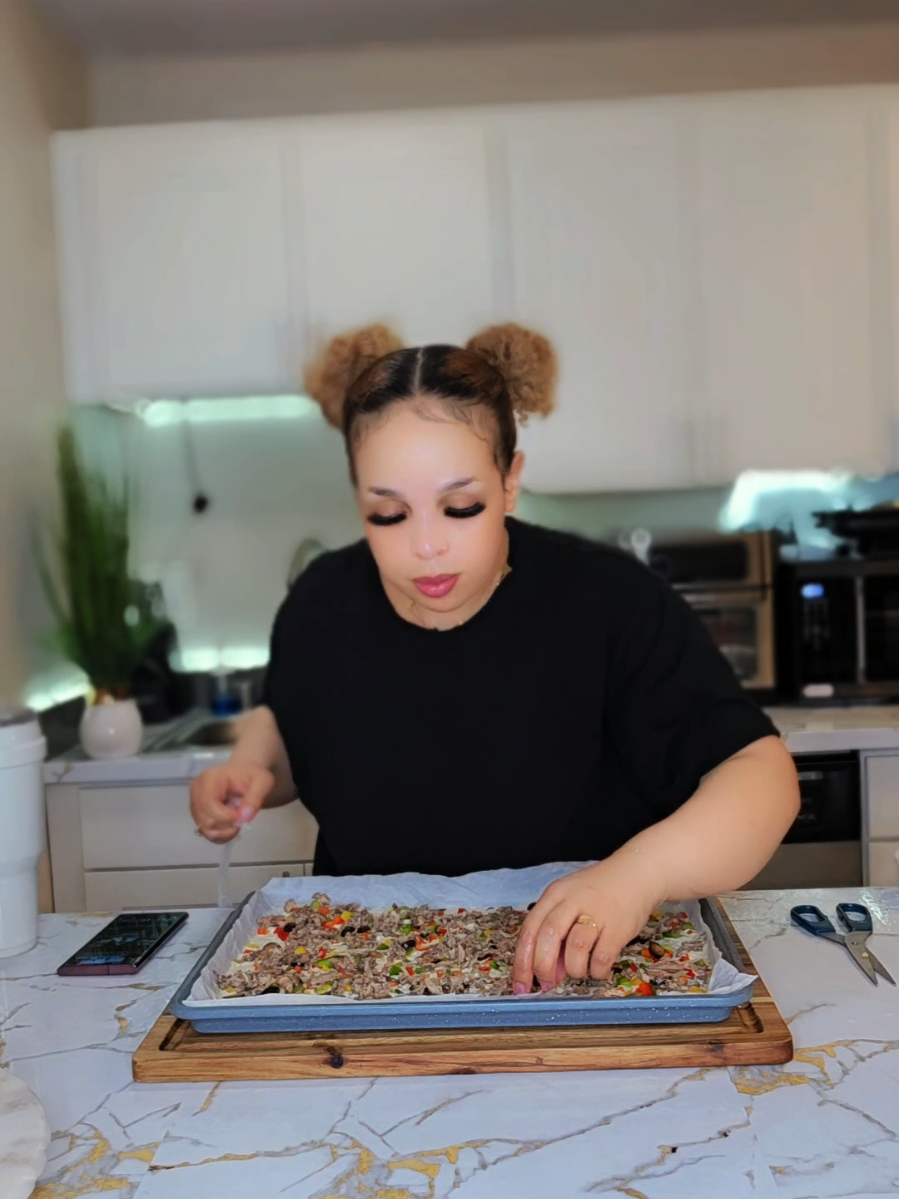
Initial mixing of ingredients
Recipe Information
35m
Prep Time
0m
Cook Time
24h 45m
Total Time
4
Servings
Medium
Italian
English
Nutrition (per serving)
502
Calories
17g
Protein
100g
Carbs
2g
Fat
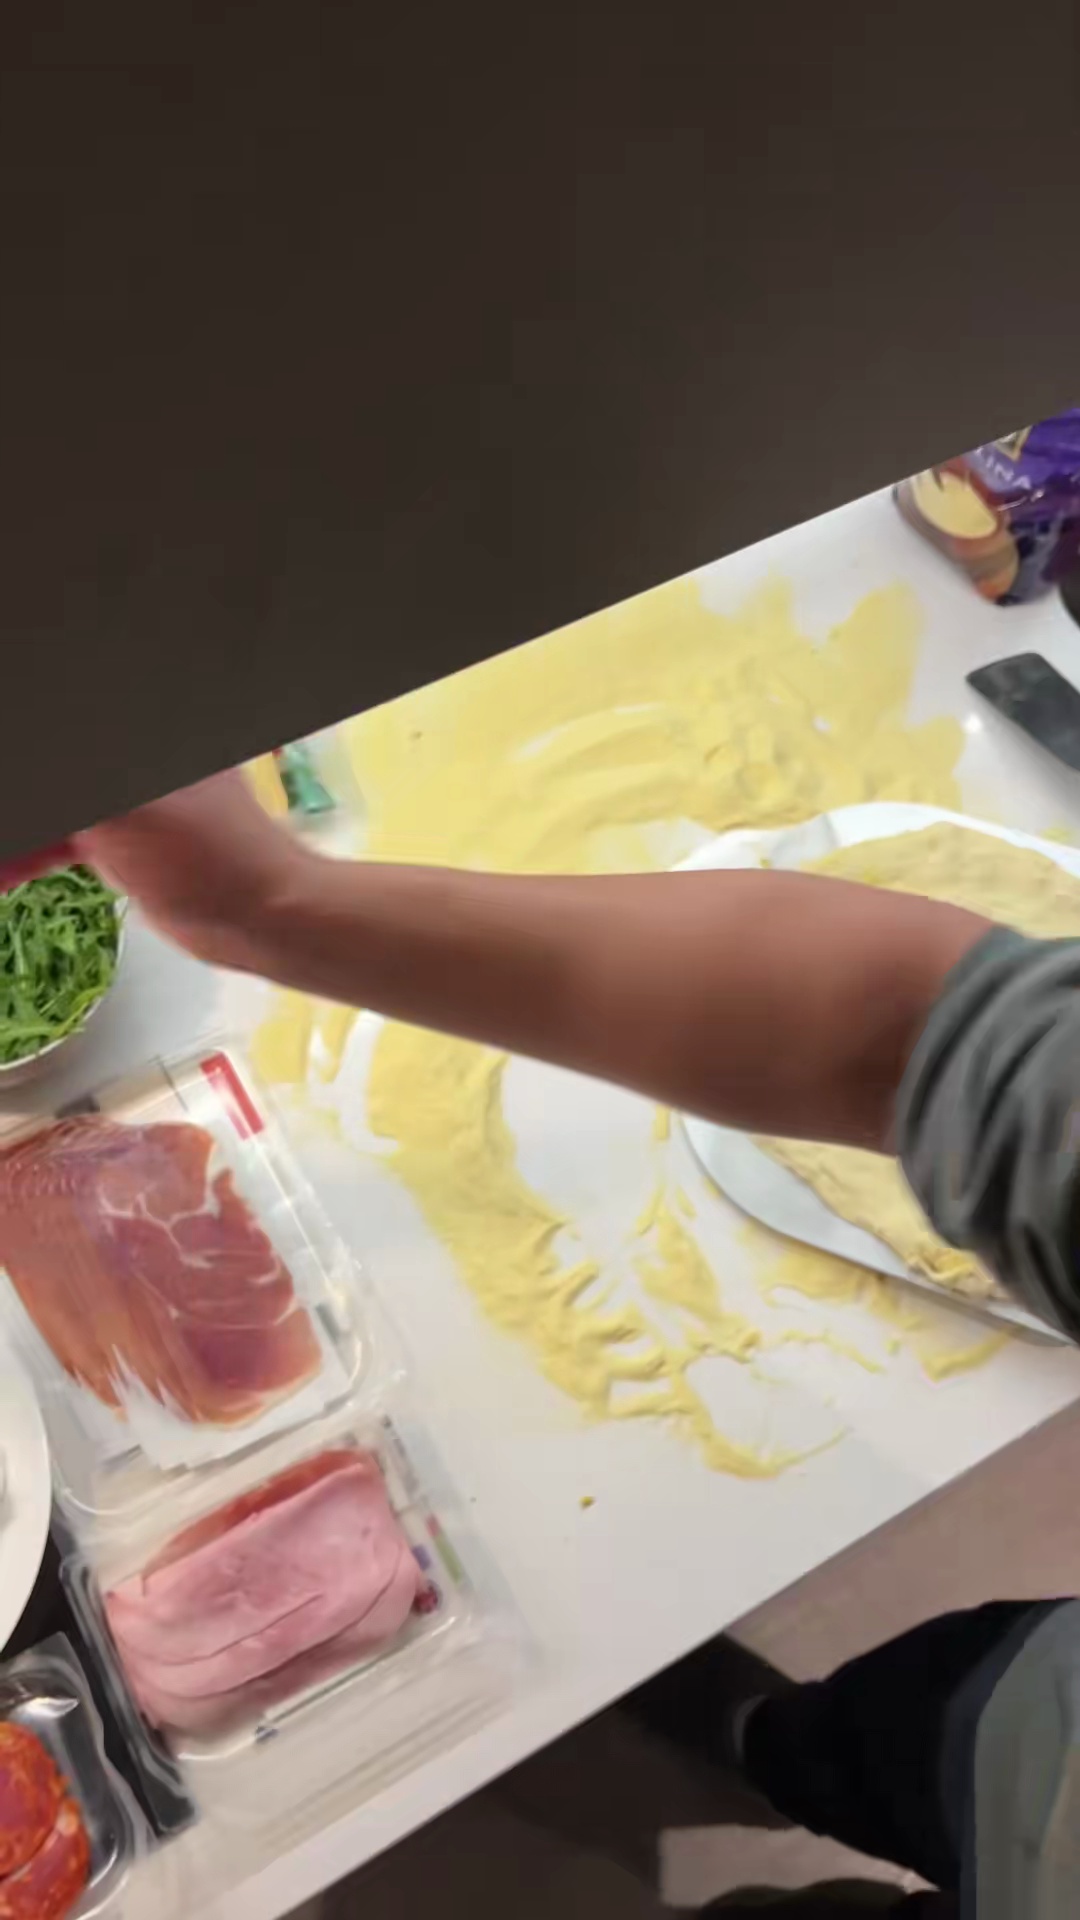
Dough during the kneading process
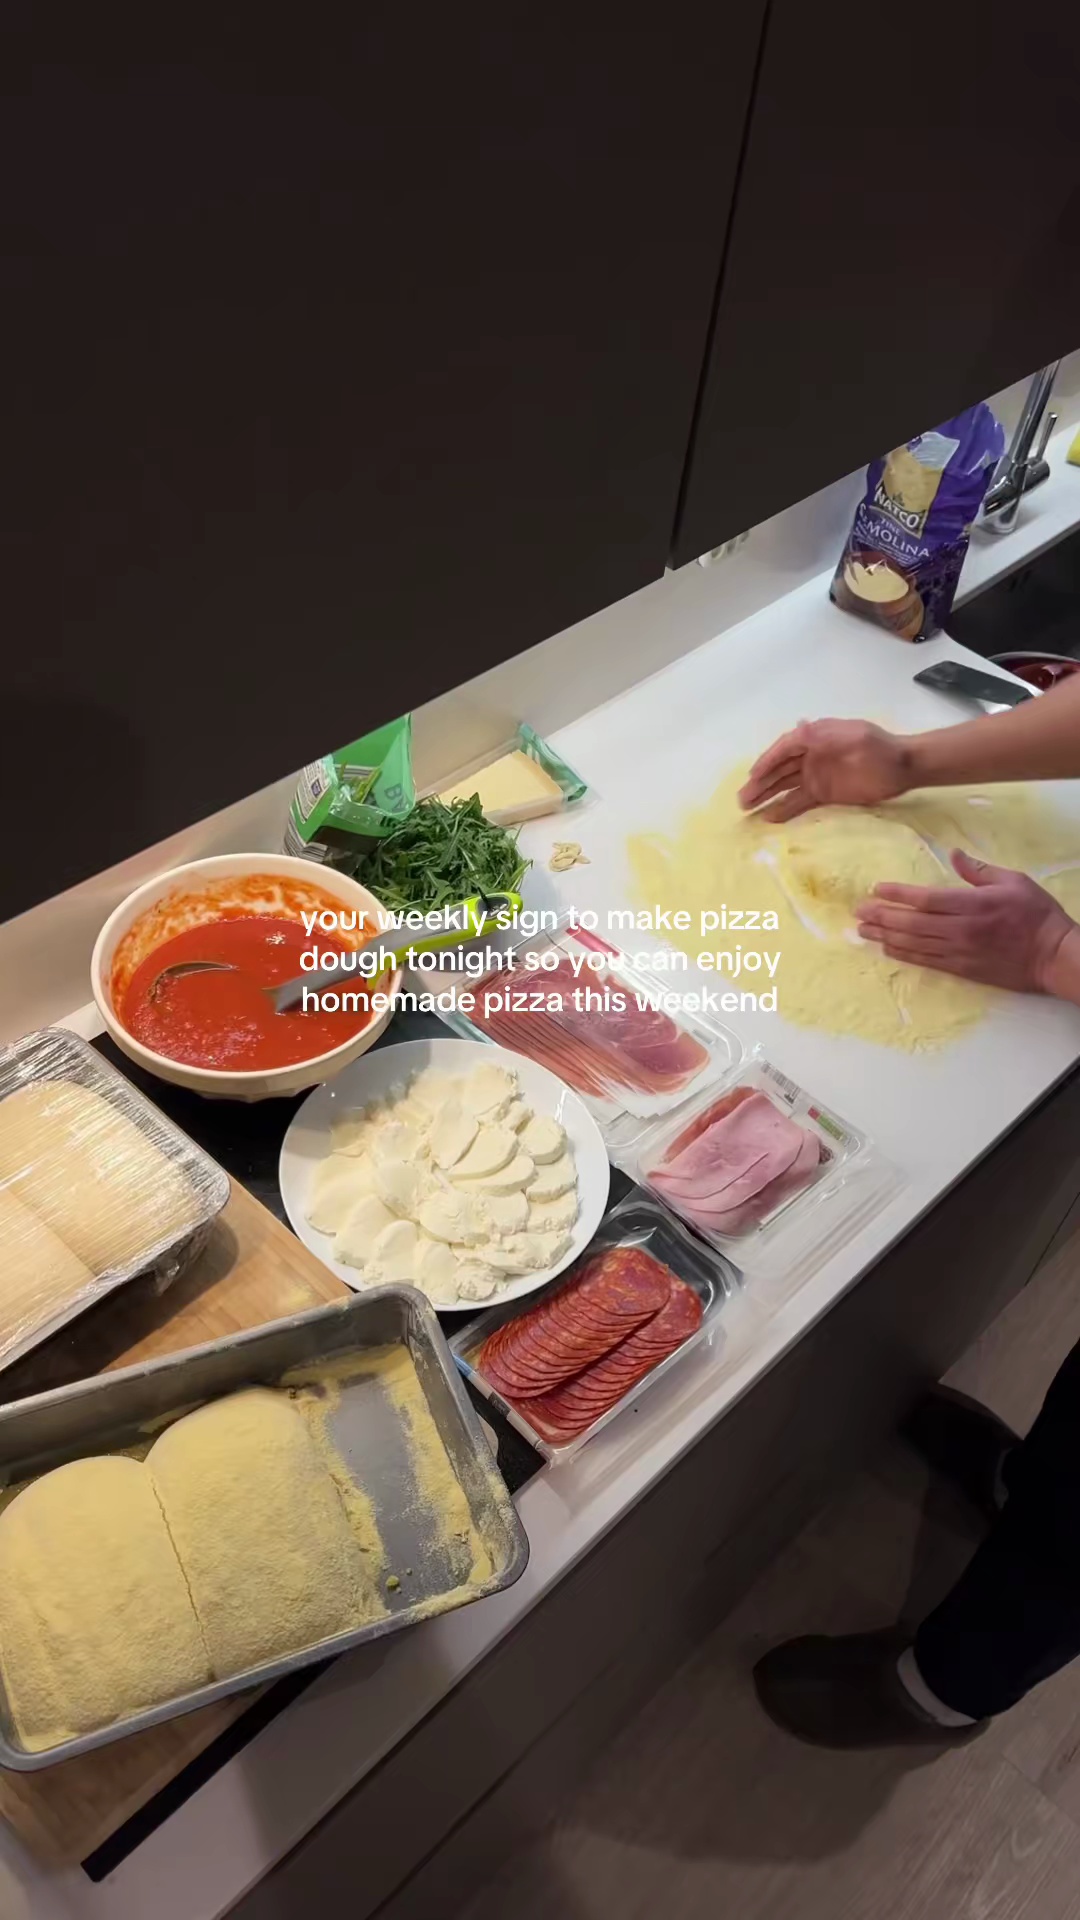
Ingredients
Servings: 4
💡 Tip: Check off ingredients as you add them to keep track of your progress!
Dough after the first rise and stretch and fold
Instructions
0/10 completed
0%
- In a large bowl, combine the water, yeast, and fine sea salt. Stir gently until the yeast and salt dissolve.1m
 Preview1mPreviewIn a large bowl, combine the water, yeast, and fine sea salt. Stir gently until the yeast and salt dissolve.
 - Add the 00 flour to the liquid mixture. Mix with your hands or a spoon until a shaggy, cohesive dough forms.2mPreview2mPreviewAdd the 00 flour to the liquid mixture. Mix with your hands or a spoon until a shaggy, cohesive dough forms.
- Cover the bowl with a clean cloth or plastic wrap and let the dough rest for 10 minutes. This allows the flour to fully hydrate.10m
 Preview10mPreviewCover the bowl with a clean cloth or plastic wrap and let the dough rest for 10 minutes. This allows the flour to fully hydrate.
 - Transfer the dough to a lightly floured surface and knead for approximately 20 minutes, until it becomes smooth and elastic.20m
 Preview20mPreviewTransfer the dough to a lightly floured surface and knead for approximately 20 minutes, until it becomes smooth and elastic.
 - Shape the kneaded dough into a smooth, round ball.2m
 Preview2mPreviewShape the kneaded dough into a smooth, round ball.
 - Lightly oil a large bowl, place the dough ball inside, and turn to coat. Cover with plastic wrap and let it rise at room temperature for 12 hours.12h
 Preview12hPreviewLightly oil a large bowl, place the dough ball inside, and turn to coat. Cover with plastic wrap and let it rise at room temperature for 12 hours.
 - After the first rise, gently remove the dough from the bowl. Perform a few stretch and folds to degas and strengthen the dough.2mPreview2mPreviewAfter the first rise, gently remove the dough from the bowl. Perform a few stretch and folds to degas and strengthen the dough.
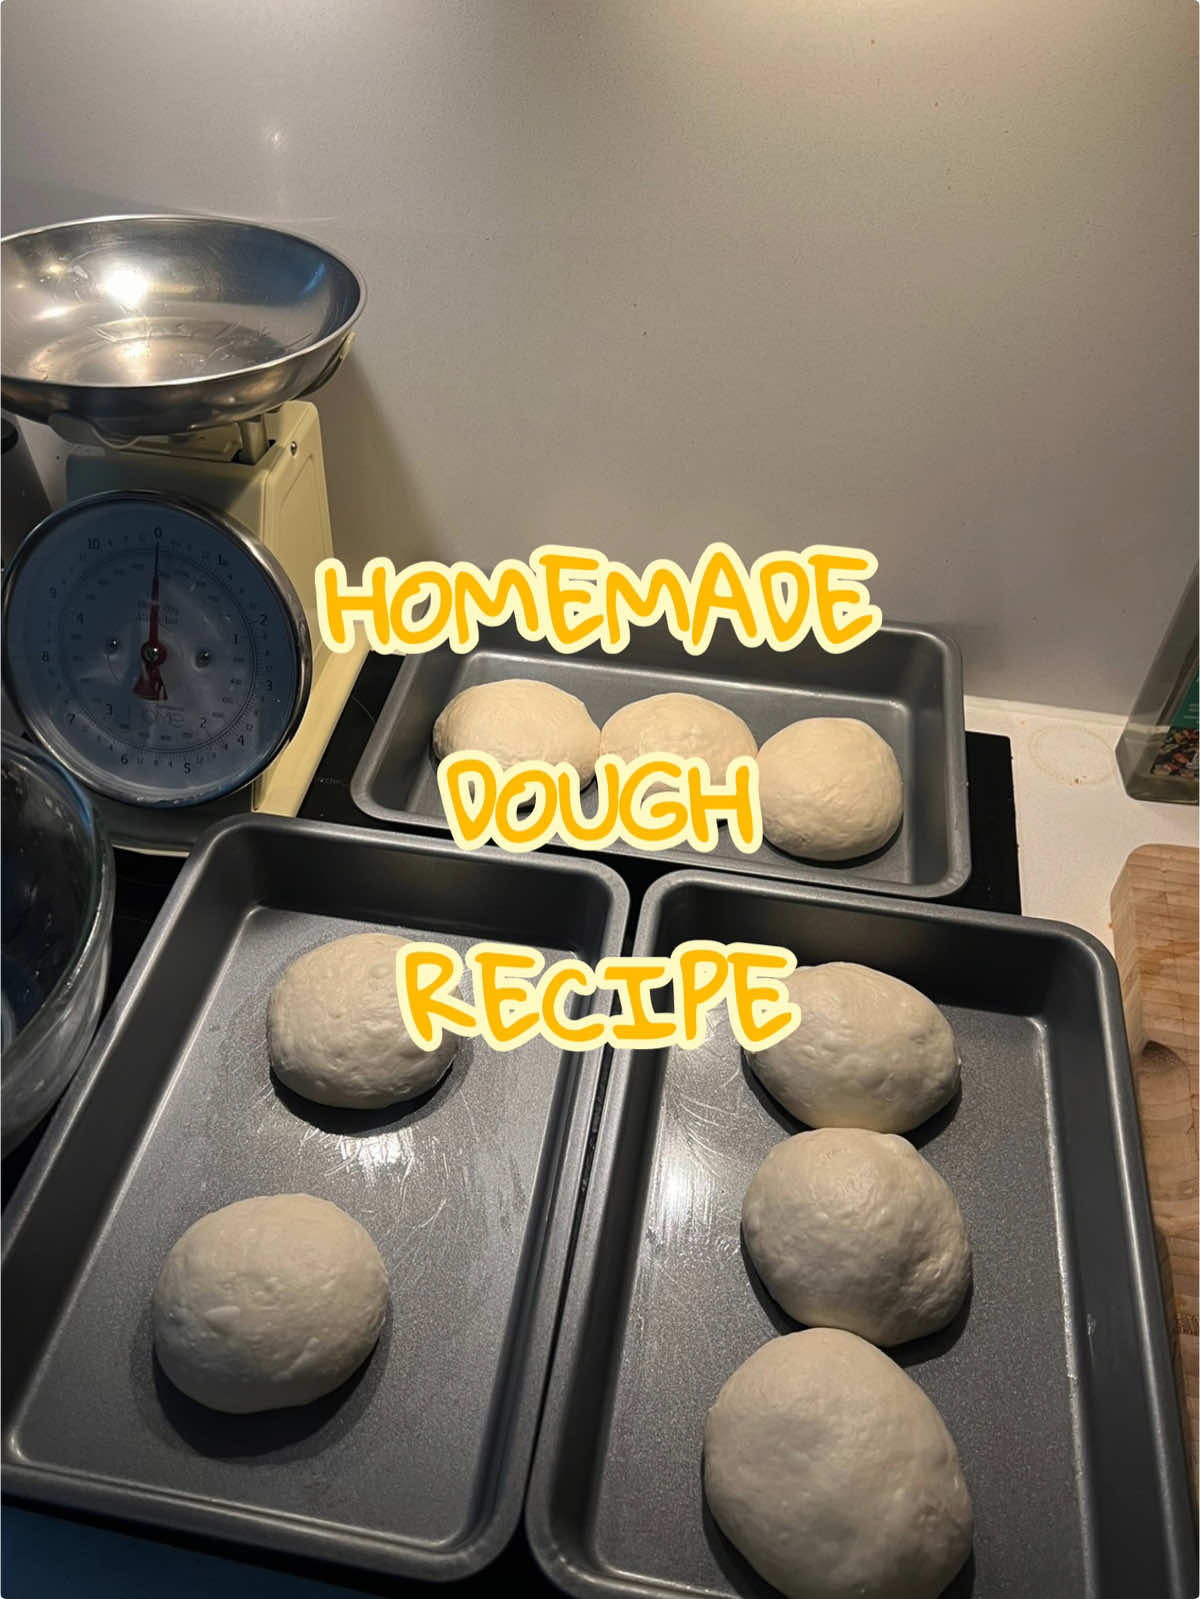
- Divide the dough into 4 equal portions, approximately 250g each, and gently shape each portion into a smooth ball.5m
 Preview5mPreviewDivide the dough into 4 equal portions, approximately 250g each, and gently shape each portion into a smooth ball.
 - Place each dough ball into individual containers or on a lightly floured tray, cover, and let rise for another 12 hours at room temperature.12hPreview12hPreviewPlace each dough ball into individual containers or on a lightly floured tray, cover, and let rise for another 12 hours at room temperature.
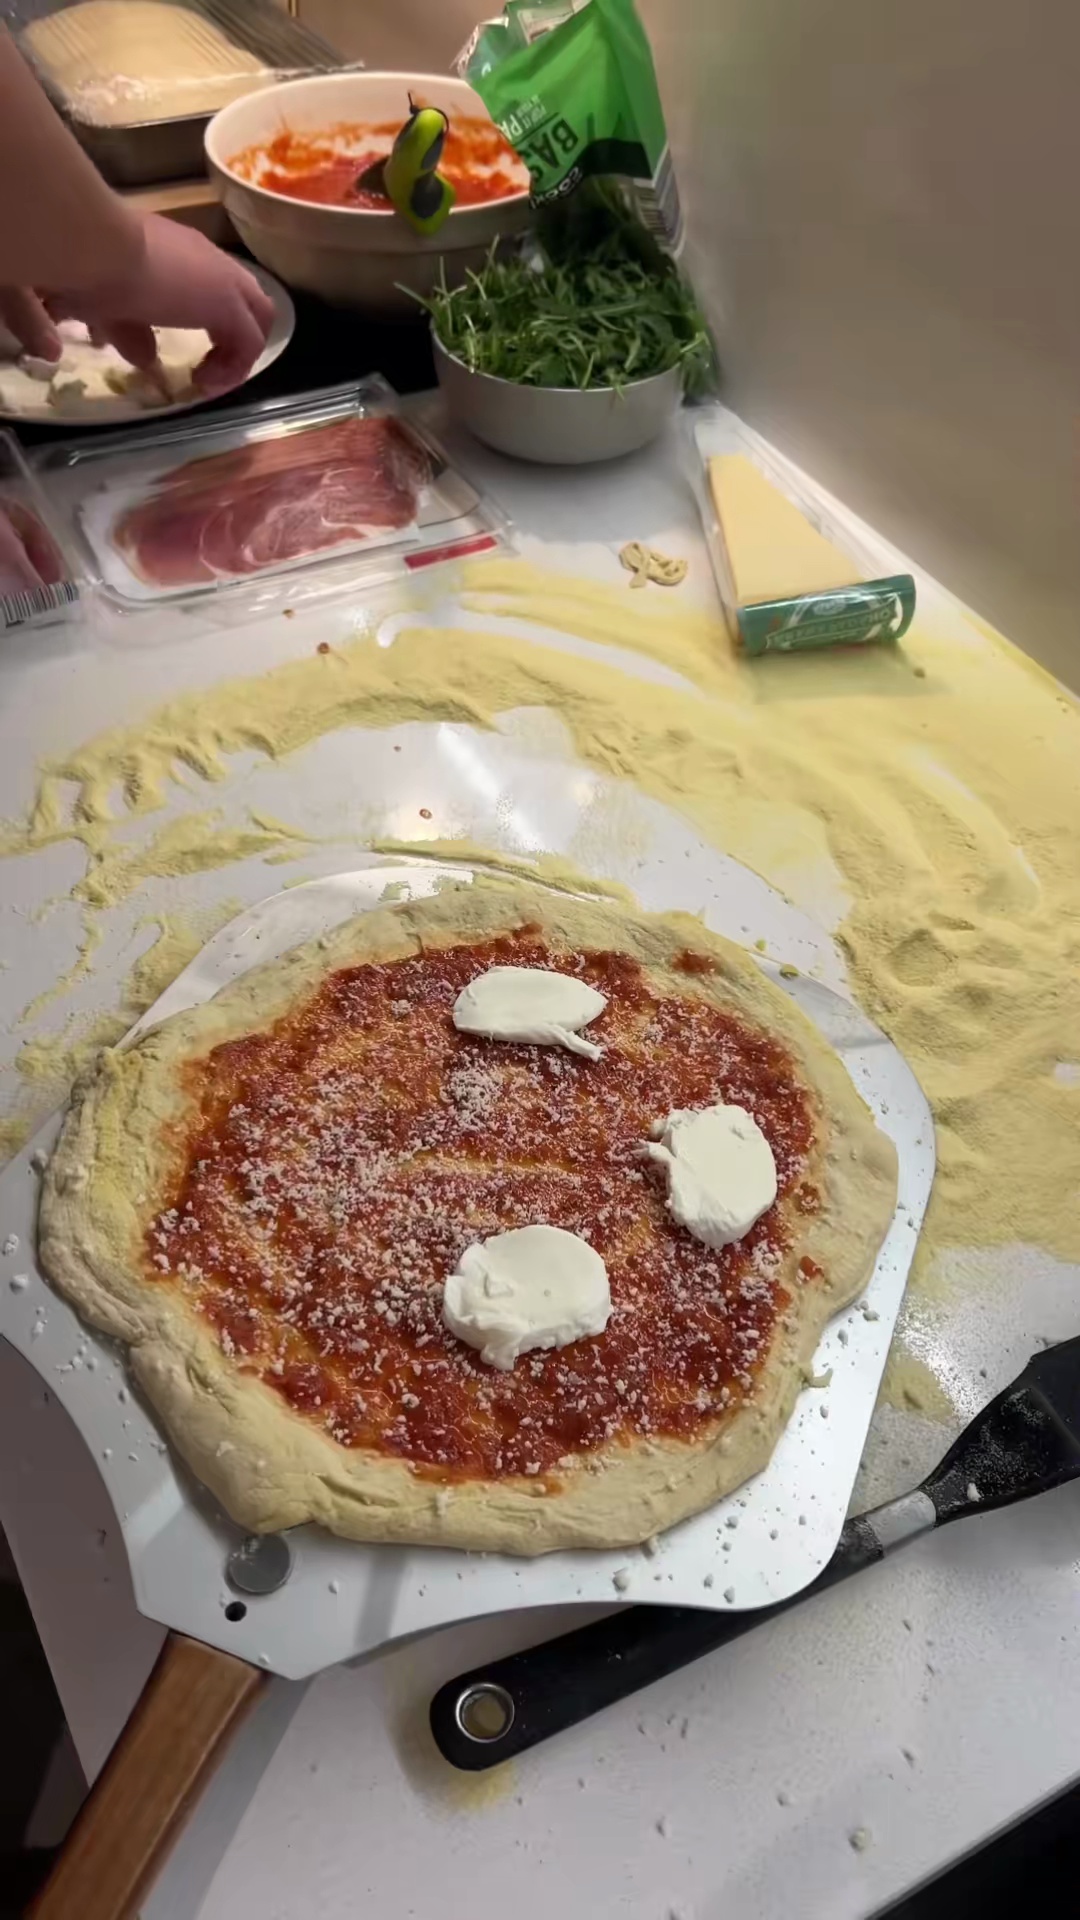
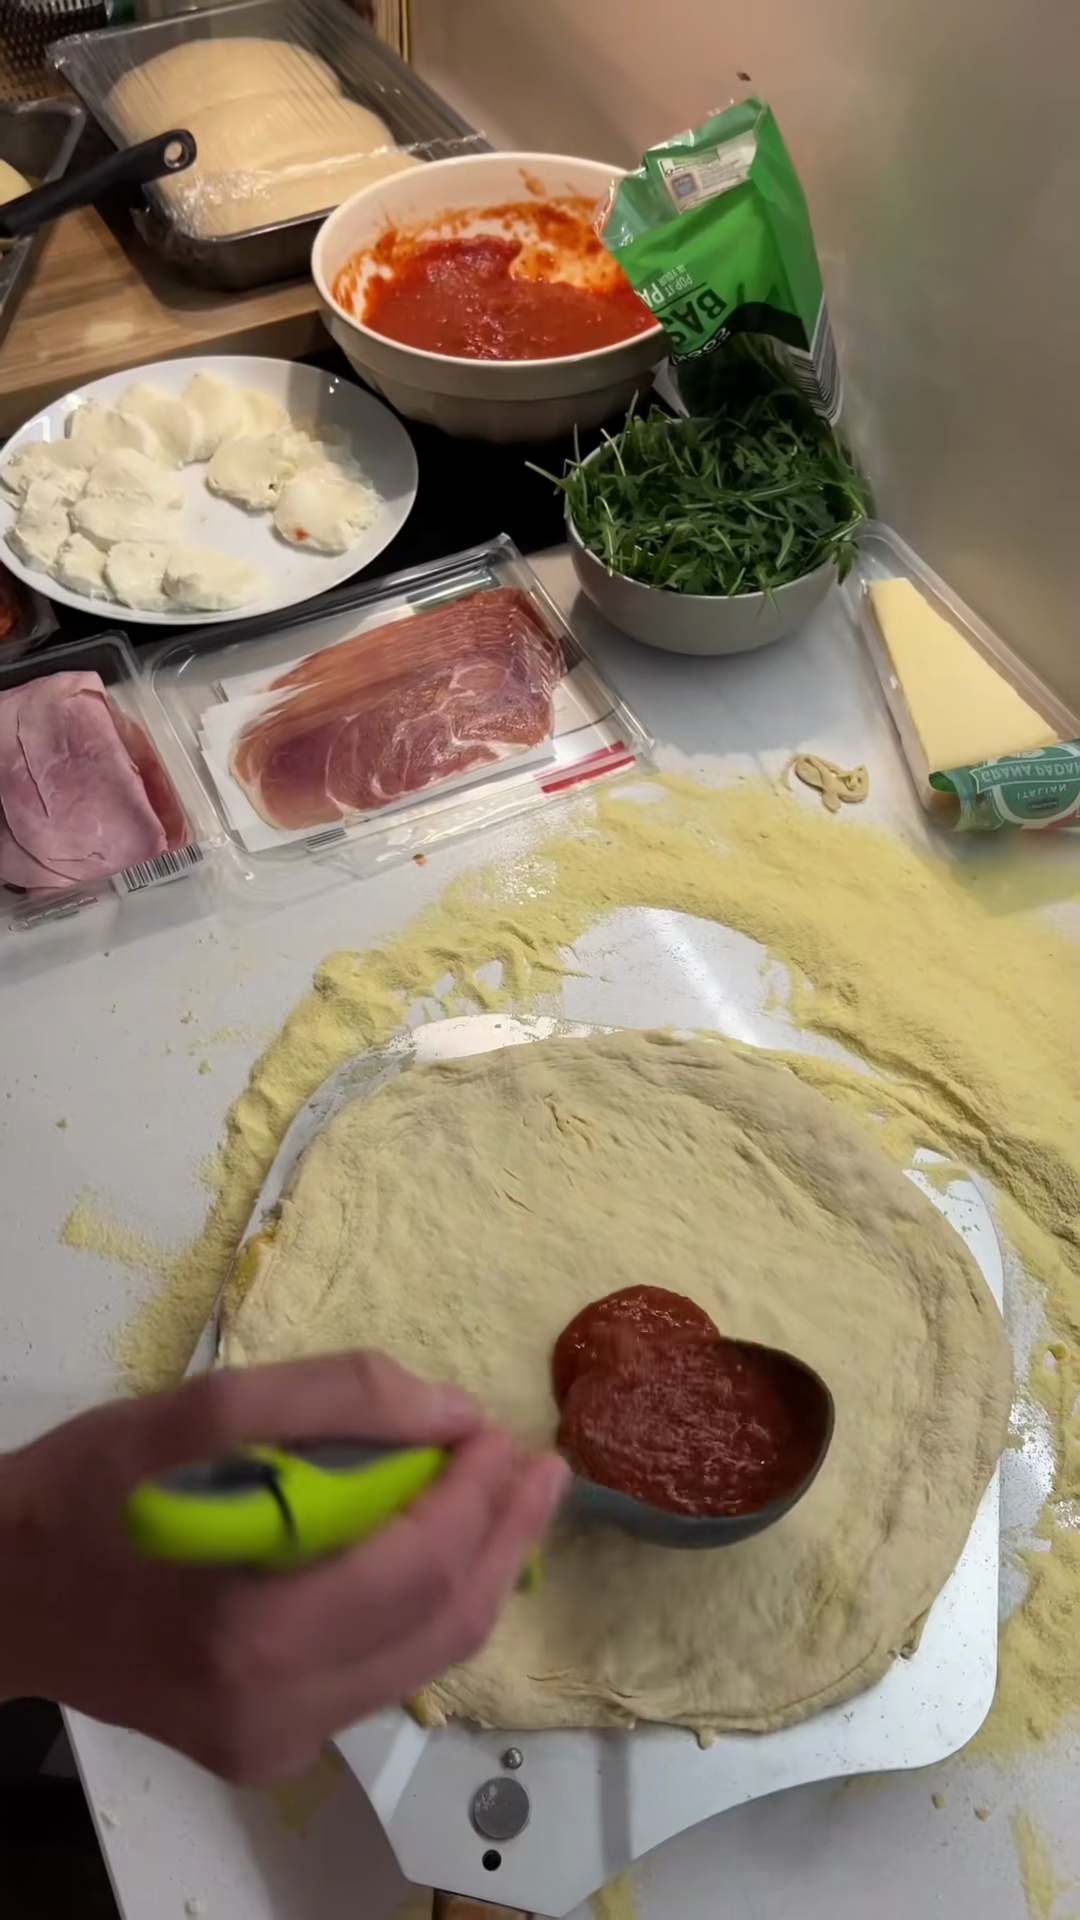
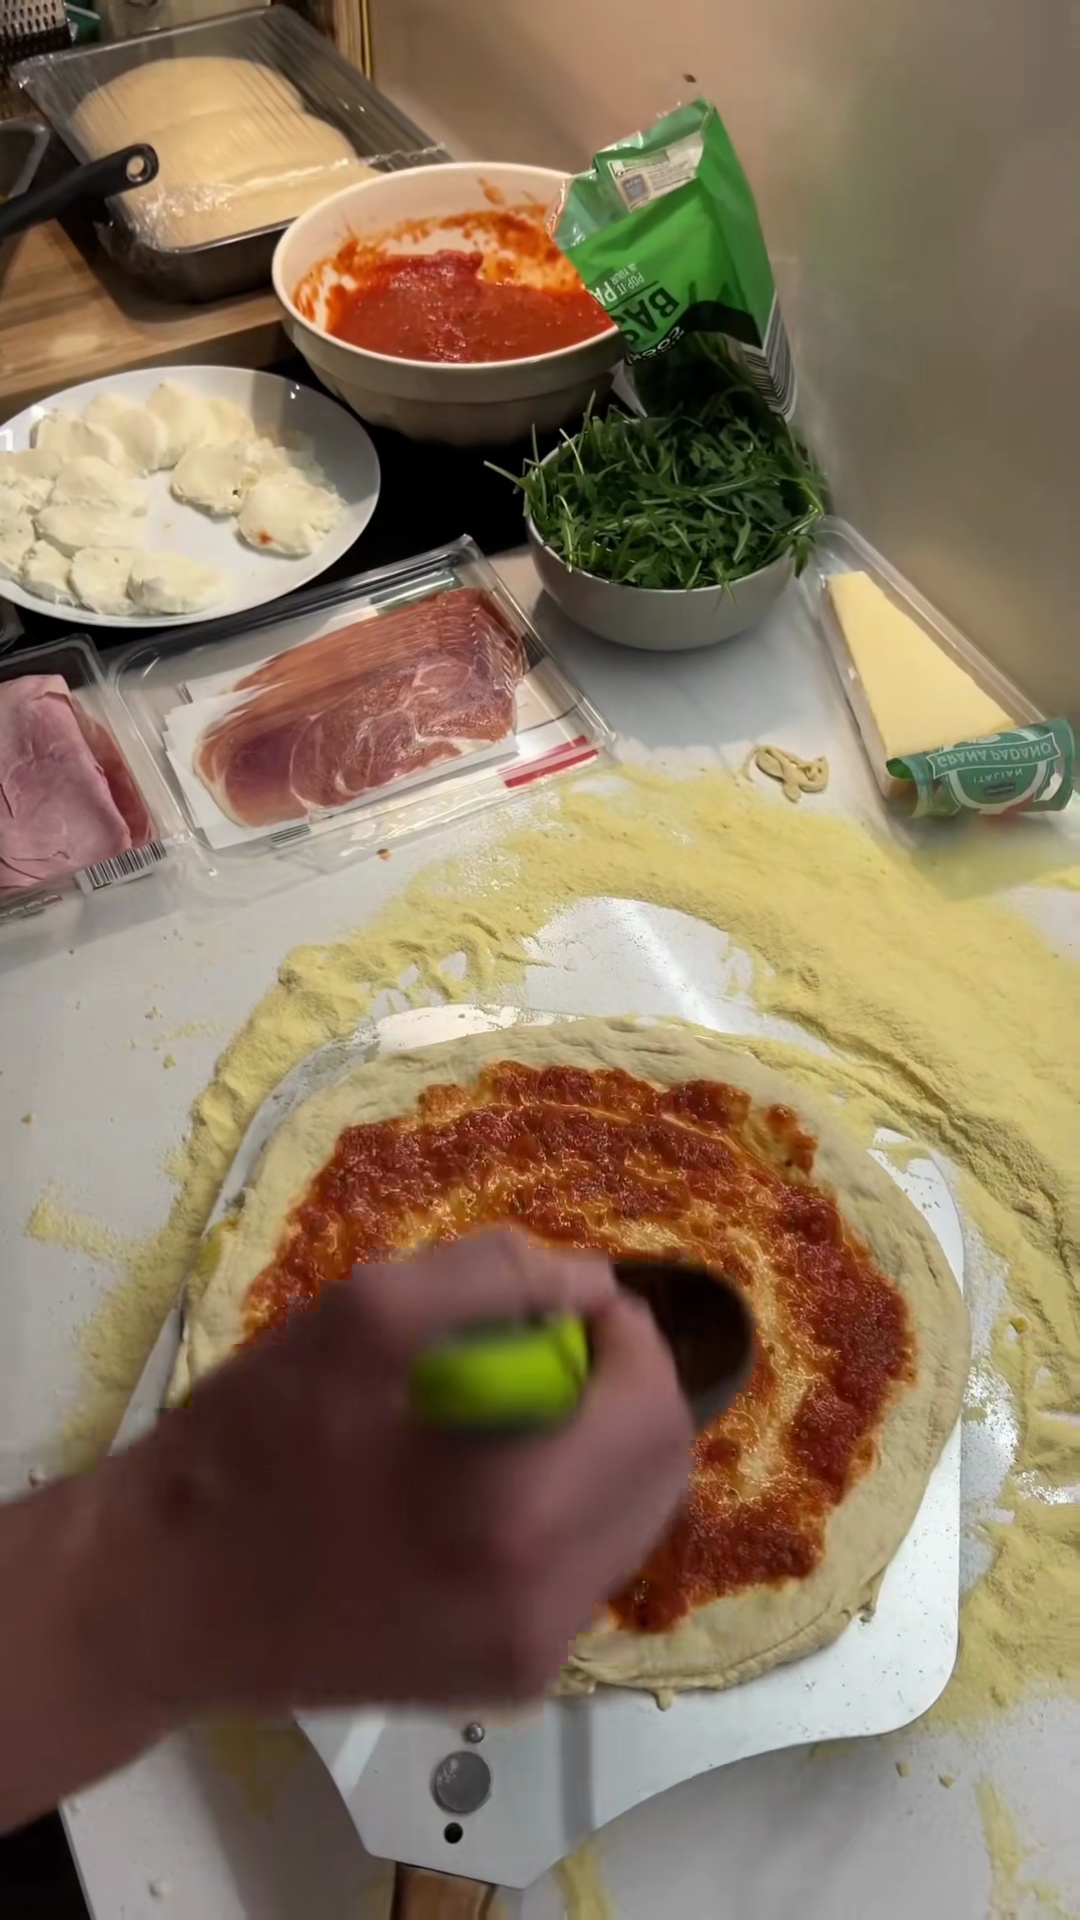
- Your pizza dough is now ready to be stretched, topped with your favorite ingredients, and baked. Enjoy your homemade pizza!1m
 Preview1mPreviewYour pizza dough is now ready to be stretched, topped with your favorite ingredients, and baked. Enjoy your homemade pizza!
💡 Tip: Click on any step to mark it as completed and track your cooking progress!