Back to Indian Recipes

Author:
dua.mother.kitche
TikTok
239K
5K
Delicious Homemade Wheat Flour Halwa: Mom's Traditional Sweet Treat
Learn how to make traditional homemade wheat flour halwa with this loving recipe, a comforting sweet passed down from mother. This rich, aromatic dessert is perfect for any occasion, reminding you of authentic homemade flavors. Follow these simple steps to recreate a classic Indian sweet.
#Dessert
#Sweet
#Halwa
#Indian Cuisine
#Traditional
#Easy Recipe
#Homemade
#Wheat Flour

Ingredients for Halwa
Recipe Information
5m
Prep Time
30m
Cook Time
35m
Total Time
4
Servings
Medium
Indian
English
Nutrition (per serving)
448
Calories
4g
Protein
46g
Carbs
29g
Fat
Roasting Wheat Flour in Ghee
Ingredients
advertisement
Servings: 4
💡 Tip: Check off ingredients as you add them to keep track of your progress!
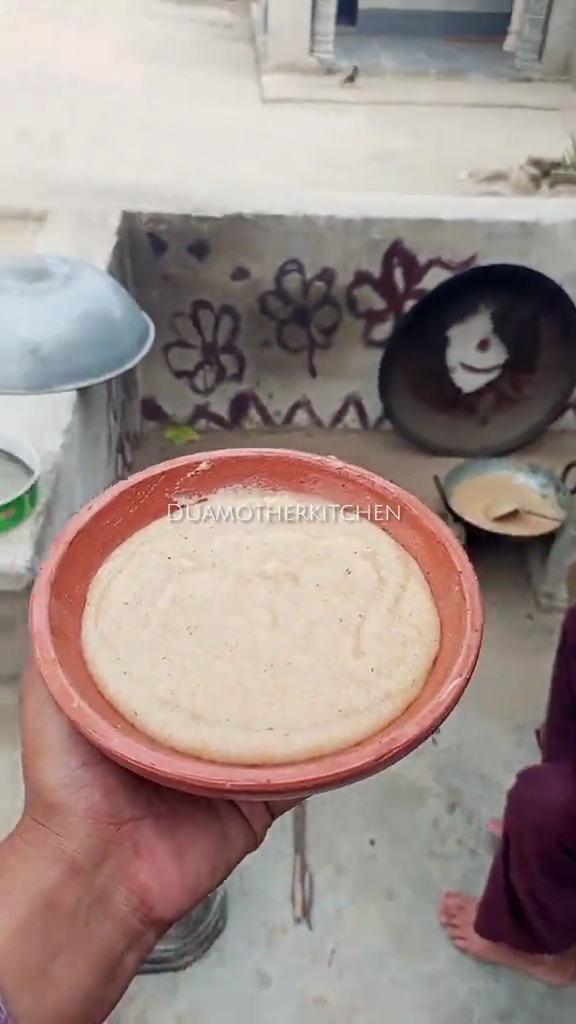
Halwa Cooking in Pan
Instructions
0/7 completed
0%
- Melt ghee in a heavy-bottomed pan or kadai over medium heat.1m
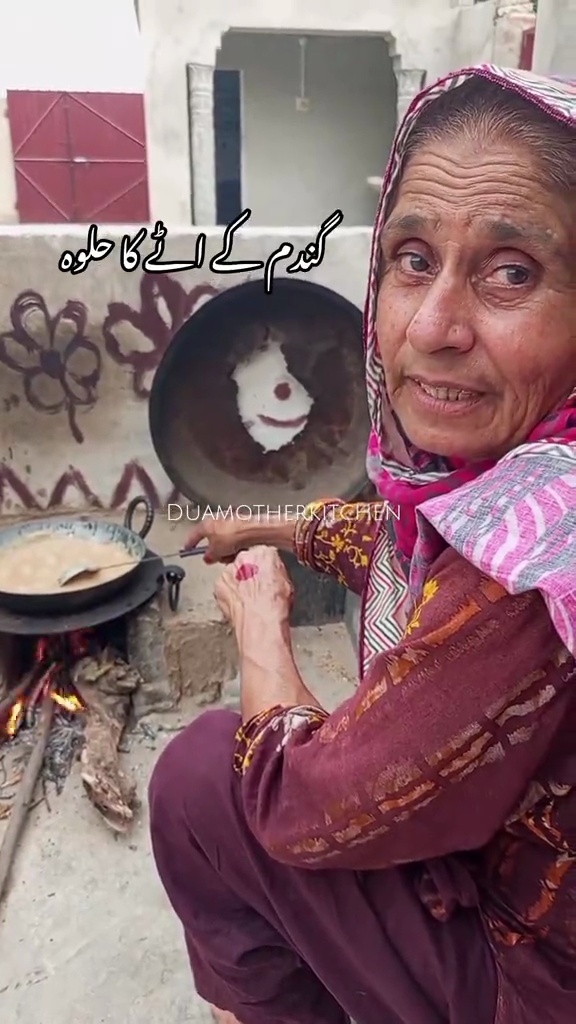 Preview1mPreviewMelt ghee in a heavy-bottomed pan or kadai over medium heat.
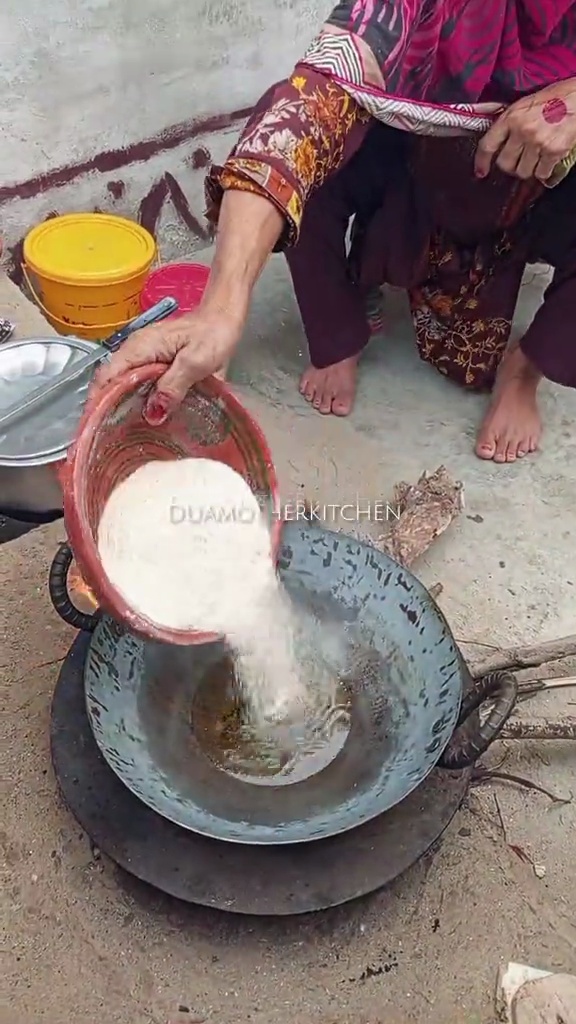
 - Add wheat flour to the melted ghee. Stir constantly and roast on low heat for about 5-7 minutes until it starts to turn light golden.7m
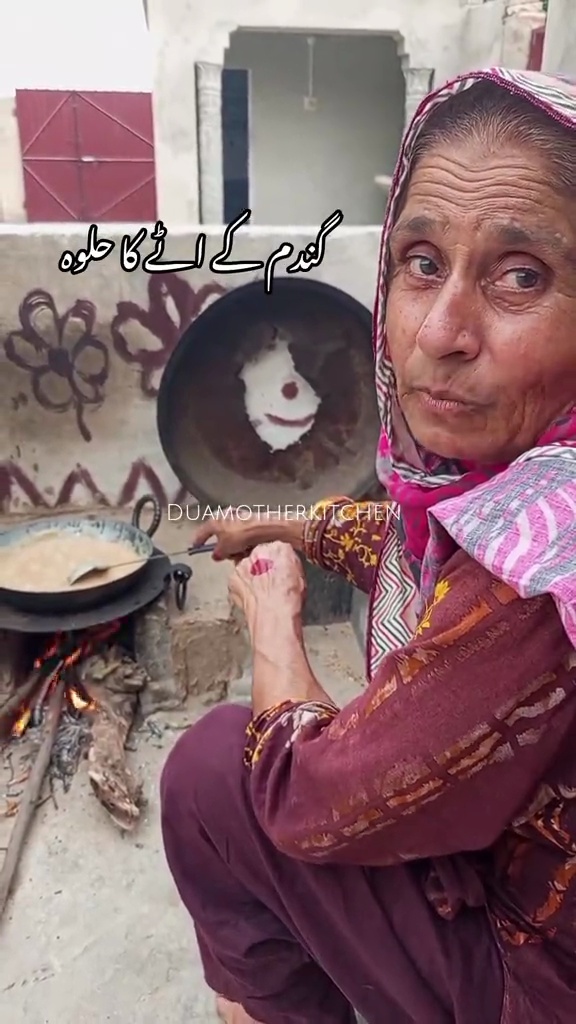 Preview7mPreviewAdd wheat flour to the melted ghee. Stir constantly and roast on low heat for about 5-7 minutes until it starts to turn light golden.
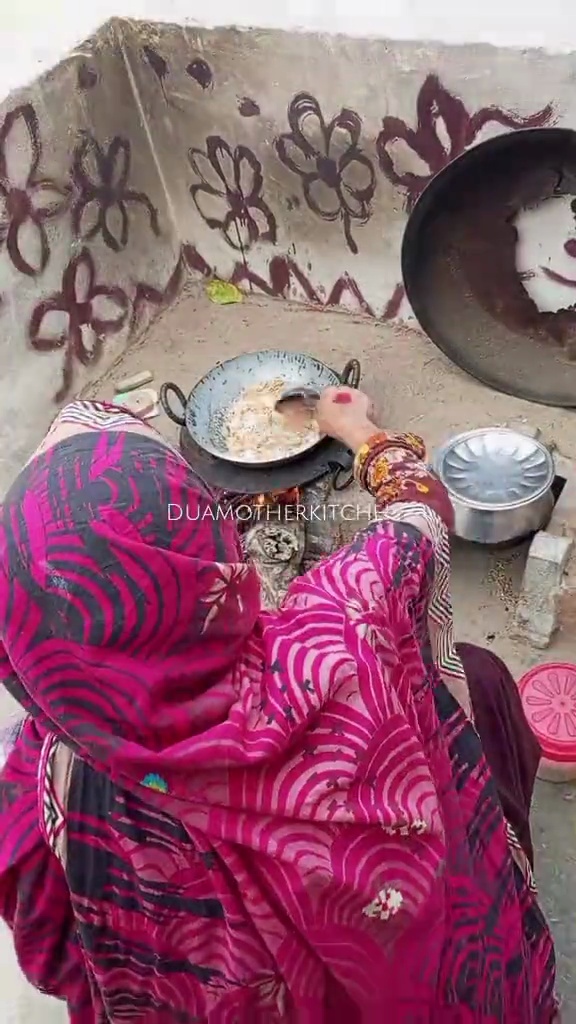
 - Continue roasting the flour, stirring well, for another 8-10 minutes until it reaches a rich golden brown color and releases a fragrant, nutty aroma.9m
 Preview9mPreviewContinue roasting the flour, stirring well, for another 8-10 minutes until it reaches a rich golden brown color and releases a fragrant, nutty aroma.
 - In a separate saucepan, combine water and sugar. Bring the mixture to a boil over medium heat, stirring until the sugar completely dissolves, creating a sugar syrup.5m
 Preview5mPreviewIn a separate saucepan, combine water and sugar. Bring the mixture to a boil over medium heat, stirring until the sugar completely dissolves, creating a sugar syrup.
 - Carefully and gradually pour the hot sugar syrup into the roasted flour mixture while continuously stirring vigorously to prevent lumps. The mixture will sizzle and thicken.2m
 Preview2mPreviewCarefully and gradually pour the hot sugar syrup into the roasted flour mixture while continuously stirring vigorously to prevent lumps. The mixture will sizzle and thicken.
 - Continue cooking and stirring the halwa on low to medium heat until it thickens, absorbs all the liquid, and starts separating from the sides of the pan.5m
 Preview5mPreviewContinue cooking and stirring the halwa on low to medium heat until it thickens, absorbs all the liquid, and starts separating from the sides of the pan.
 - Transfer the halwa to a serving dish. Garnish with sliced almonds before serving warm.1m
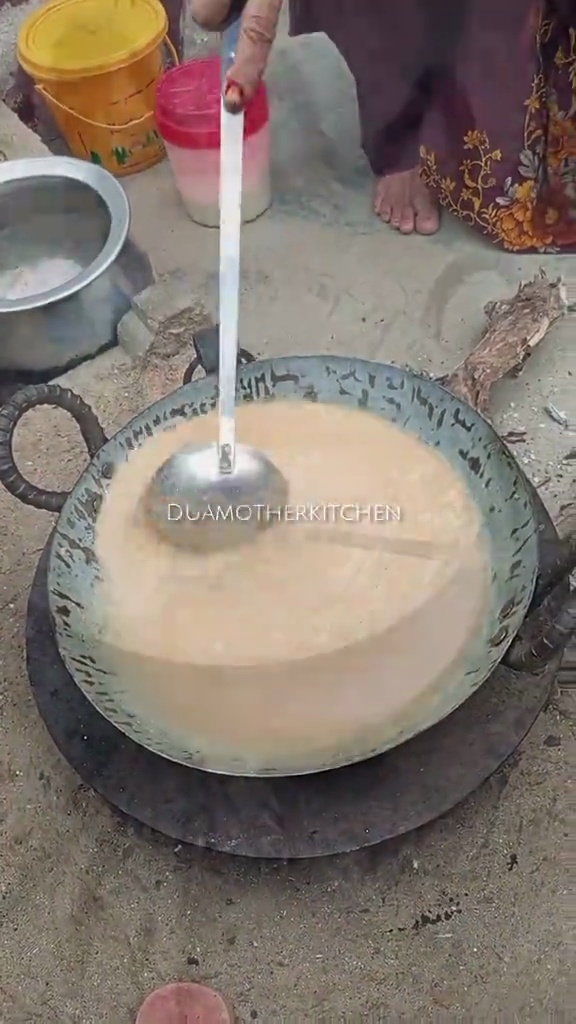 Preview1mPreviewTransfer the halwa to a serving dish. Garnish with sliced almonds before serving warm.
advertisement
advertisement
💡 Tip: Click on any step to mark it as completed and track your cooking progress!