Back to Italian Recipes

Author:
foodblog97
TikTok
2K
130
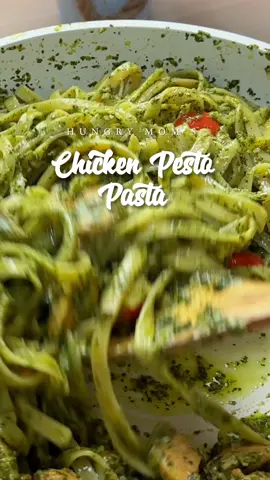
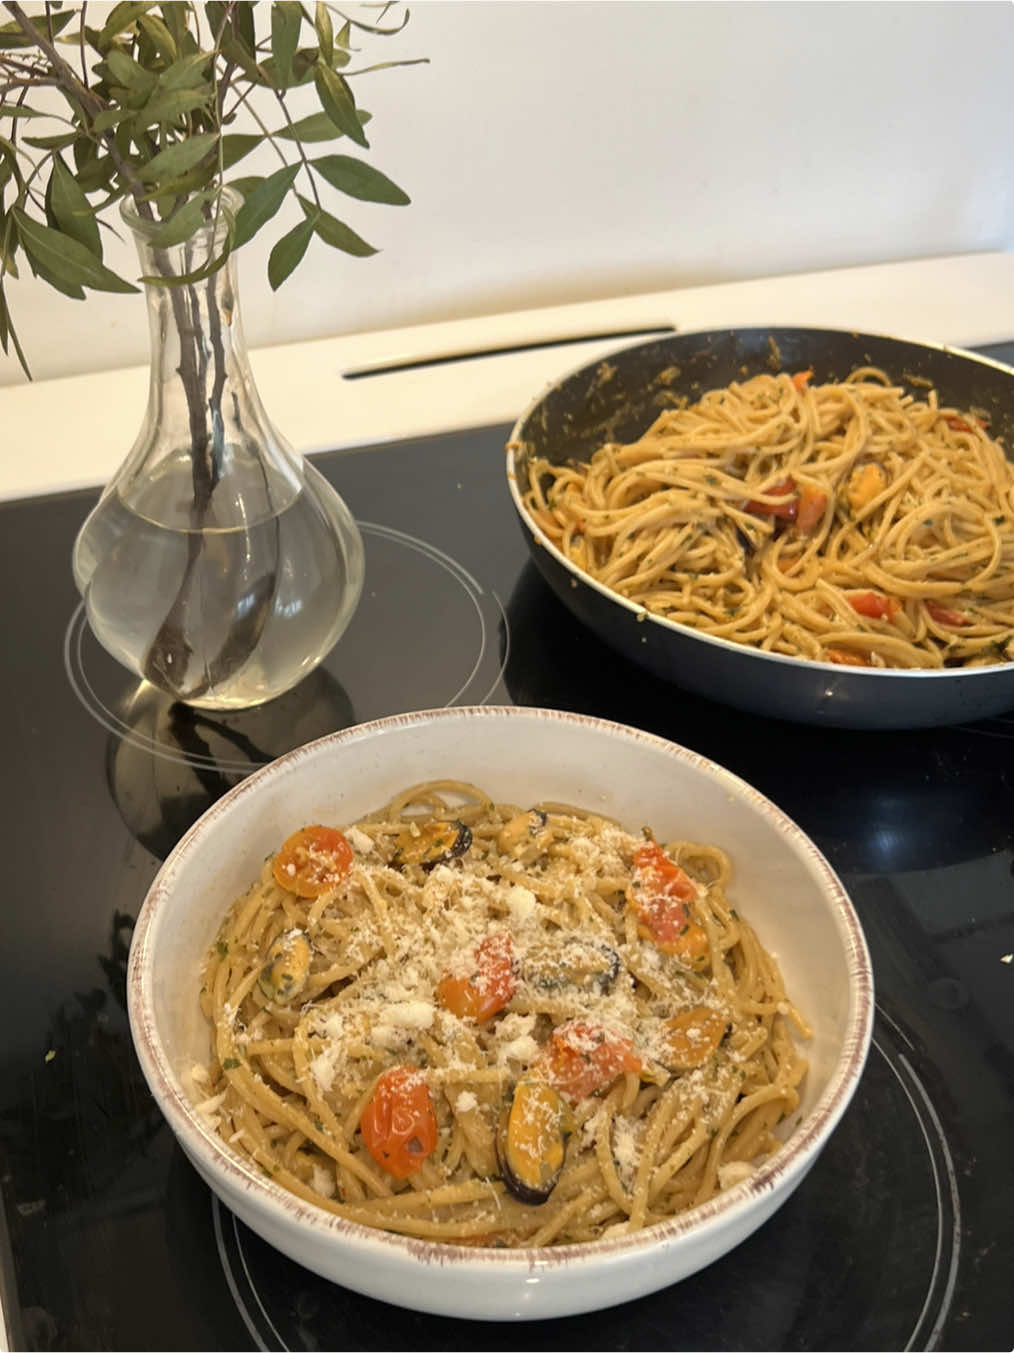
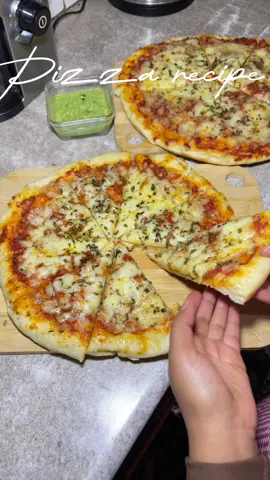
Easy & Delicious 10-Minute Pesto Pasta Salad Recipe
Learn how to make a quick and refreshing pesto pasta salad in just 10 minutes! Perfect for a light lunch, picnic, or a delicious side dish for any meal. This simple recipe combines cooked pasta with vibrant pesto, fresh tomatoes, and creamy mozzarella for a burst of flavor.
#Pasta Salad
#Pesto
#Quick Meal
#Vegetarian
#Summer Salad
#Easy Recipe
Finished Pesto Pasta Salad in a Bowl
Recipe Information
5m
Prep Time
10m
Cook Time
15m
Total Time
4
Servings
Easy
Italian
English
Nutrition (per serving)
350
Calories
12g
Protein
40g
Carbs
15g
Fat
Close-up of the Vibrant Pesto Pasta Salad
Ingredients
advertisement
advertisement
Servings: 4
💡 Tip: Check off ingredients as you add them to keep track of your progress!
Ingredients Ready for Mixing
Instructions
0/5 completed
0%
- Boil water in a pot, add salt, and cook fusilli pasta according to package directions until al dente. Drain well and rinse with cold water to stop the cooking process and cool the pasta. Set aside.1m
 Preview1mPreviewBoil water in a pot, add salt, and cook fusilli pasta according to package directions until al dente. Drain well and rinse with cold water to stop the cooking process and cool the pasta. Set aside.
 - While the pasta is cooking, prepare the fresh ingredients: halve the cherry tomatoes, drain the mini mozzarella balls, and roughly chop the fresh basil leaves.2m
 Preview2mPreviewWhile the pasta is cooking, prepare the fresh ingredients: halve the cherry tomatoes, drain the mini mozzarella balls, and roughly chop the fresh basil leaves.
 - In a large mixing bowl, combine the cooled fusilli pasta, halved cherry tomatoes, and drained mini mozzarella balls.1m
 Preview1mPreviewIn a large mixing bowl, combine the cooled fusilli pasta, halved cherry tomatoes, and drained mini mozzarella balls.
 - Pour the pesto sauce and olive oil over the ingredients in the bowl. Add the chopped fresh basil, and season with salt and black pepper to taste.1m
 Preview1mPreviewPour the pesto sauce and olive oil over the ingredients in the bowl. Add the chopped fresh basil, and season with salt and black pepper to taste.
 - Gently toss all ingredients together until everything is well combined and evenly coated with the pesto sauce. Serve immediately or chill for a more refreshing experience.1m
 Preview1mPreviewGently toss all ingredients together until everything is well combined and evenly coated with the pesto sauce. Serve immediately or chill for a more refreshing experience.
advertisement
advertisement
💡 Tip: Click on any step to mark it as completed and track your cooking progress!