Back to Italian Recipes

Author:
pizzaundso_
TikTok
7M
103K
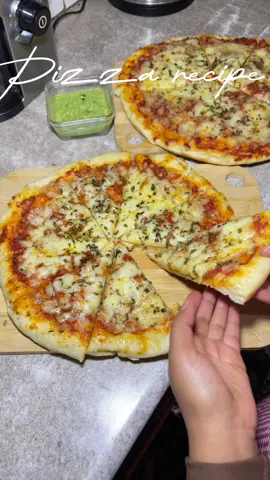
Homemade Neapolitan-Style Pizza Dough
Learn how to make a classic homemade Neapolitan-style pizza dough from scratch. This recipe yields a light, airy, and flavorful crust, perfect for your favorite pizza toppings. The process involves simple ingredients and essential steps like mixing, kneading, and proofing to achieve an authentic pizzeria-quality dough.
#pizza
#dough
#homemade
#pizzanapoletana
#baking
#italian
#bread
#vegetarian

Mixing Ingredients
Recipe Information
30m
Prep Time
3h
Cook Time
3h 30m
Total Time
3
Servings
Medium
Italian
German
Nutrition (per serving)
350
Calories
11g
Protein
70g
Carbs
3g
Fat
Kneading the Dough
Ingredients
Servings: 3
💡 Tip: Check off ingredients as you add them to keep track of your progress!
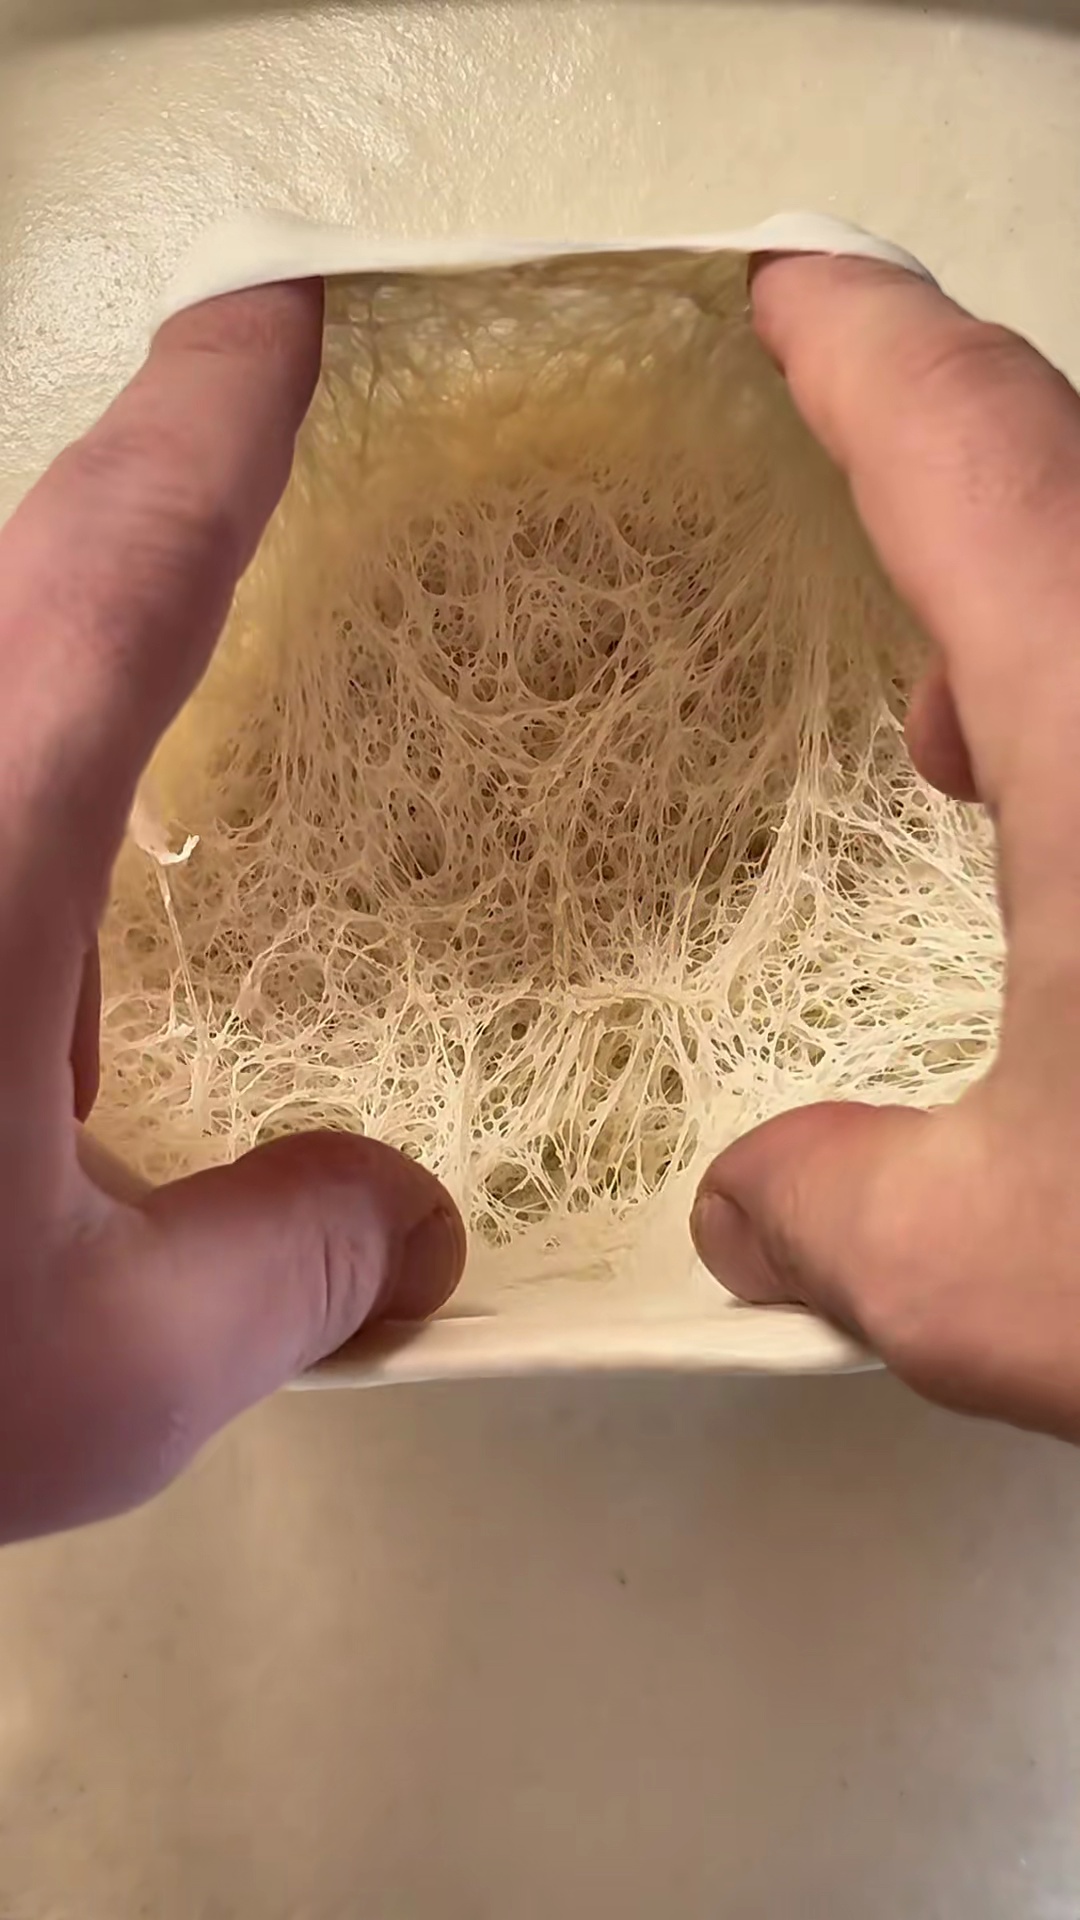
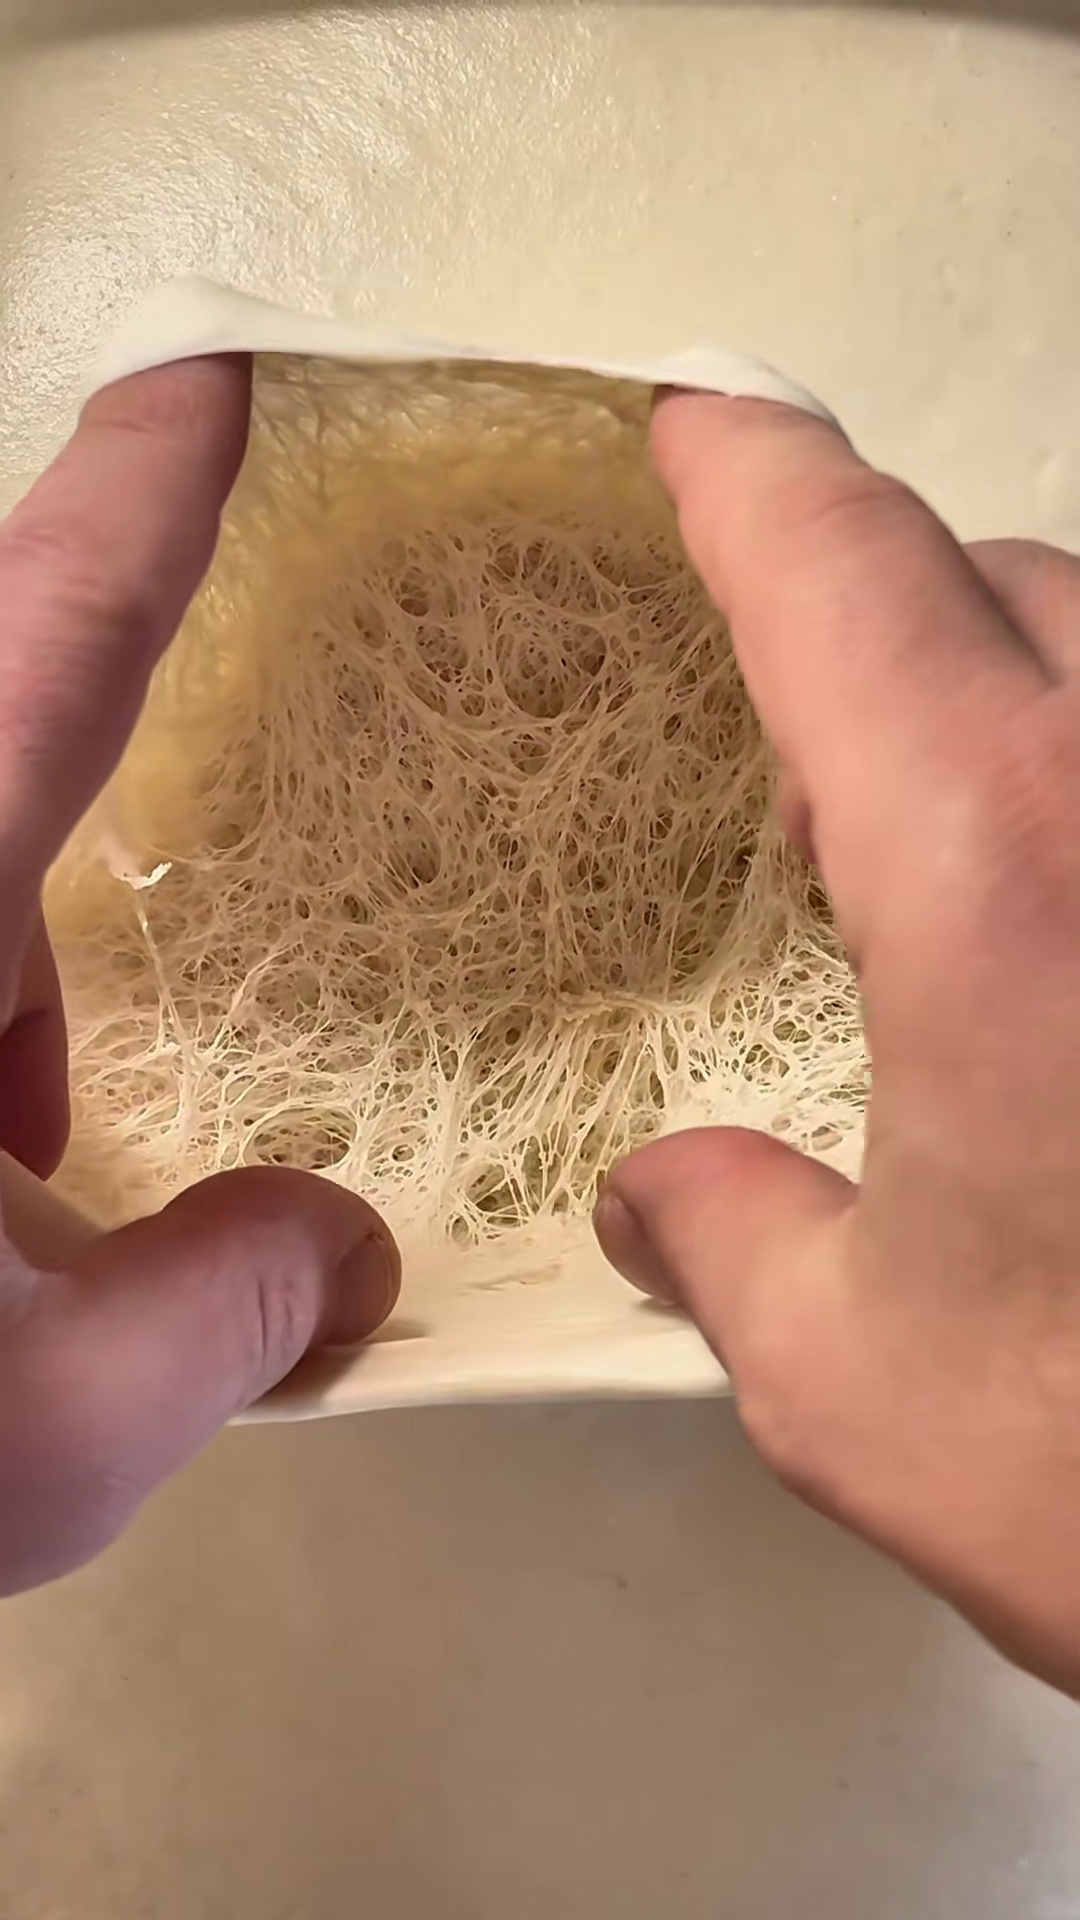
Dough Proofing
Instructions
0/6 completed
0%
- In a large bowl, dissolve the fresh yeast in lukewarm water. If using dry yeast, mix it with a small amount of water first and let it bloom for 5-10 minutes.5m
 Preview5mPreviewIn a large bowl, dissolve the fresh yeast in lukewarm water. If using dry yeast, mix it with a small amount of water first and let it bloom for 5-10 minutes.
 - Add the flour and salt to the bowl with the yeast mixture. If using, add the olive oil. Mix with a spoon or your hands until a shaggy dough forms and all ingredients are combined.5mPreview5mPreviewAdd the flour and salt to the bowl with the yeast mixture. If using, add the olive oil. Mix with a spoon or your hands until a shaggy dough forms and all ingredients are combined.
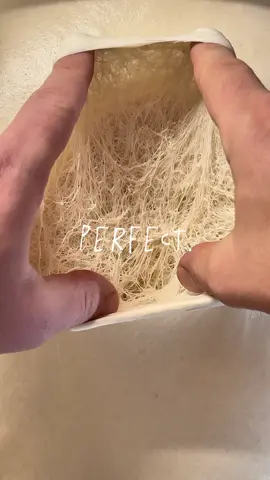
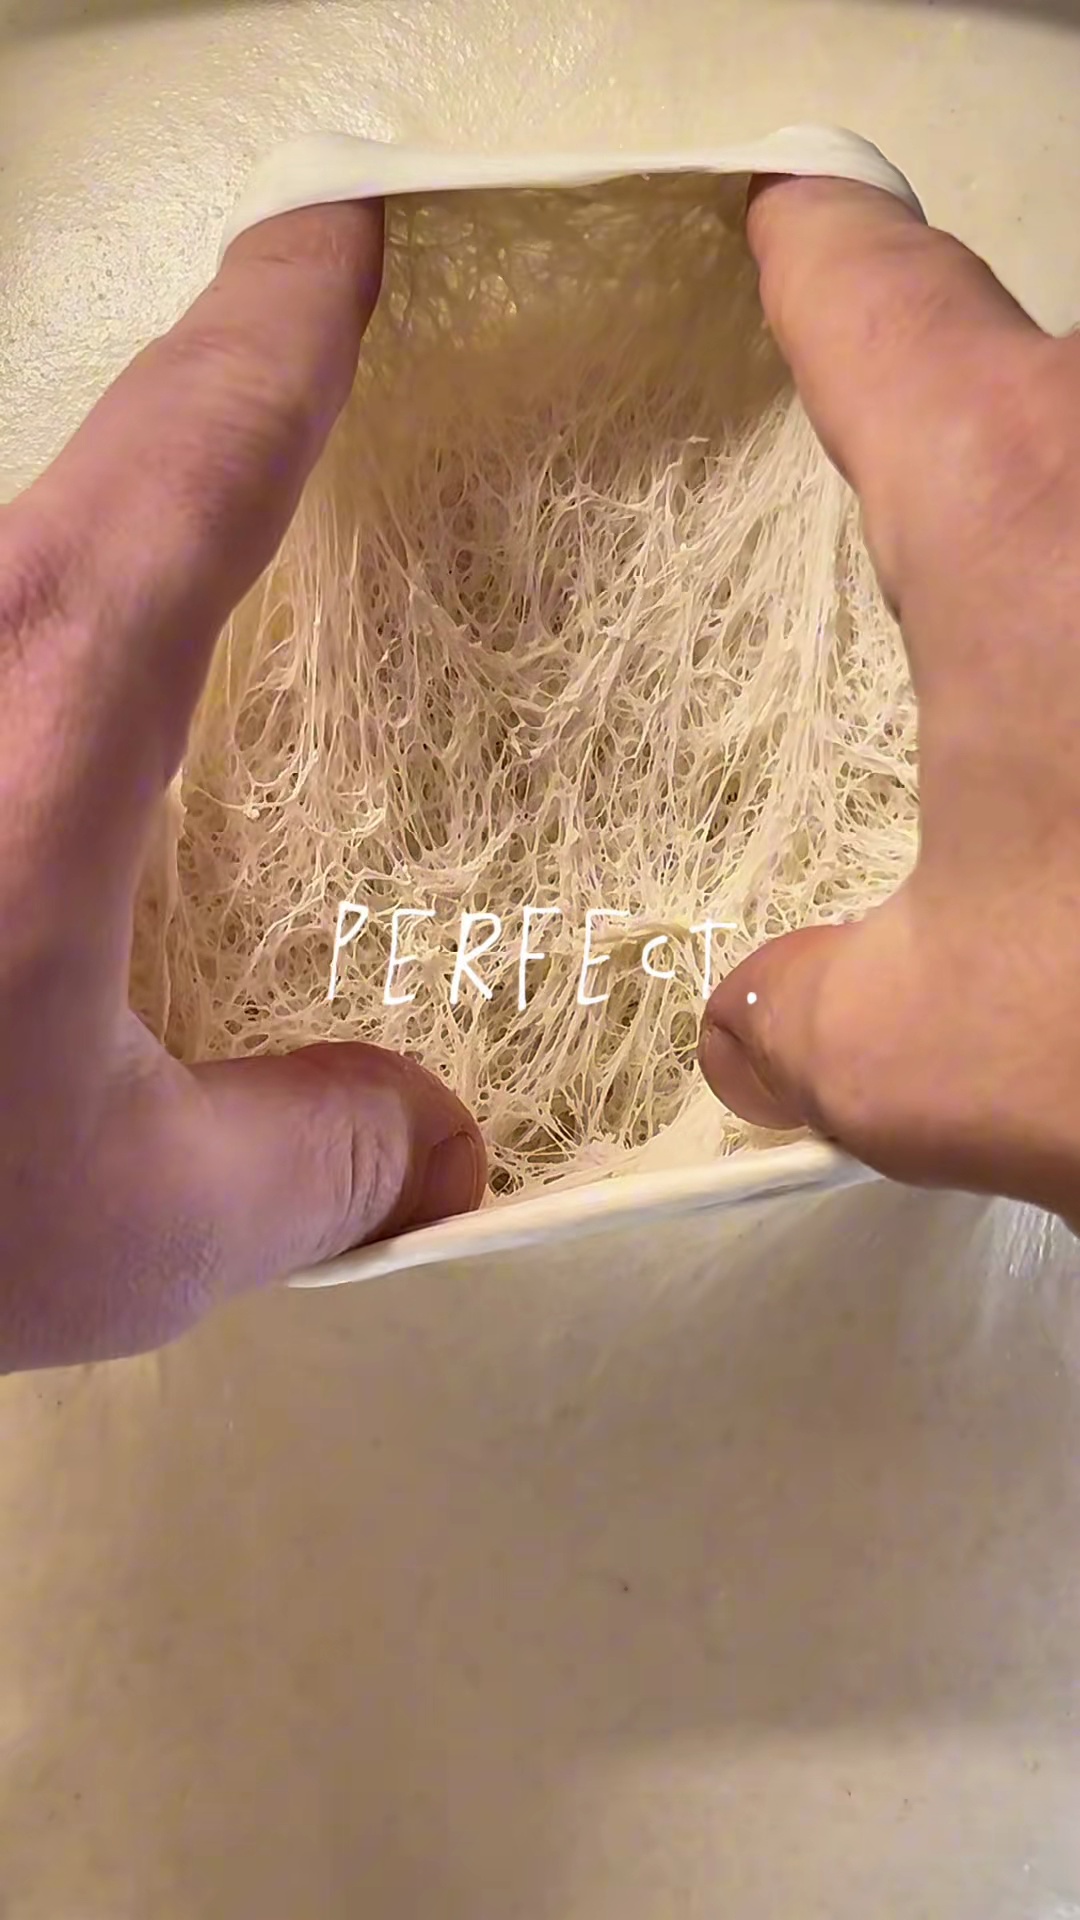
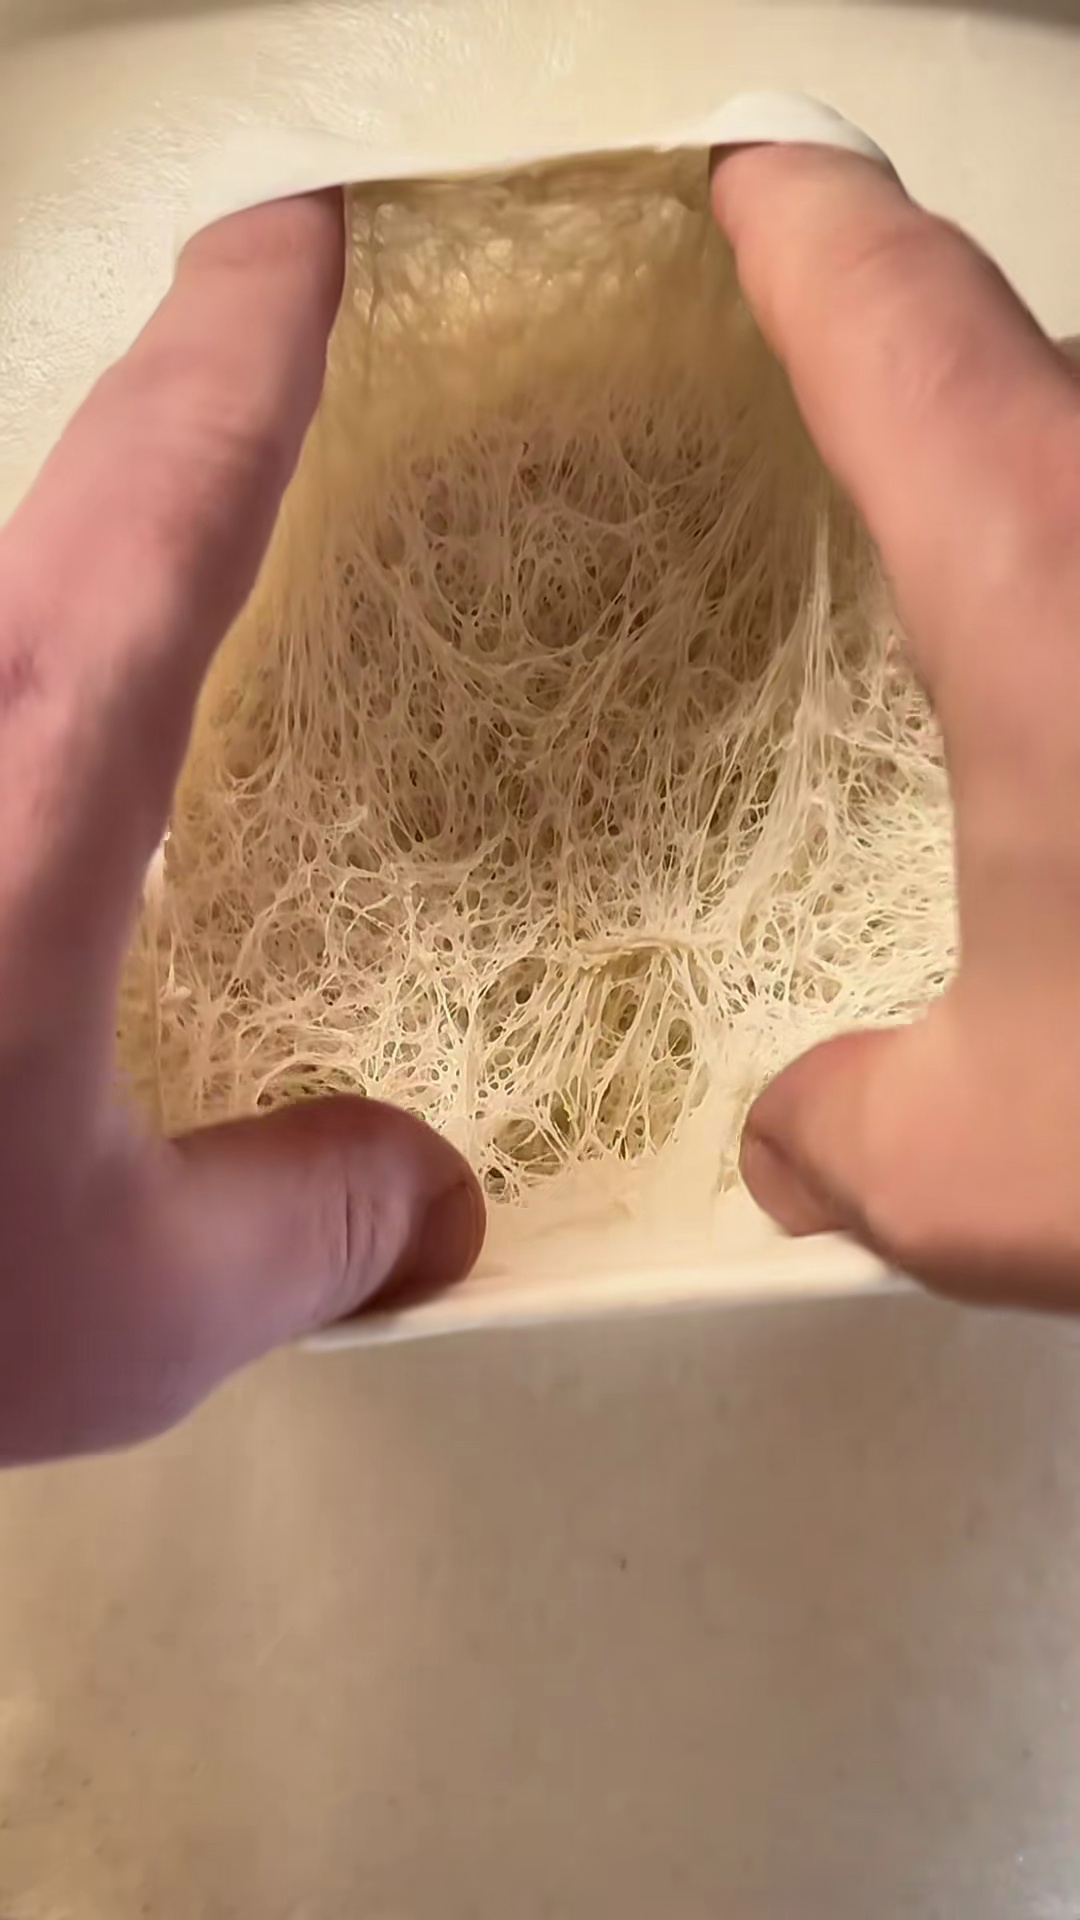
- Transfer the dough to a lightly floured surface and knead for 10-15 minutes until it becomes smooth, elastic, and no longer sticky. The dough should spring back when lightly poked.15m
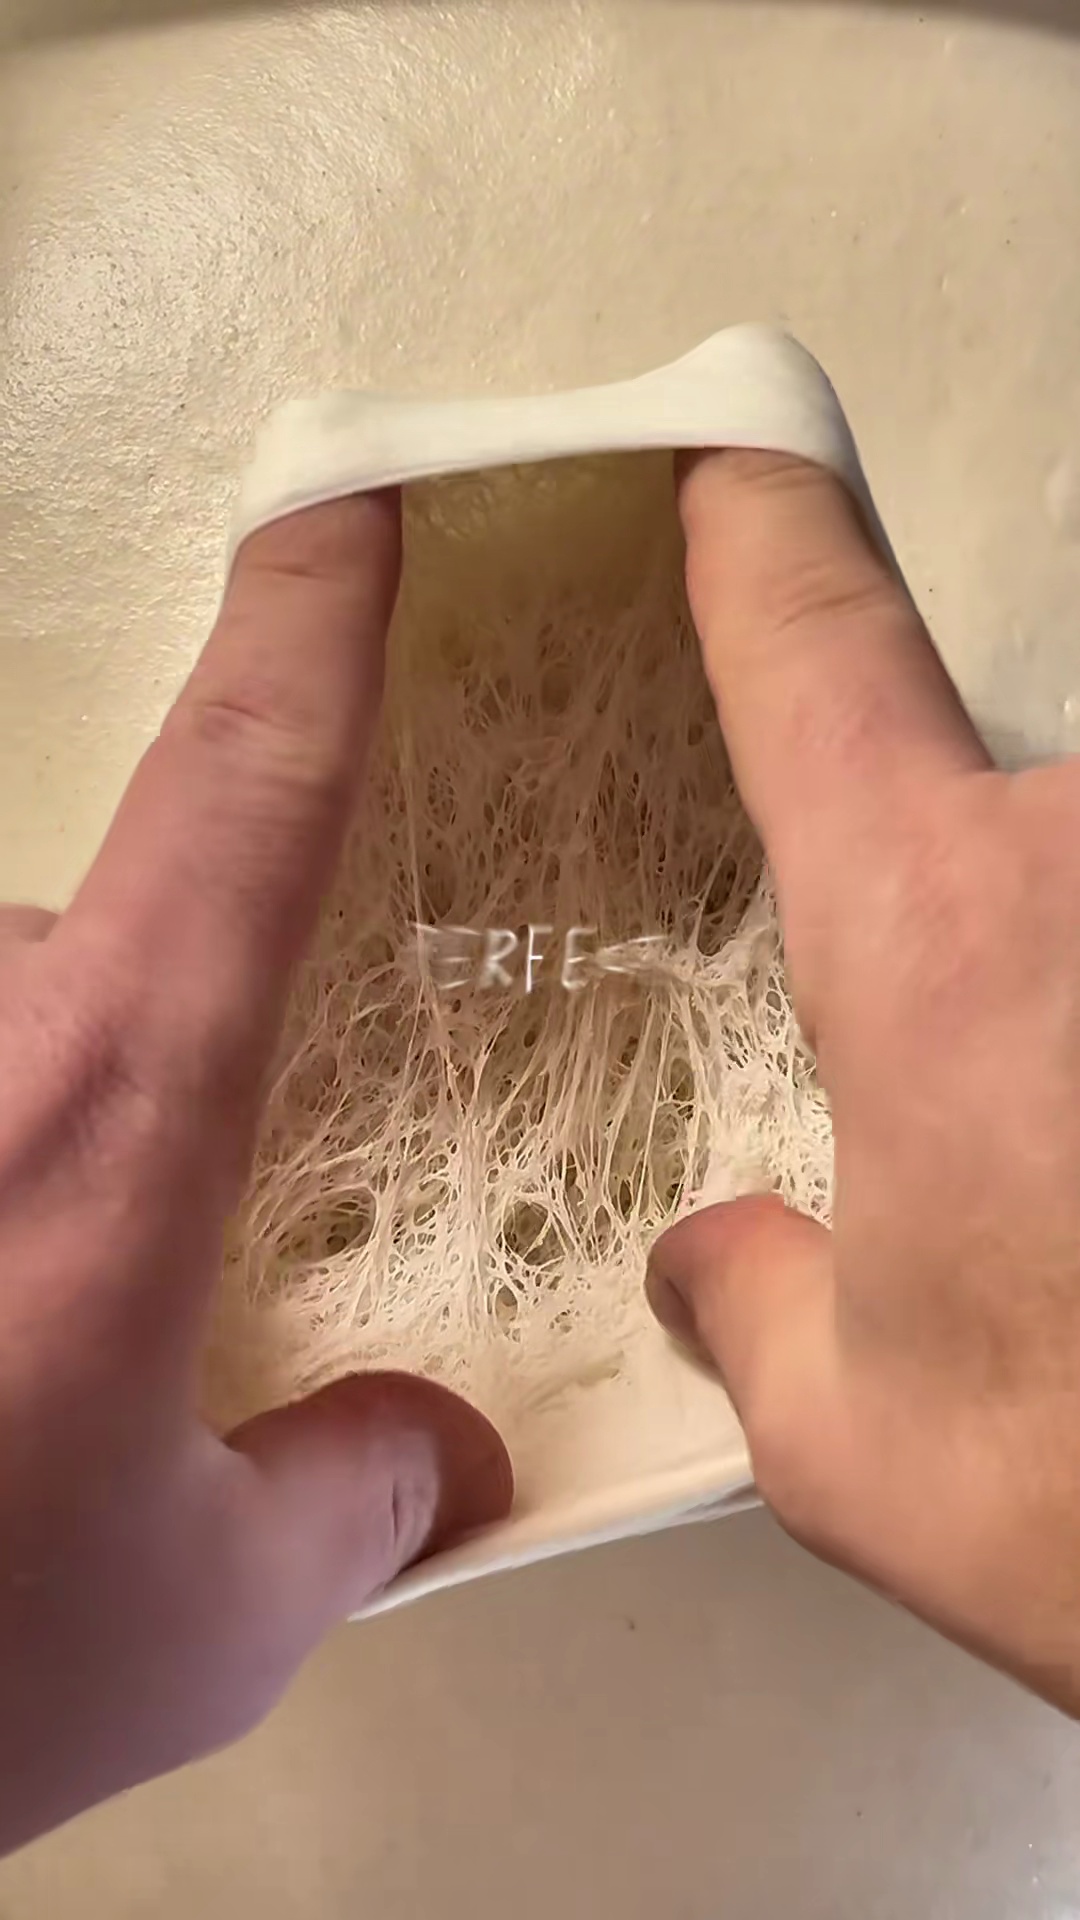 Preview15mPreviewTransfer the dough to a lightly floured surface and knead for 10-15 minutes until it becomes smooth, elastic, and no longer sticky. The dough should spring back when lightly poked.
 - Form the dough into a ball and place it in a lightly oiled bowl. Cover the bowl with plastic wrap or a damp cloth and let it rise in a warm place for 1.5-2 hours, or until it has doubled in size.2h
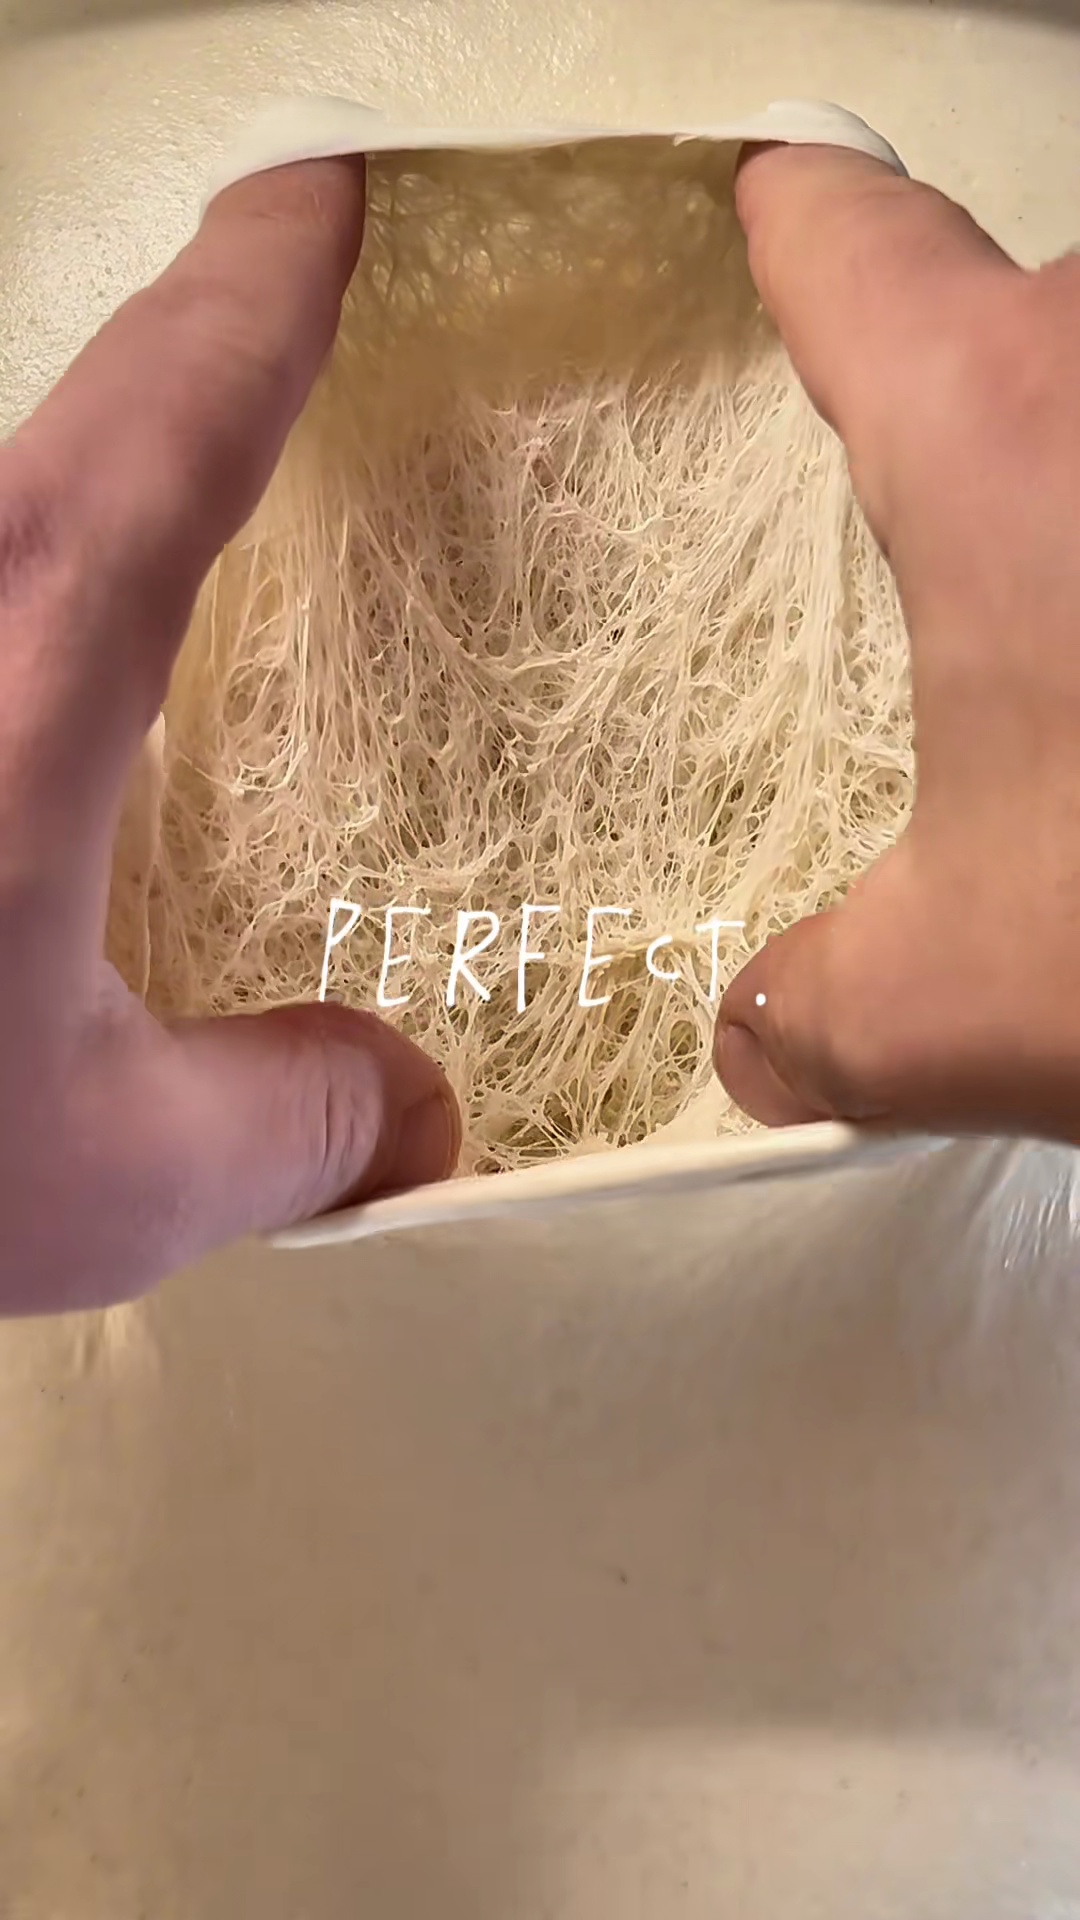 Preview2hPreviewForm the dough into a ball and place it in a lightly oiled bowl. Cover the bowl with plastic wrap or a damp cloth and let it rise in a warm place for 1.5-2 hours, or until it has doubled in size.
 - Gently punch down the dough to release the air. Divide the dough into 2-3 equal portions (depending on desired pizza size) and shape each portion into a smooth ball.10m
 Preview10mPreviewGently punch down the dough to release the air. Divide the dough into 2-3 equal portions (depending on desired pizza size) and shape each portion into a smooth ball.
 - Place the dough balls on a lightly floured surface or individual oiled containers, cover again, and let them rest for another 30-60 minutes. This second proofing will make the dough easier to stretch and gives a better texture.1h
 Preview1hPreviewPlace the dough balls on a lightly floured surface or individual oiled containers, cover again, and let them rest for another 30-60 minutes. This second proofing will make the dough easier to stretch and gives a better texture.
💡 Tip: Click on any step to mark it as completed and track your cooking progress!