Back to Italian Recipes

Author:
nypdpizzeria
TikTok
3M
120K
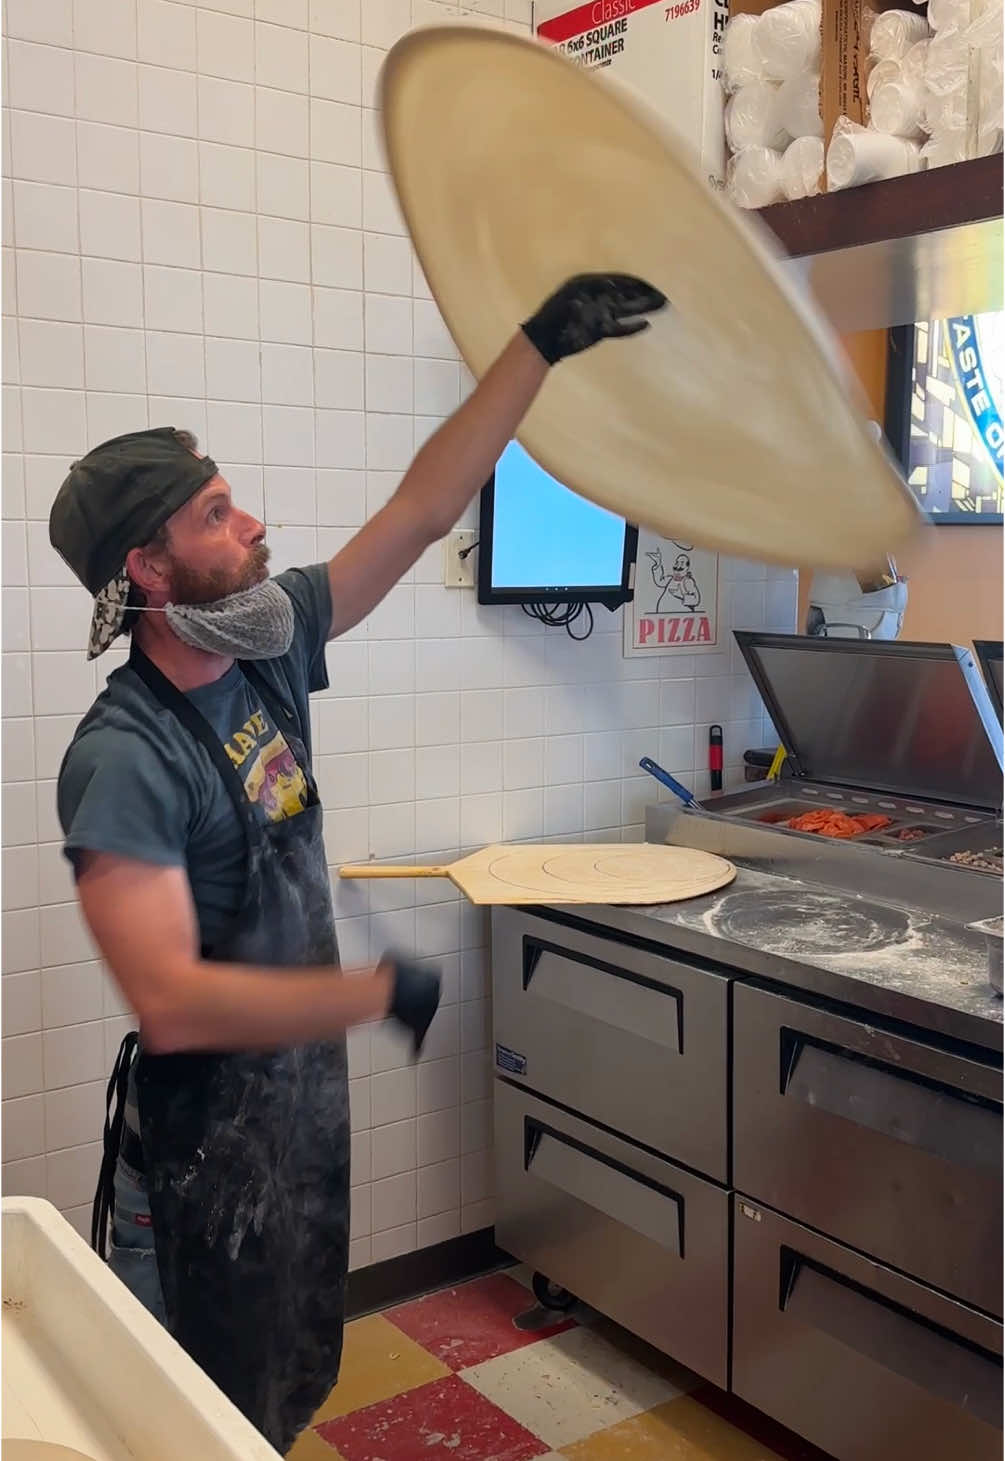
Tony's Pizza Dough Spinning Skills
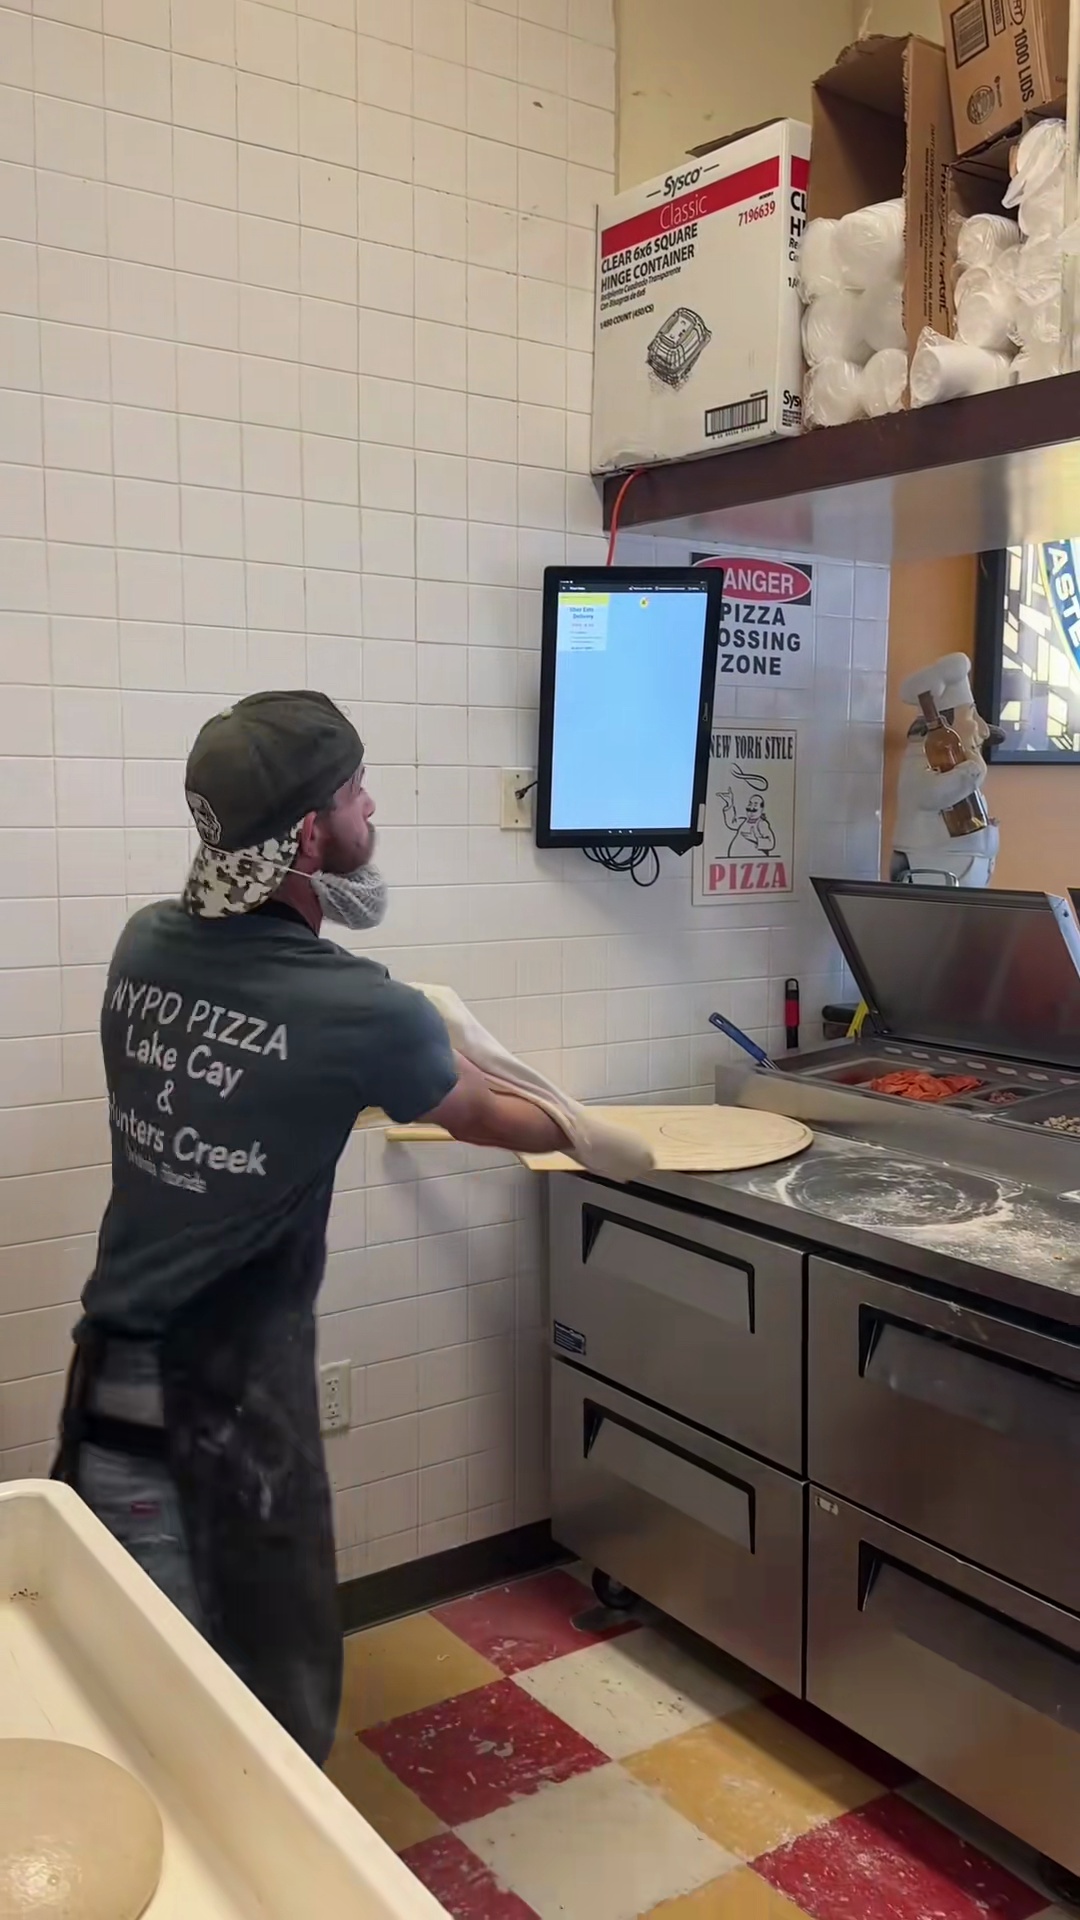
This recipe focuses on mastering the art of pizza dough spinning, as demonstrated by Tony. While the video primarily showcases the technique for handling pre-made pizza dough, it assumes you have a well-prepared dough ball ready for stretching and spinning. The goal is to achieve a perfectly round, thin crust using skillful hand movements and centrifugal force, essential for authentic pizza making.
#pizza
#dough
#spinning
#technique
#skill
#italian
#mastery
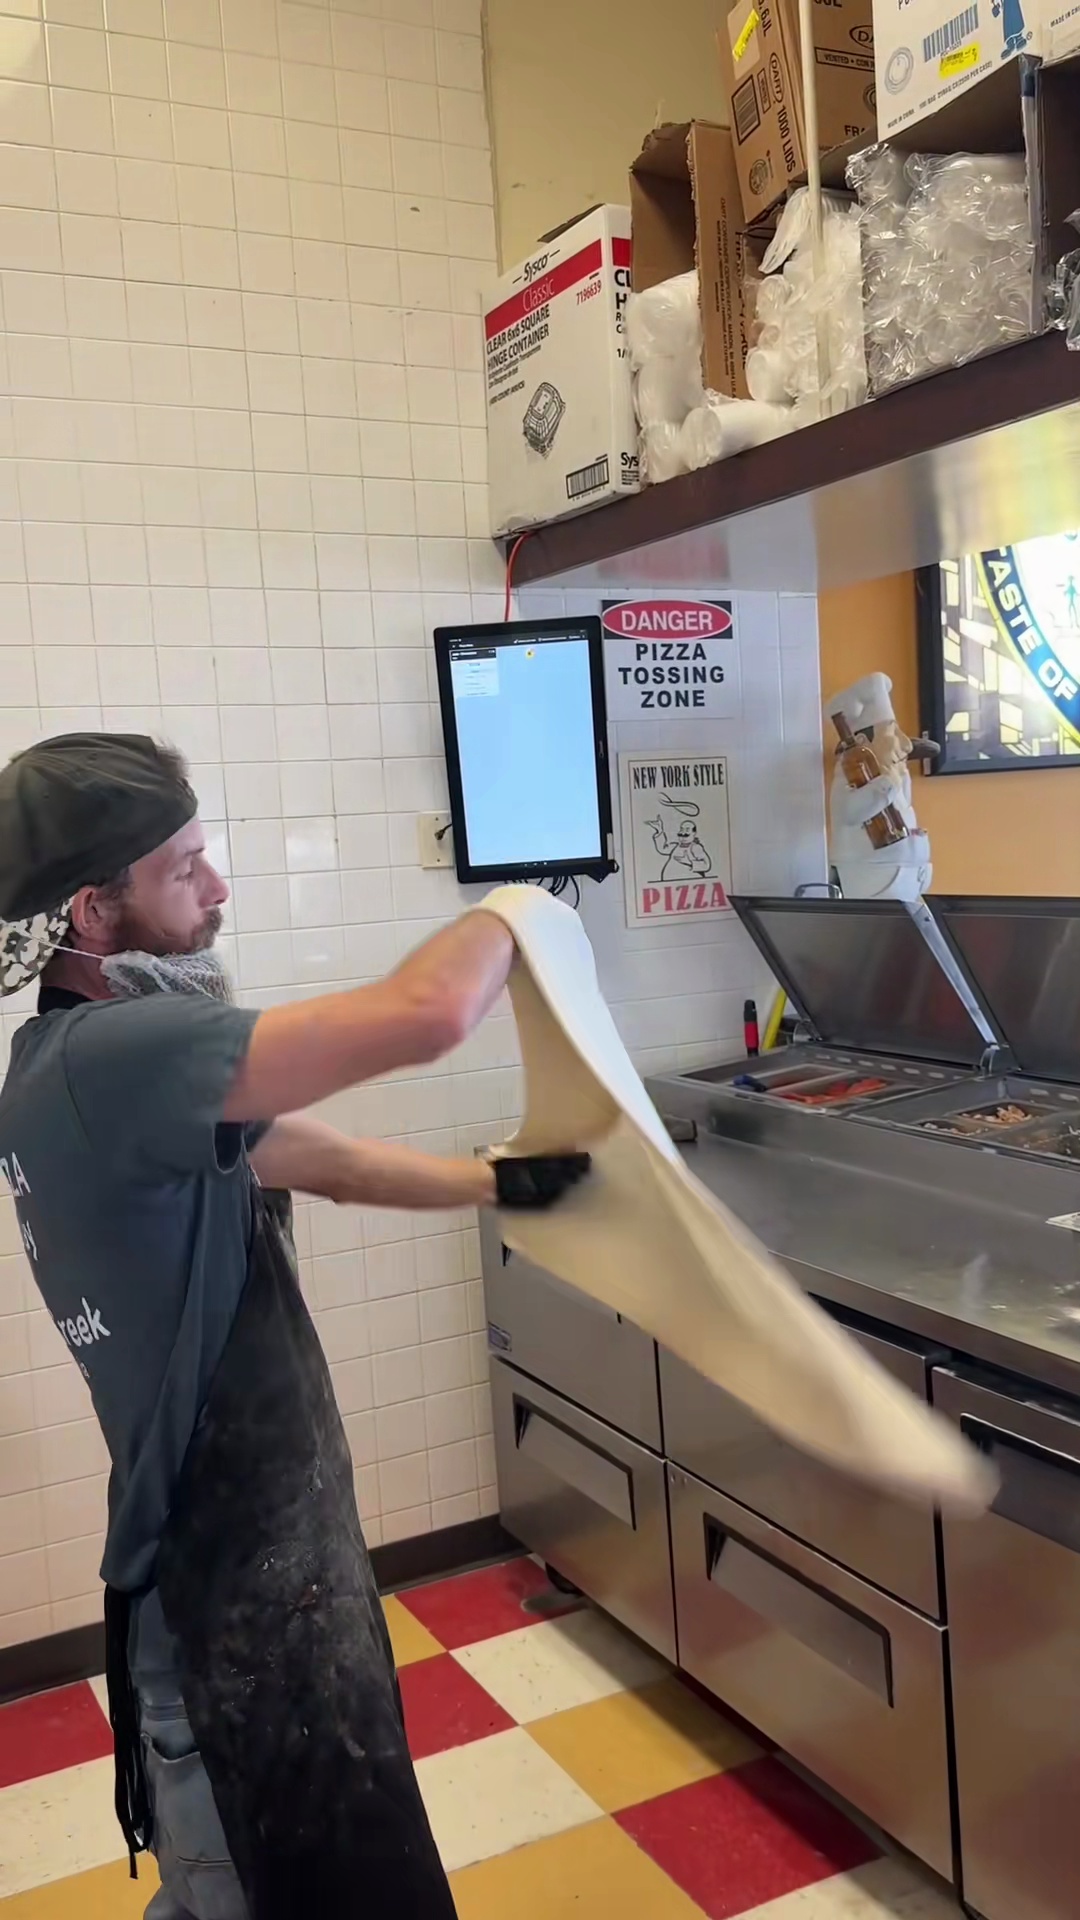
Tony's Initial Dough Stretch
Recipe Information
5m
Prep Time
0m
Cook Time
5m
Total Time
1
Servings
Hard
Italian
English
Nutrition (per serving)
750
Calories
25g
Protein
150g
Carbs
15g
Fat
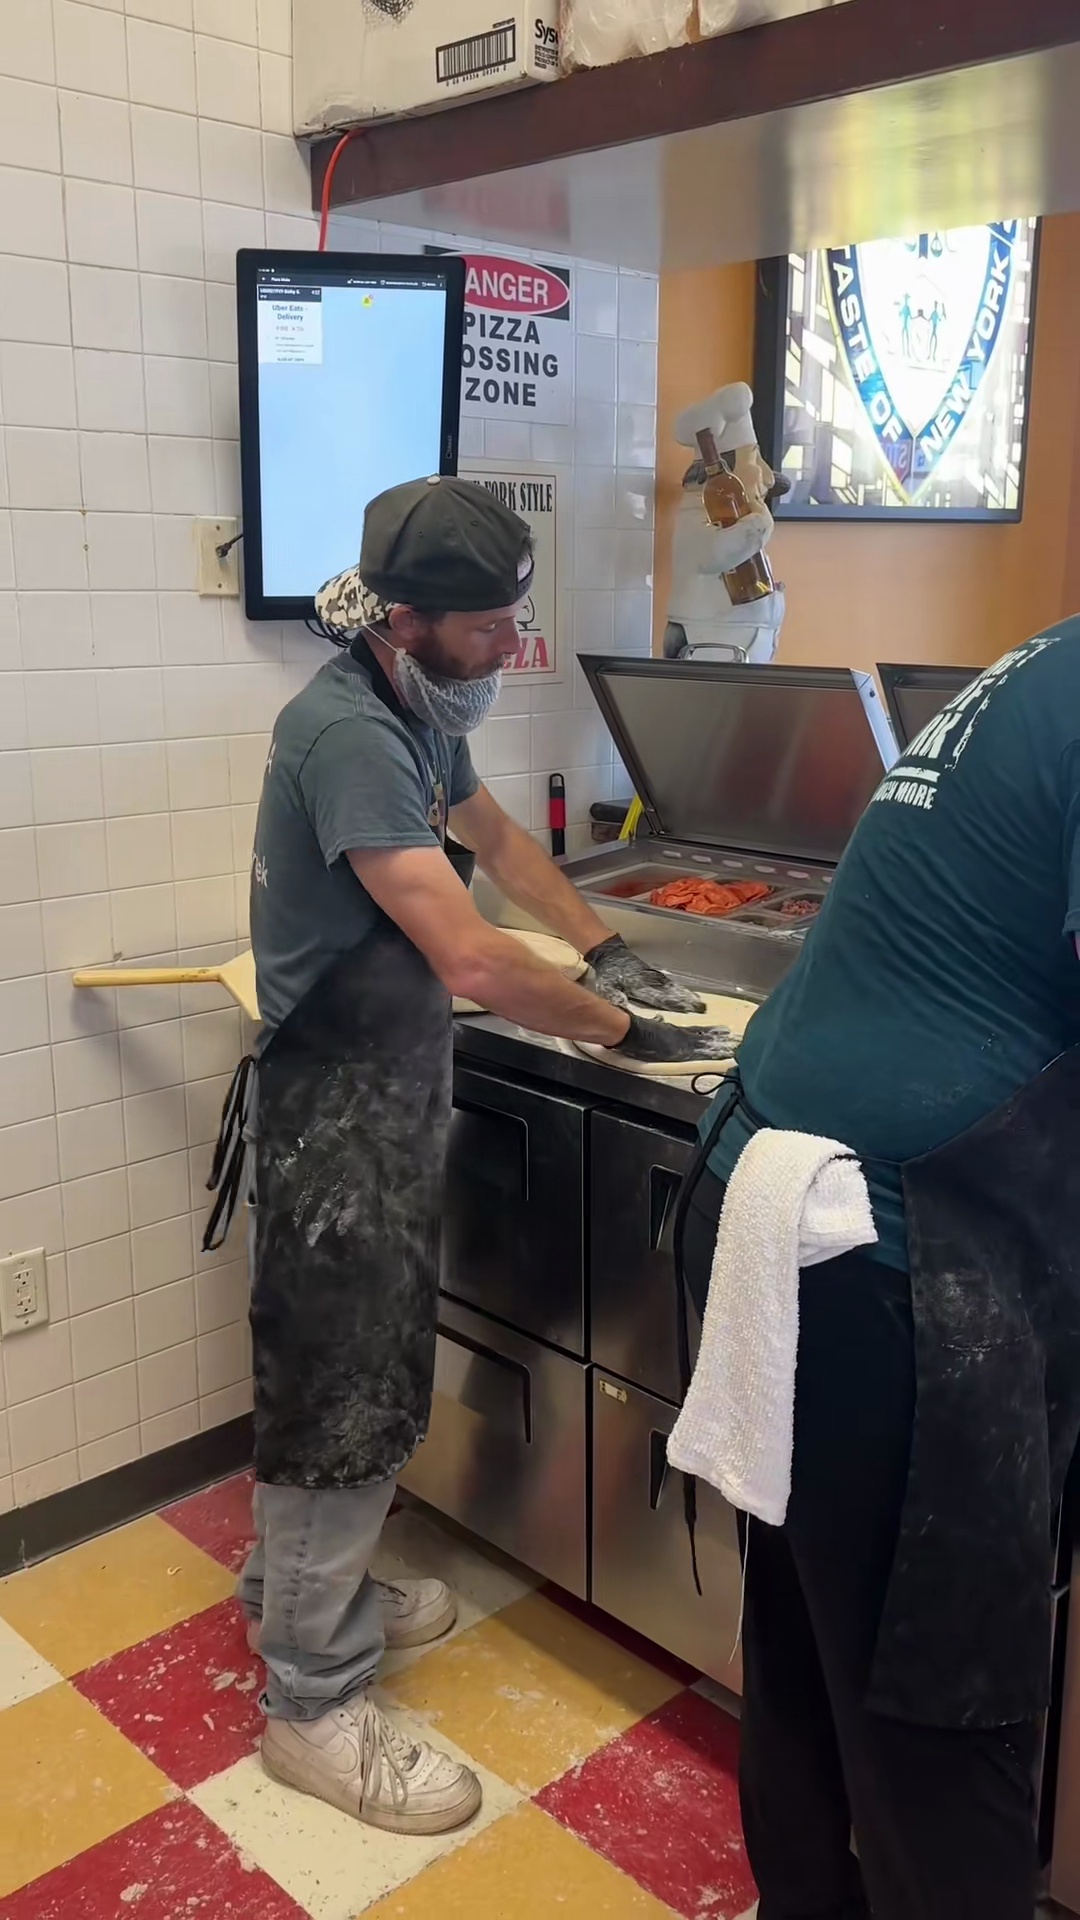
Dough Beginning to Spin
Ingredients
Servings: 1
💡 Tip: Check off ingredients as you add them to keep track of your progress!
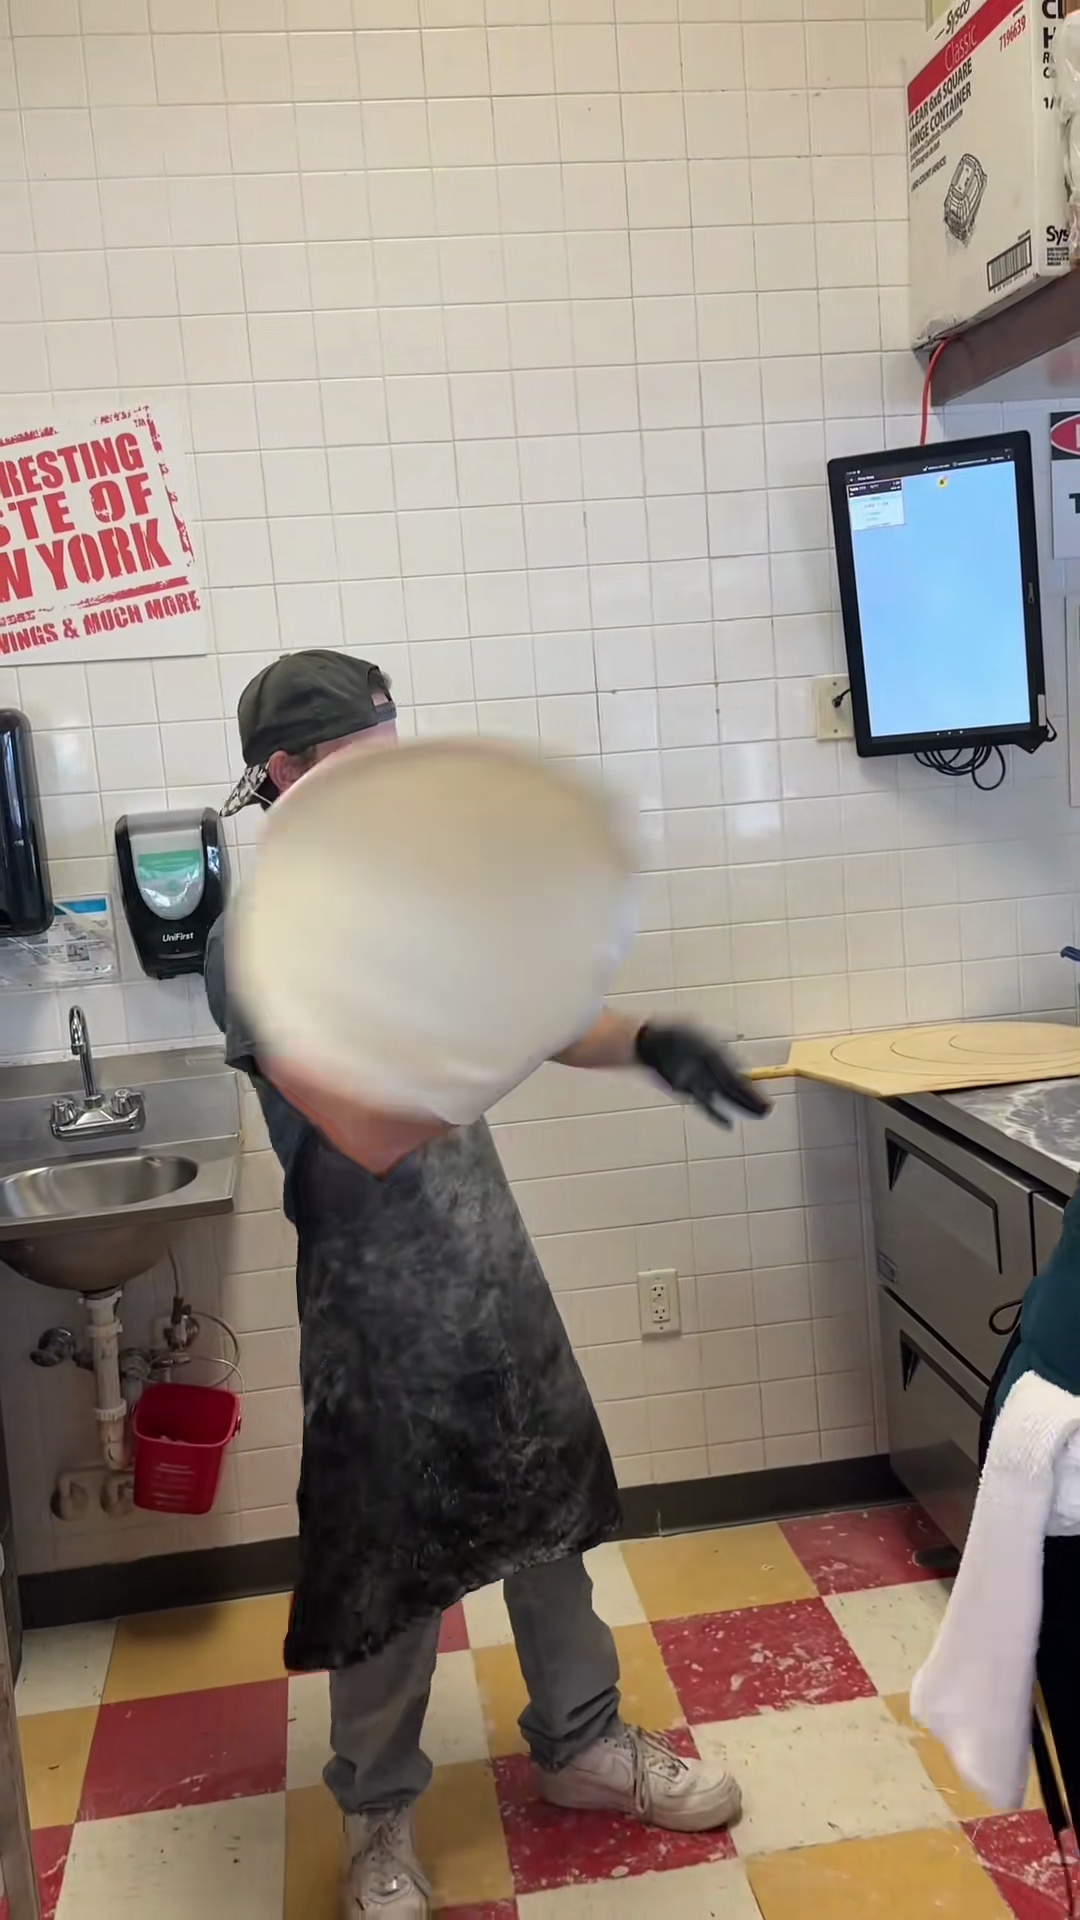
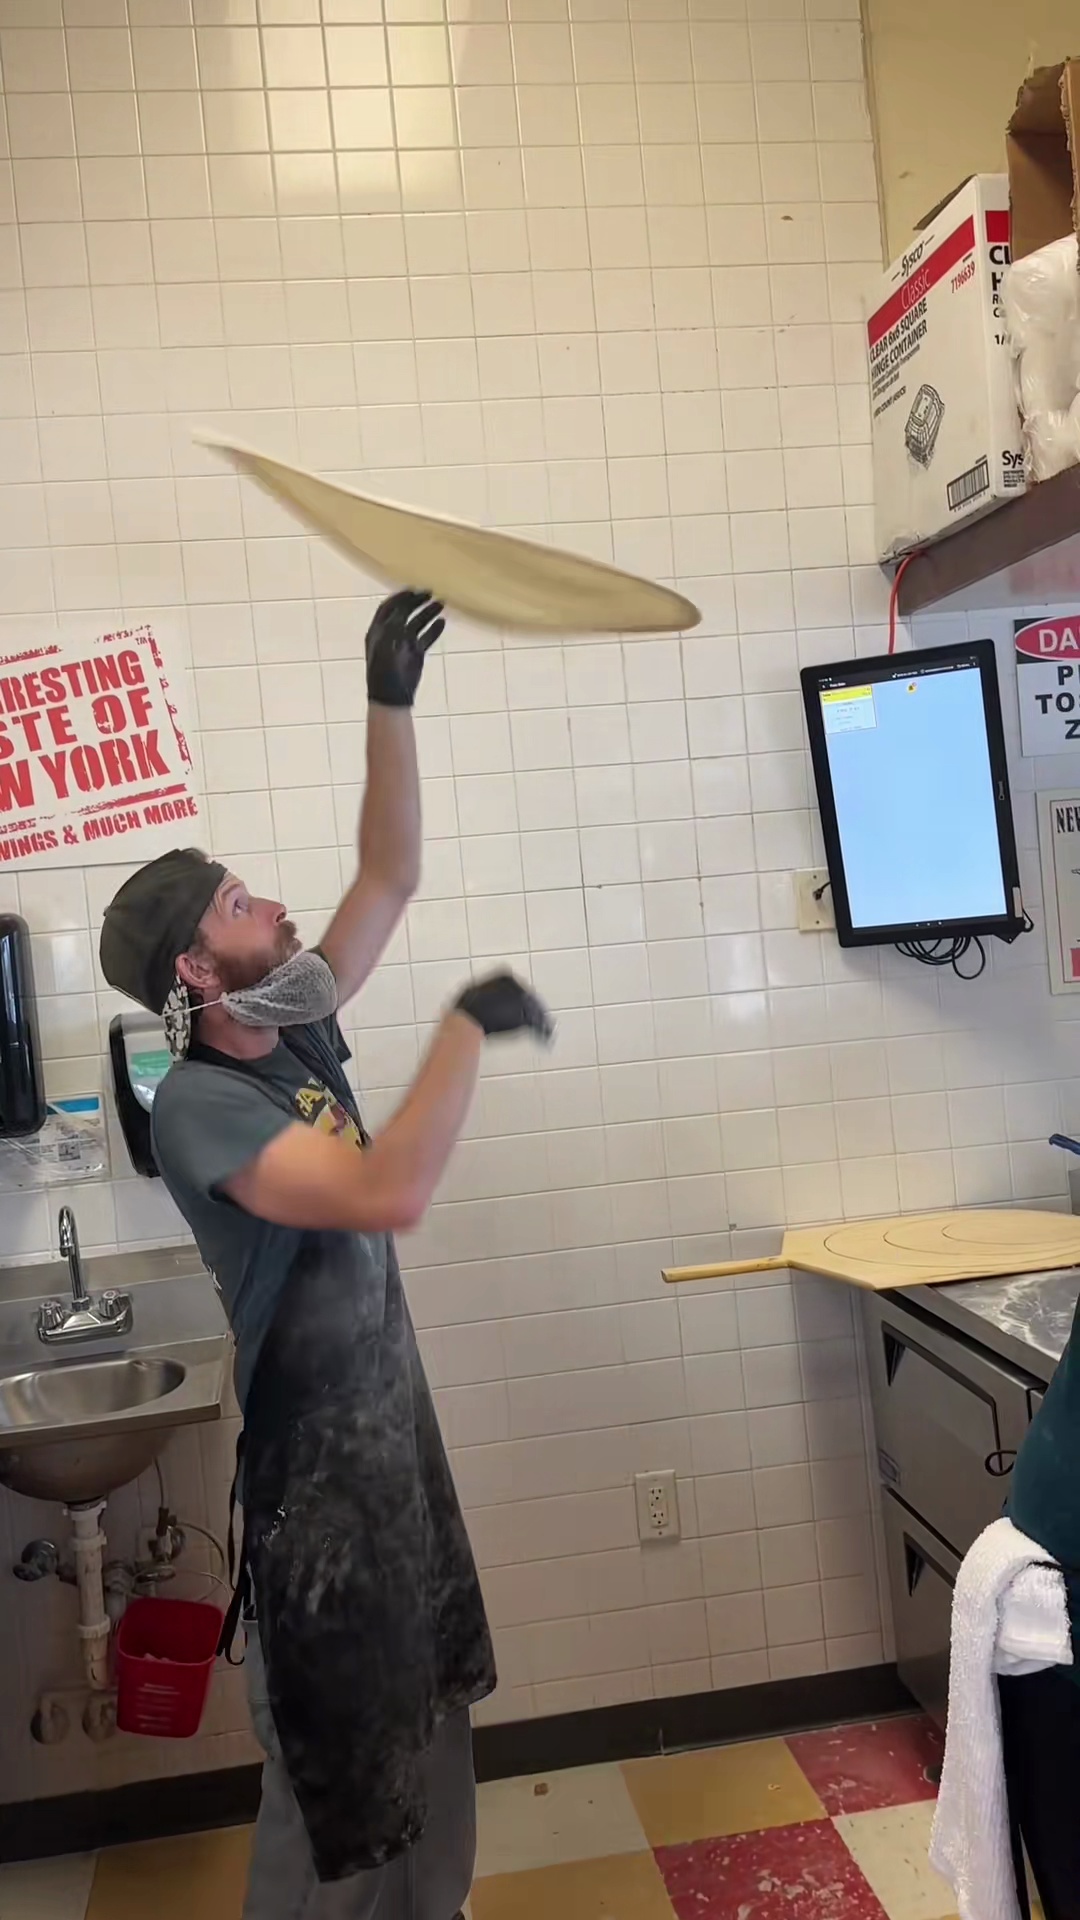
Dough in High Spin
Instructions
0/5 completed
0%
- Begin with a well-proofed pizza dough ball. Gently flatten it on a lightly floured surface or directly in your hands to form a thick, even disc, preparing it for the initial stretching phase.1m
 Preview1mPreviewBegin with a well-proofed pizza dough ball. Gently flatten it on a lightly floured surface or directly in your hands to form a thick, even disc, preparing it for the initial stretching phase.
 - Start gently stretching the dough by patting and rotating it between your hands, using your knuckles to support the edges and gradually widen the disc while maintaining a consistent rim.1mPreview1mPreviewStart gently stretching the dough by patting and rotating it between your hands, using your knuckles to support the edges and gradually widen the disc while maintaining a consistent rim.
- Once the dough has a decent size and a stable shape, begin the initial spinning motion. Place the dough over your fists and use a fluid, circular motion, allowing centrifugal force to start stretching it outwards.1m
 Preview1mPreviewOnce the dough has a decent size and a stable shape, begin the initial spinning motion. Place the dough over your fists and use a fluid, circular motion, allowing centrifugal force to start stretching it outwards.
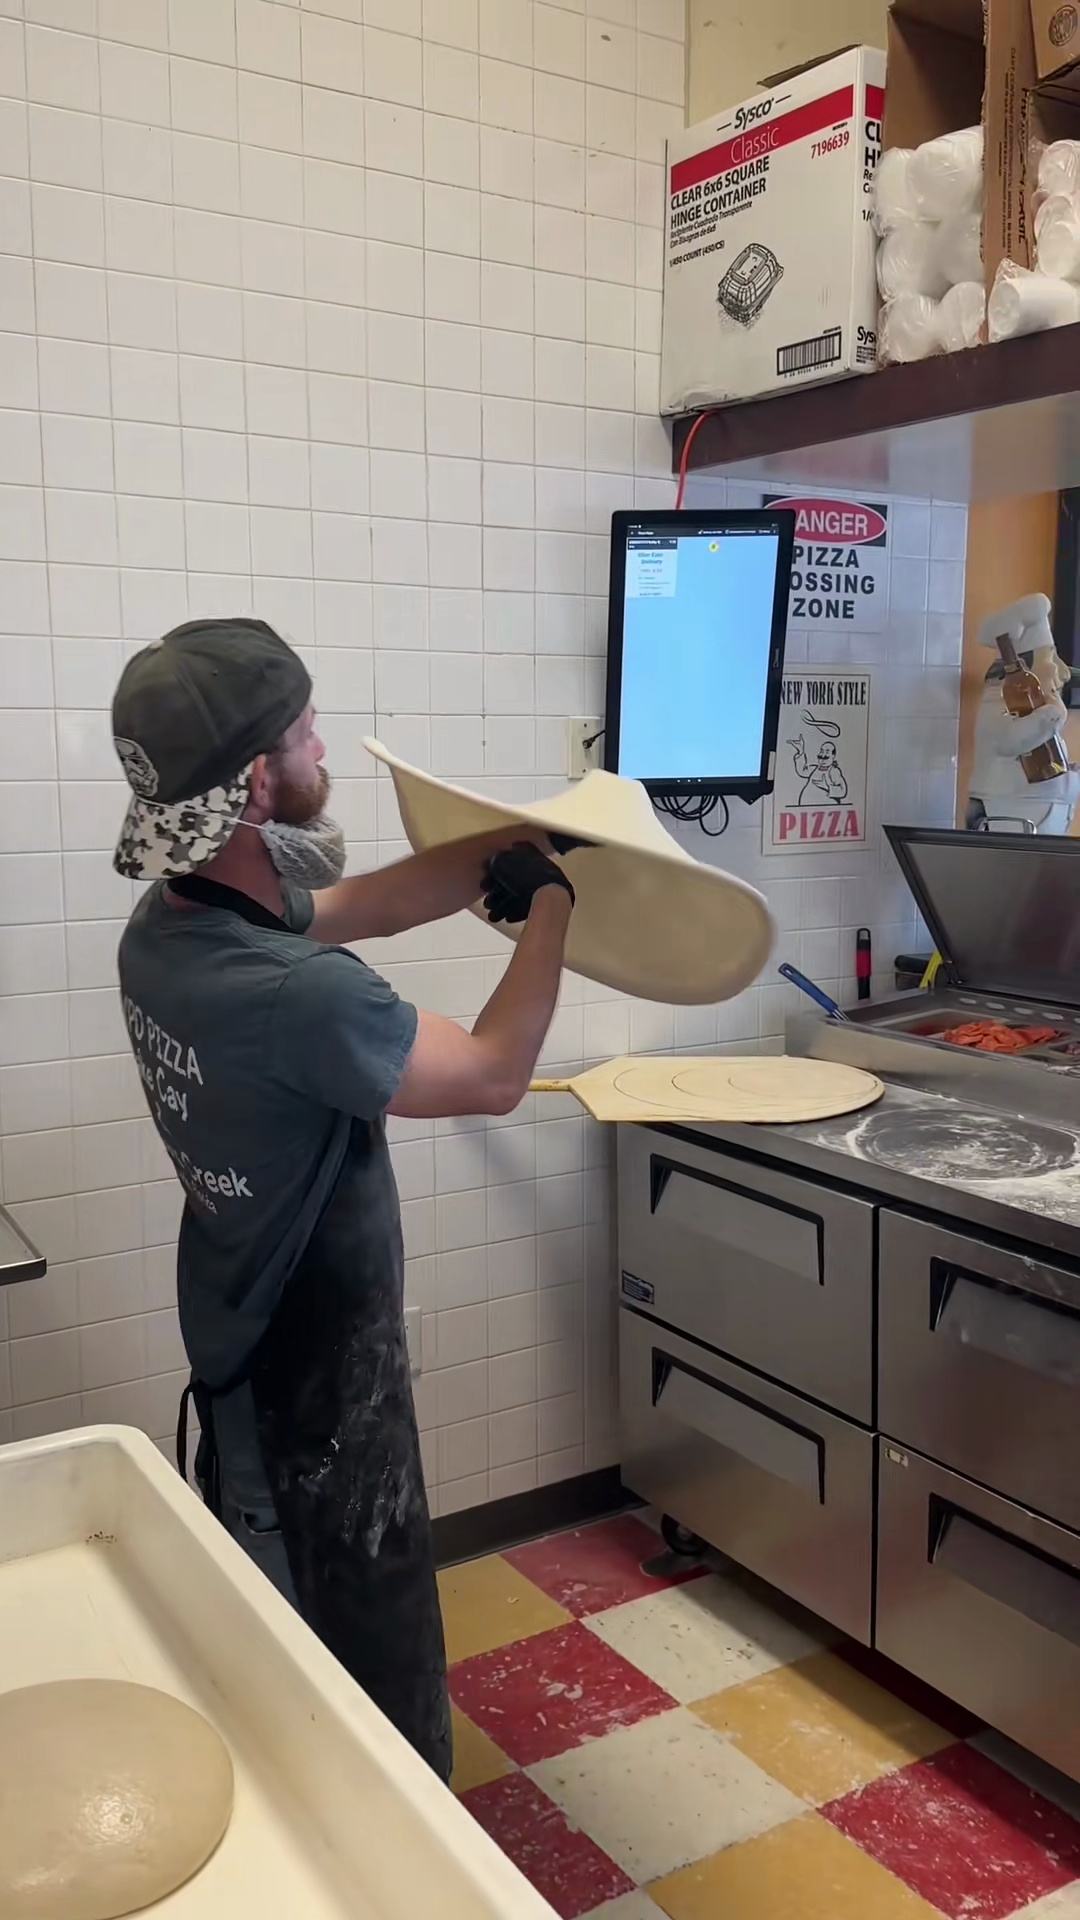
 - Gradually increase the speed and height of the spin, allowing the dough to stretch further and thin out evenly. Focus on maintaining a consistent circular motion and rhythm to achieve an even thickness.1m
 Preview1mPreviewGradually increase the speed and height of the spin, allowing the dough to stretch further and thin out evenly. Focus on maintaining a consistent circular motion and rhythm to achieve an even thickness.
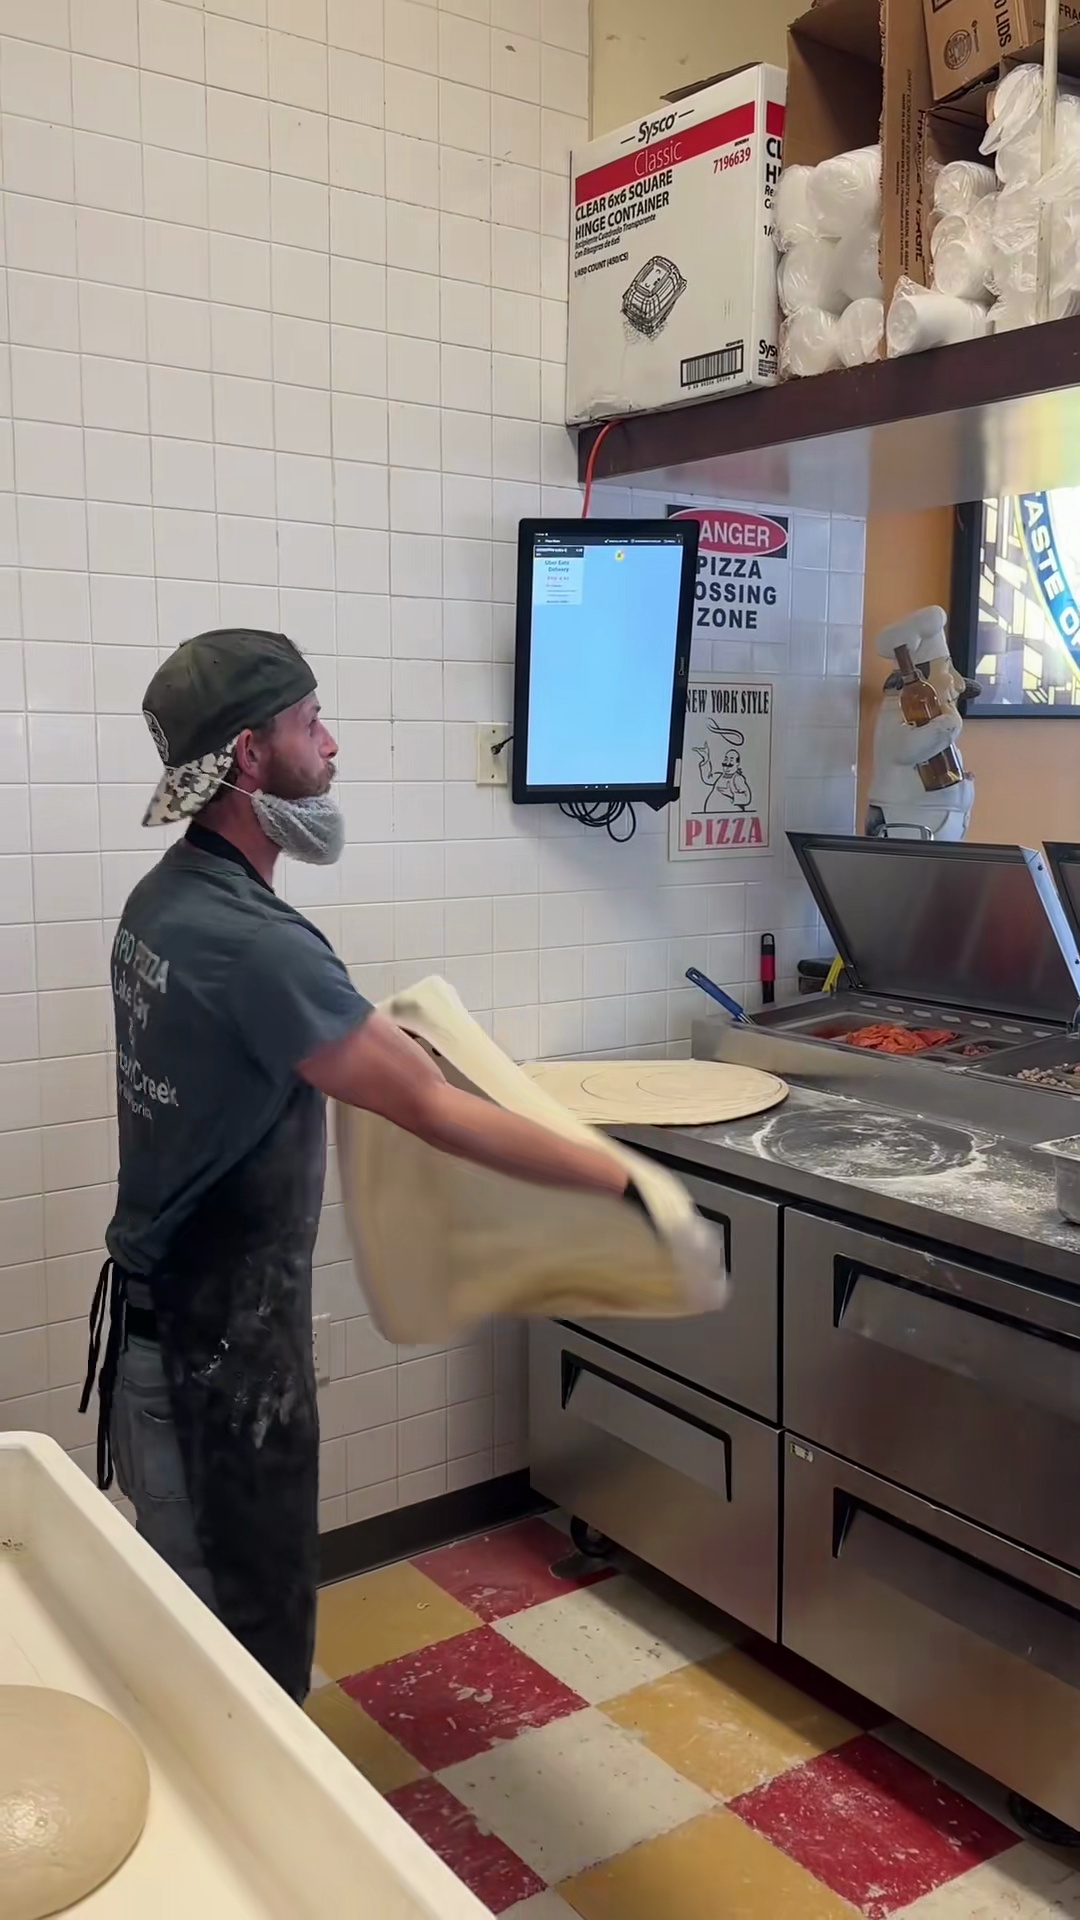
 - Carefully catch the dough after spinning, ensuring it maintains its round shape and does not collapse. If needed, perform a final gentle stretch or adjustment to achieve the desired crust thickness and diameter before adding toppings.1m
 Preview1mPreviewCarefully catch the dough after spinning, ensuring it maintains its round shape and does not collapse. If needed, perform a final gentle stretch or adjustment to achieve the desired crust thickness and diameter before adding toppings.
💡 Tip: Click on any step to mark it as completed and track your cooking progress!