Back to American Recipes

Author:
the.mountain.village
TikTok
24K
547
Easy Pickled Whole Corn Cobs Recipe: Jarred Mountain-Style Corn
Learn how to pickle whole corn cobs right in jars for a delicious, rustic side dish or snack. This simple outdoor food tutorial shows you the steps to create flavorful, mountain-style pickled corn perfect for any meal. Enjoy this traditional preserving method.
#Pickled Corn
#Corn Cobs
#Canning
#Preserving
#Outdoor Food
#Rustic Cuisine
#Homemade
#Easy Recipe
#Vegetable Pickle
#Summer Food
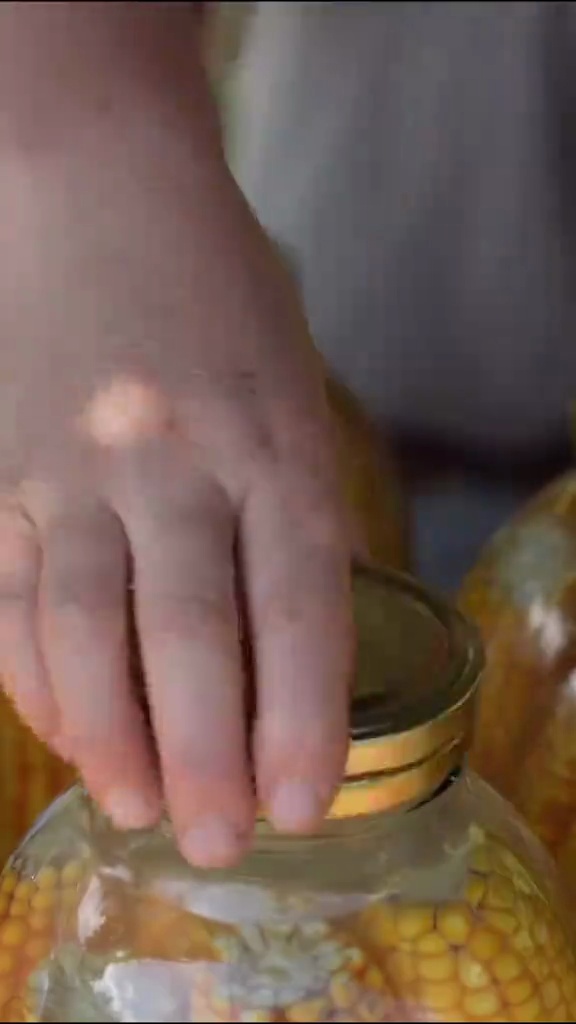
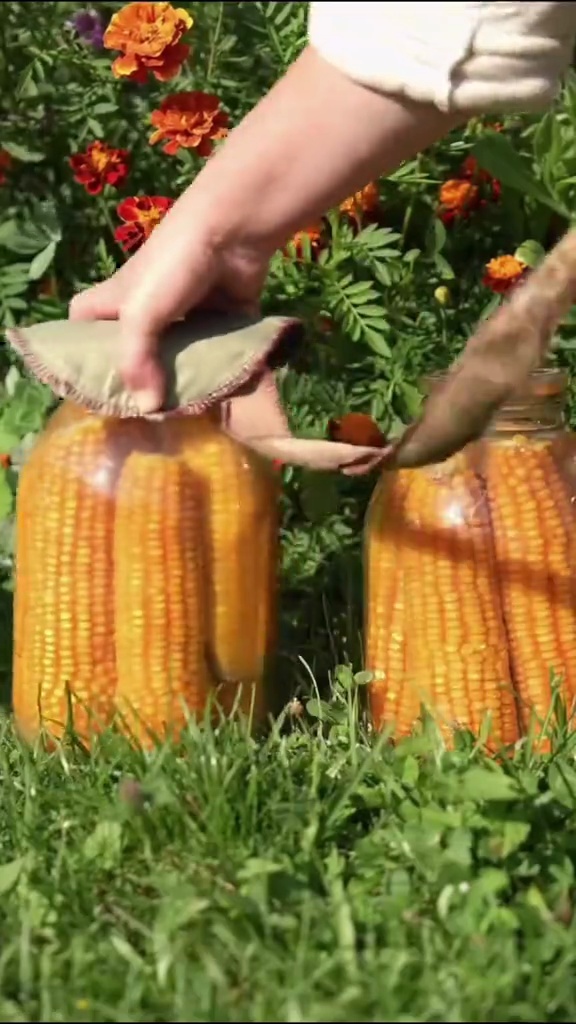
Freshly Pickled Corn Cobs in Jars
Recipe Information
15m
Prep Time
10m
Cook Time
25m
Total Time
4
Servings
Easy
American
English
Nutrition (per serving)
60
Calories
1g
Protein
15g
Carbs
0g
Fat
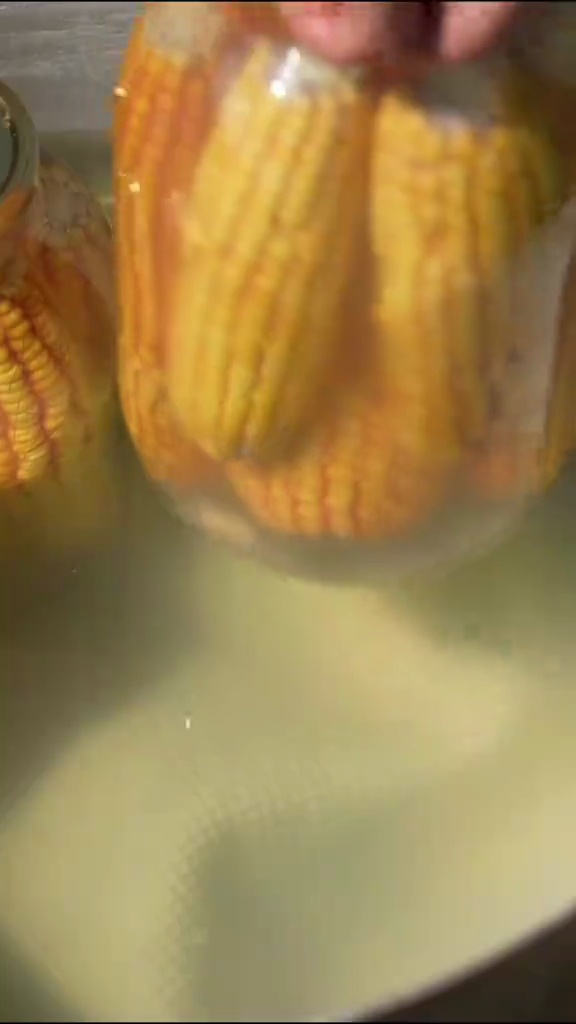
Rustic Pickled Corn Ready to Eat
Ingredients
advertisement
advertisement
Servings: 4
💡 Tip: Check off ingredients as you add them to keep track of your progress!
Colorful Jars of Pickled Corn
Instructions
0/5 completed
0%
- Clean corn cobs by removing husks and silk. Wash and sterilize jars and lids.5m
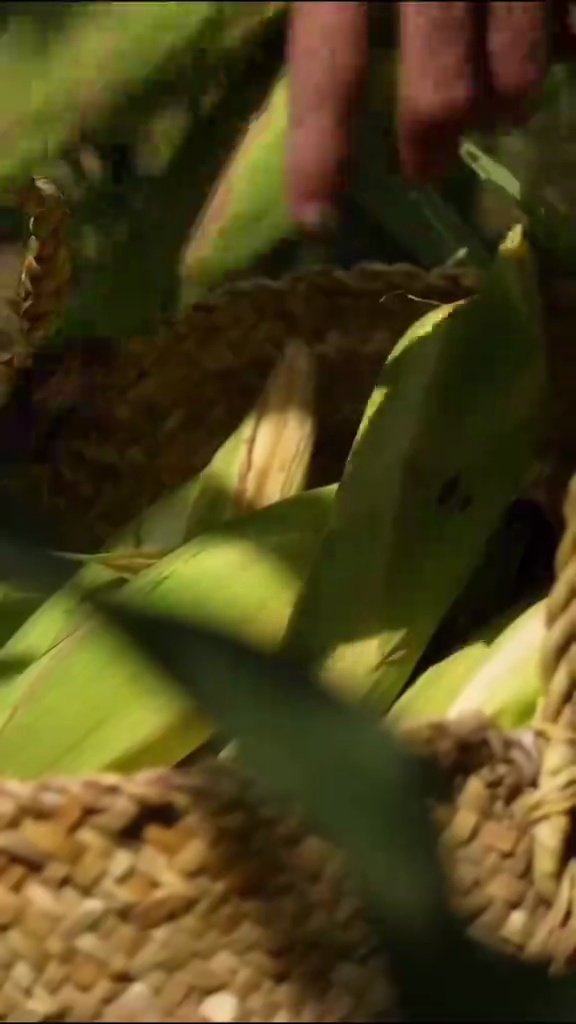 Preview5mPreviewClean corn cobs by removing husks and silk. Wash and sterilize jars and lids.
 - In a saucepan, combine water, white vinegar, pickling salt, and granulated sugar. Bring the mixture to a boil, stirring until salt and sugar are dissolved.5m
 Preview5mPreviewIn a saucepan, combine water, white vinegar, pickling salt, and granulated sugar. Bring the mixture to a boil, stirring until salt and sugar are dissolved.
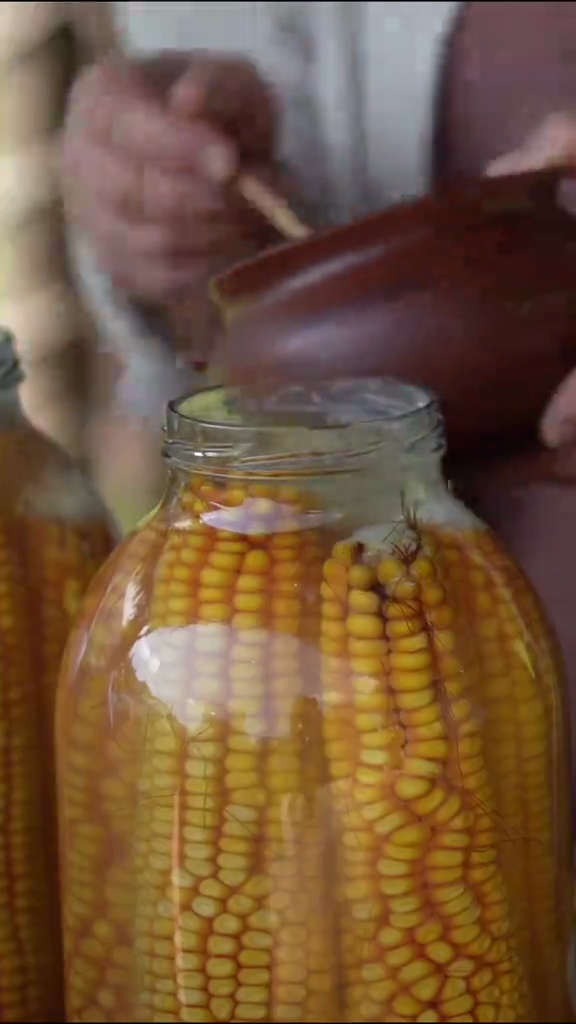
 - Place garlic cloves, fresh dill sprigs, black peppercorns, mustard seeds, and bay leaves into the sterilized jars. Carefully place whole corn cobs upright into each jar, trimming if necessary to fit.5m
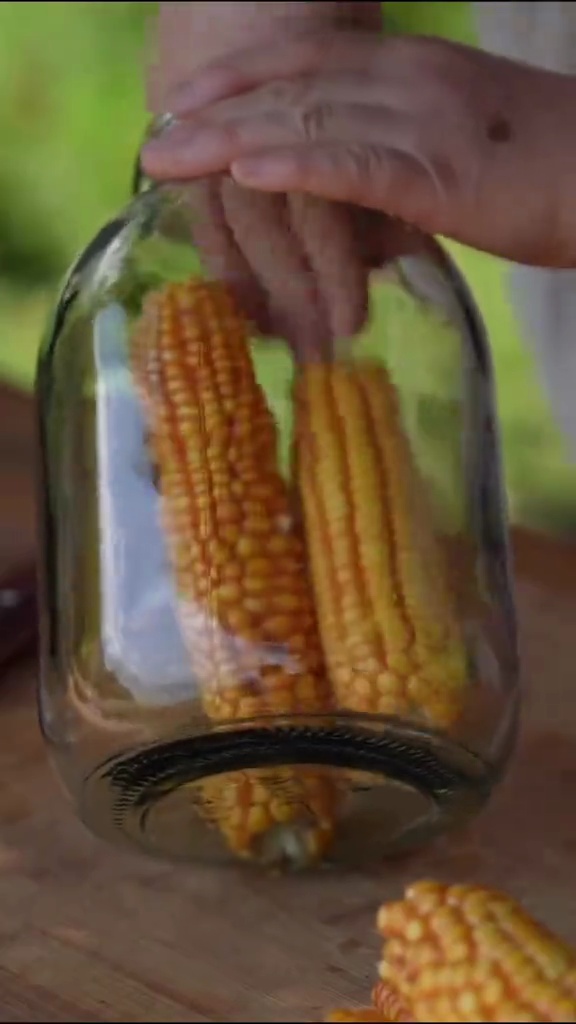 Preview5mPreviewPlace garlic cloves, fresh dill sprigs, black peppercorns, mustard seeds, and bay leaves into the sterilized jars. Carefully place whole corn cobs upright into each jar, trimming if necessary to fit.
 - Pour the hot pickling brine over the corn cobs, leaving about 1/2 inch of headspace from the rim. Remove any air bubbles with a clean knife or skewer. Wipe rims clean, then seal tightly with lids.3m
 Preview3mPreviewPour the hot pickling brine over the corn cobs, leaving about 1/2 inch of headspace from the rim. Remove any air bubbles with a clean knife or skewer. Wipe rims clean, then seal tightly with lids.
 - Allow jars to cool completely at room temperature. Once cooled, store them in the refrigerator. Wait at least 1-2 weeks before eating for best flavor development.0mPreview0mPreviewAllow jars to cool completely at room temperature. Once cooled, store them in the refrigerator. Wait at least 1-2 weeks before eating for best flavor development.
advertisement
advertisement
💡 Tip: Click on any step to mark it as completed and track your cooking progress!