Back to American Recipes

Author:
bakedbyyu
TikTok
2M
197K
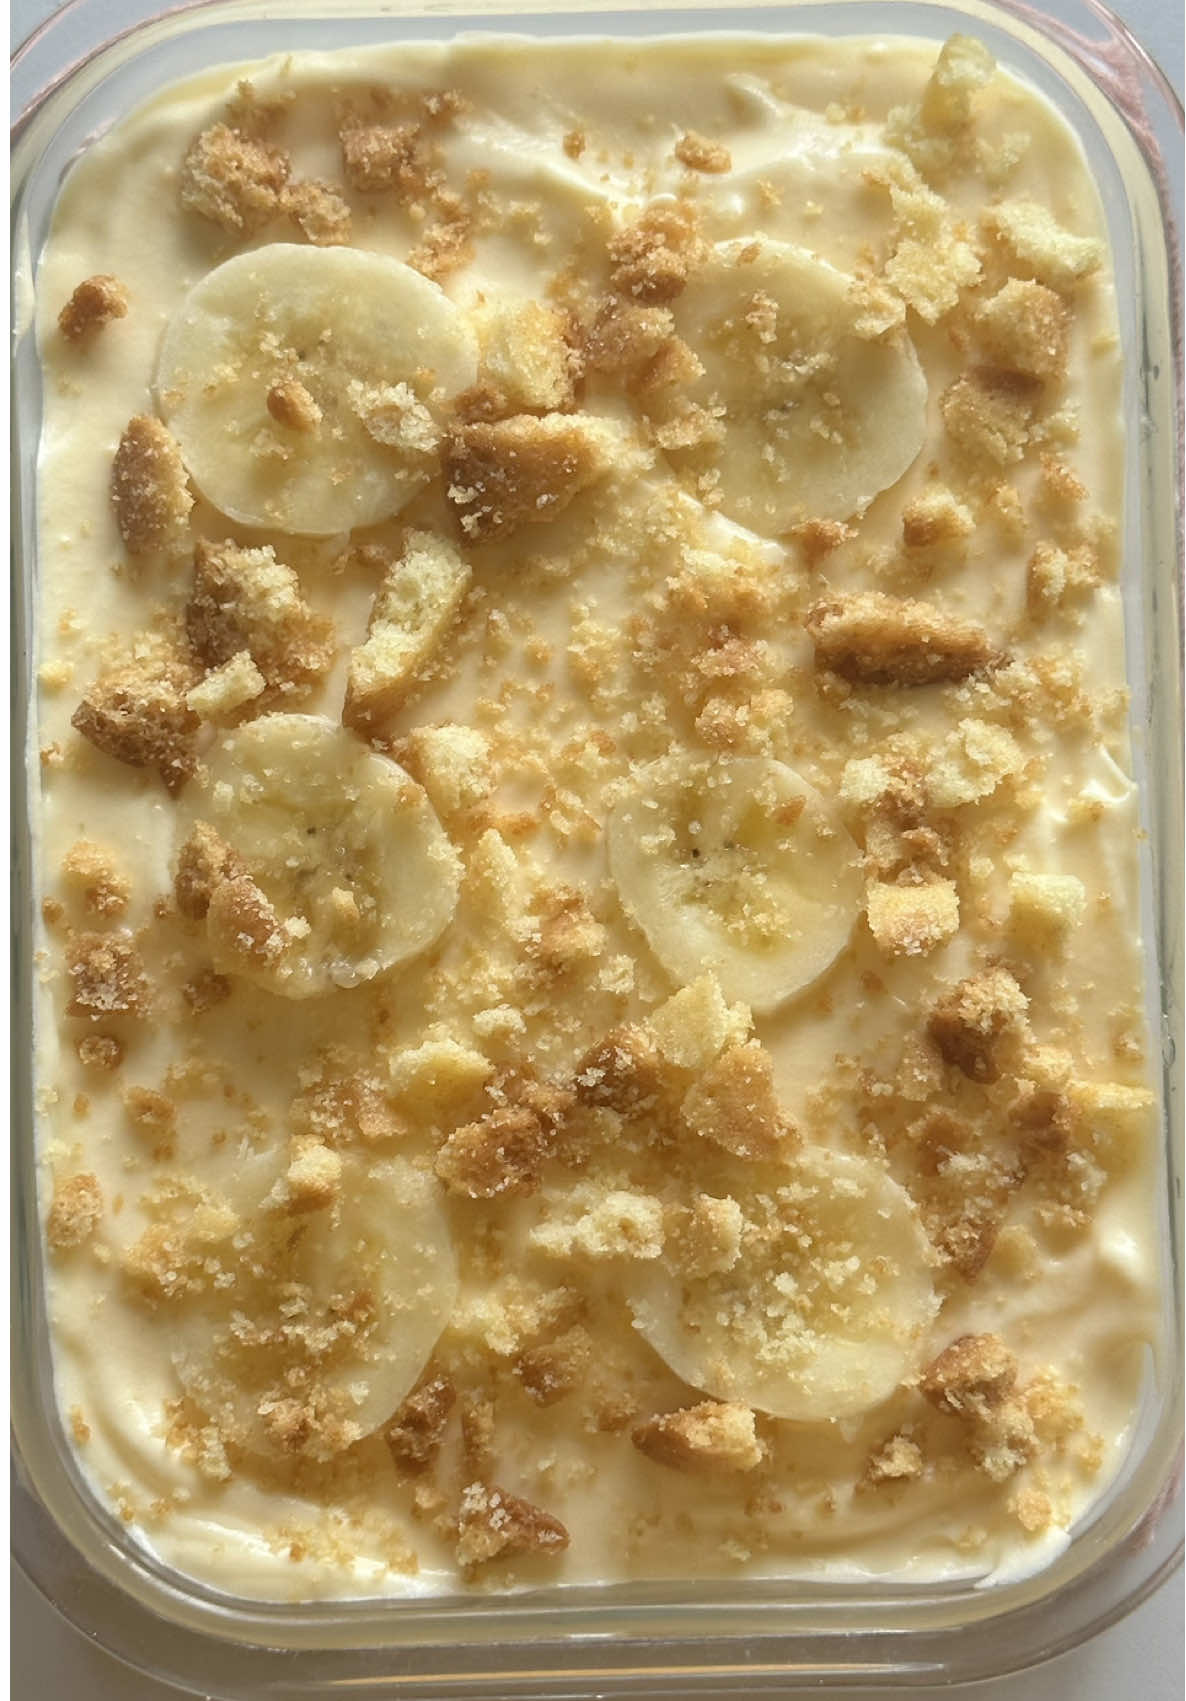
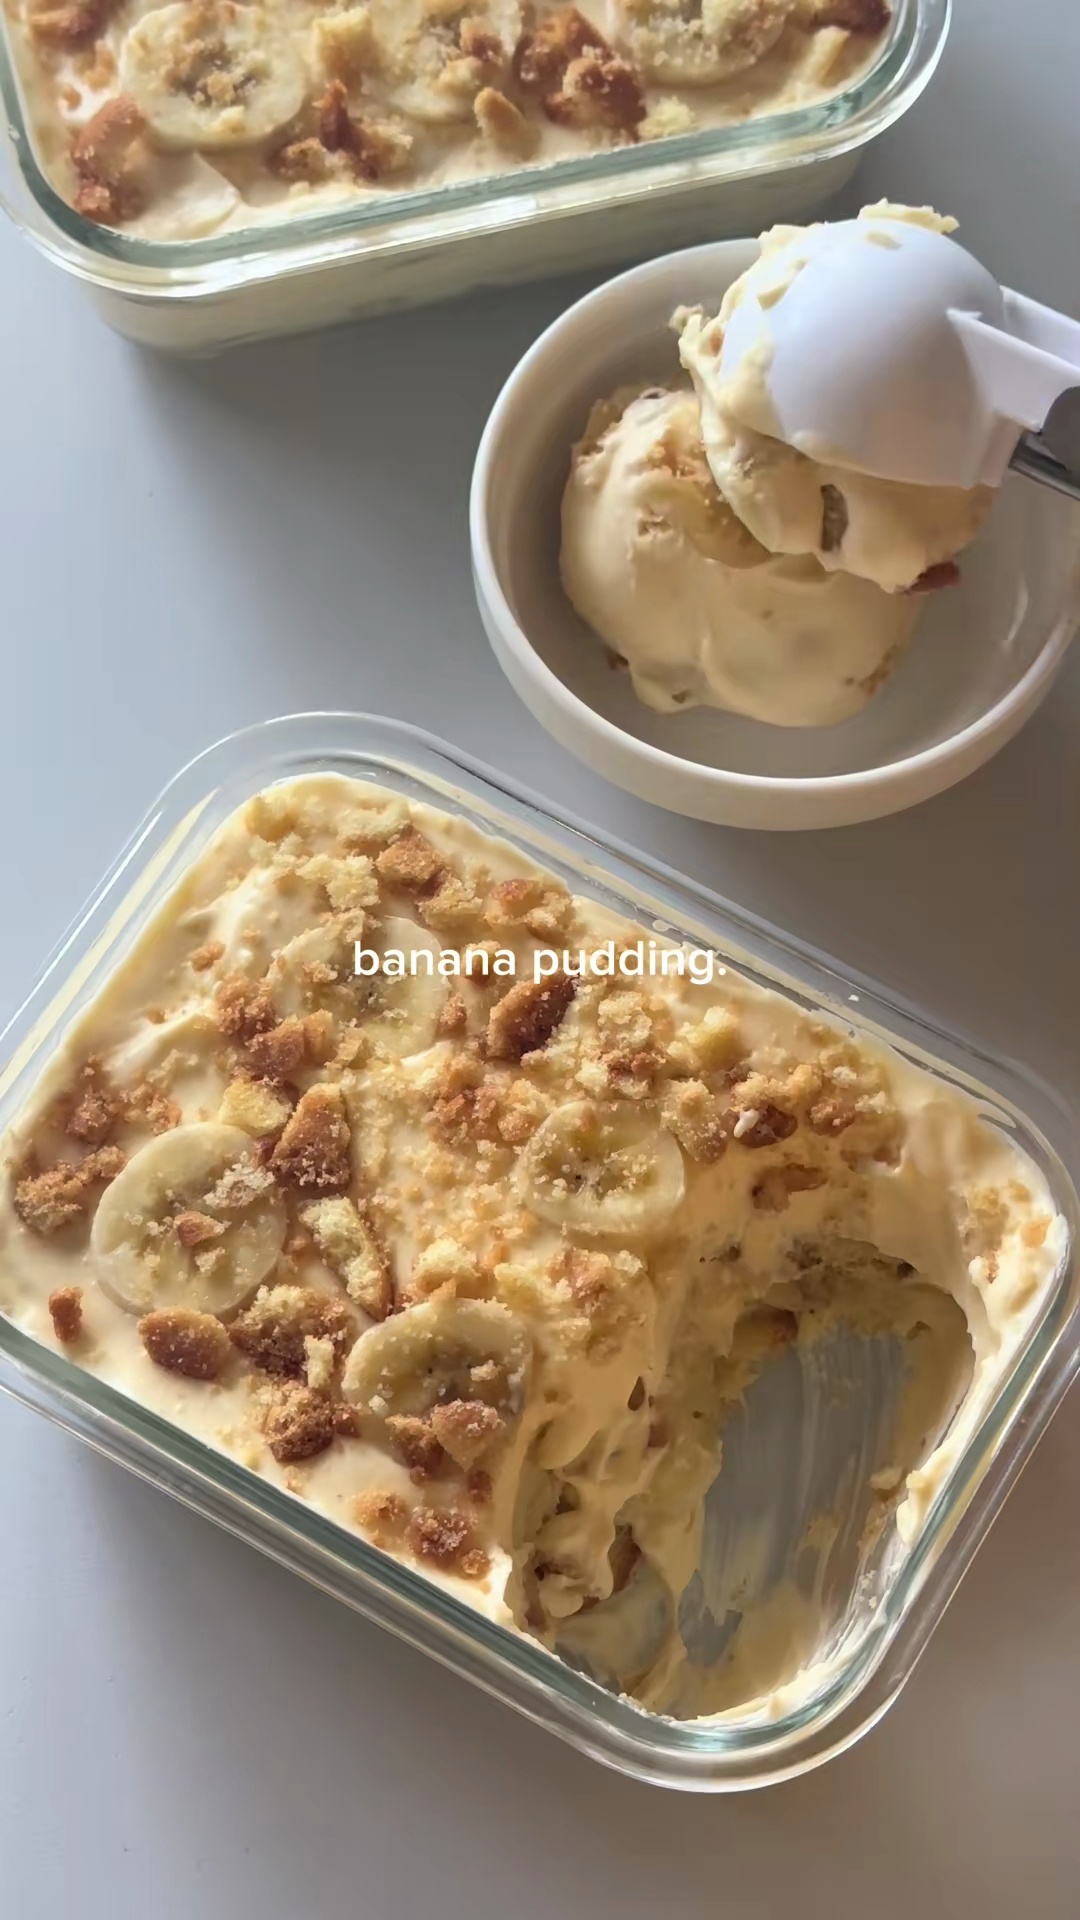
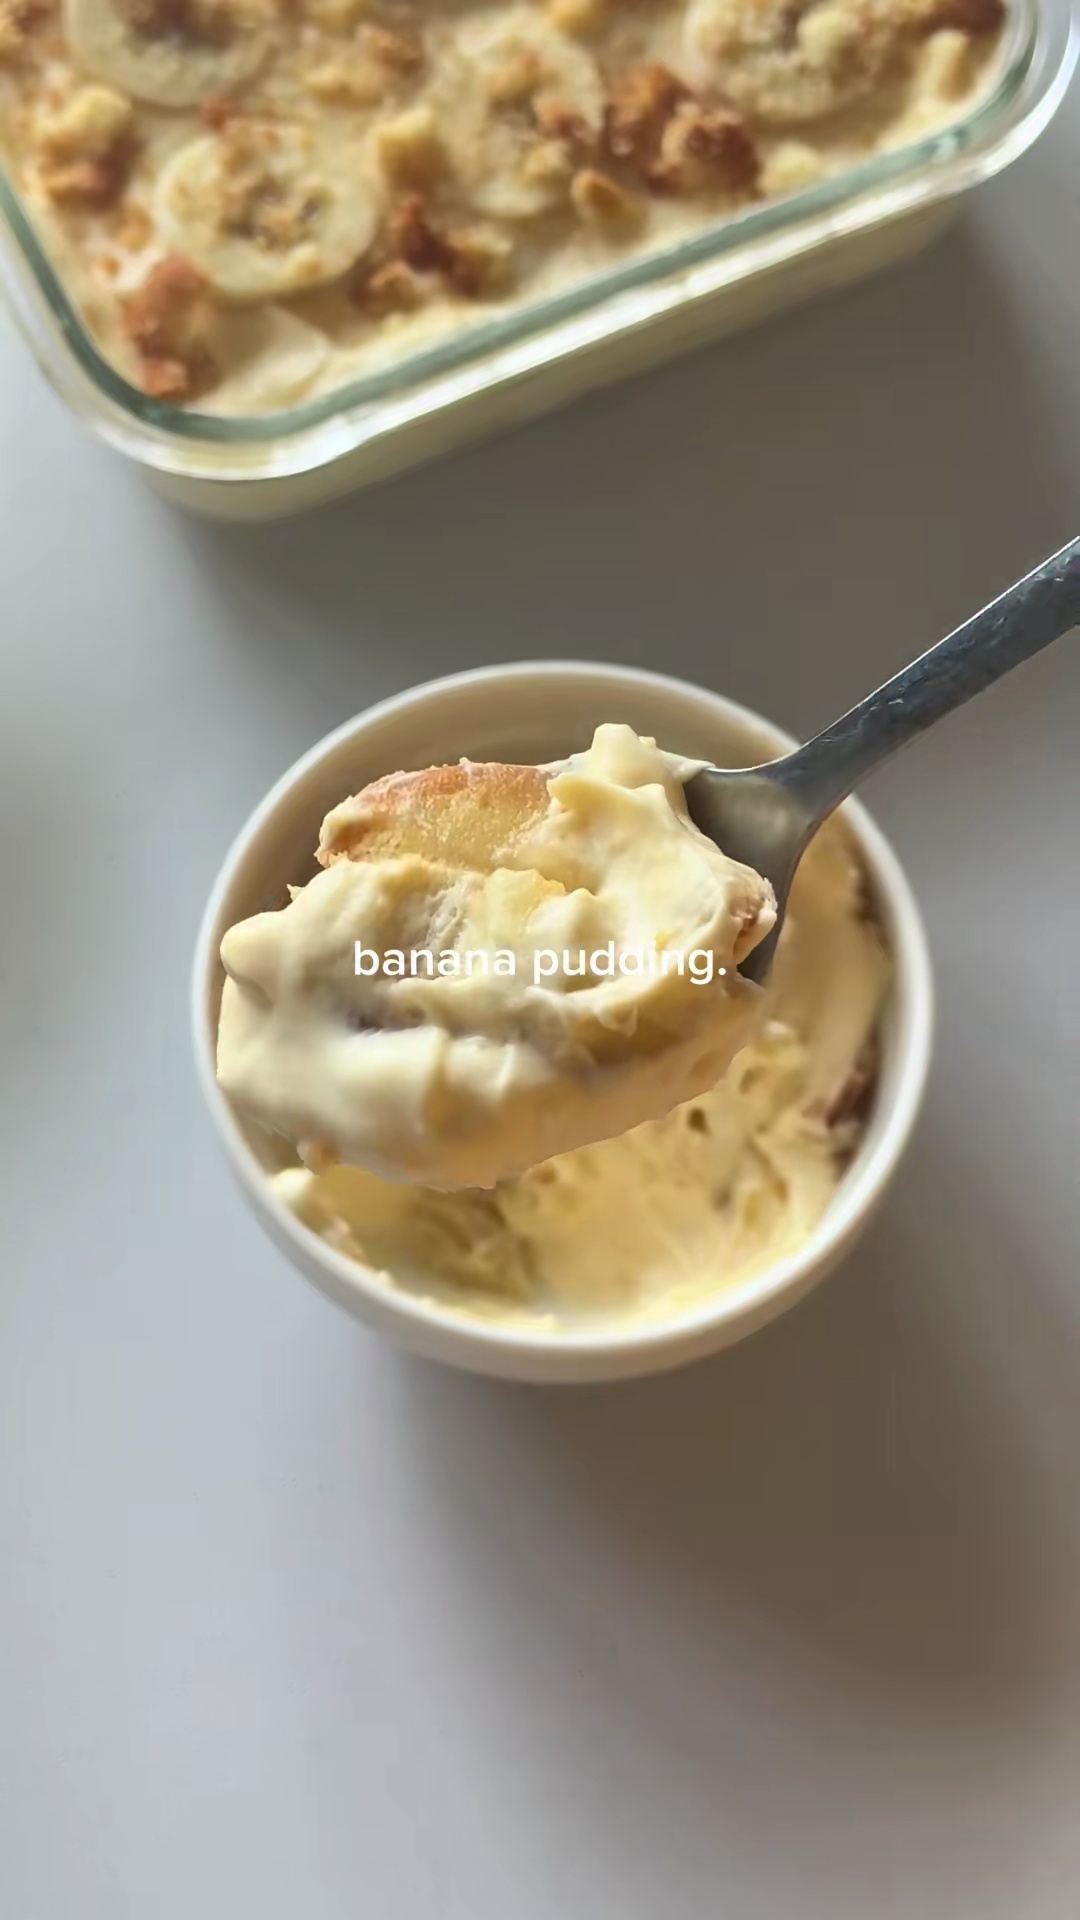
Homemade Banana Pudding with Nilla Wafers
Indulge in the classic comfort of homemade banana pudding featuring scratch-made Nilla wafers and a rich, creamy custard. This recipe guides you through creating delicate, buttery wafers from scratch, a luscious vanilla custard, and finally assembling layers of fresh bananas, wafers, and whipped cream for a truly decadent dessert that's perfect for any occasion.
#dessert
#banana
#pudding
#comfort food
#homemade
#nilla wafers
#southern
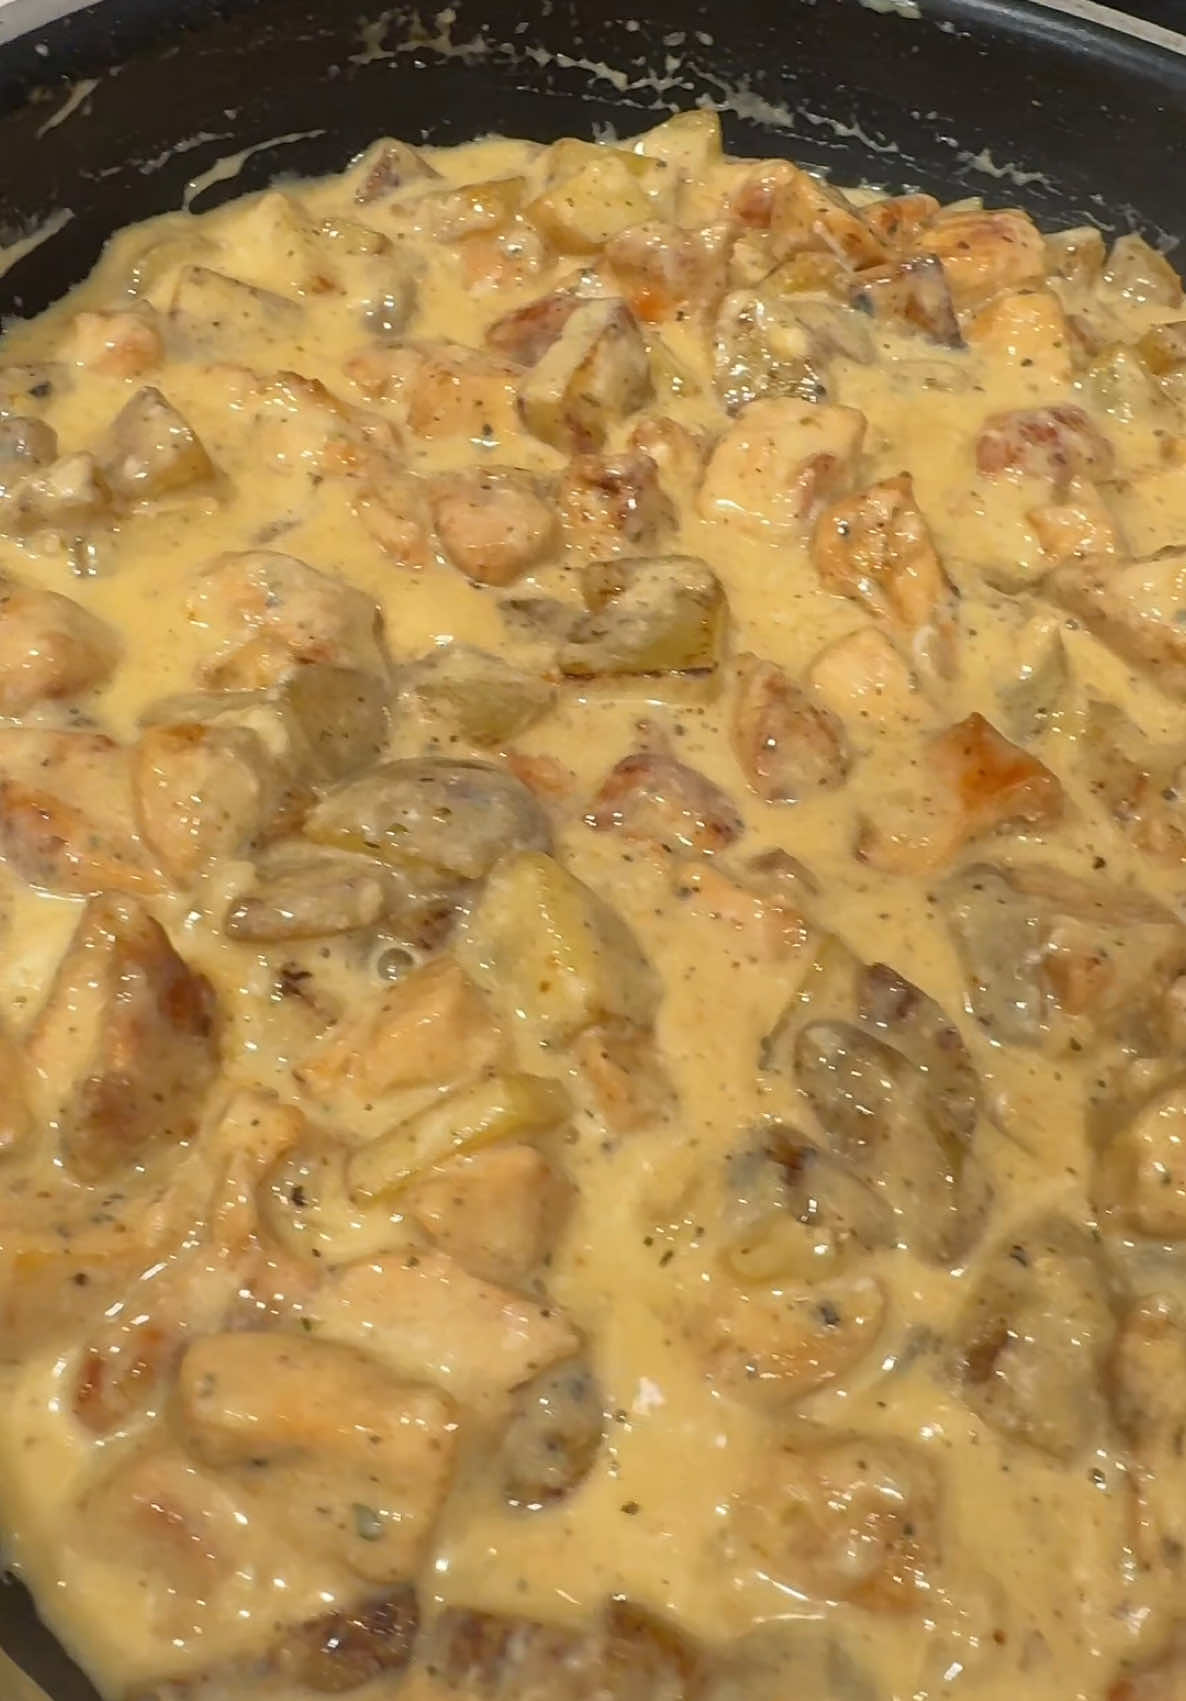
Homemade Nilla Wafers dough ready for chilling
Recipe Information
1h 25m
Prep Time
30m
Cook Time
5h 55m
Total Time
8
Servings
Medium
American
English
Nutrition (per serving)
480
Calories
8g
Protein
65g
Carbs
25g
Fat
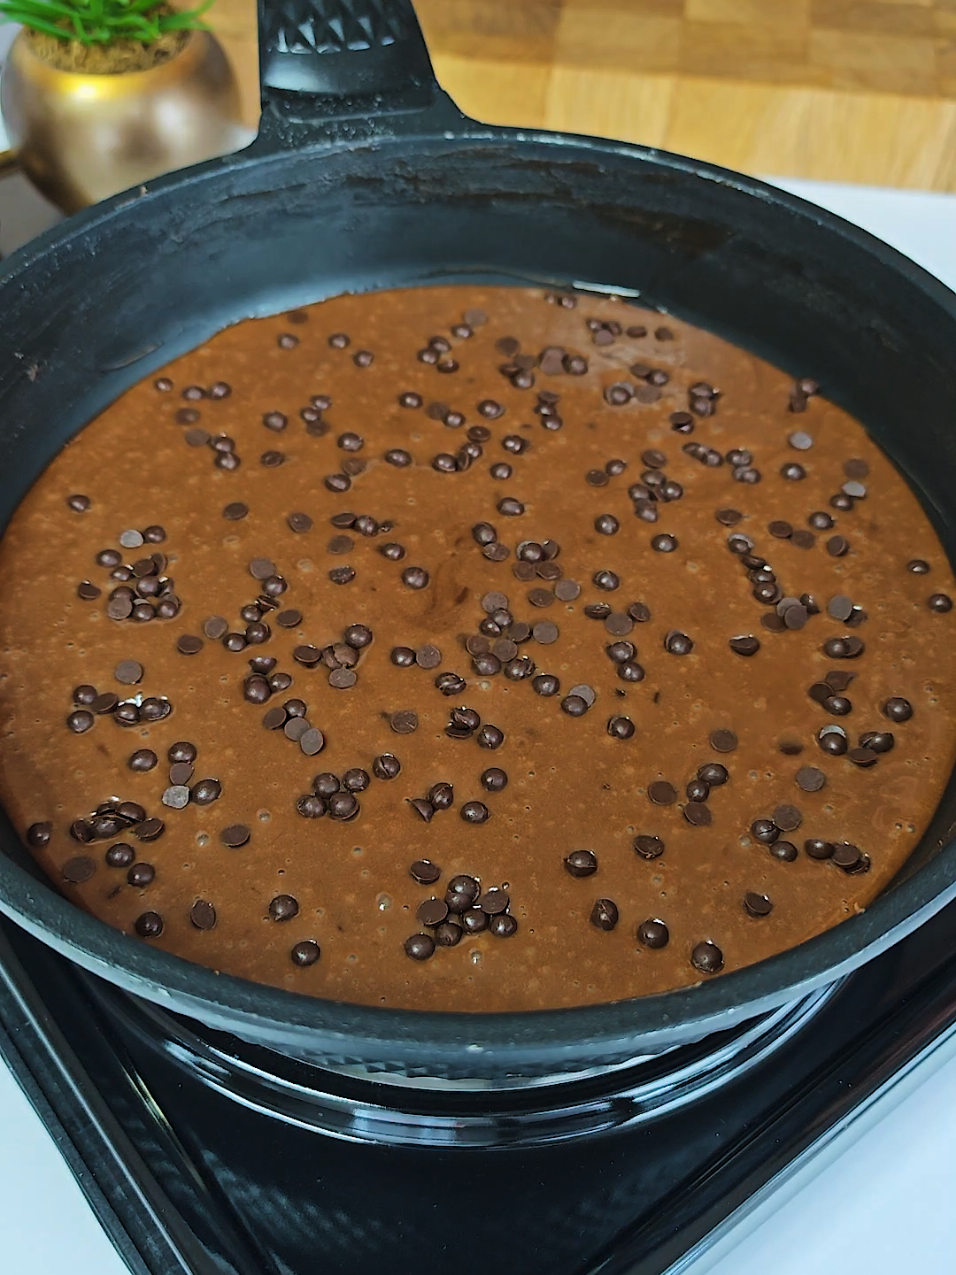
Rich and creamy vanilla custard cooking on the stovetop
Ingredients
Servings: 8
💡 Tip: Check off ingredients as you add them to keep track of your progress!
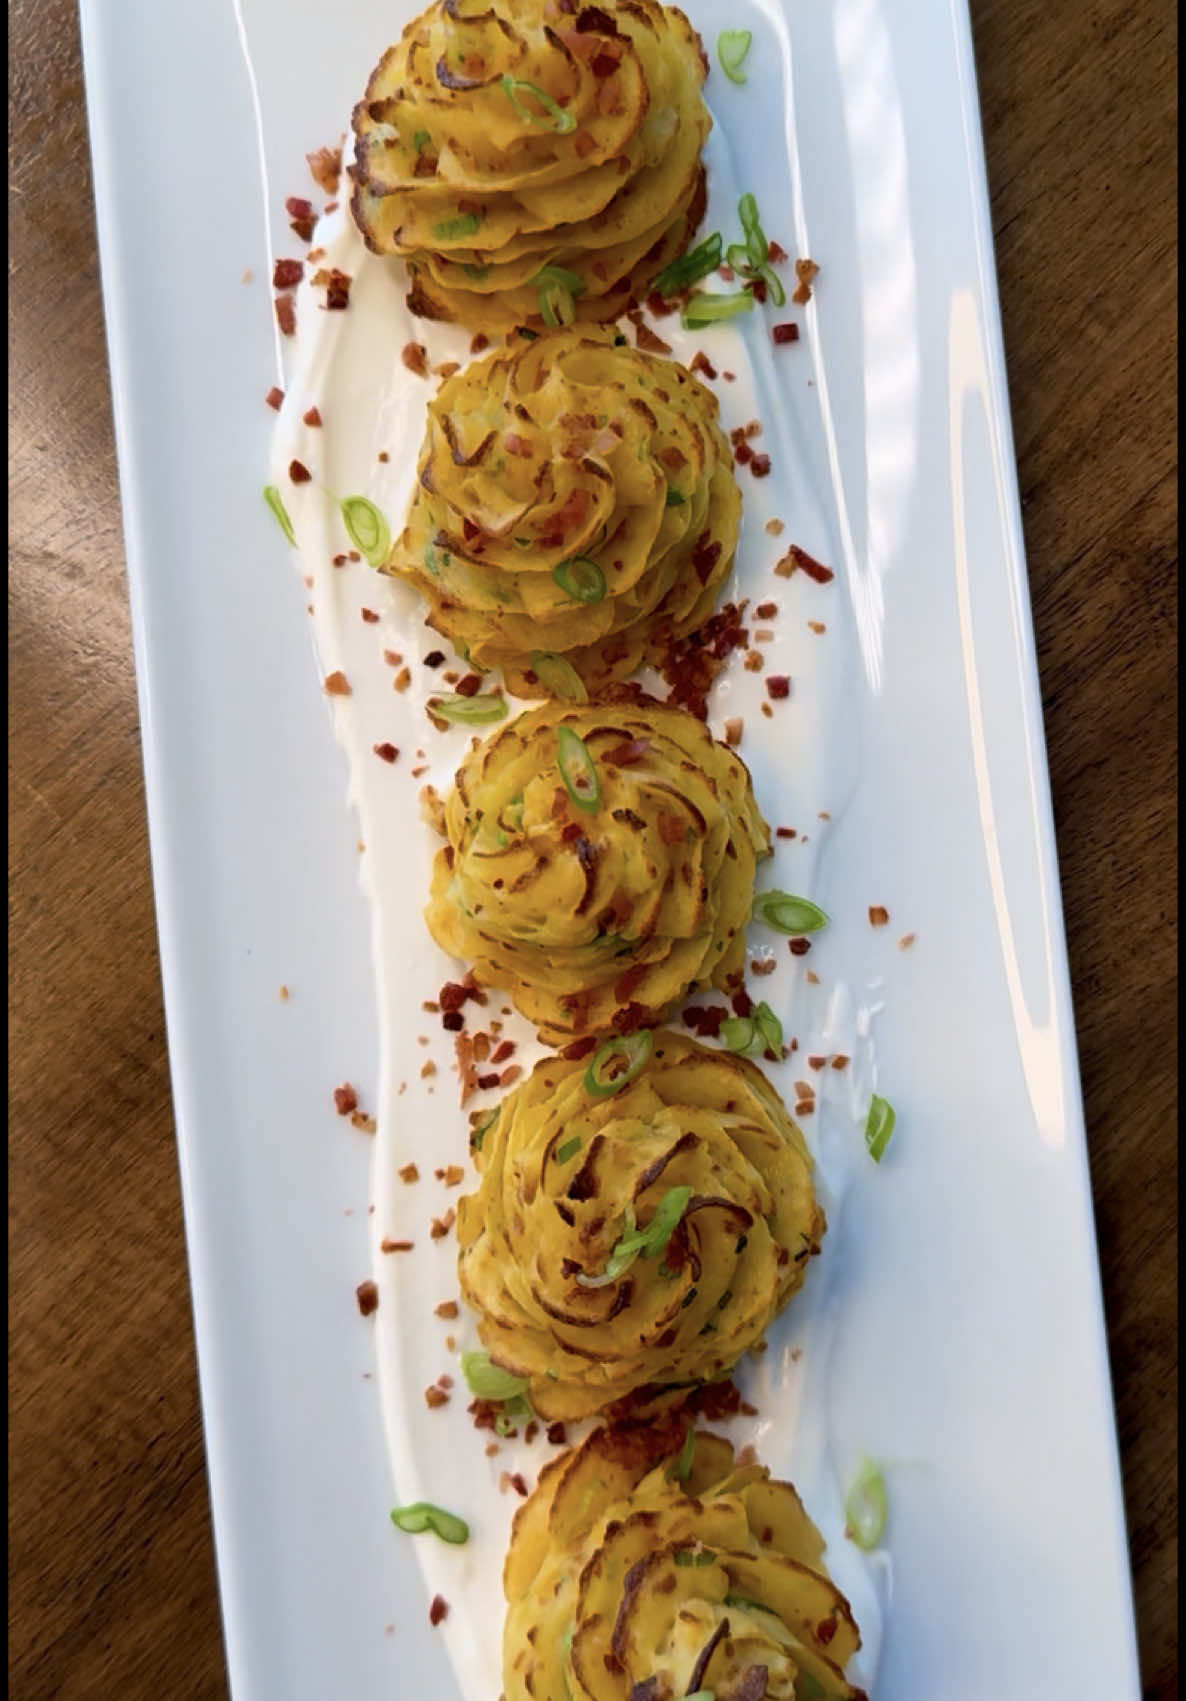
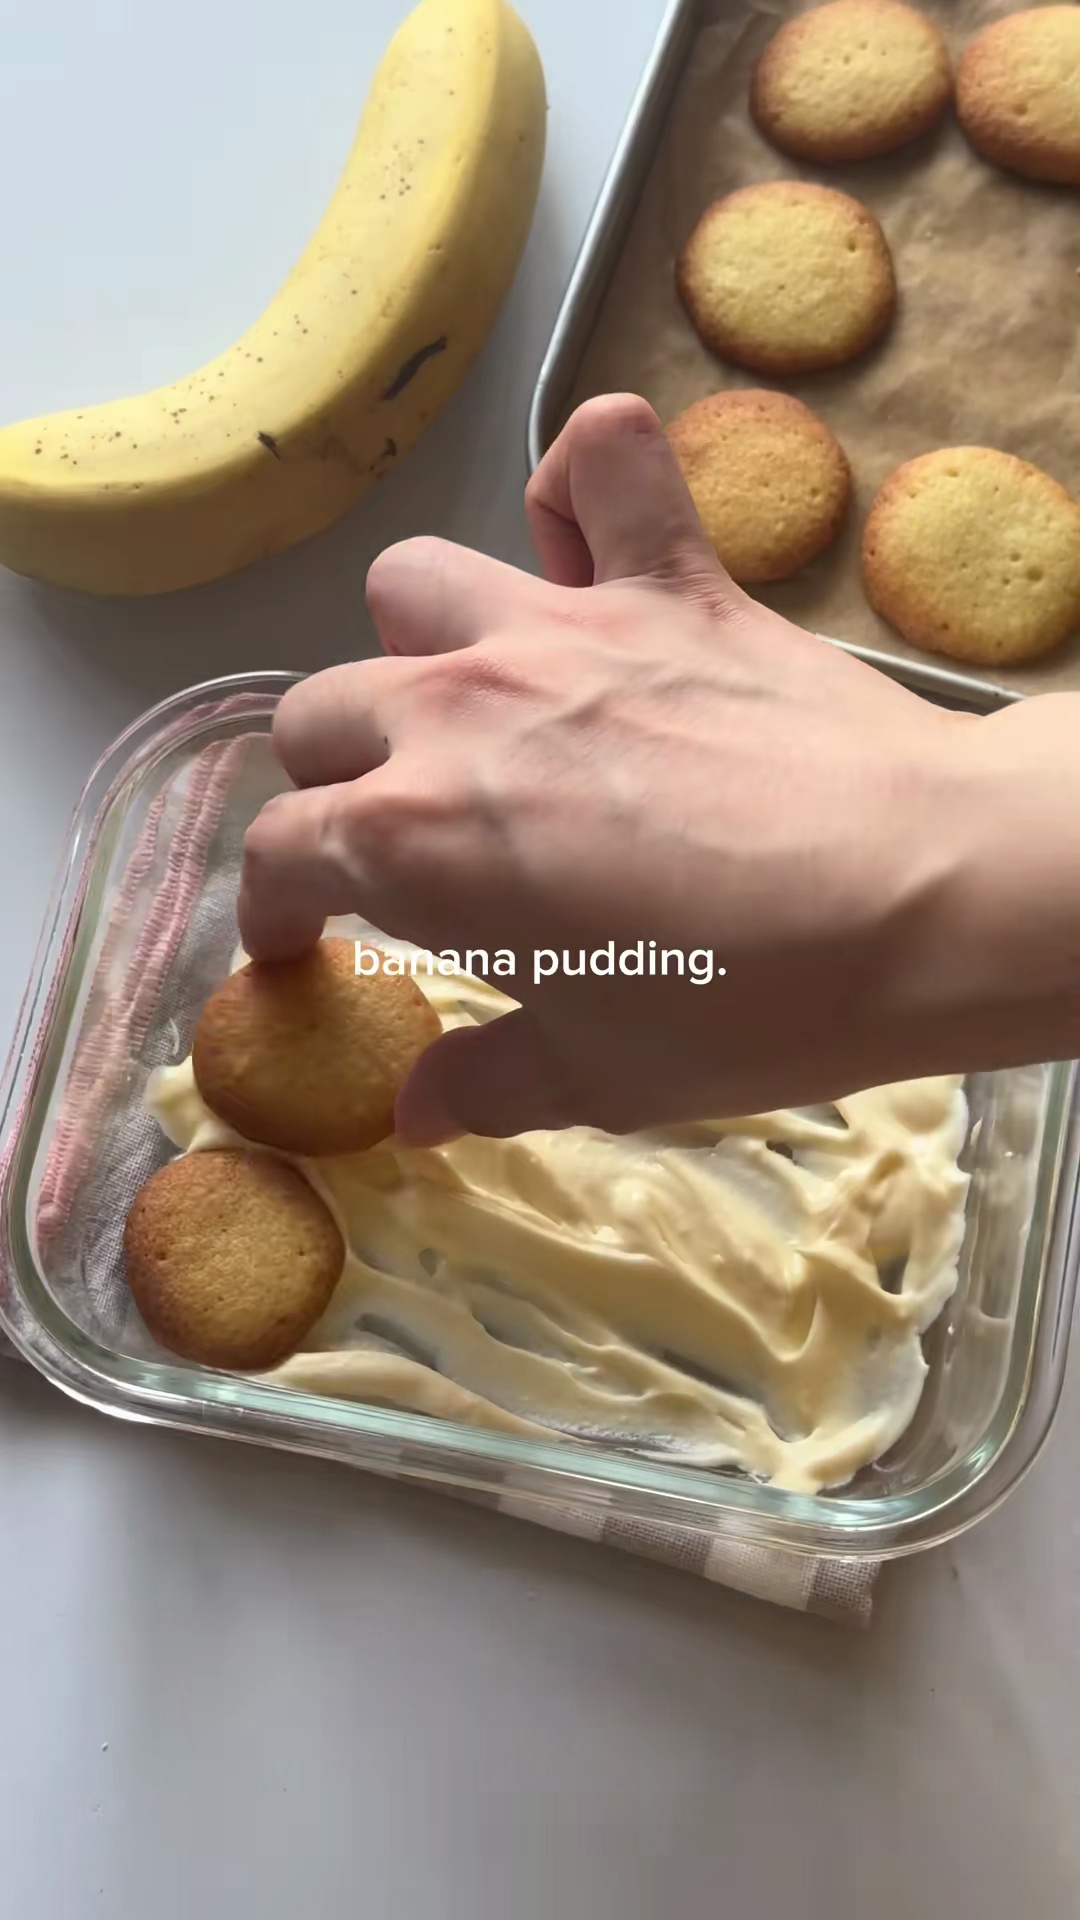
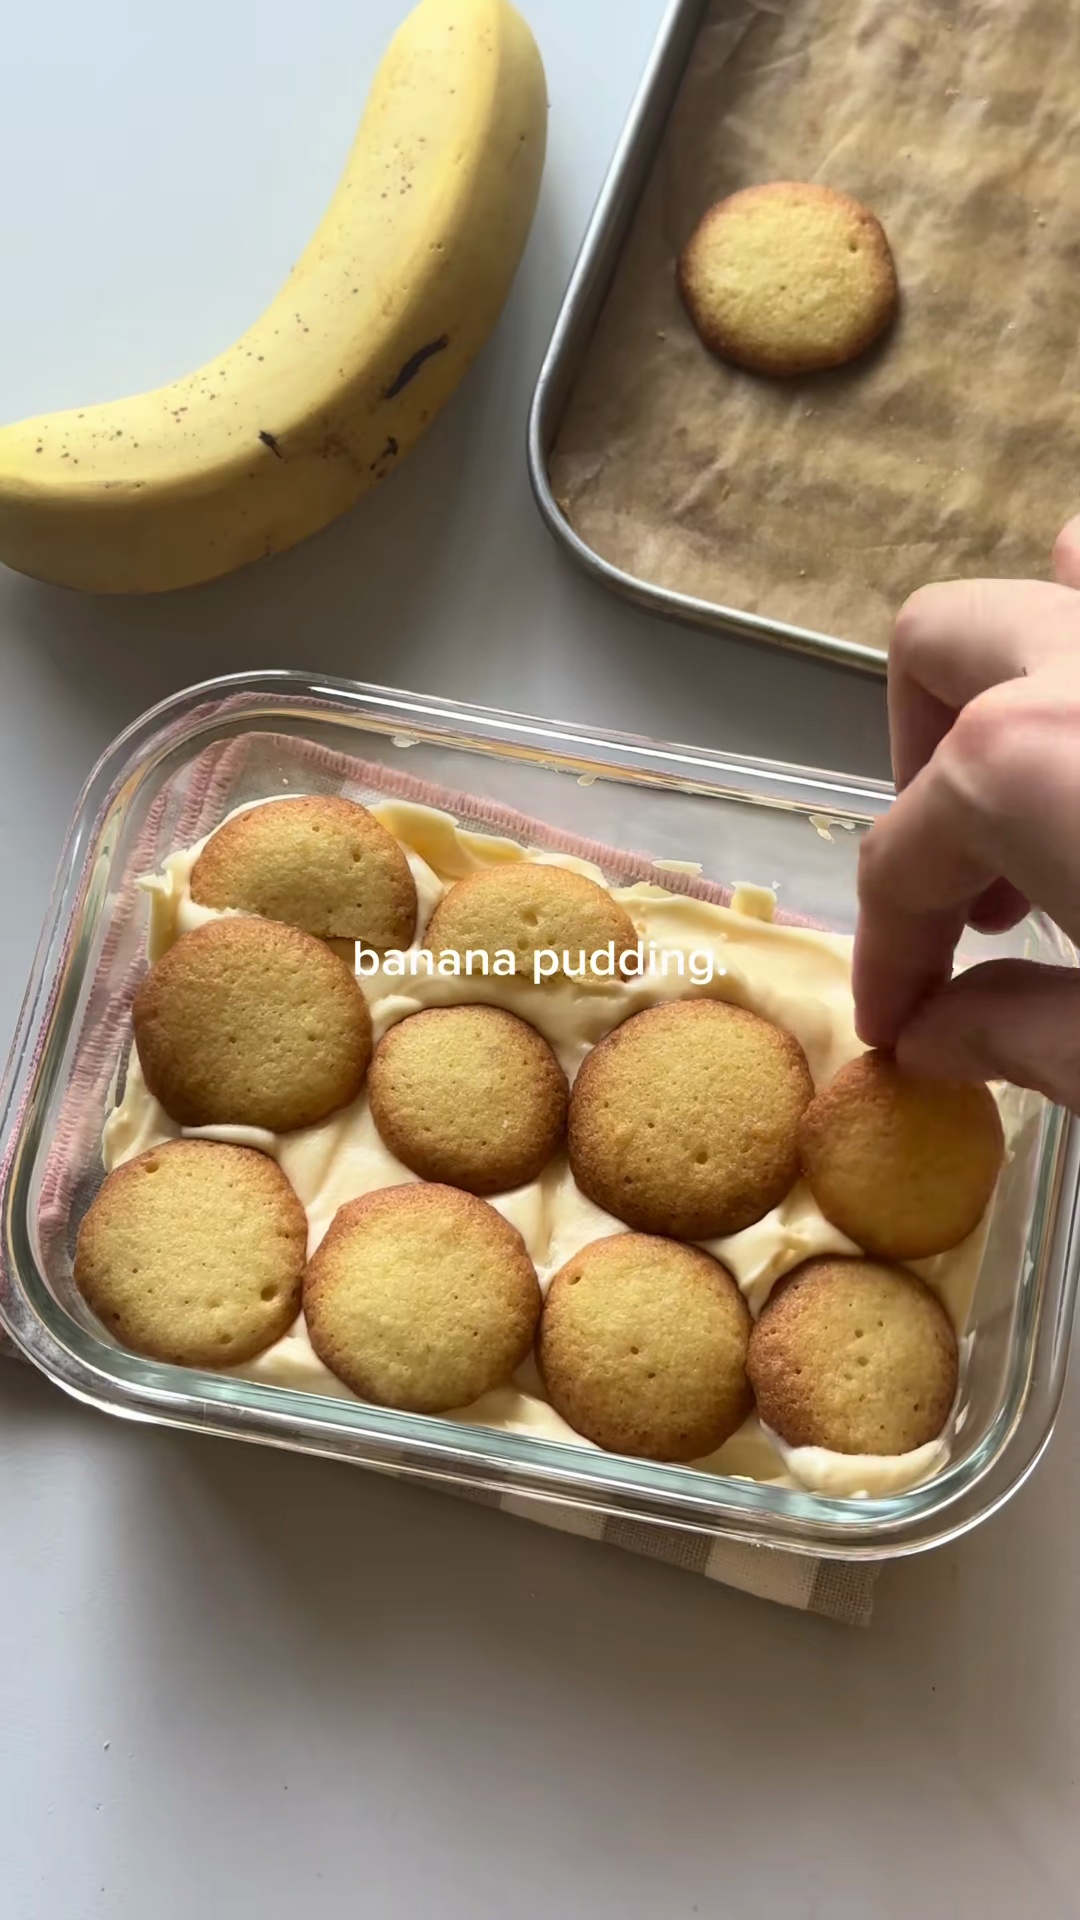
Layering the banana pudding in a serving dish
Instructions
0/16 completed
0%
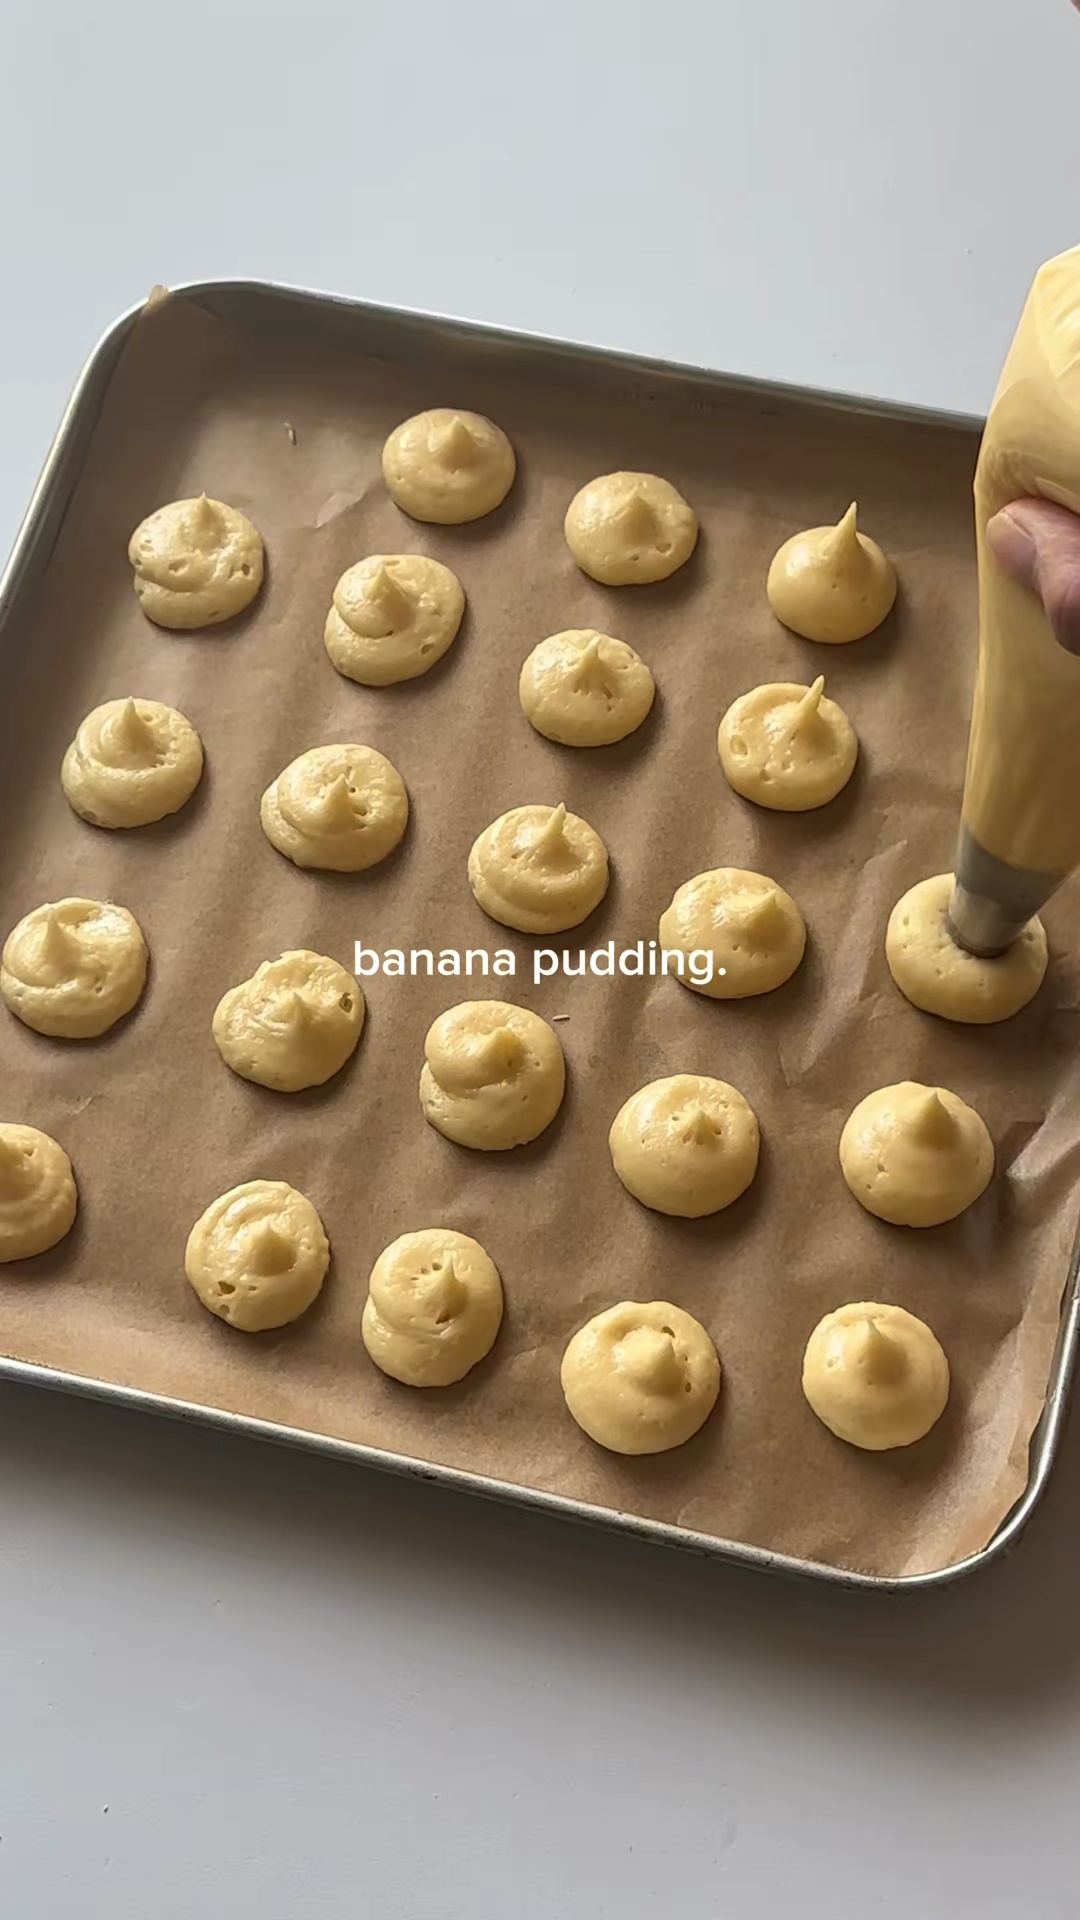
- Prepare the Nilla Wafers: In a large bowl, cream together the softened unsalted butter and powdered sugar until the mixture is pale and fluffy. Use an electric mixer for best results.5m
 Preview5mPreviewPrepare the Nilla Wafers: In a large bowl, cream together the softened unsalted butter and powdered sugar until the mixture is pale and fluffy. Use an electric mixer for best results.
 - Add eggs one at a time to the butter mixture, mixing well after each addition until fully incorporated. Stir in 1 tsp of vanilla essence.3m
 Preview3mPreviewAdd eggs one at a time to the butter mixture, mixing well after each addition until fully incorporated. Stir in 1 tsp of vanilla essence.
 - In a separate bowl, whisk together the all-purpose flour, a pinch of salt, and 1/4 tsp of baking soda.2m
 Preview2mPreviewIn a separate bowl, whisk together the all-purpose flour, a pinch of salt, and 1/4 tsp of baking soda.
 - Gradually add the dry ingredients to the wet ingredients, mixing on low speed until just combined to form a soft dough. Be careful not to overmix.3m
 Preview3mPreviewGradually add the dry ingredients to the wet ingredients, mixing on low speed until just combined to form a soft dough. Be careful not to overmix.
 - Shape the dough into a disk, wrap it in plastic wrap, and refrigerate for at least 30 minutes to firm up. Preheat your oven to 175°C (350°F).35mPreview35mPreviewShape the dough into a disk, wrap it in plastic wrap, and refrigerate for at least 30 minutes to firm up. Preheat your oven to 175°C (350°F).
- On a lightly floured surface, roll out the chilled dough to about 1/8 inch thickness. Use a small round cookie cutter or knife to cut out wafer shapes. Place them on a baking sheet lined with parchment paper.10m
 Preview10mPreviewOn a lightly floured surface, roll out the chilled dough to about 1/8 inch thickness. Use a small round cookie cutter or knife to cut out wafer shapes. Place them on a baking sheet lined with parchment paper.
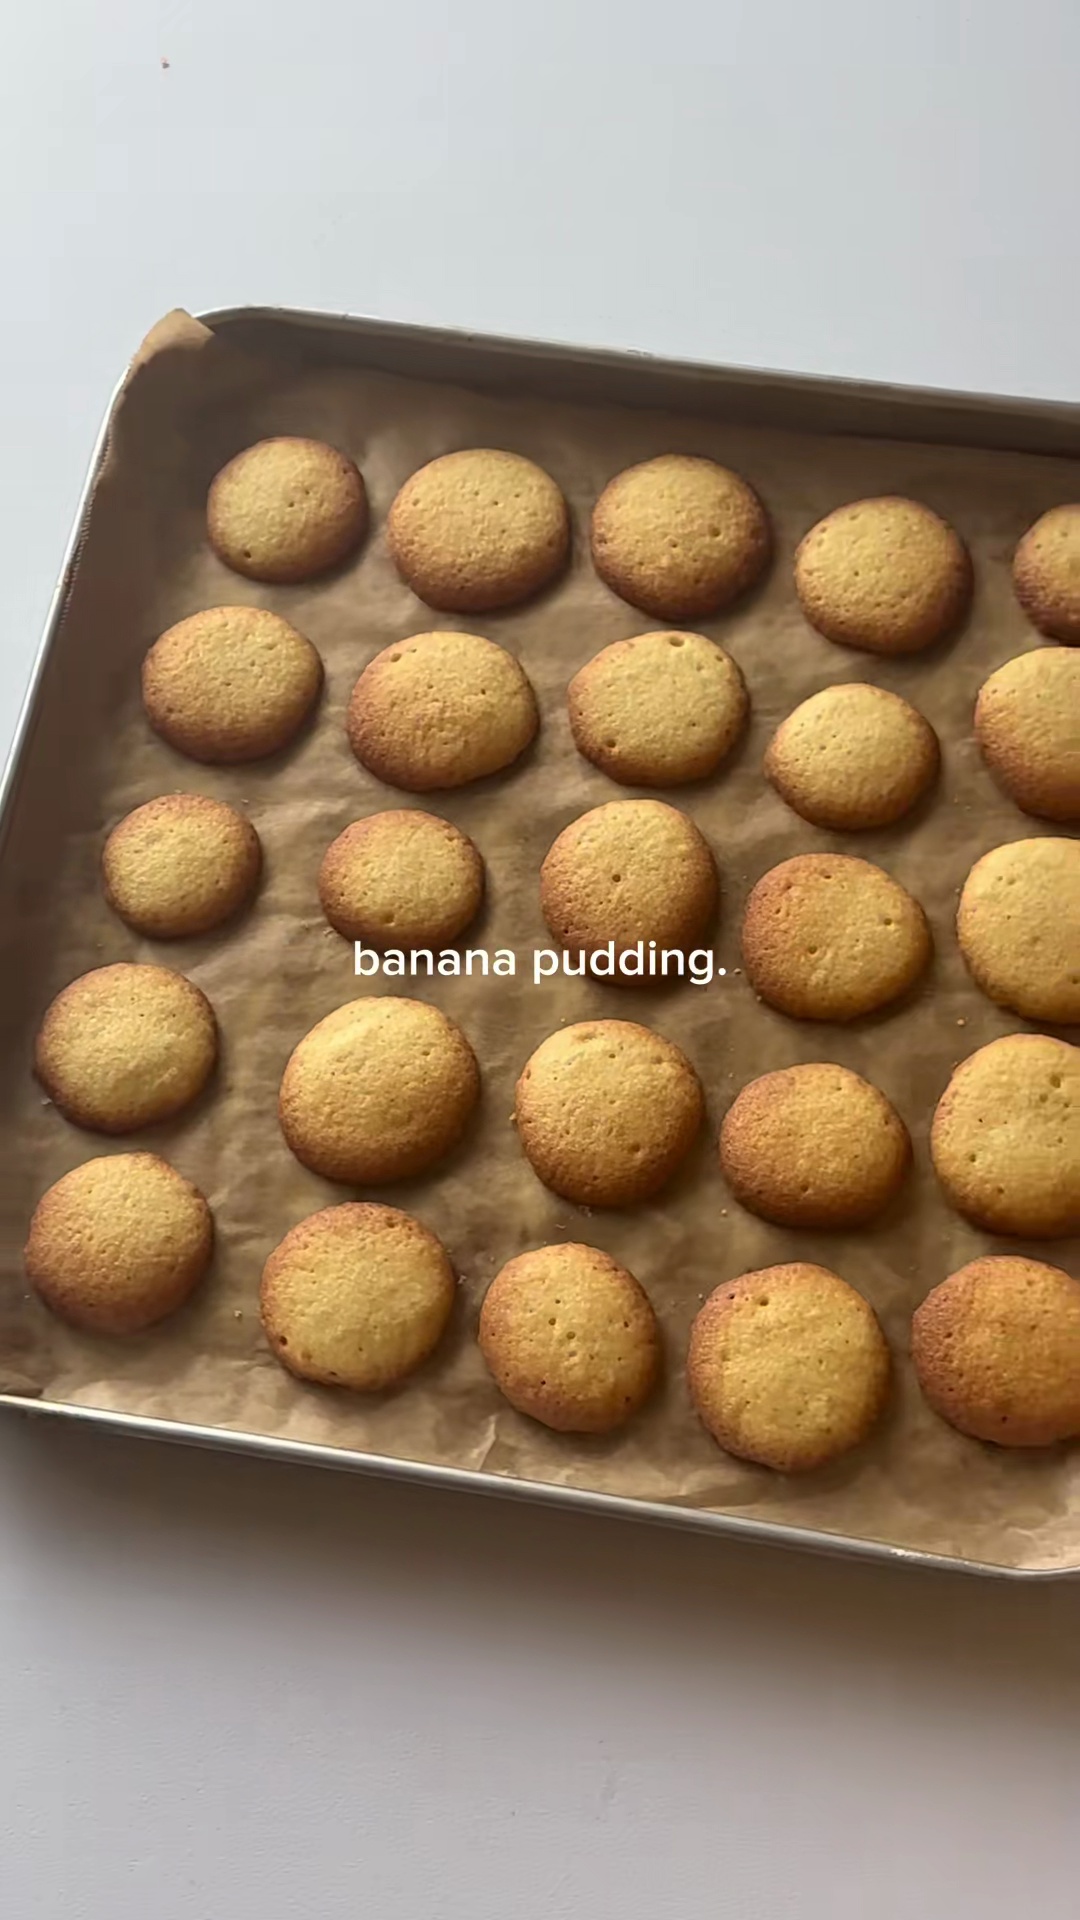
 - Bake the wafers for 10-12 minutes, or until the edges are lightly golden. Let them cool completely on a wire rack. They will crisp up as they cool.15m
 Preview15mPreviewBake the wafers for 10-12 minutes, or until the edges are lightly golden. Let them cool completely on a wire rack. They will crisp up as they cool.
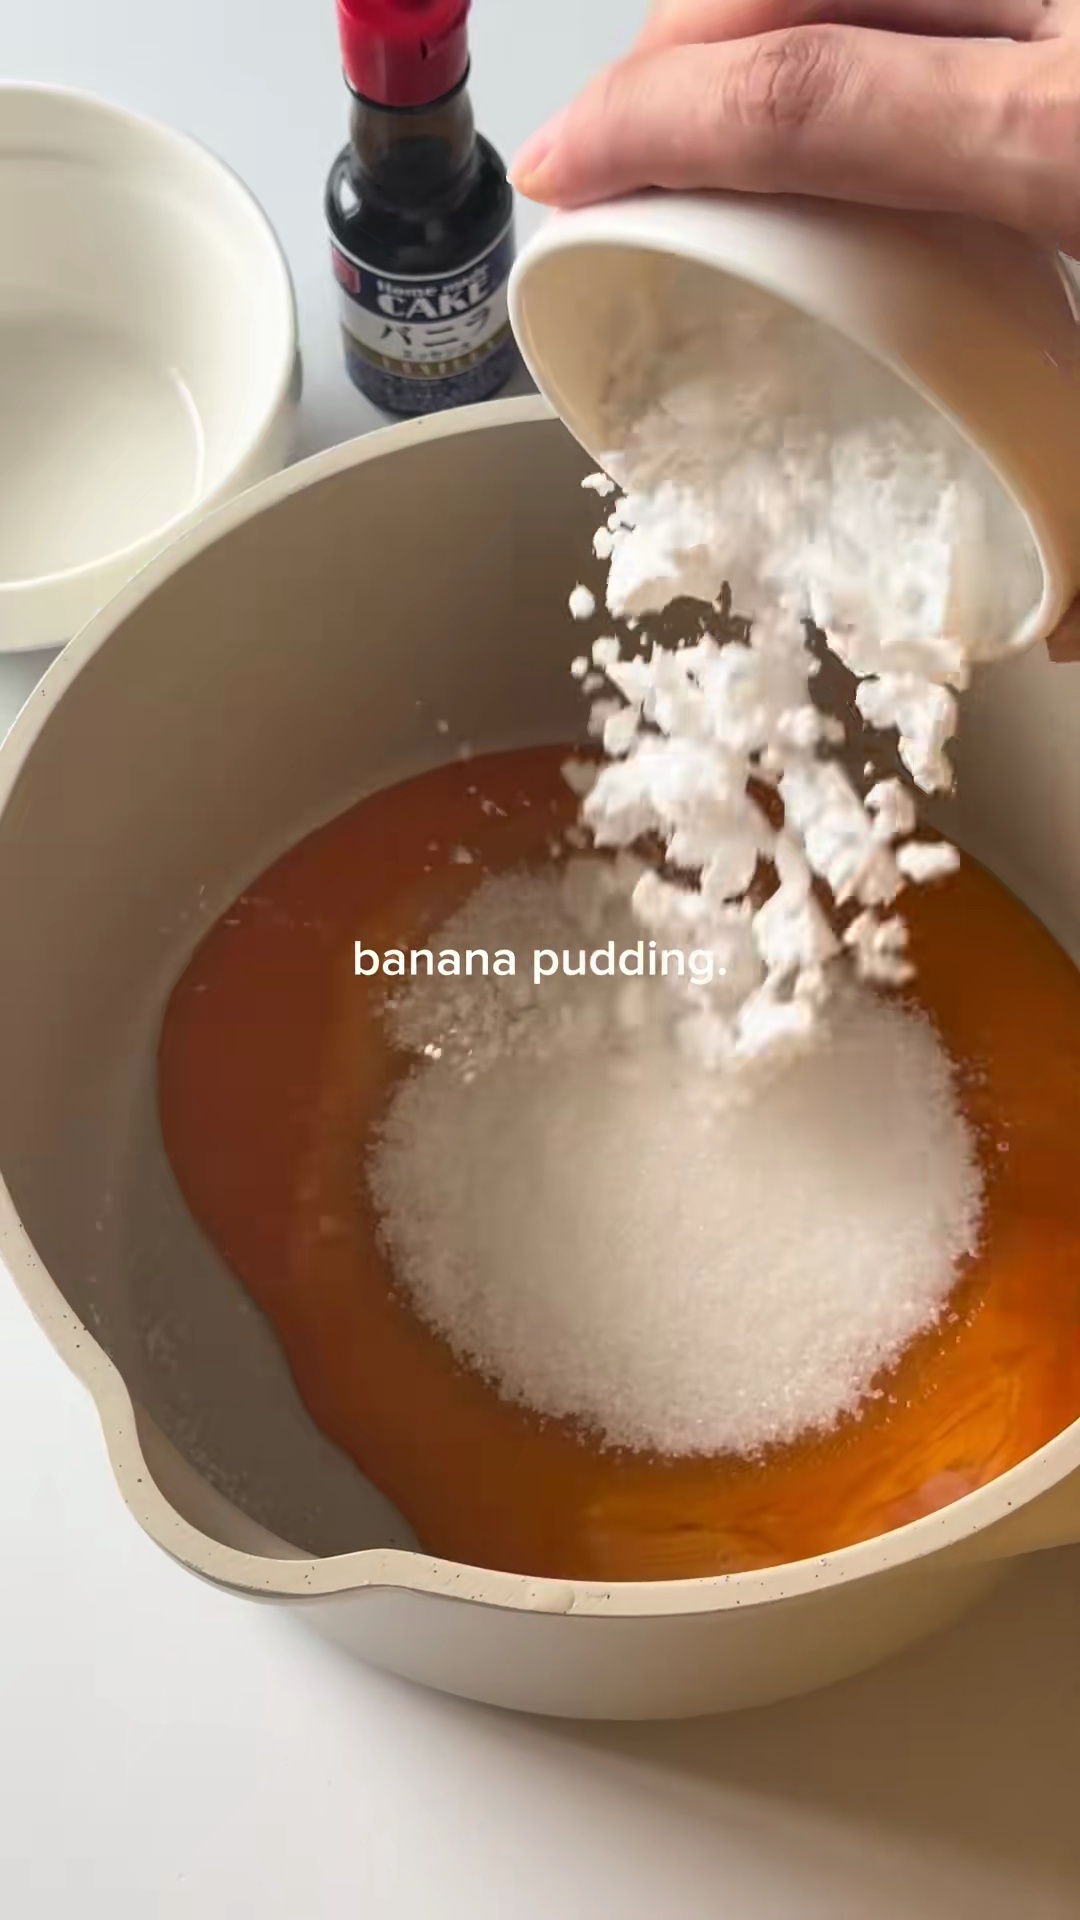
 - Prepare the Custard: In a medium saucepan, whisk together the 3 egg yolks, 60g granulated sugar, a pinch of salt, and 25g cornstarch until smooth.3m
 Preview3mPreviewPrepare the Custard: In a medium saucepan, whisk together the 3 egg yolks, 60g granulated sugar, a pinch of salt, and 25g cornstarch until smooth.
 - In a separate pot, gently heat 360g whole milk over medium heat until it just begins to simmer around the edges. Do not boil.5m
 Preview5mPreviewIn a separate pot, gently heat 360g whole milk over medium heat until it just begins to simmer around the edges. Do not boil.
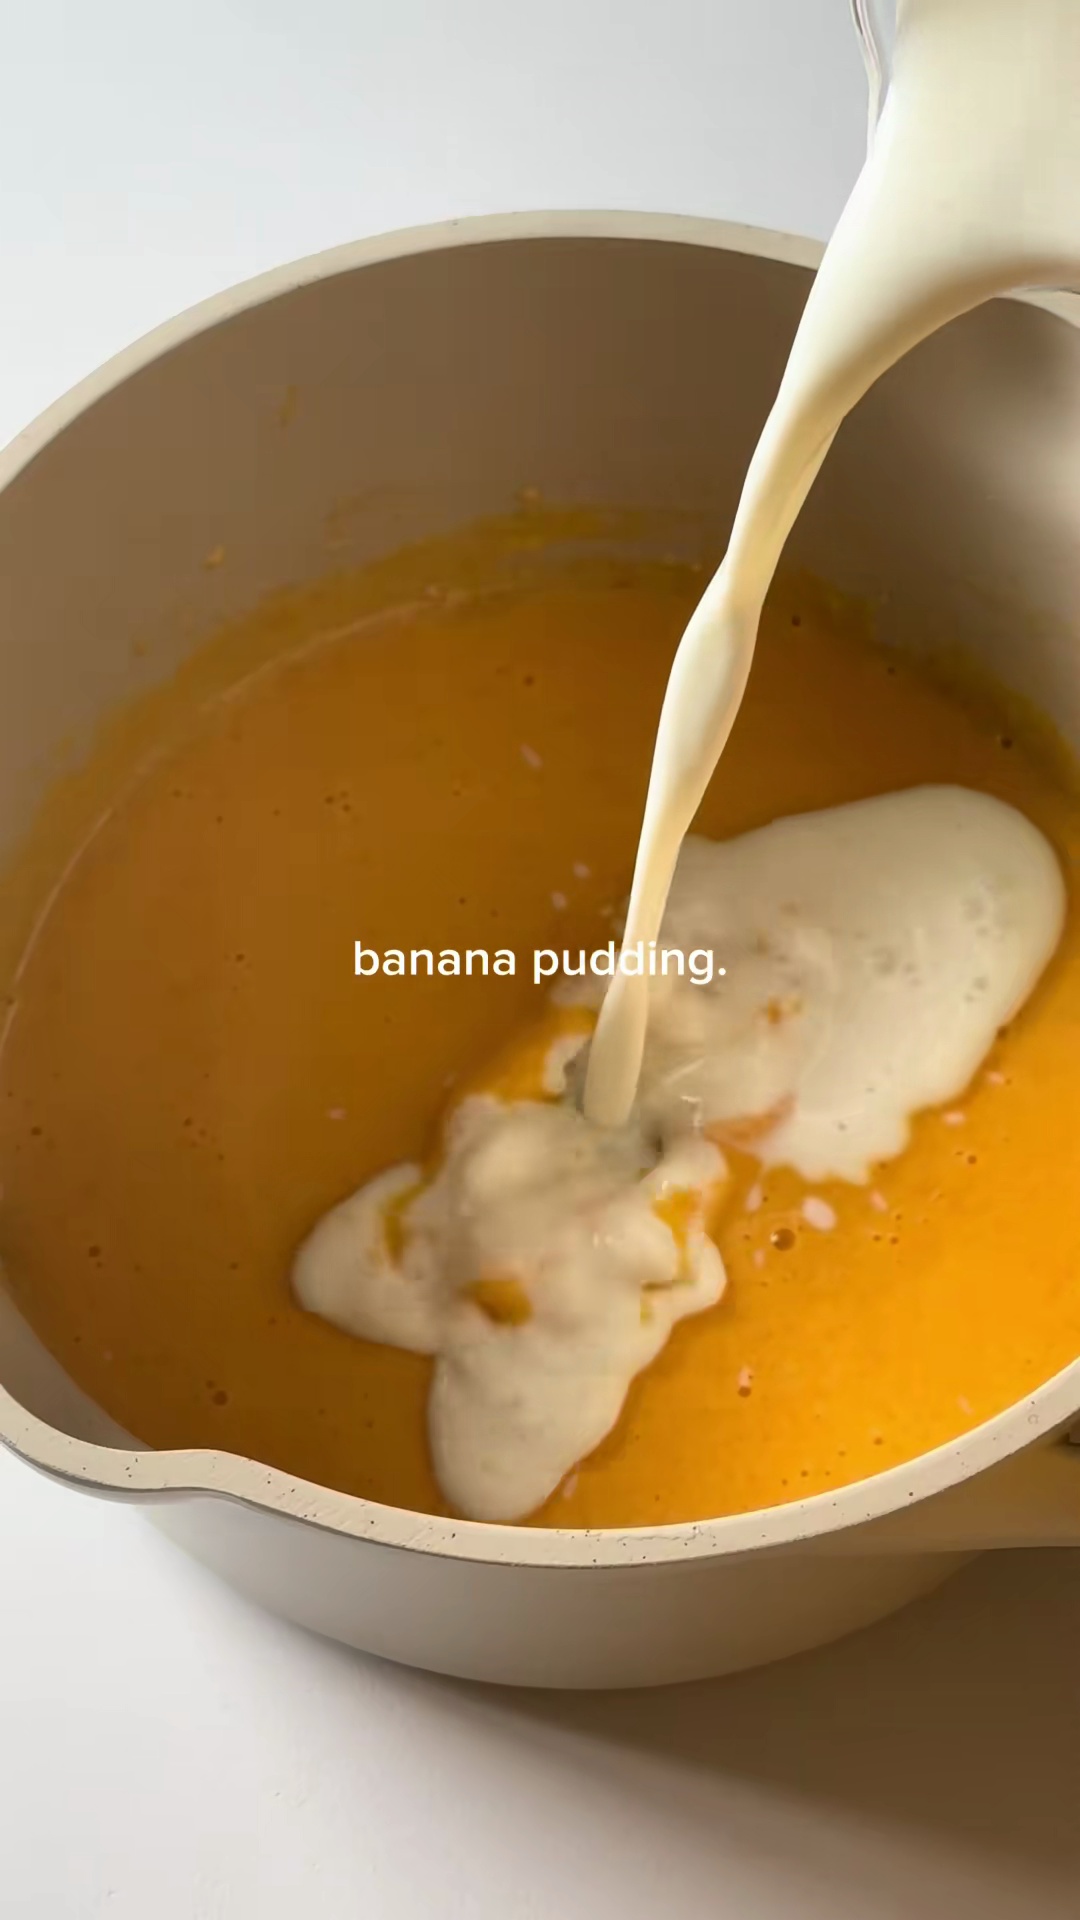
 - Slowly pour about half of the hot milk into the egg yolk mixture while continuously whisking to temper the yolks. Then, pour the tempered egg mixture back into the saucepan with the remaining hot milk.3m
 Preview3mPreviewSlowly pour about half of the hot milk into the egg yolk mixture while continuously whisking to temper the yolks. Then, pour the tempered egg mixture back into the saucepan with the remaining hot milk.
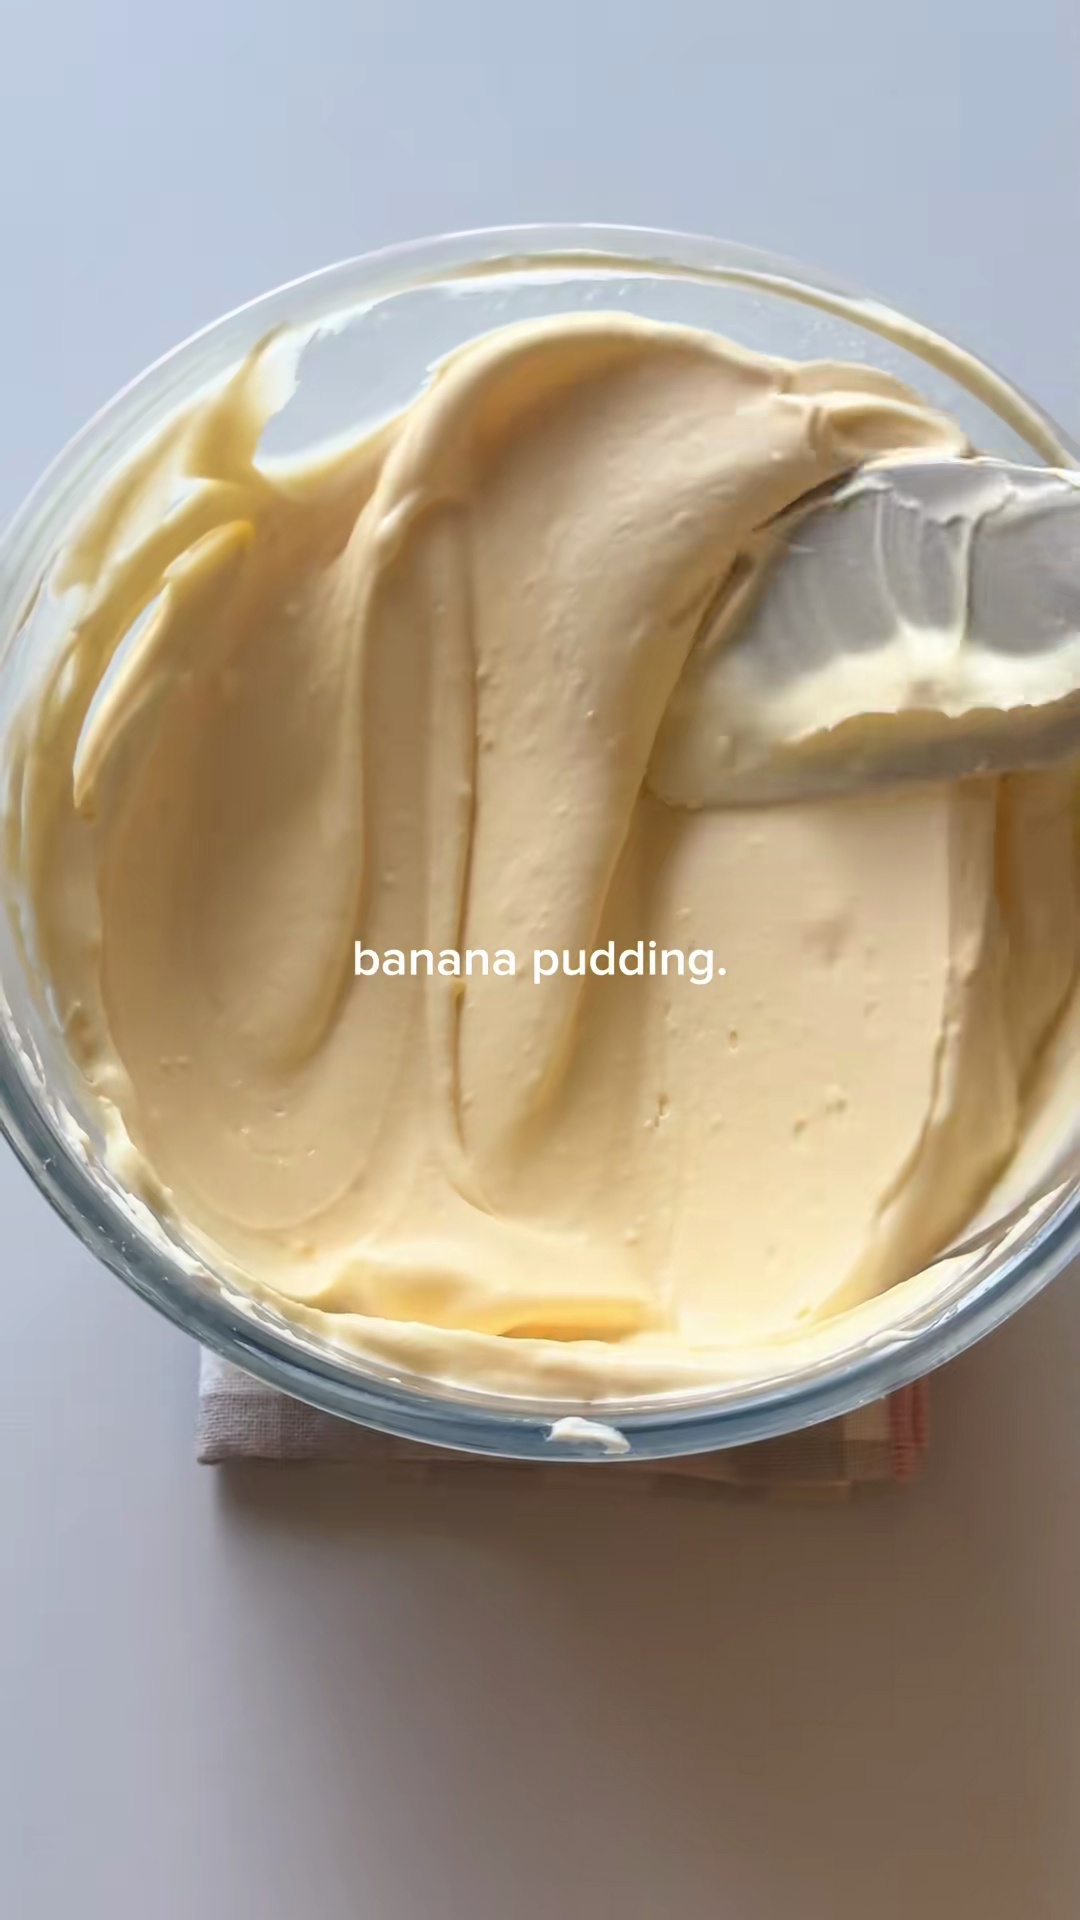
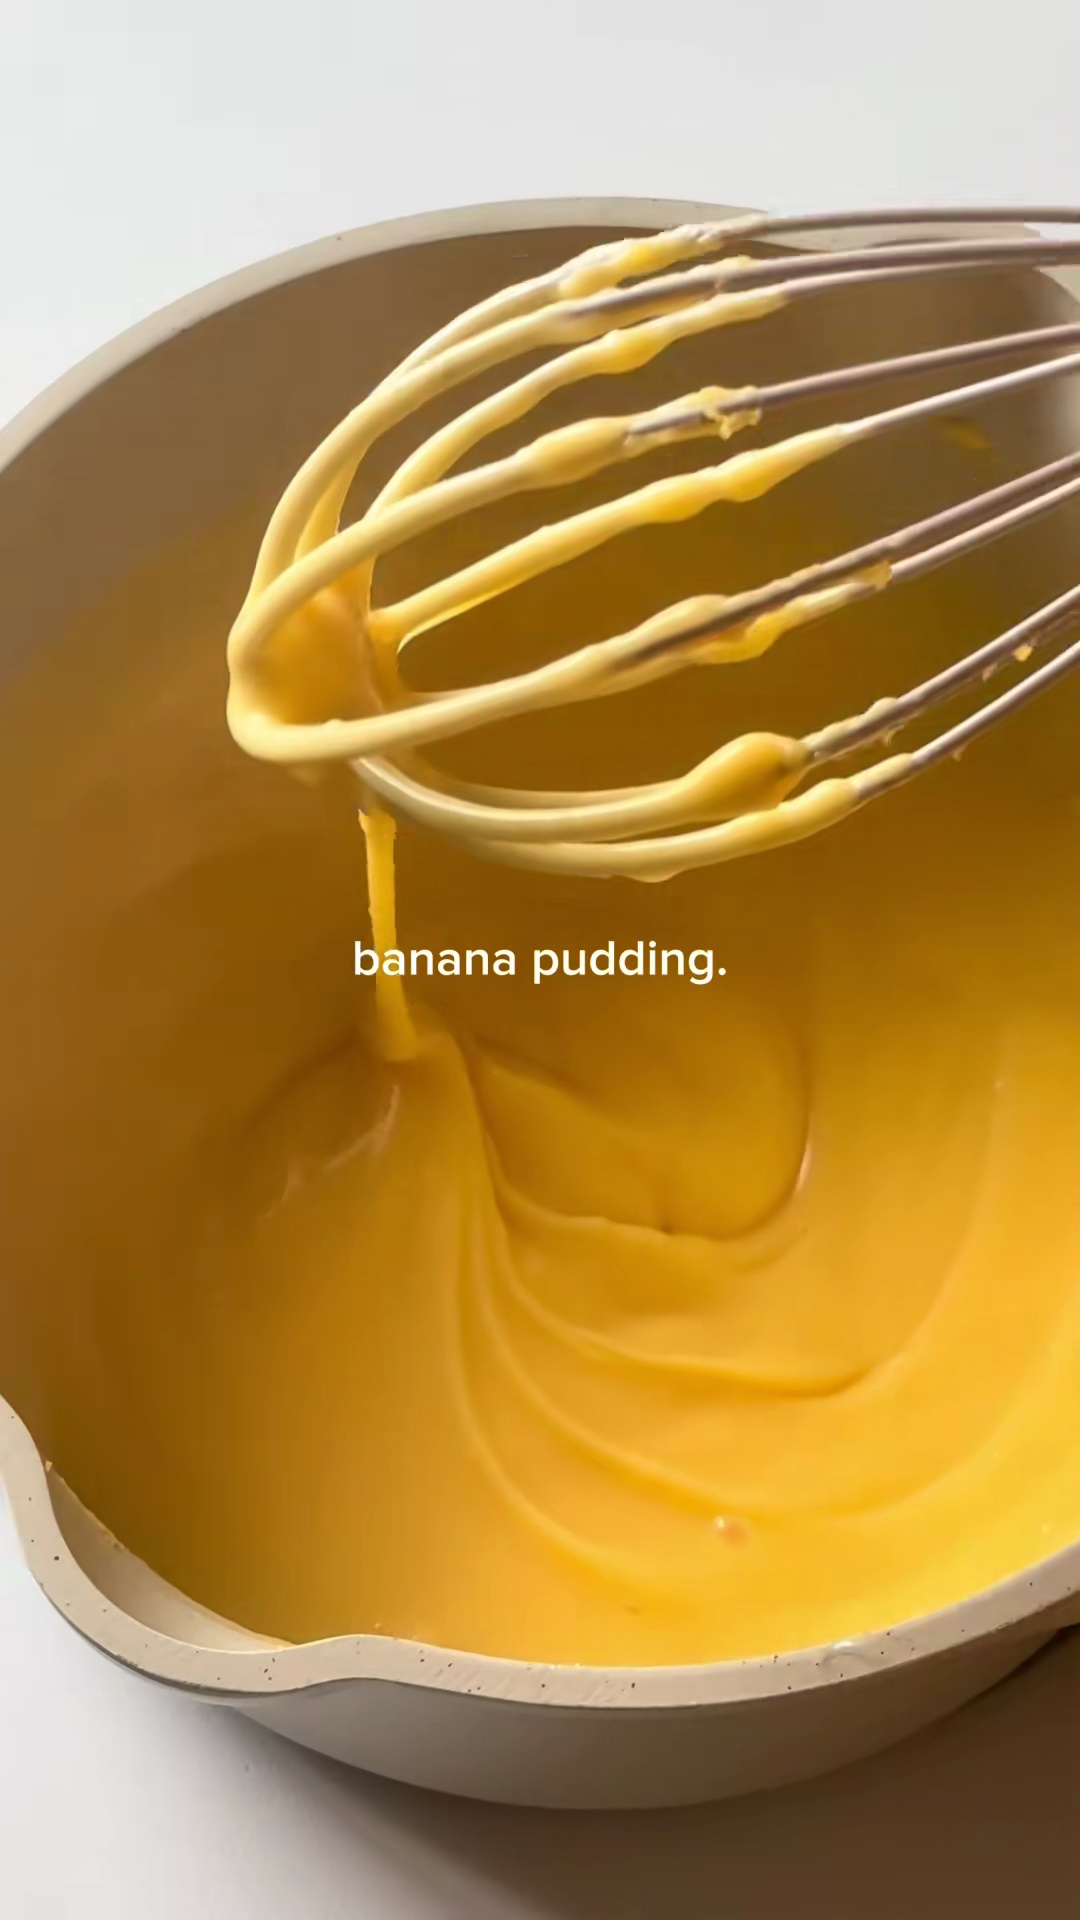
 - Cook the custard over medium-low heat, whisking constantly, until it thickens to a pudding-like consistency and coats the back of a spoon. This usually takes about 5-8 minutes.8mPreview8mPreviewCook the custard over medium-low heat, whisking constantly, until it thickens to a pudding-like consistency and coats the back of a spoon. This usually takes about 5-8 minutes.
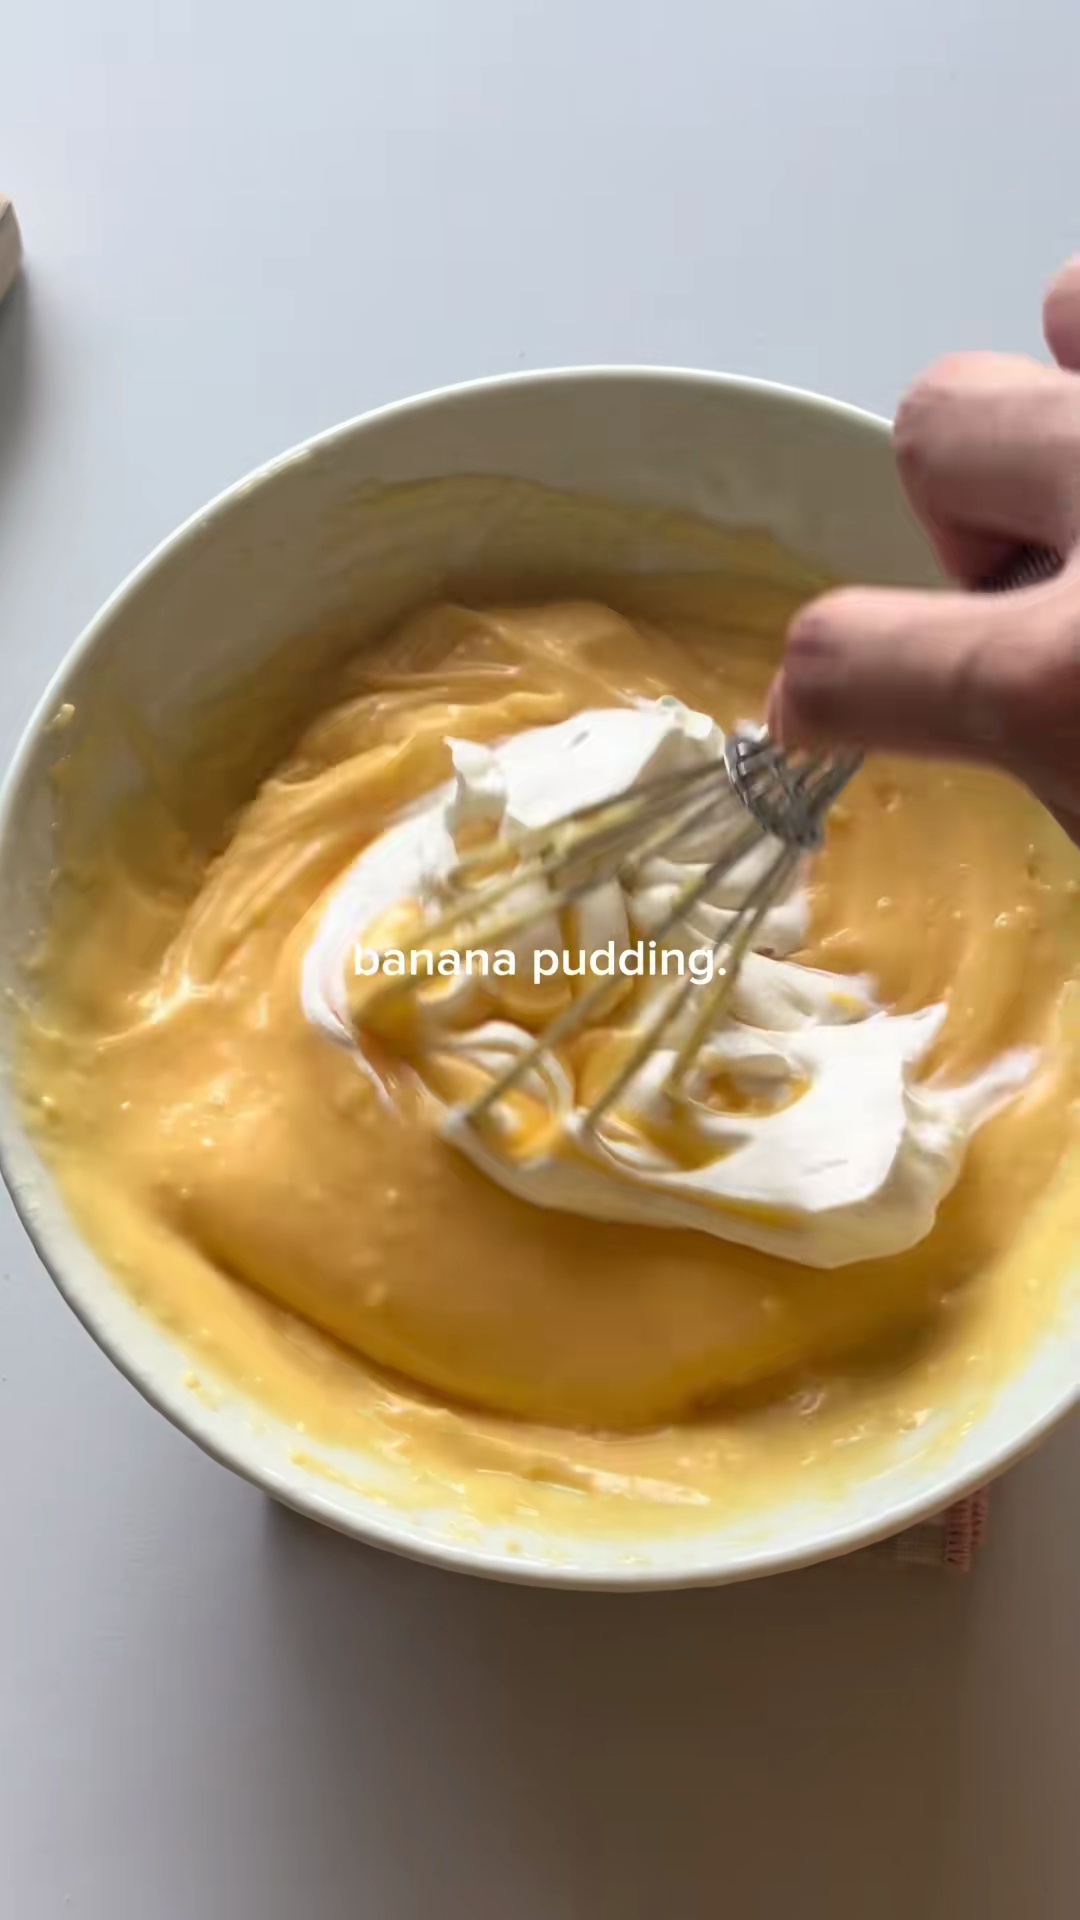
- Remove the custard from heat. Stir in 1 tsp vanilla essence and 1-2 tbsp unsalted butter until melted and fully incorporated. Press plastic wrap directly onto the surface of the custard to prevent a skin from forming and let it cool, then refrigerate for at least 2 hours, or until thoroughly chilled.2h 5m
 Preview2h 5mPreviewRemove the custard from heat. Stir in 1 tsp vanilla essence and 1-2 tbsp unsalted butter until melted and fully incorporated. Press plastic wrap directly onto the surface of the custard to prevent a skin from forming and let it cool, then refrigerate for at least 2 hours, or until thoroughly chilled.
 - Assemble the Pudding: Slice the 3-4 ripe bananas into rounds.5m
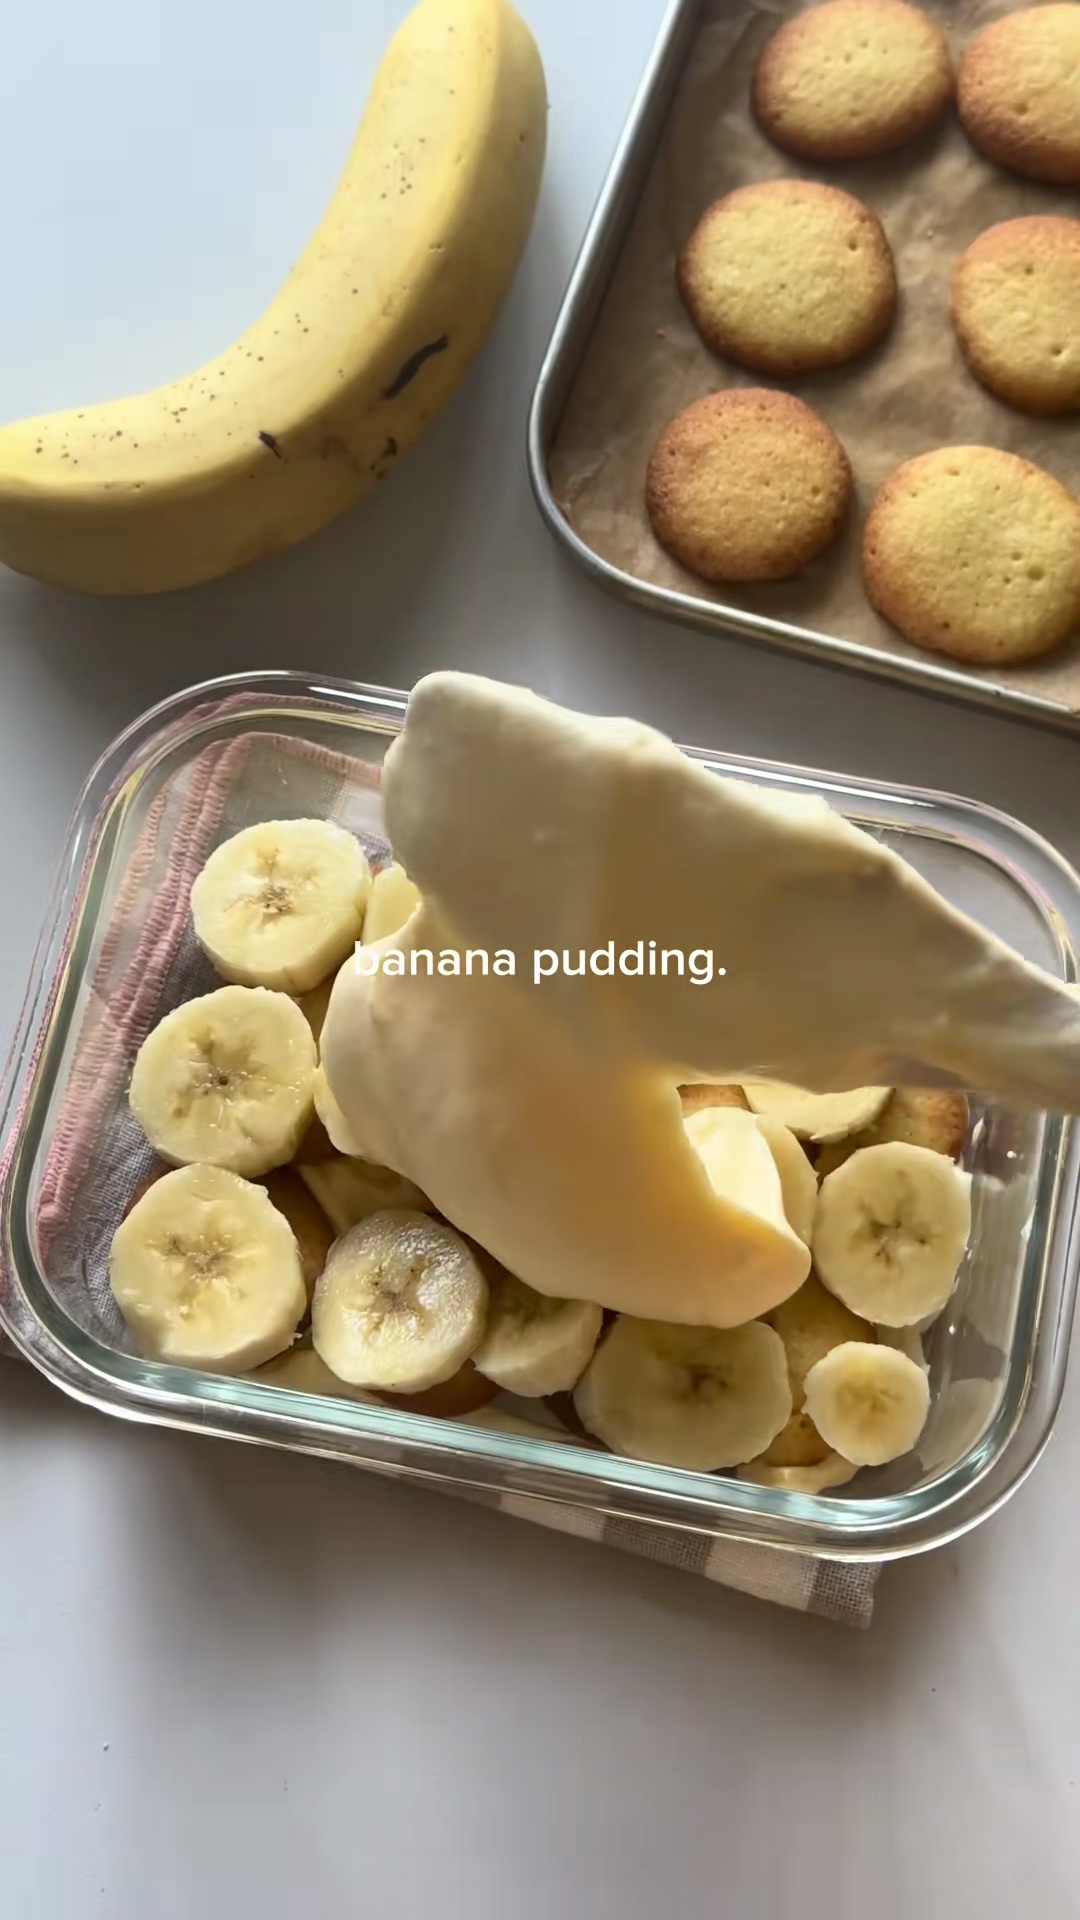 Preview5mPreviewAssemble the Pudding: Slice the 3-4 ripe bananas into rounds.
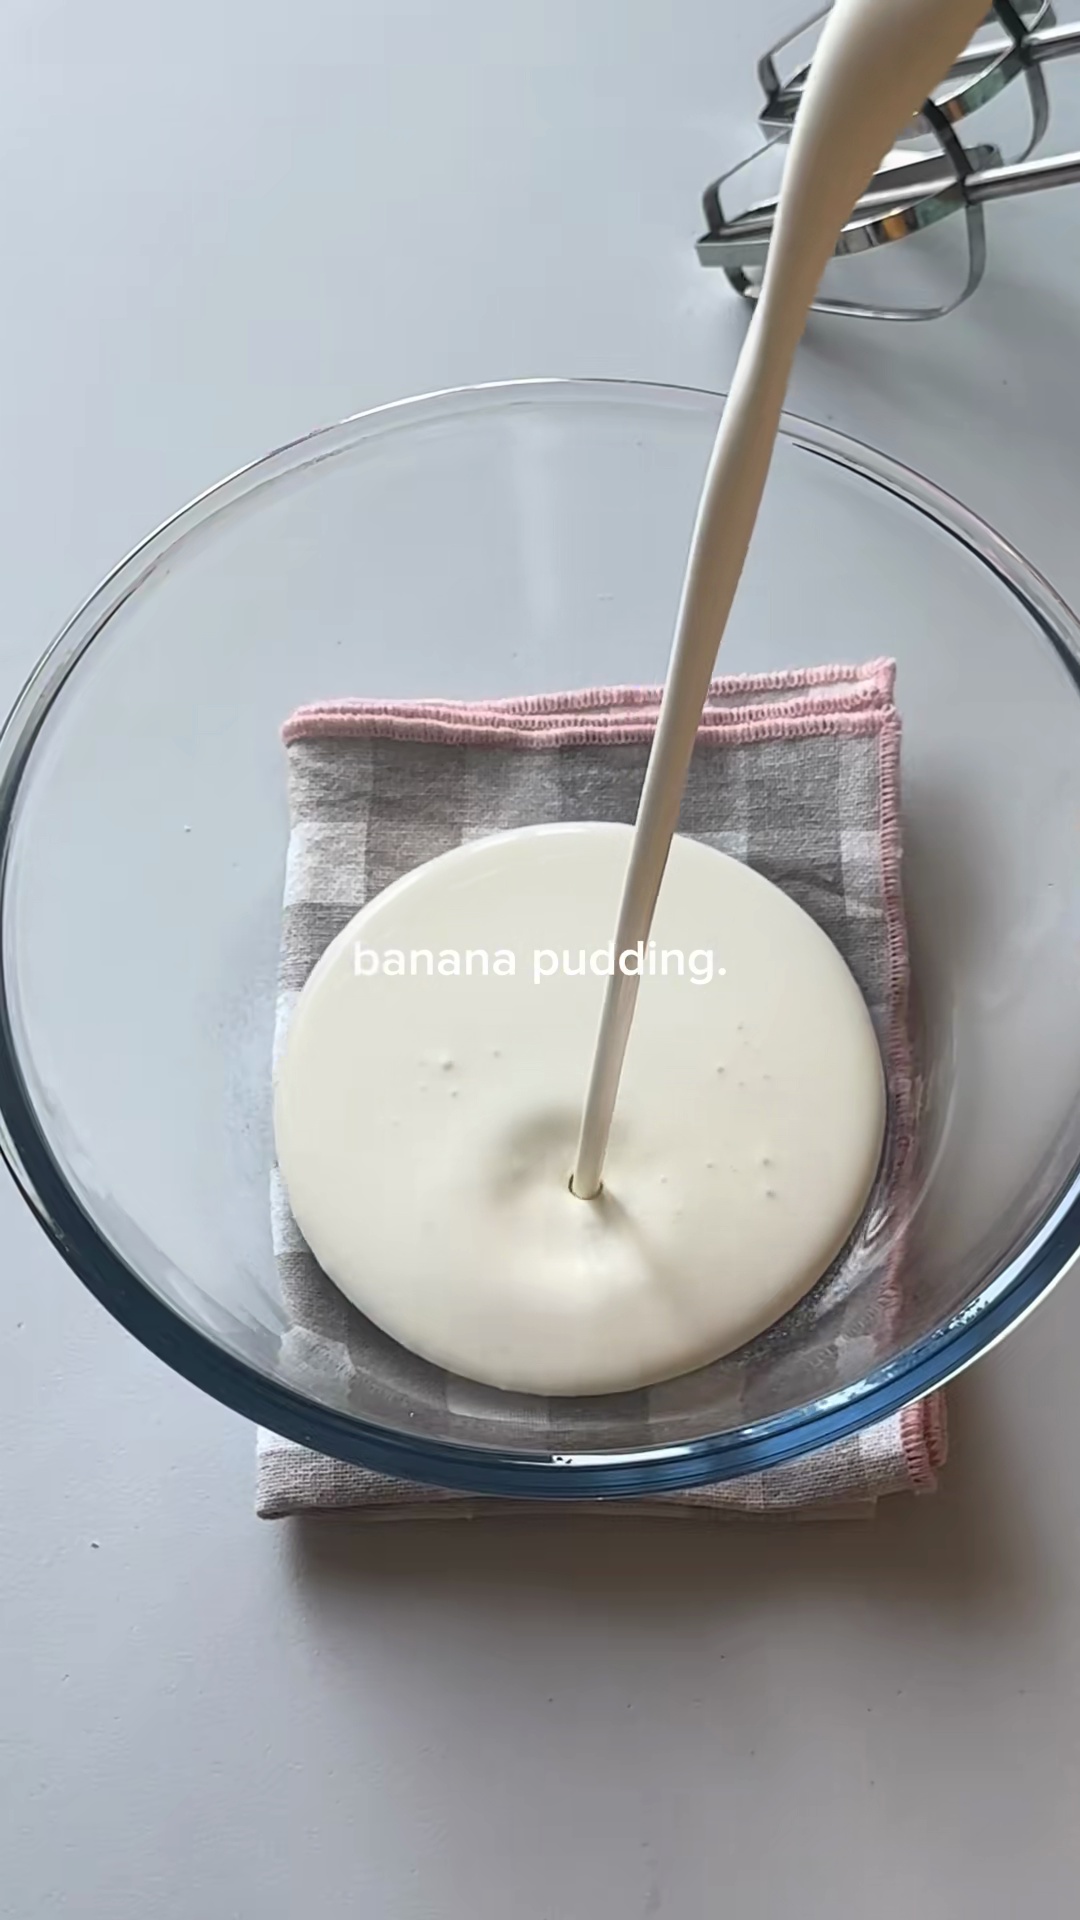
 - In a separate bowl, whip the 200ml cold heavy cream until soft peaks form.5m
 Preview5mPreviewIn a separate bowl, whip the 200ml cold heavy cream until soft peaks form.
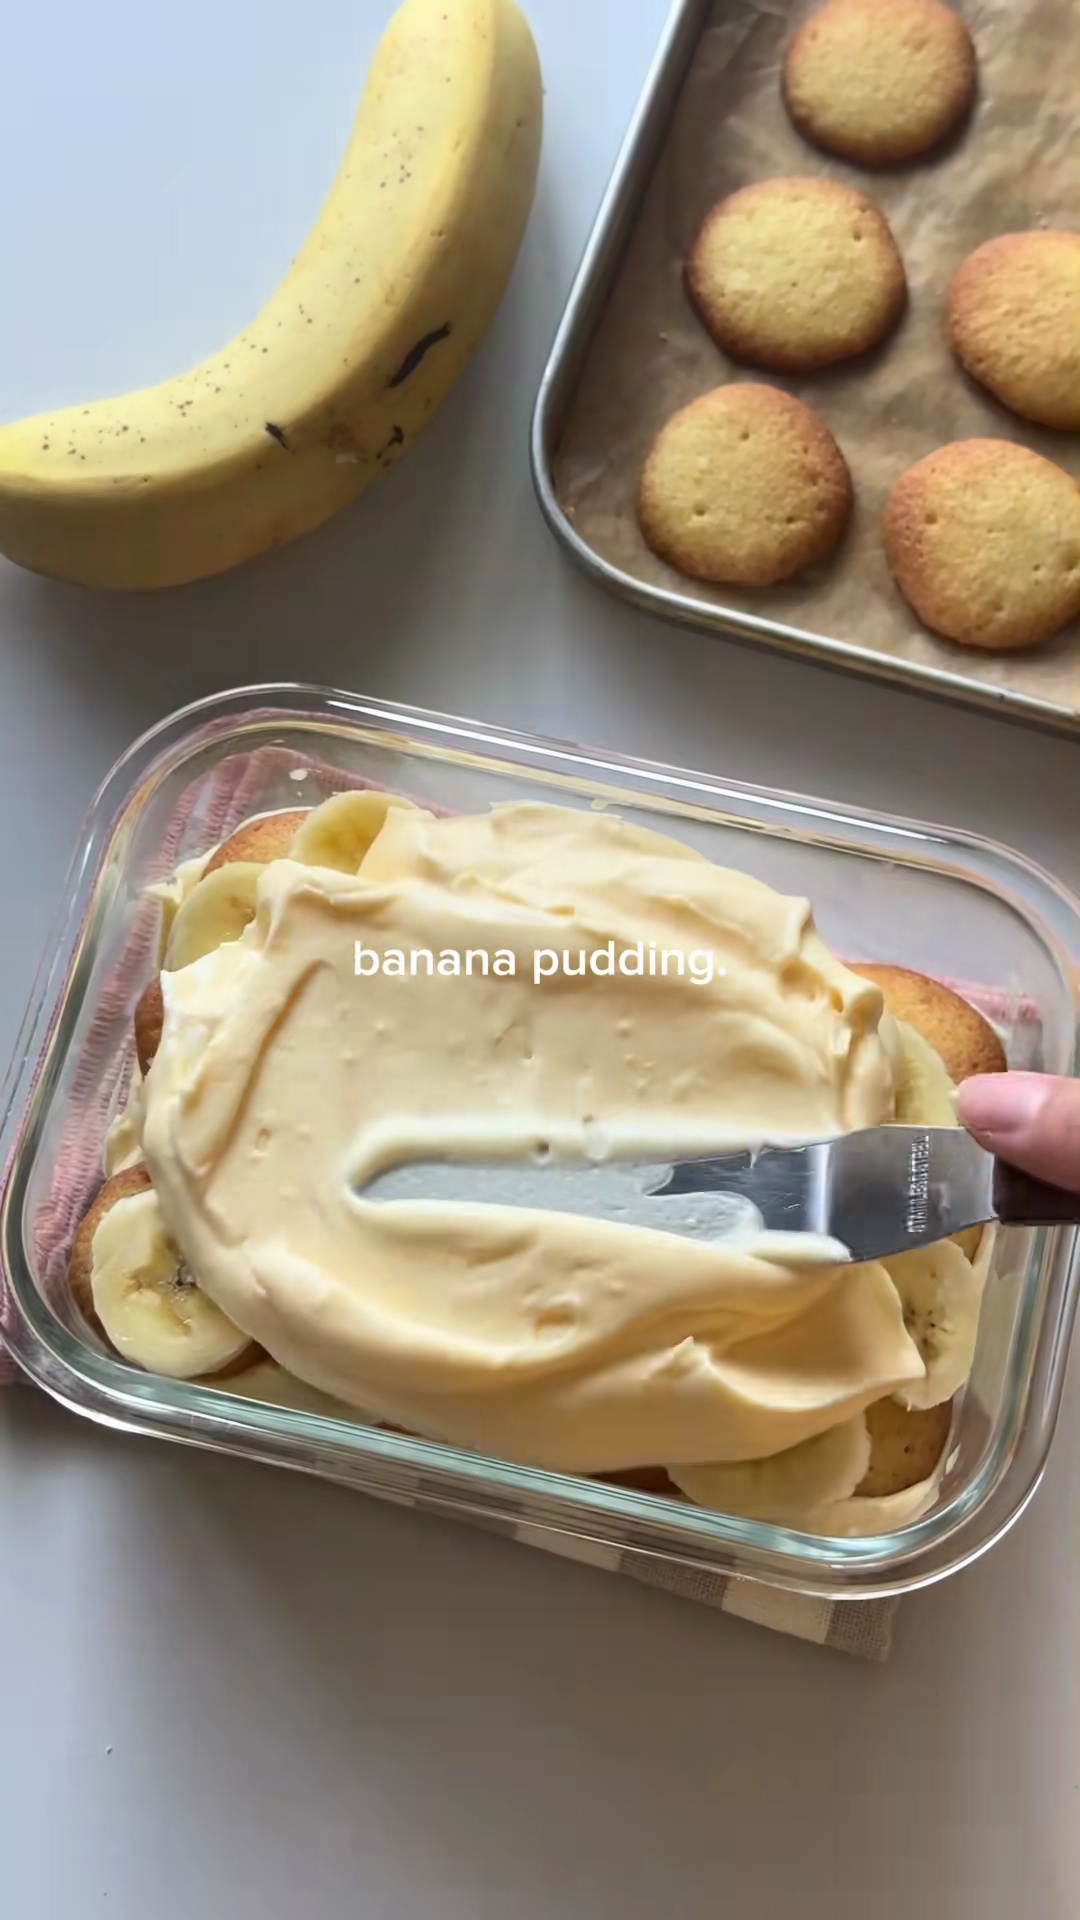
 - In a large trifle dish or individual serving glasses, begin layering: spread a thin layer of custard on the bottom, then arrange a layer of homemade Nilla wafers, followed by a layer of sliced bananas. Repeat layers until all ingredients are used, ending with a layer of custard or whipped cream.10mPreview10mPreviewIn a large trifle dish or individual serving glasses, begin layering: spread a thin layer of custard on the bottom, then arrange a layer of homemade Nilla wafers, followed by a layer of sliced bananas. Repeat layers until all ingredients are used, ending with a layer of custard or whipped cream.
- Top the pudding with the remaining whipped cream and decorate with extra wafers or banana slices if desired. Refrigerate for at least 2-4 hours, or preferably overnight, to allow the flavors to meld and the wafers to soften.4h
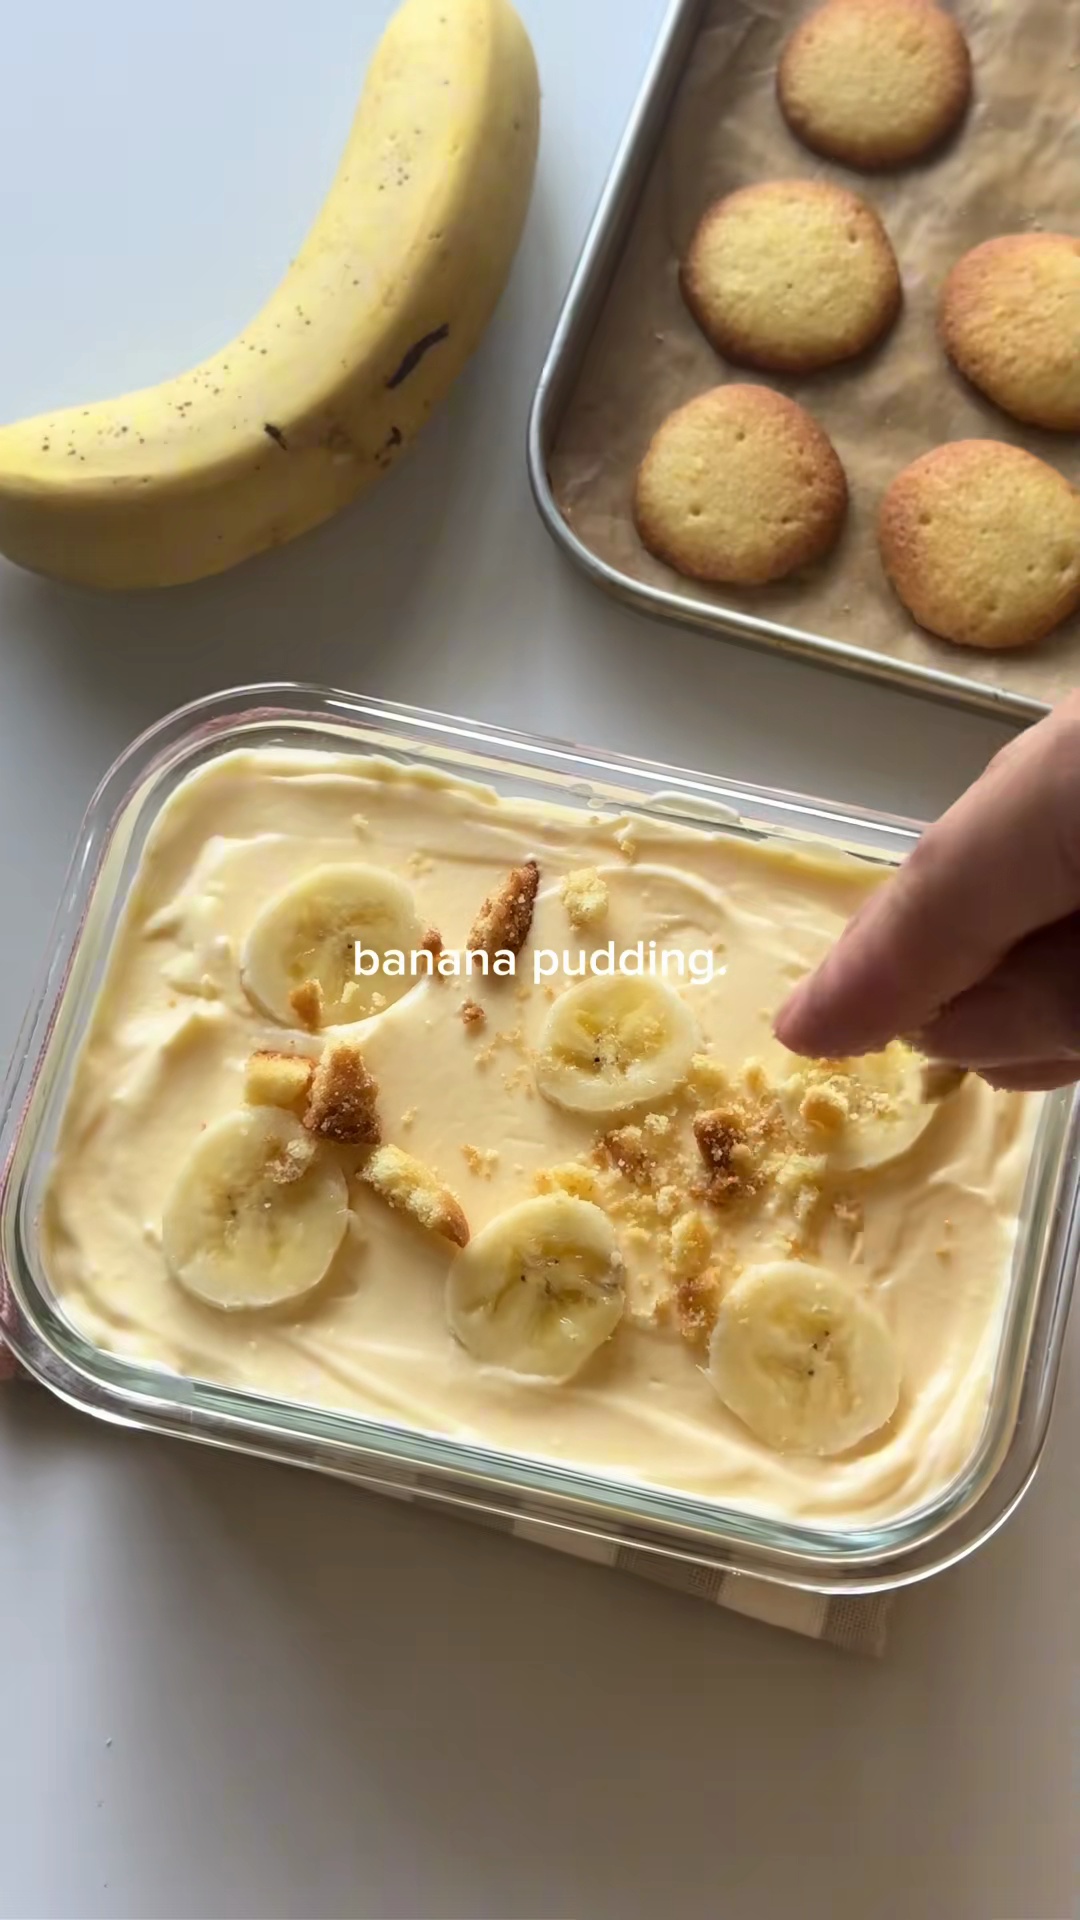 Preview4hPreviewTop the pudding with the remaining whipped cream and decorate with extra wafers or banana slices if desired. Refrigerate for at least 2-4 hours, or preferably overnight, to allow the flavors to meld and the wafers to soften.
💡 Tip: Click on any step to mark it as completed and track your cooking progress!