Back to American Recipes

Author:
chef.carli
TikTok
6M
650K
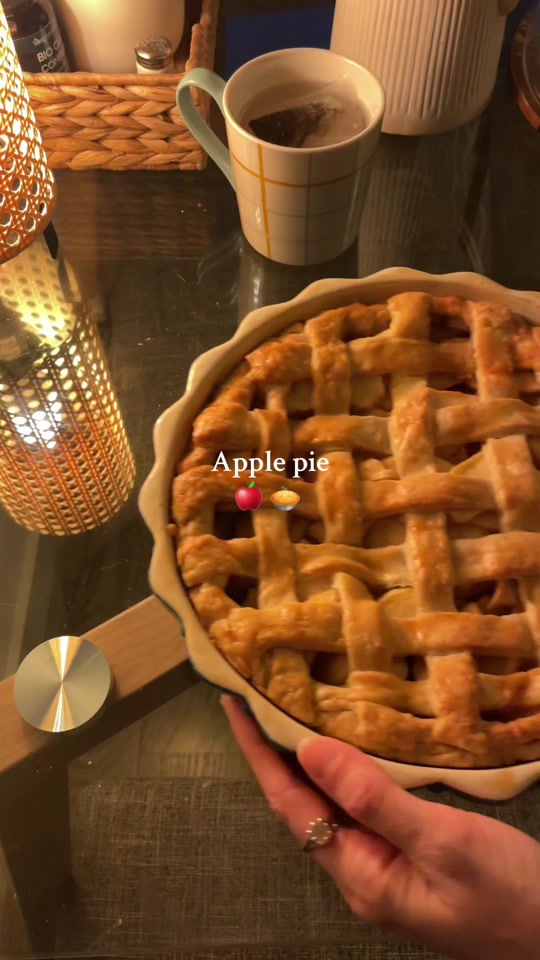
The Apple Pie: Queen of Autumn Bakes
Indulge in the quintessential autumn dessert with this classic apple pie recipe. Featuring a perfectly flaky crust encasing a luscious filling of tender, spiced apples, this pie is a comforting treat perfect for any occasion. The combination of brown and white sugar, cinnamon, and nutmeg creates a fragrant, warm flavor profile that truly celebrates the season. Best served warm, perhaps with a scoop of vanilla ice cream, this apple pie is sure to be a crowd-pleaser.
#Dessert
#Fruit
#Baking
#Autumn
#Comfort Food
#Pie
#Sweet
#Holiday
Golden-brown baked apple pie
Recipe Information
45m
Prep Time
1h 5m
Cook Time
2h 50m
Total Time
8
Servings
Medium
American
English
Nutrition (per serving)
400
Calories
4g
Protein
55g
Carbs
20g
Fat
A perfect slice of apple pie
Ingredients
Servings: 8
💡 Tip: Check off ingredients as you add them to keep track of your progress!
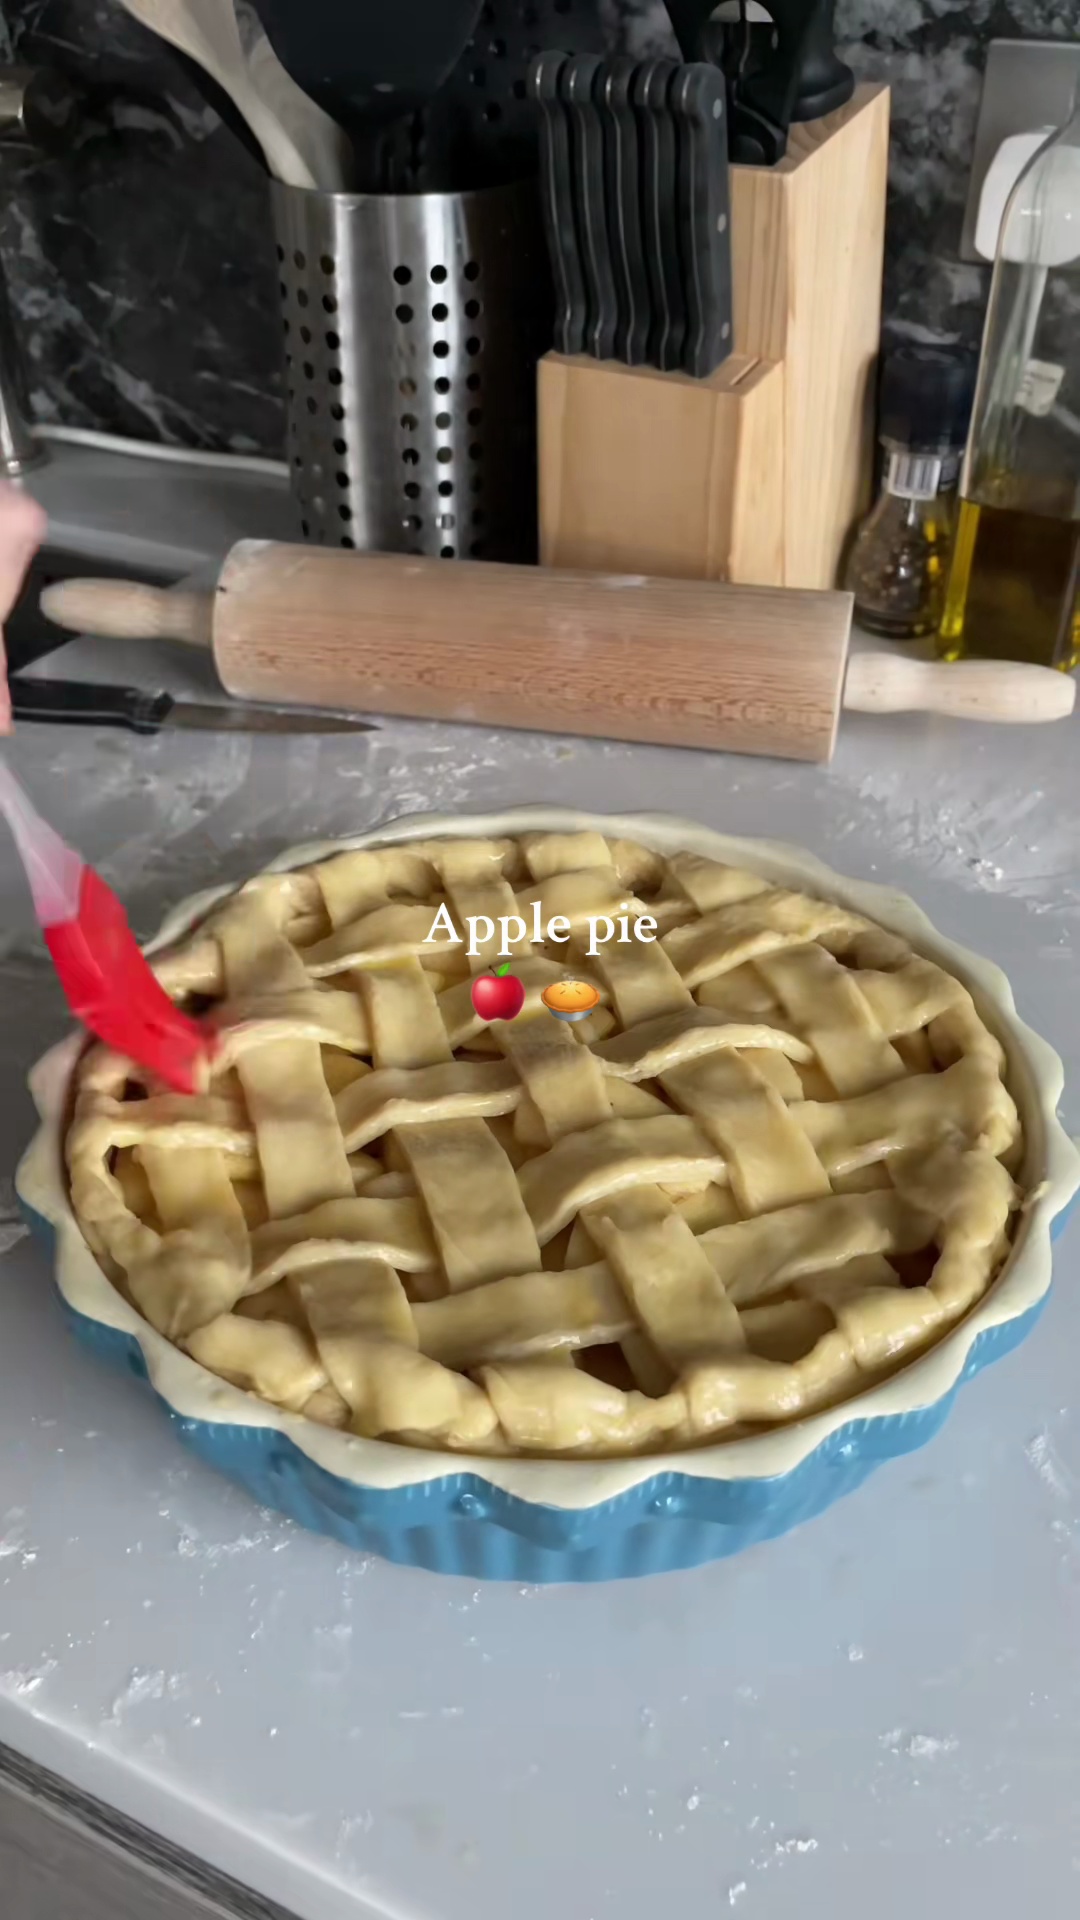
Raw pie with crimped crust, ready for oven
Instructions
0/6 completed
0%
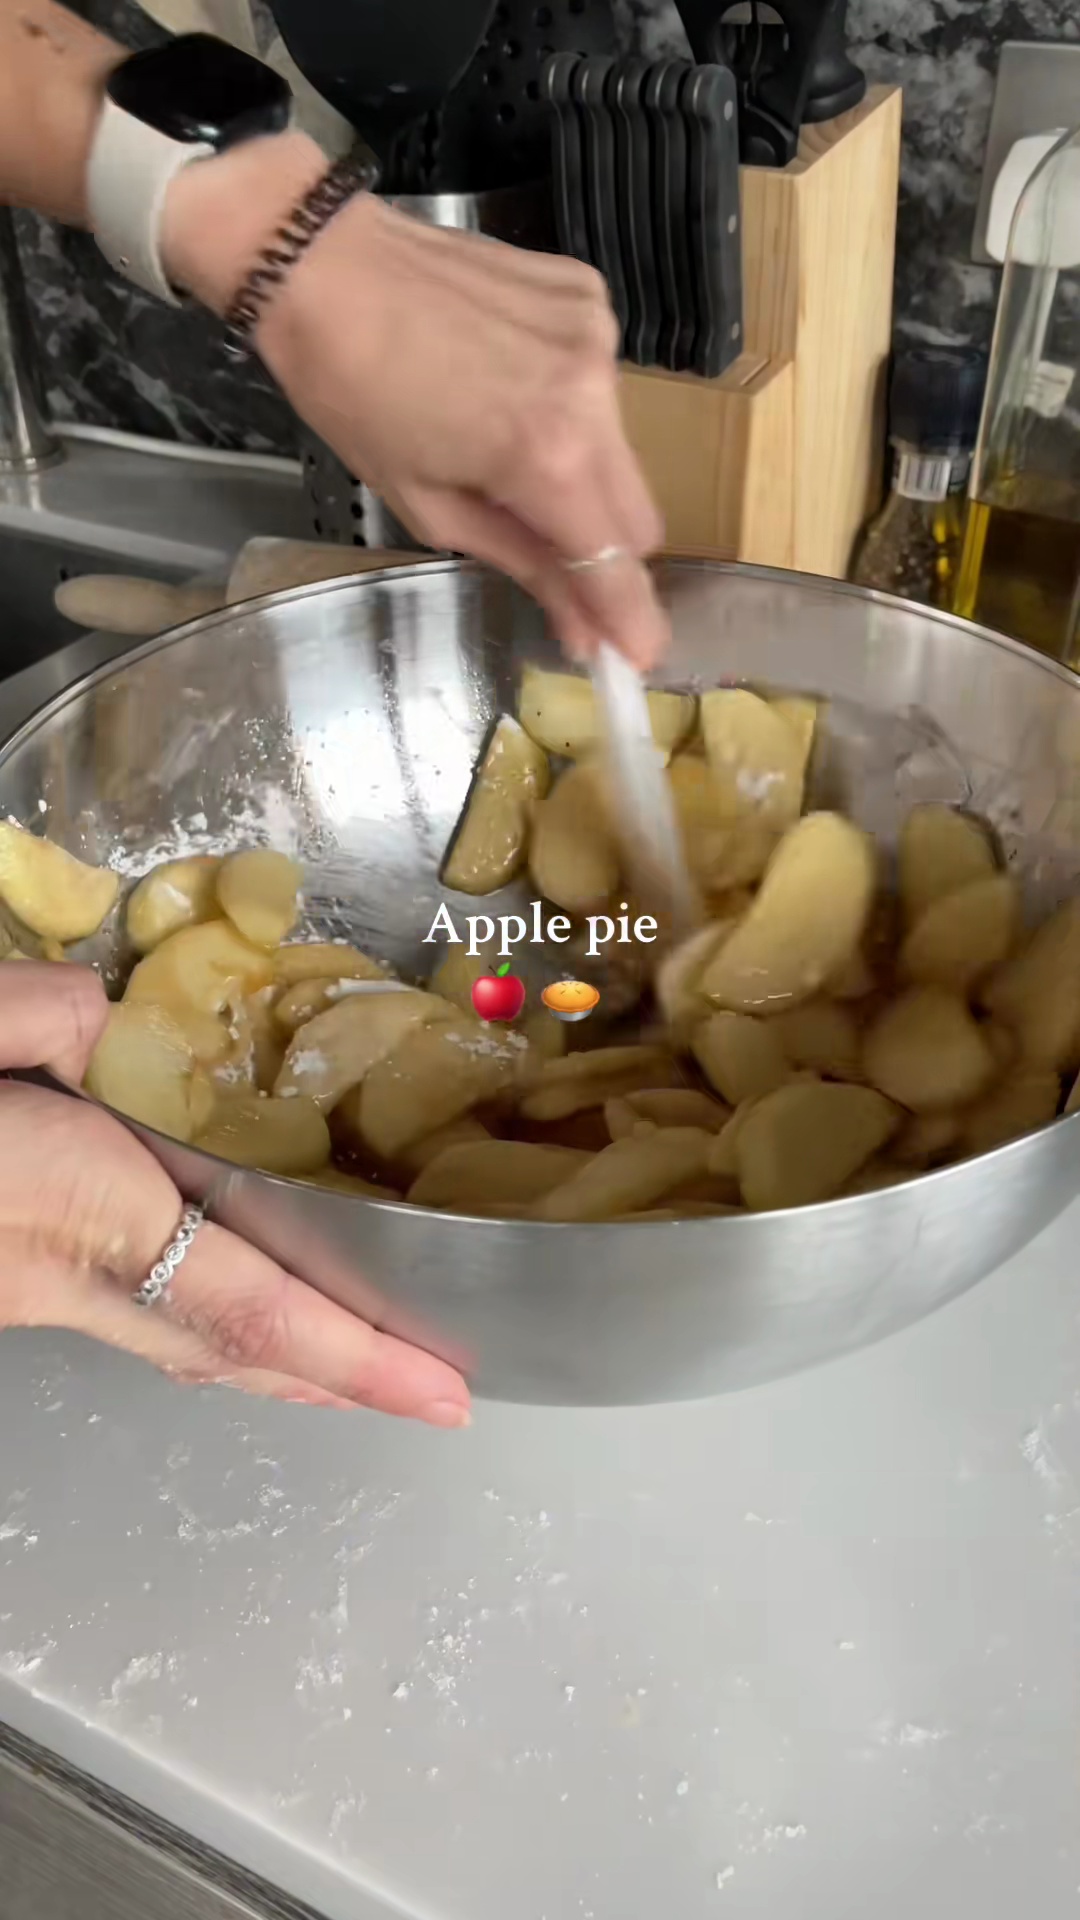
- Peel, core, and thinly slice the 8 large apples. In a large bowl, combine the sliced apples with brown sugar, white sugar, cinnamon, nutmeg, and a pinch of salt. Toss everything together until the apples are evenly coated. Set aside for at least 1 hour to allow the apples to release their juices.1h 15m
 Preview1h 15mPreviewPeel, core, and thinly slice the 8 large apples. In a large bowl, combine the sliced apples with brown sugar, white sugar, cinnamon, nutmeg, and a pinch of salt. Toss everything together until the apples are evenly coated. Set aside for at least 1 hour to allow the apples to release their juices.
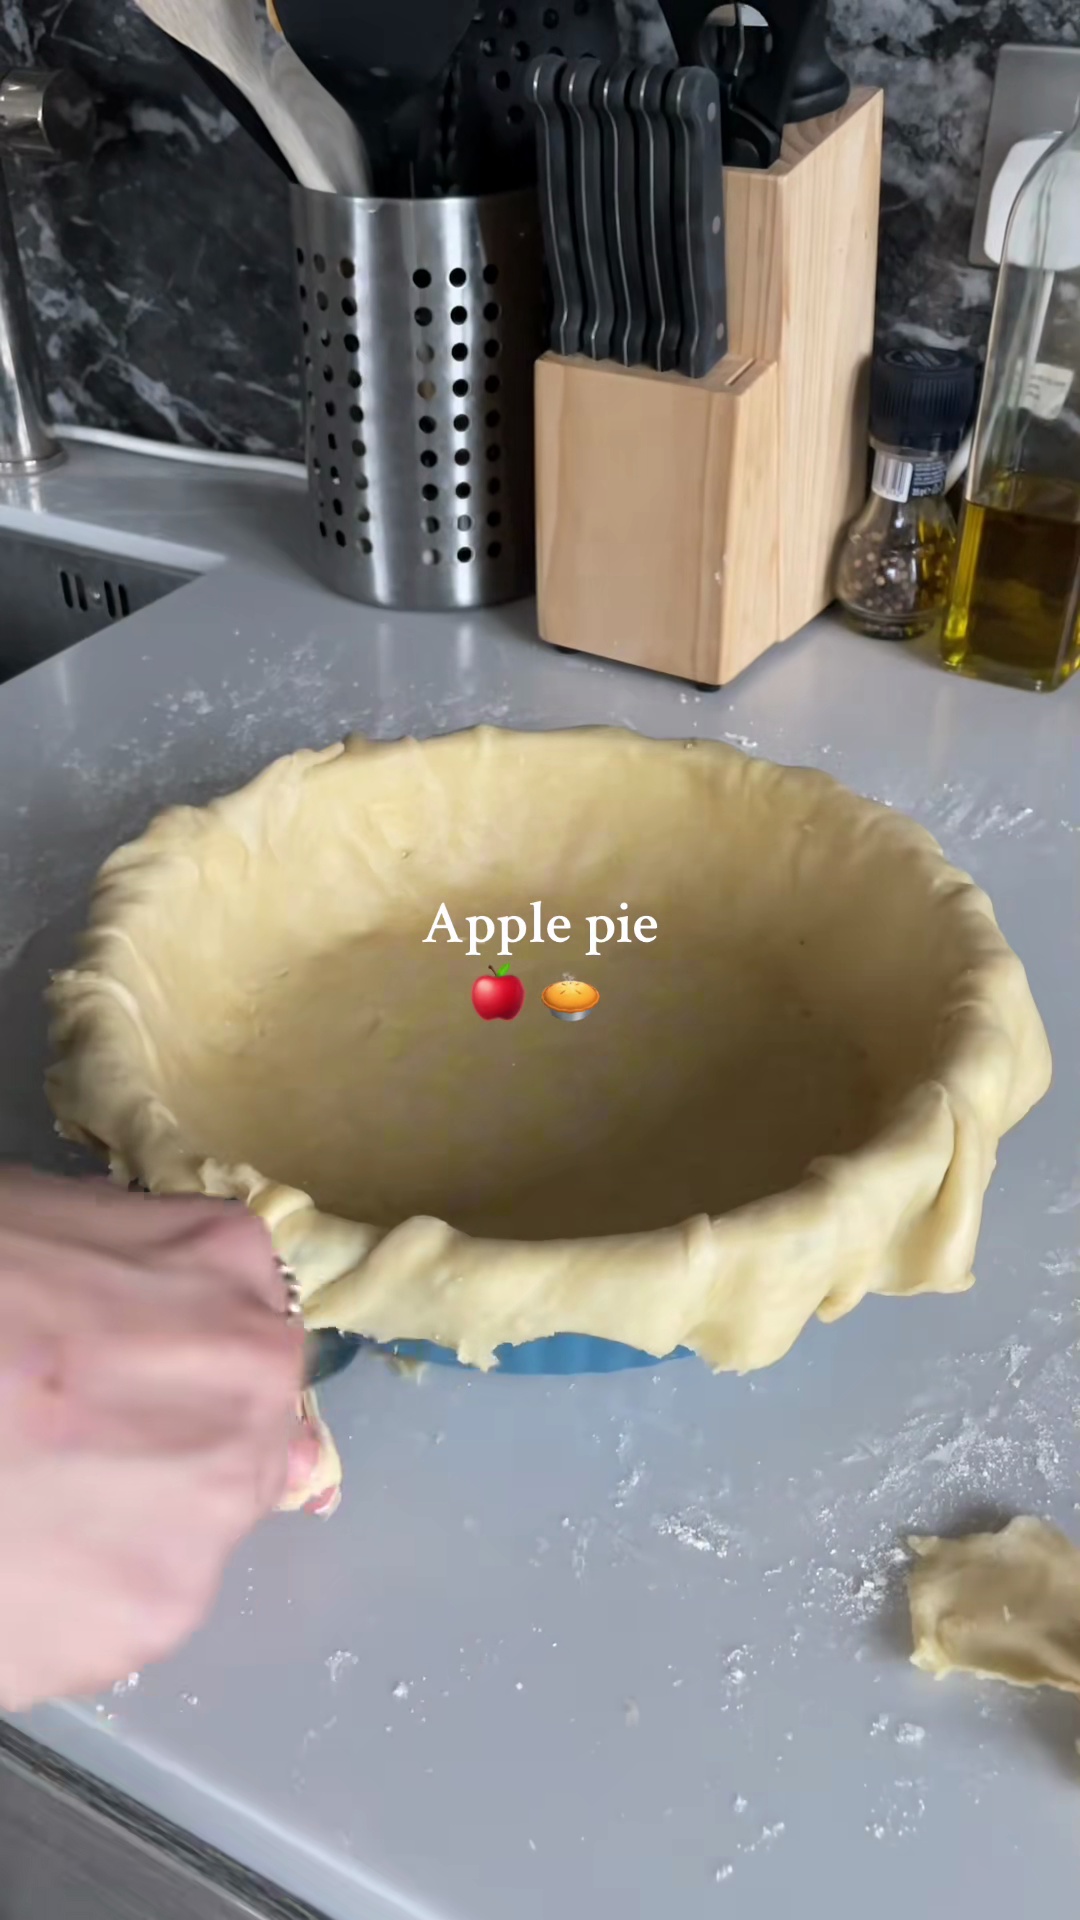
 - Roll out one disc of pie dough on a lightly floured surface to fit your pie dish (about 1/8 inch thick). Carefully transfer the dough into the pie dish, pressing it gently against the bottom and sides. Trim the edges, leaving about a 1-inch overhang.10m
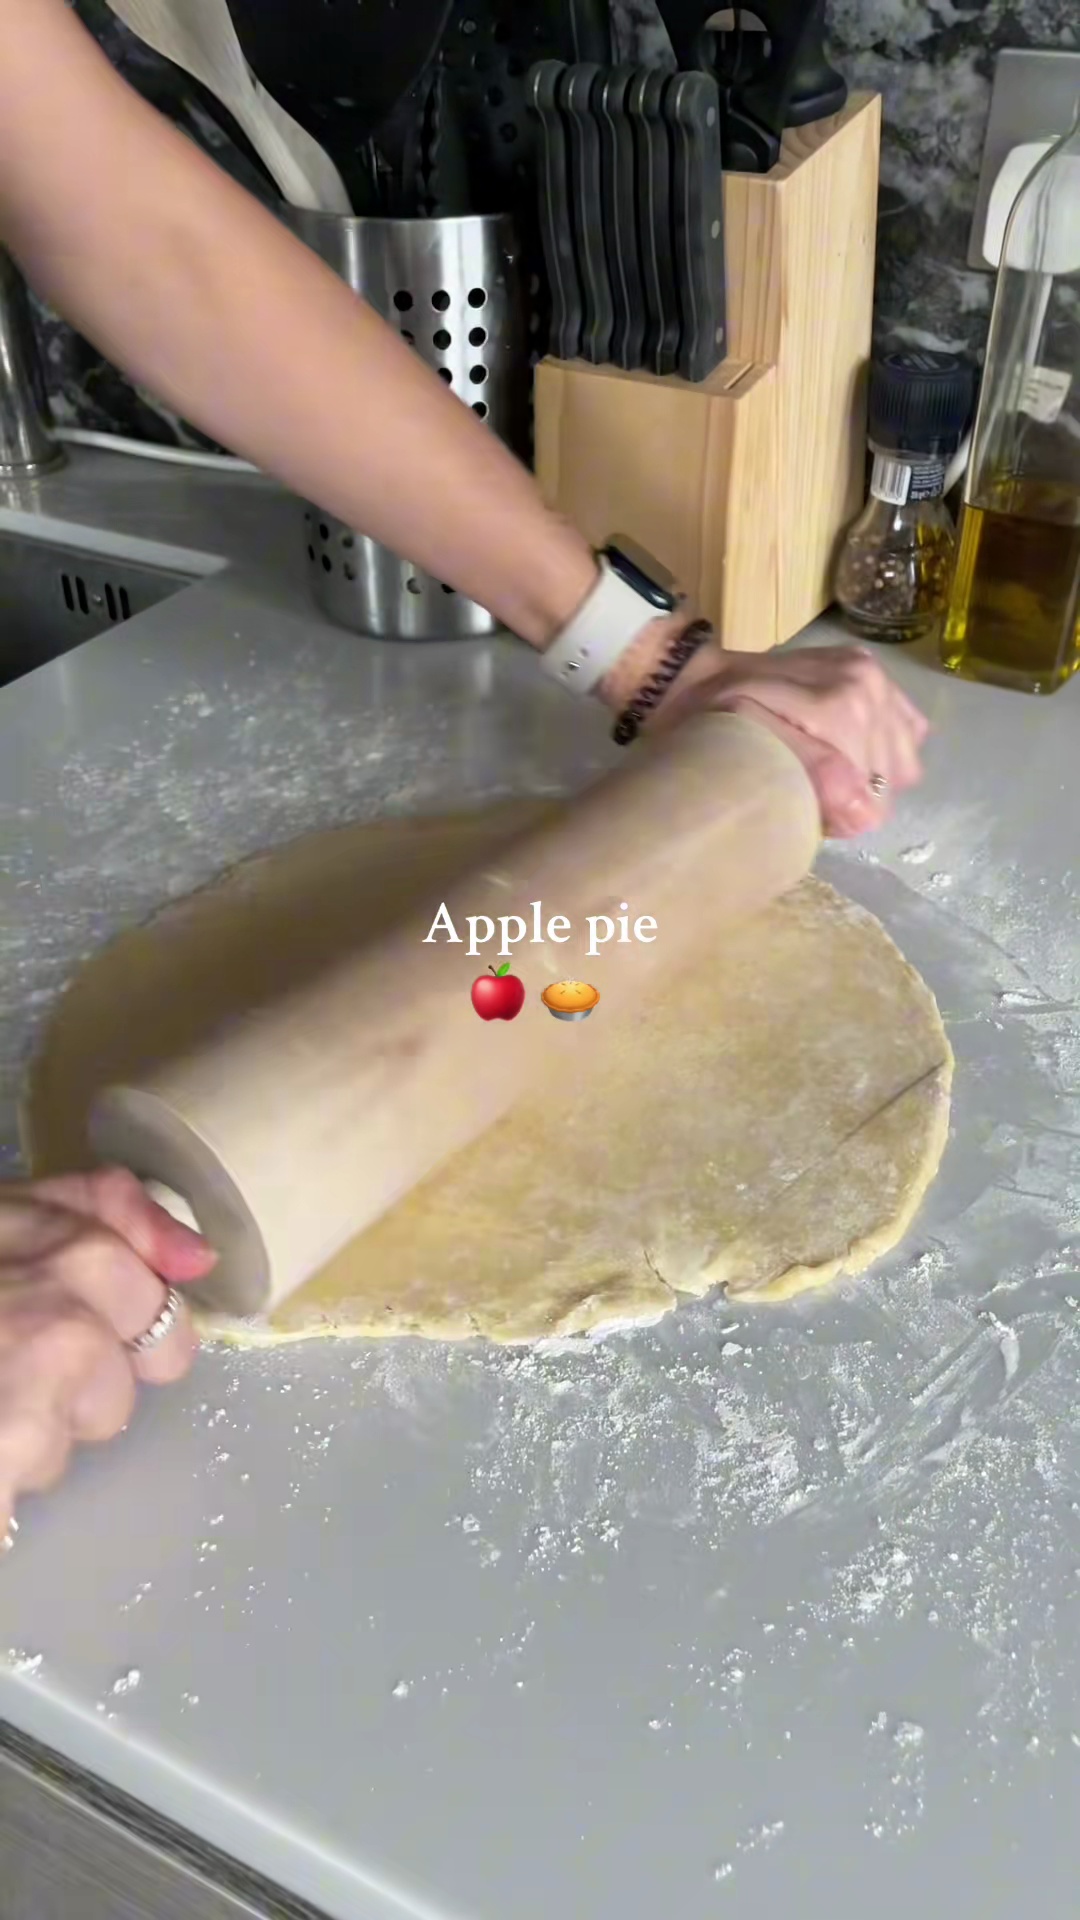 Preview10mPreviewRoll out one disc of pie dough on a lightly floured surface to fit your pie dish (about 1/8 inch thick). Carefully transfer the dough into the pie dish, pressing it gently against the bottom and sides. Trim the edges, leaving about a 1-inch overhang.
 - After the apples have rested and released their juices, drain any excess liquid if necessary, then add the cornstarch to the apple mixture. Toss gently to ensure the cornstarch is evenly distributed and coats all the apple slices. This will help thicken the pie filling as it bakes.2m
 Preview2mPreviewAfter the apples have rested and released their juices, drain any excess liquid if necessary, then add the cornstarch to the apple mixture. Toss gently to ensure the cornstarch is evenly distributed and coats all the apple slices. This will help thicken the pie filling as it bakes.
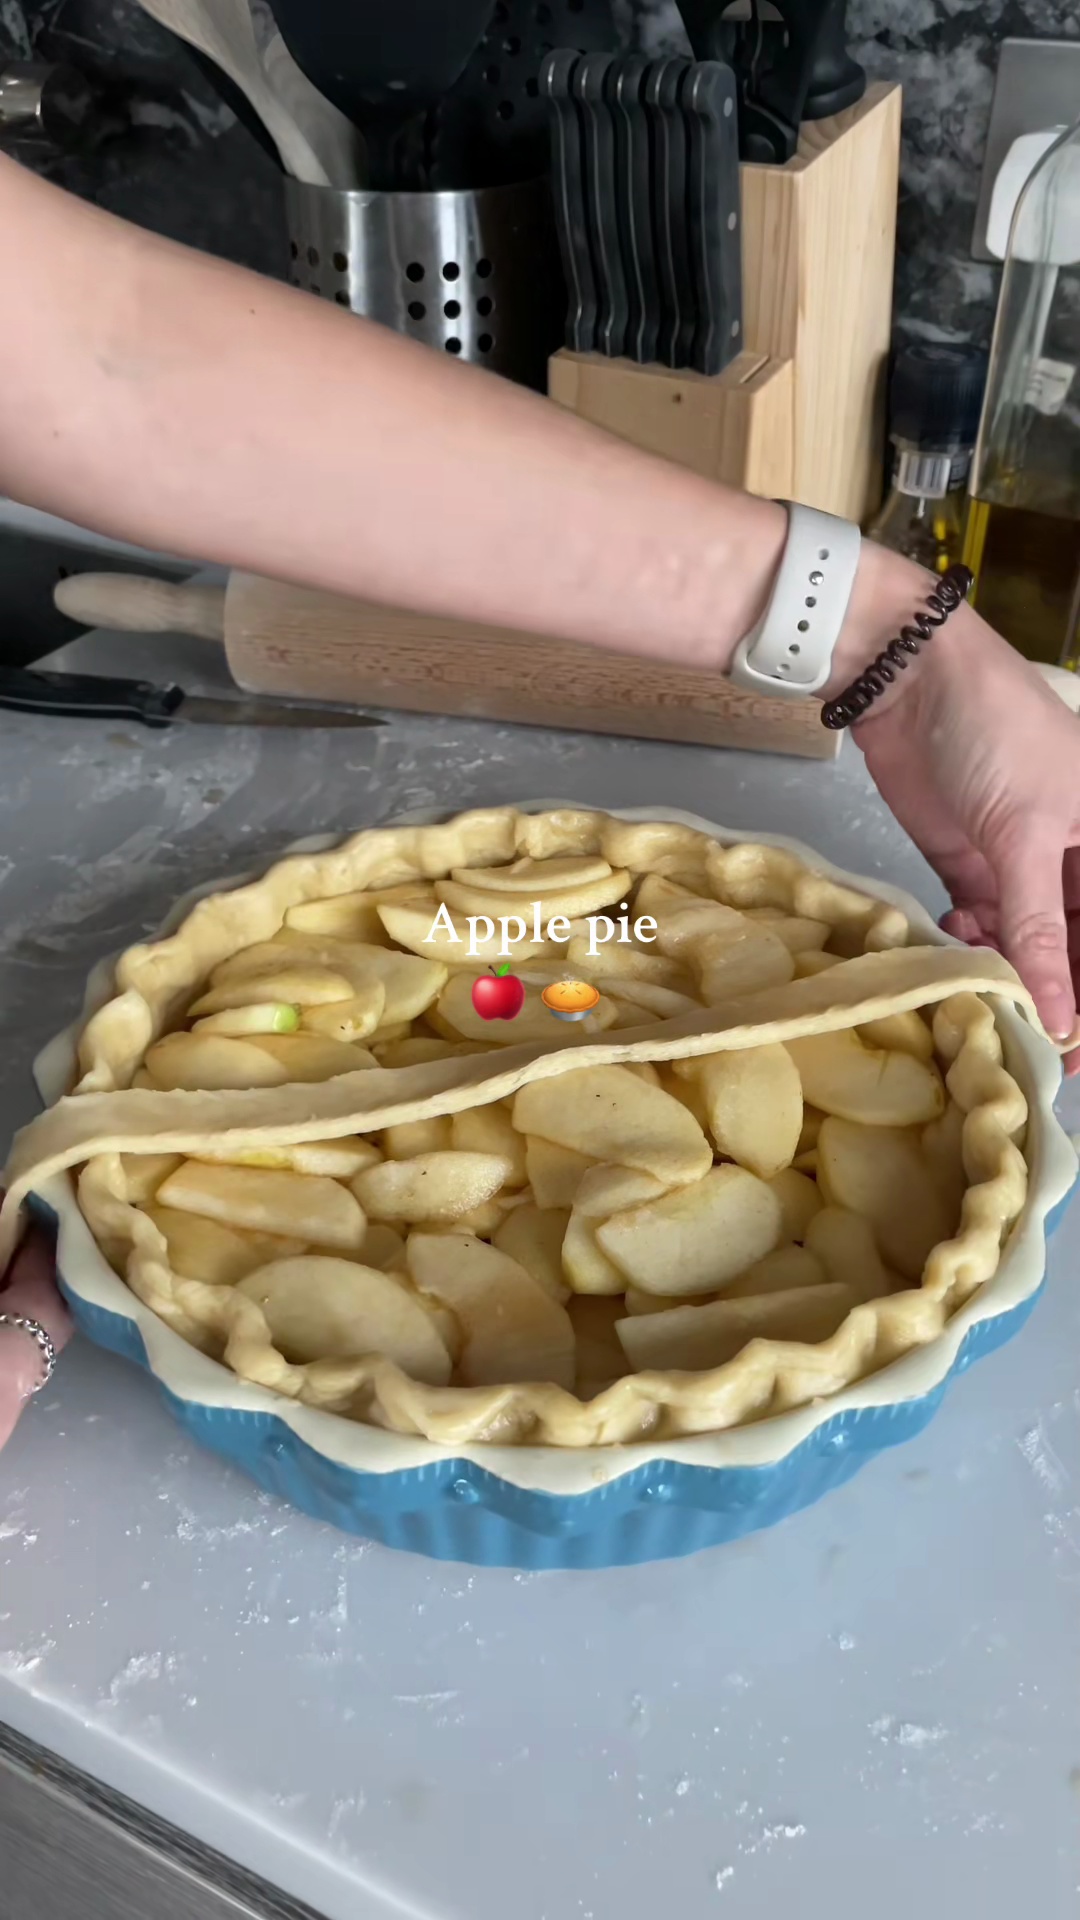
 - Pour the apple filling into the prepared pie crust. Mound the apples slightly in the center, as they will cook down during baking.5m
 Preview5mPreviewPour the apple filling into the prepared pie crust. Mound the apples slightly in the center, as they will cook down during baking.
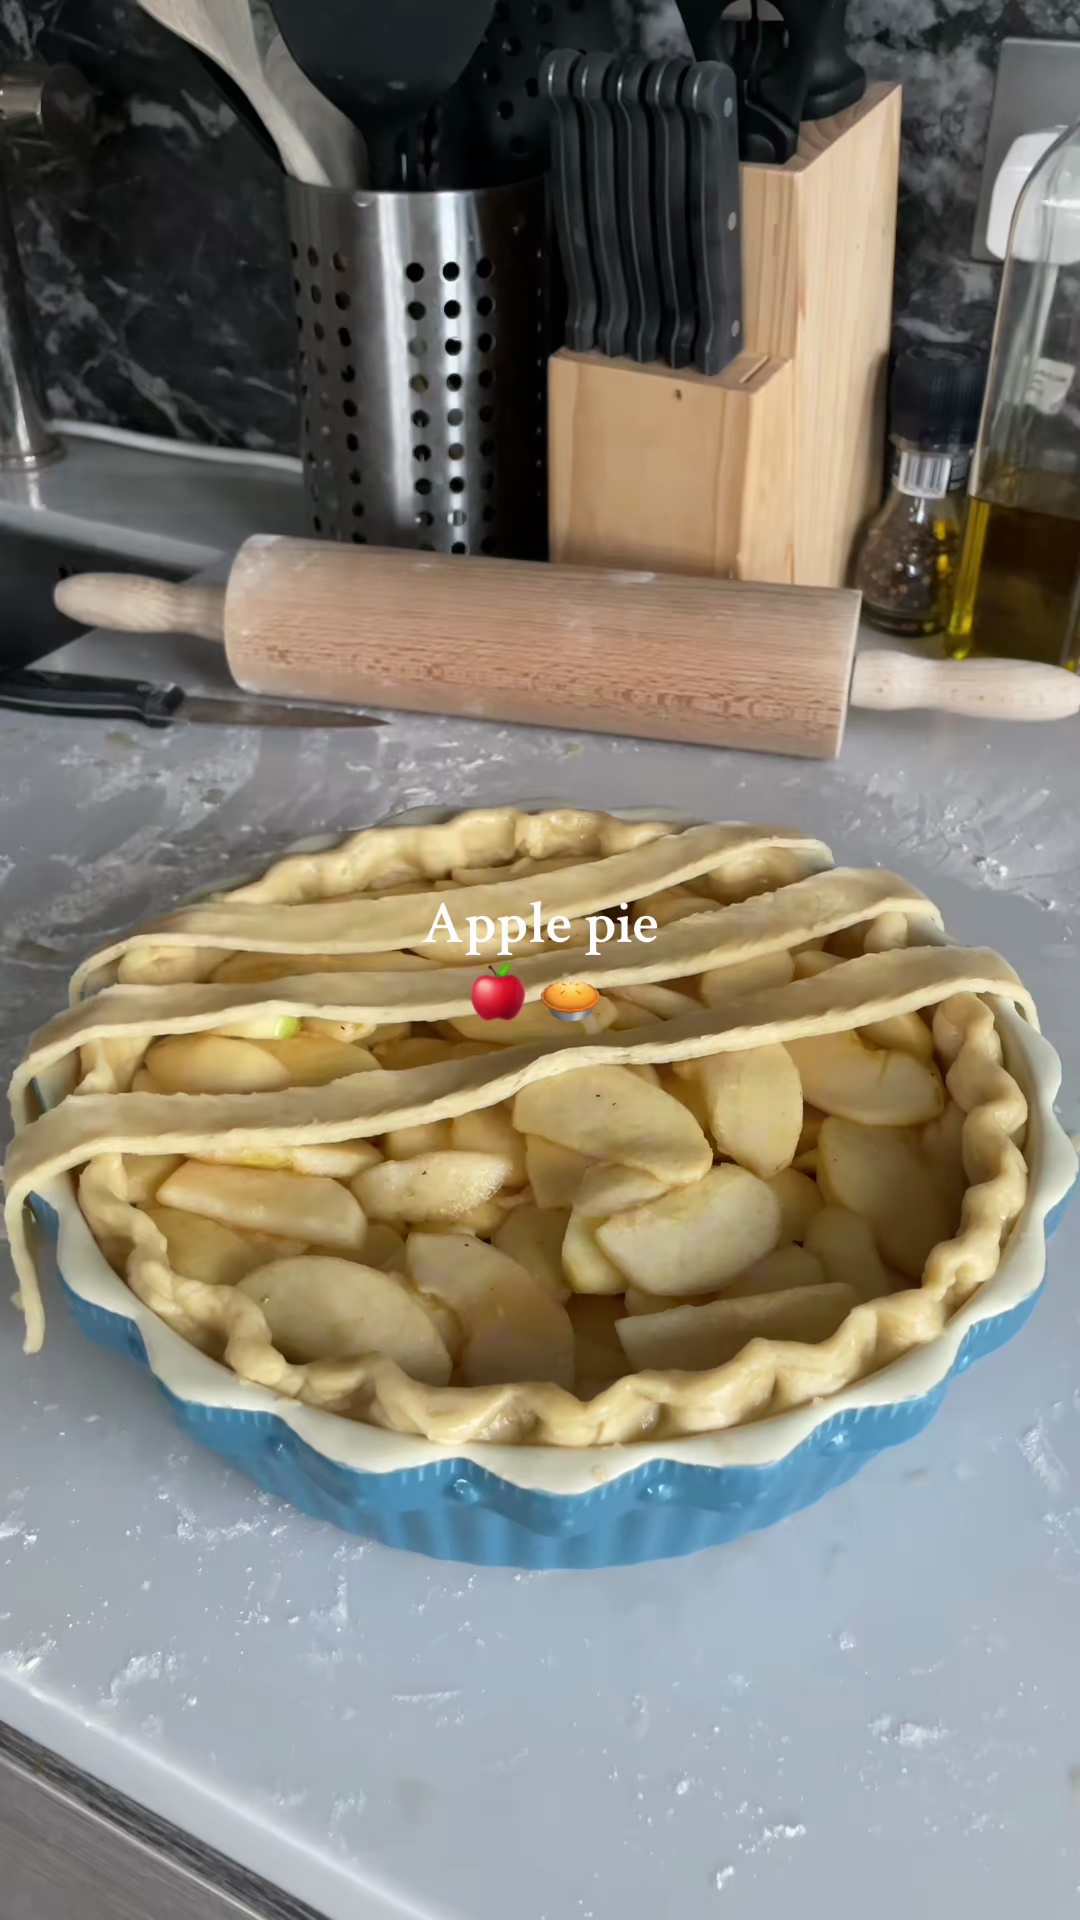
 - Roll out the second disc of pie dough. Place it over the apple filling. Trim the top crust to match the bottom crust's overhang. Crimp the edges of both crusts together to seal the pie. Cut several slits or a decorative pattern on top of the crust to allow steam to escape during baking.10m
 Preview10mPreviewRoll out the second disc of pie dough. Place it over the apple filling. Trim the top crust to match the bottom crust's overhang. Crimp the edges of both crusts together to seal the pie. Cut several slits or a decorative pattern on top of the crust to allow steam to escape during baking.
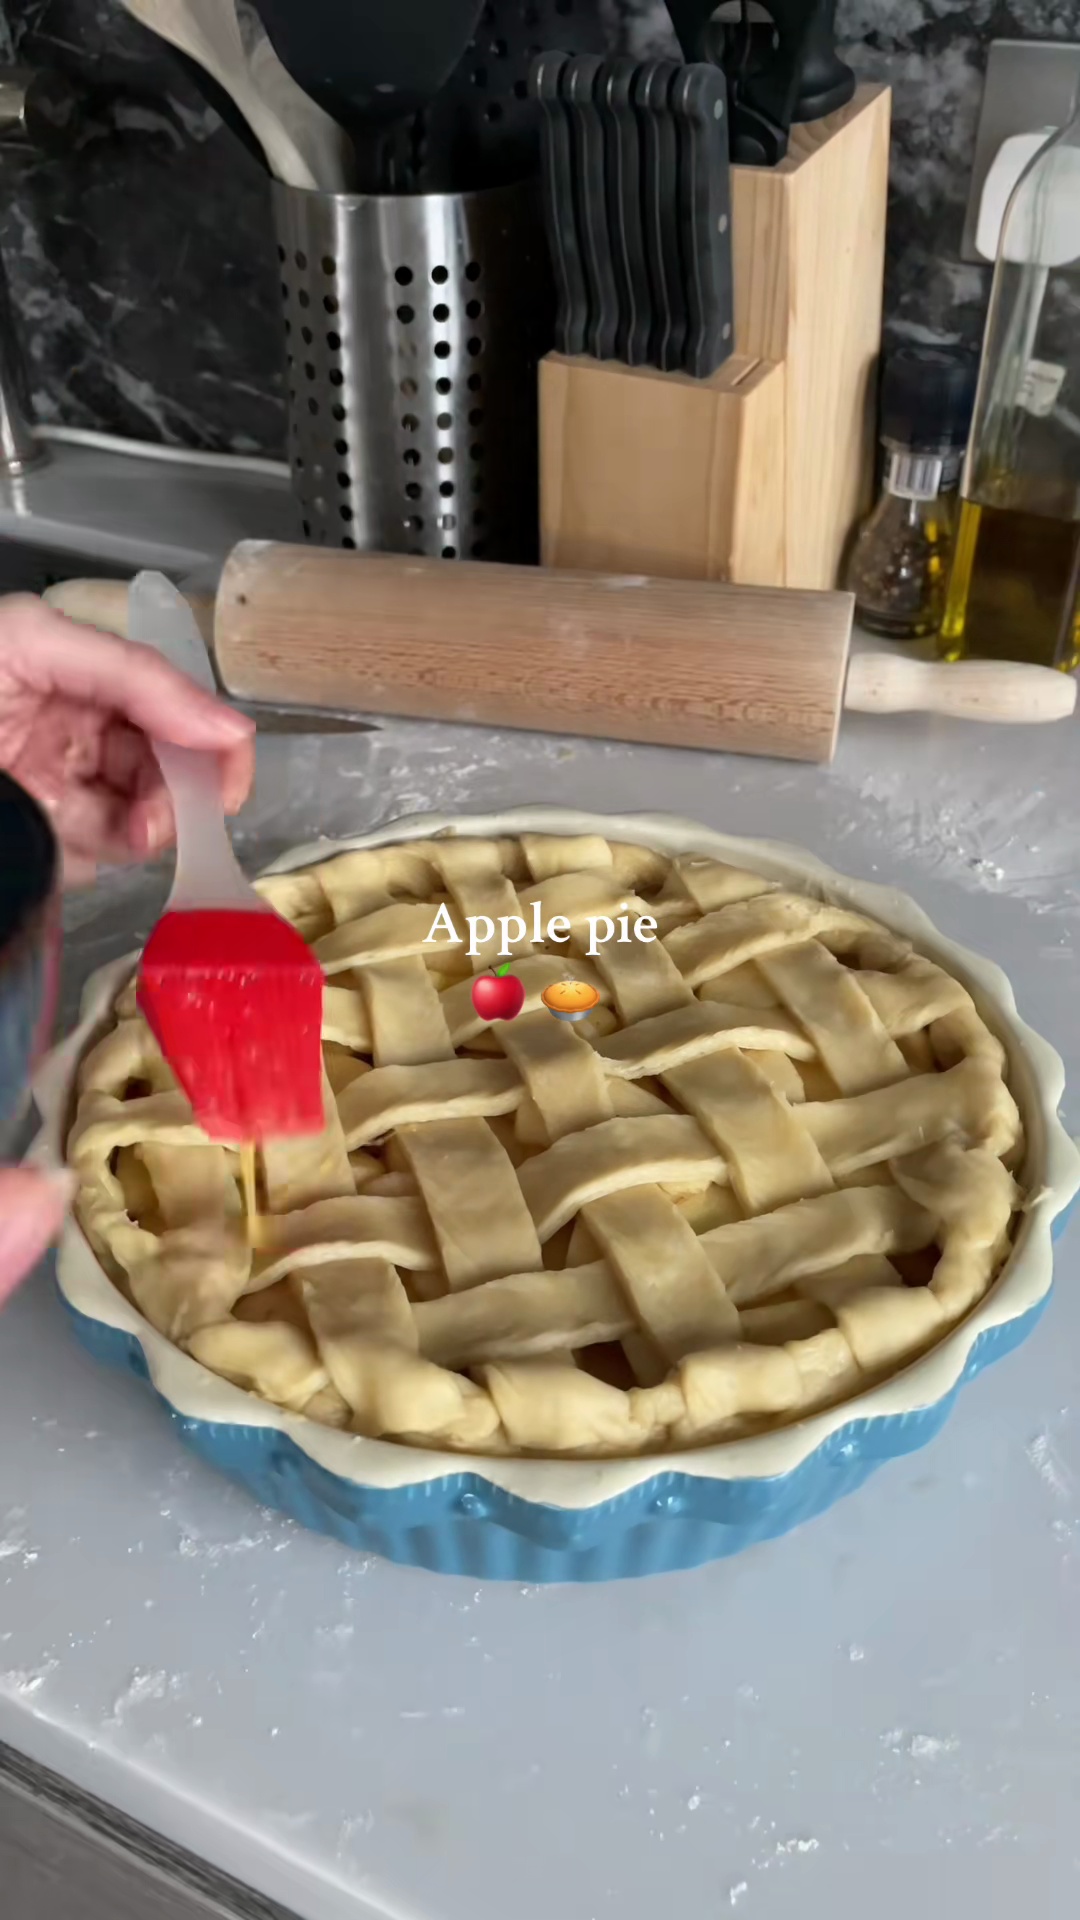
 - Preheat your oven to 400°F (200°C). Brush the top of the pie with the beaten egg wash for a golden, shiny crust. Bake for 15 minutes at 400°F (200°C), then reduce the oven temperature to 375°F (190°C) and continue baking for another 50-60 minutes, or until the crust is golden brown and the filling is bubbly. Let the pie cool completely on a wire rack for at least 2-3 hours before slicing and serving to allow the filling to set.1h 5mPreview1h 5mPreviewPreheat your oven to 400°F (200°C). Brush the top of the pie with the beaten egg wash for a golden, shiny crust. Bake for 15 minutes at 400°F (200°C), then reduce the oven temperature to 375°F (190°C) and continue baking for another 50-60 minutes, or until the crust is golden brown and the filling is bubbly. Let the pie cool completely on a wire rack for at least 2-3 hours before slicing and serving to allow the filling to set.
💡 Tip: Click on any step to mark it as completed and track your cooking progress!